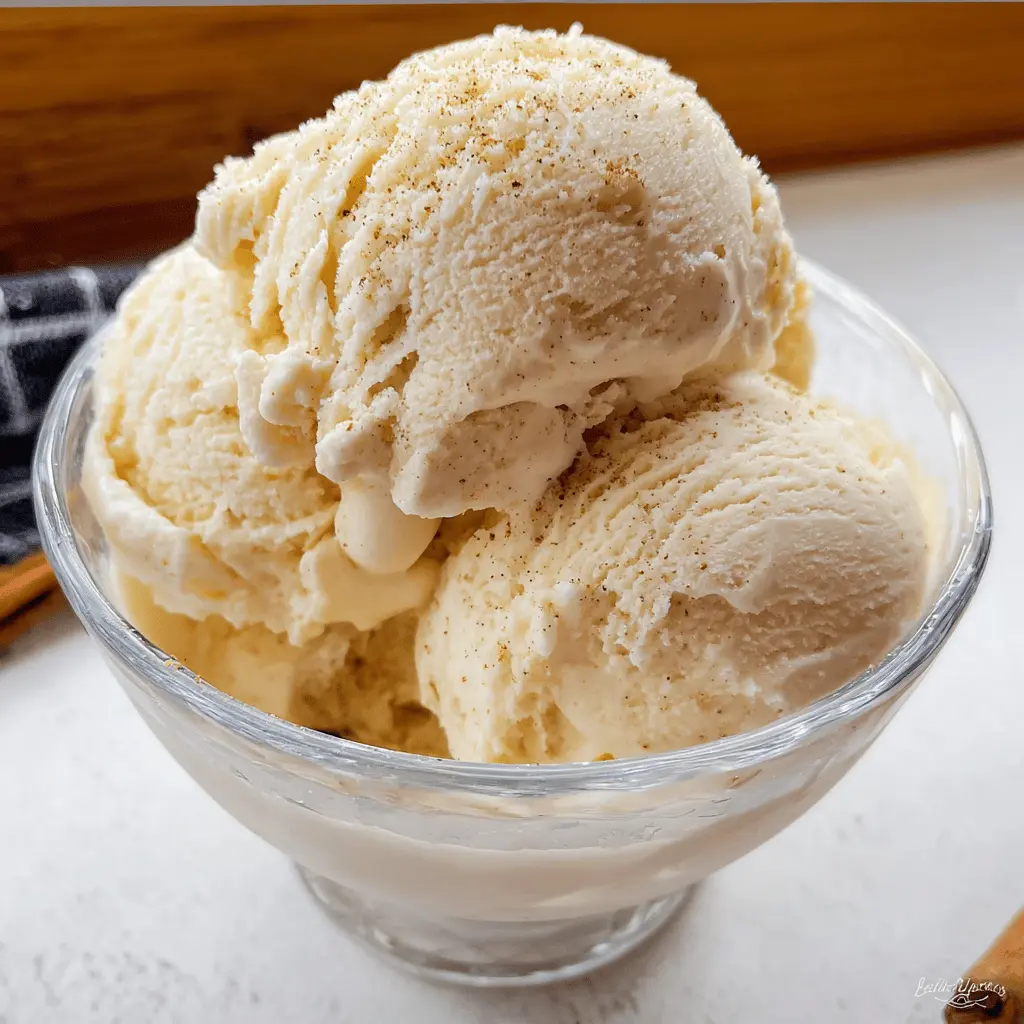
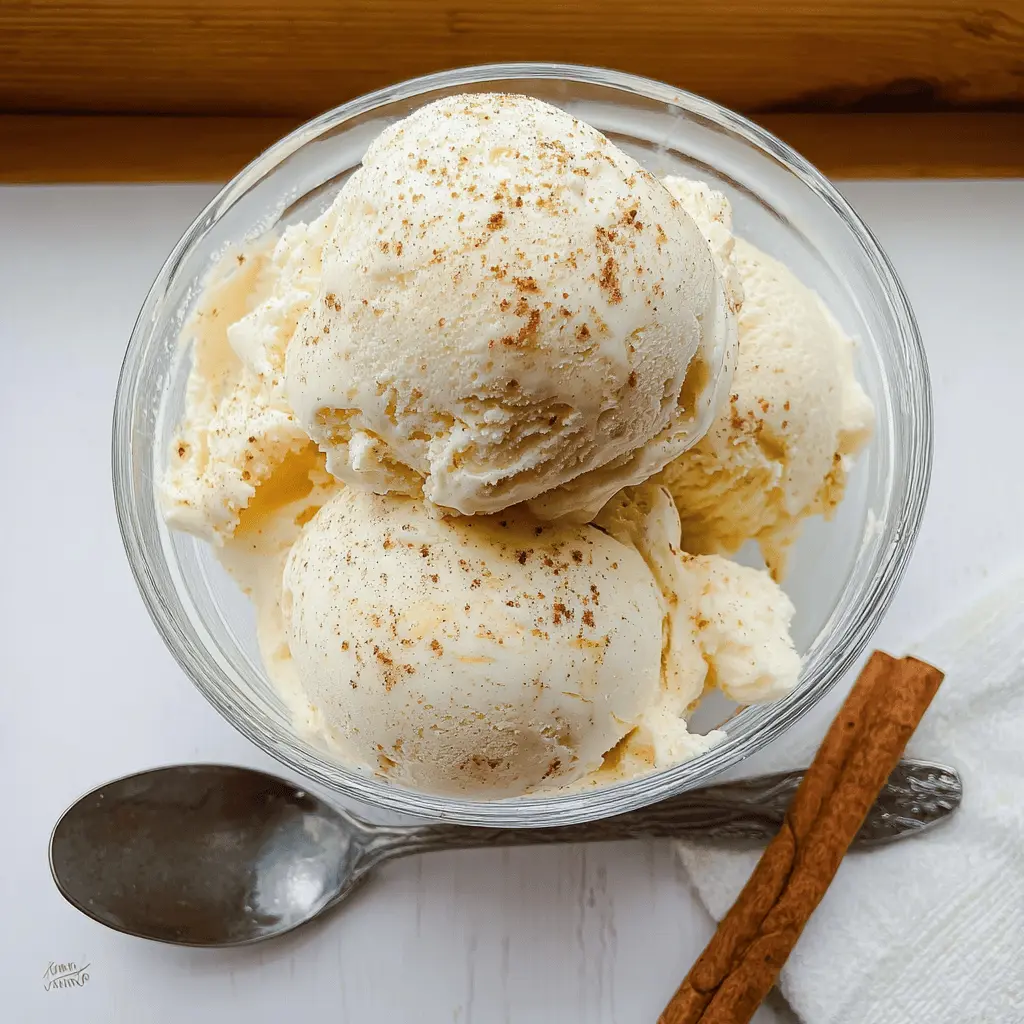
This creamy eggnog ice cream is a holiday treat that will make you feel all cozy inside! With a rich blend of eggnog, cream, and a hint of nutmeg, it’s a celebration in a bowl.
Making this ice cream is a breeze! Just mix, chill, and churn. You’ll be the hero at your next gathering, and trust me, everyone will want a second scoop!🍦
Key Ingredients & Substitutions
Eggnog: Using whole eggnog provides a rich flavor and creamy texture. If you want a lighter option, a lower-fat eggnog or dairy-free variety can work, though the ice cream may be less rich.
Heavy Cream: This is key for that creamy texture. If you’re looking for a lighter version, half-and-half can be used, but the consistency will be different. Coconut cream is a great non-dairy substitute.
Sugar: Granulated sugar sweetens the mix perfectly. You can swap it with brown sugar for a deeper flavor or try coconut sugar for a healthier option. Just keep in mind the sweetness level may vary.
Ground Nutmeg: Nutmeg adds that classic eggnog flavor. If you’re out, you can use allspice or a pinch of clove as substitutes. Freshly grated nutmeg enhances flavor even more!
Cinnamon: While optional, it adds extra warmth. You can omit it or use other spices like ginger for a twist.
How Do I Achieve the Perfect Eggnog Ice Cream Texture?
The key to getting smooth and creamy eggnog ice cream lies in properly tempering the egg yolks and cooking the custard just right. Here’s how to ensure success:
- **Heat Gently:** When warming the eggnog and cream, do it slowly to prevent boiling. Boiling can change the texture of your mixture.
- **Temper Carefully:** Pour hot liquid into the yolks gradually while whisking to avoid cooking them. This creates a smooth custard without scrambled eggs.
- **Correct Cooking Temperature:** Cook the mixture on low heat, stirring constantly. It should thicken enough to coat the back of a spoon, which means it’s ready.
- **Strain Out Cooked Bits:** This step is crucial for a silky texture. Straining removes any cooked egg pieces that may ruin the creaminess.
Following these steps will help you achieve a rich and delightful ice cream that everyone will love. Enjoy making it! 🎉
Easy Homemade Eggnog Ice Cream
Ingredients You’ll Need:
- 2 cups whole eggnog
- 1 cup heavy cream
- 3/4 cup granulated sugar
- 4 large egg yolks
- 1/2 teaspoon ground nutmeg, plus extra for garnish
- 1 teaspoon pure vanilla extract
- 1/2 teaspoon ground cinnamon (optional)
- Cinnamon sticks for garnish (optional)
How Much Time Will You Need?
This delightful eggnog ice cream recipe takes about 15 minutes of preparation time and at least 4 hours to chill before churning. After mixing and heating the ingredients, you’ll let it cool in the fridge, then churn it in an ice cream maker for that perfect creamy texture. Don’t forget to add extra chilling time for the best results!
Step-by-Step Instructions:
1. Heat the Eggnog Mixture:
In a medium saucepan, combine the eggnog and heavy cream. Place it over medium heat and warm it until it’s hot but not boiling, which should take about 5 minutes. This is the base of your ice cream, so keep an eye on it!
2. Prepare the Egg Yolks:
While the eggnog mix is heating, grab a separate bowl and whisk together the sugar and egg yolks until the mixture is pale and smooth. This helps to create a nice creamy texture in your ice cream.
3. Temper the Egg Yolks:
Slowly pour about 1 cup of the hot eggnog mixture into the egg yolk mixture, whisking constantly. This step is important to raise the temperature of the yolks gently without cooking them.
4. Cook the Mixture:
Now, pour the tempered egg yolk mixture back into the saucepan with the remaining eggnog. Cook over medium-low heat, stirring constantly with a wooden spoon or heat-safe spatula. You want to cook it until the mixture thickens enough to coat the back of the spoon, which should take about 6-8 minutes. Remember, do not let it boil!
5. Add Flavorings:
Once thickened, remove the saucepan from the heat. Stir in the ground nutmeg, cinnamon (if using), and vanilla extract for that delicious holiday flavor.
6. Strain the Custard:
Pour the custard through a fine mesh sieve into a clean bowl to remove any cooked egg bits. This will ensure your ice cream is nice and smooth!
7. Chill the Mixture:
Cover the bowl and chill the mixture in the refrigerator until completely cold, which will take at least 4 hours. You can also leave it overnight to make it easier to churn the next day.
8. Churn the Ice Cream:
Once chilled, churn the mixture in an ice cream maker according to the manufacturer’s instructions. Keep churning until it reaches a soft-serve consistency.
9. Freeze the Ice Cream:
Transfer the ice cream to an airtight container and freeze it for at least 4 hours or until firm. This will give you the perfect scoopable texture.
10. Serve and Enjoy:
Now it’s time to enjoy your homemade eggnog ice cream! Serve generous scoops in bowls or glasses and garnish with a sprinkle of nutmeg and a cinnamon stick if you like. Happy indulging!
Enjoy your creamy, festive homemade eggnog ice cream! 🎉
FAQ for Easy Homemade Eggnog Ice Cream
Can I Use Store-Bought Eggnog?
Absolutely! Store-bought eggnog works perfectly in this recipe and saves you time. Just make sure it’s a high-quality brand for the best flavor in your ice cream!
How Can I Make This Recipe Dairy-Free?
You can use almond, coconut, or soy milk eggnog and replace the heavy cream with a dairy-free cream or coconut cream. This will give you a creamy texture without the dairy while still keeping the festive flavor!
What Should I Do If My Ice Cream Is Too Soft?
If your ice cream turns out too soft after churning, no worries! Simply transfer it to an airtight container and freeze it for a few extra hours until it firms up to your desired consistency.
How Long Can I Store Leftover Ice Cream?
You can store leftover eggnog ice cream in an airtight container in the freezer for up to 2 weeks. For the best texture, let it sit at room temperature for a few minutes before serving to soften slightly.