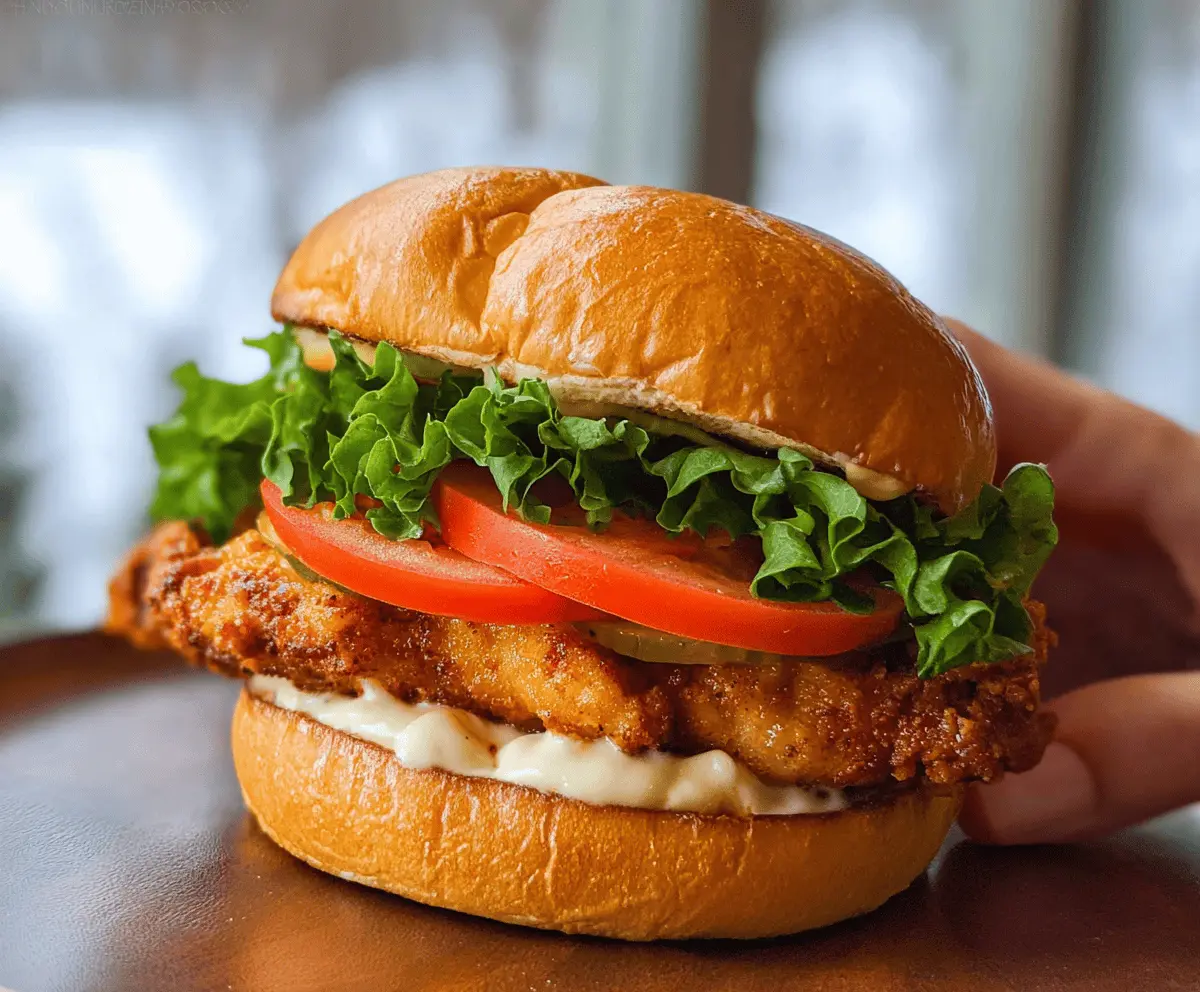
This easy crispy chicken sandwich is a winner! With juicy chicken coated in a crunchy layer, it’s golden-brown perfection in every bite. Think of it as comfort food heaven!
Making this sandwich is a breeze. I whip it up on busy days and enjoy it with my favorite toppings—because who can resist extra pickle slices? Yum! 🍔
Key Ingredients & Substitutions
Chicken Breasts: Boneless, skinless chicken breasts work best here. If you prefer, you can use chicken thighs for more flavor and moisture. They can be pounded too for even cooking!
Buttermilk: Buttermilk makes the chicken tender and adds flavor. If you don’t have any, substitute with regular milk mixed with a tablespoon of lemon juice or vinegar. Let it sit for a few minutes to sour.
Flour: All-purpose flour is the go-to, but you can use whole wheat flour for a healthier option. Gluten-free flour blends work too but may alter the texture slightly.
Cayenne Pepper: This adds a kick! If you’re not a fan of spice, feel free to skip it or substitute with a dash of paprika for flavor without heat.
How Do I Get Perfectly Crispy Chicken?
The secret to achieving a deliciously crispy chicken sandwich lies in the preparation and cooking techniques. Here’s how to get it just right:
- Marinate your chicken in buttermilk for at least 1 hour to help tenderize and flavor it.
- Ensure that your oil is at the right temperature (350°F). Too low, and it won’t crisp; too high, and it’ll burn. A thermometer helps!
- Use the double dredging method. After the first coating in the flour, dip the chicken back into the buttermilk and again coat with flour. This creates a thicker crust.
- Fry in batches. Don’t overcrowd the pan; give each piece space so the oil stays hot.
- Let the fried chicken rest on a wire rack instead of paper towels, to avoid steaming and keep the coating crispy.
With these tips, your Easy Crispy Chicken Sandwich will turn out perfectly every time! Enjoy!
How to Make Easy Crispy Chicken Sandwich
Ingredients You’ll Need:
For the Chicken:
- 2 boneless, skinless chicken breasts, pounded to about 1/2 inch thickness
- 1 cup buttermilk
- 1 teaspoon salt
- 1/2 teaspoon black pepper
- 1/2 teaspoon garlic powder
- 1/2 teaspoon paprika
For the Coating:
- 1 cup all-purpose flour
- 1 tablespoon cornstarch
- 1 teaspoon baking powder
- 1/2 teaspoon cayenne pepper (optional)
For Frying and Assembly:
- Vegetable oil, for frying
- 4 sandwich buns, preferably brioche or potato buns
- Mayonnaise, for spreading
- Lettuce leaves
- Tomato slices
- Pickle slices
How Much Time Will You Need?
This recipe takes about 10 minutes for preparation and at least 1 hour for marinating the chicken (up to 4 hours for better flavor). The cooking process takes another 15-20 minutes. Overall, you’ll have delicious crispy chicken sandwiches ready in about 1 hour and 30 minutes, with plenty of it being hands-off time!
Step-by-Step Instructions:
1. Marinate the Chicken:
Start by whisking together the buttermilk, salt, black pepper, garlic powder, and paprika in a large bowl. Add in the chicken breasts, making sure they are fully submerged in the marinade. Cover the bowl and refrigerate for at least 1 hour. For the best results, marinate for 3-4 hours to enhance the flavor.
2. Prepare the Coating:
In a shallow dish, mix together the all-purpose flour, cornstarch, baking powder, cayenne pepper, and a pinch of salt and pepper. Ensure it’s well combined for an even coating later on.
3. Heat the Oil:
In a deep skillet or frying pan, heat about 1 inch of vegetable oil over medium-high heat until it reaches 350°F (175°C). A thermometer is helpful here to get the oil temperature just right.
4. Coat the Chicken:
Remove the chicken from the marinade, allowing any excess buttermilk to drip off. Dredge each piece in the flour mixture, pressing lightly to ensure they are well coated. For an extra crispy finish, dip the chicken back into the buttermilk quickly and coat again in the flour mixture—this is called double dredging!
5. Fry the Chicken:
Carefully place the coated chicken into the hot oil. Fry the chicken for about 4-5 minutes on each side or until golden brown and cooked through, reaching an internal temperature of 165°F (74°C). Make sure to do this in batches if needed, to avoid crowding the pan.
6. Drain and Keep Crisp:
Once cooked, transfer the fried chicken to a wire rack that’s set over a baking sheet. This helps drain excess oil and keeps the chicken crispy.
7. Assemble the Sandwiches:
Lightly toast your sandwich buns to enhance their flavor. Spread a generous layer of mayonnaise on both the top and bottom buns.
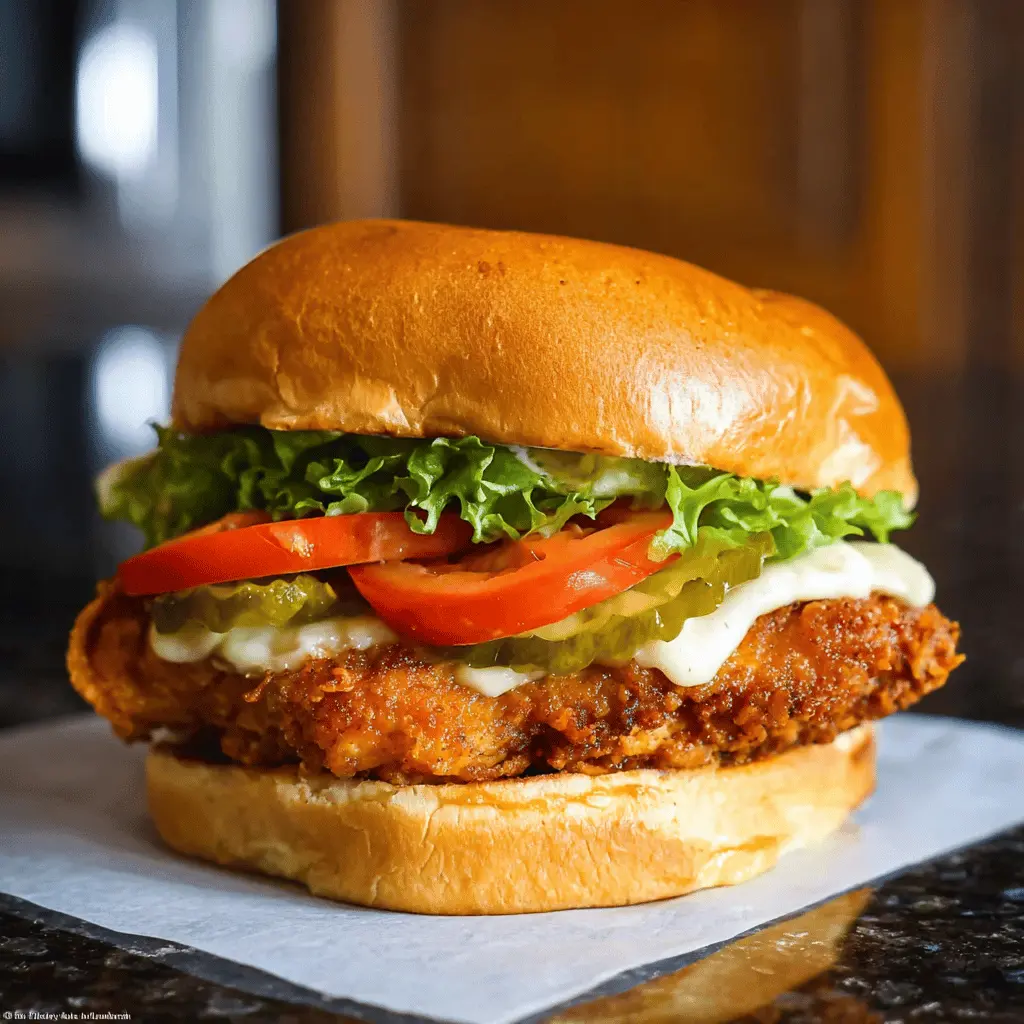
8. Build Your Sandwich:
To start assembling, place a layer of lettuce on the bottom bun. Add pickles and tomato slices, then top it off with the crispy chicken breast. Finally, cap it with the top bun.
9. Serve and Enjoy!
Serve your crispy chicken sandwiches immediately while they’re still hot and crispy. Enjoy every delicious bite!
This recipe yields 4 satisfying chicken sandwiches, perfect for a quick and delightful meal. Enjoy your cooking adventure!
FAQ for Easy Crispy Chicken Sandwich
Can I Use Bone-In Chicken for This Recipe?
While the recipe is designed for boneless, skinless chicken breasts for ease of cooking and eating, you can use bone-in pieces. Just be sure to adjust the cooking time, as bone-in chicken will generally take longer to cook thoroughly.
What If I Don’t Have Buttermilk?
No worries! You can make a quick substitute by mixing one cup of regular milk with 1 tablespoon of vinegar or lemon juice. Let it sit for about 5-10 minutes until it thickens slightly for the right texture and acidity.
How Can I Store Leftovers?
Store any leftover chicken in an airtight container in the refrigerator for up to 3 days. Reheat in the oven to keep it crispy, rather than using the microwave, which can make it soggy.
Can I Make This Recipe Air Fryer Friendly?
Absolutely! Preheat your air fryer to 400°F (200°C). Spray the chicken with a little oil after dredging and arrange it in a single layer in the basket. Cook for about 12-15 minutes, flipping halfway through, until golden and cooked through.