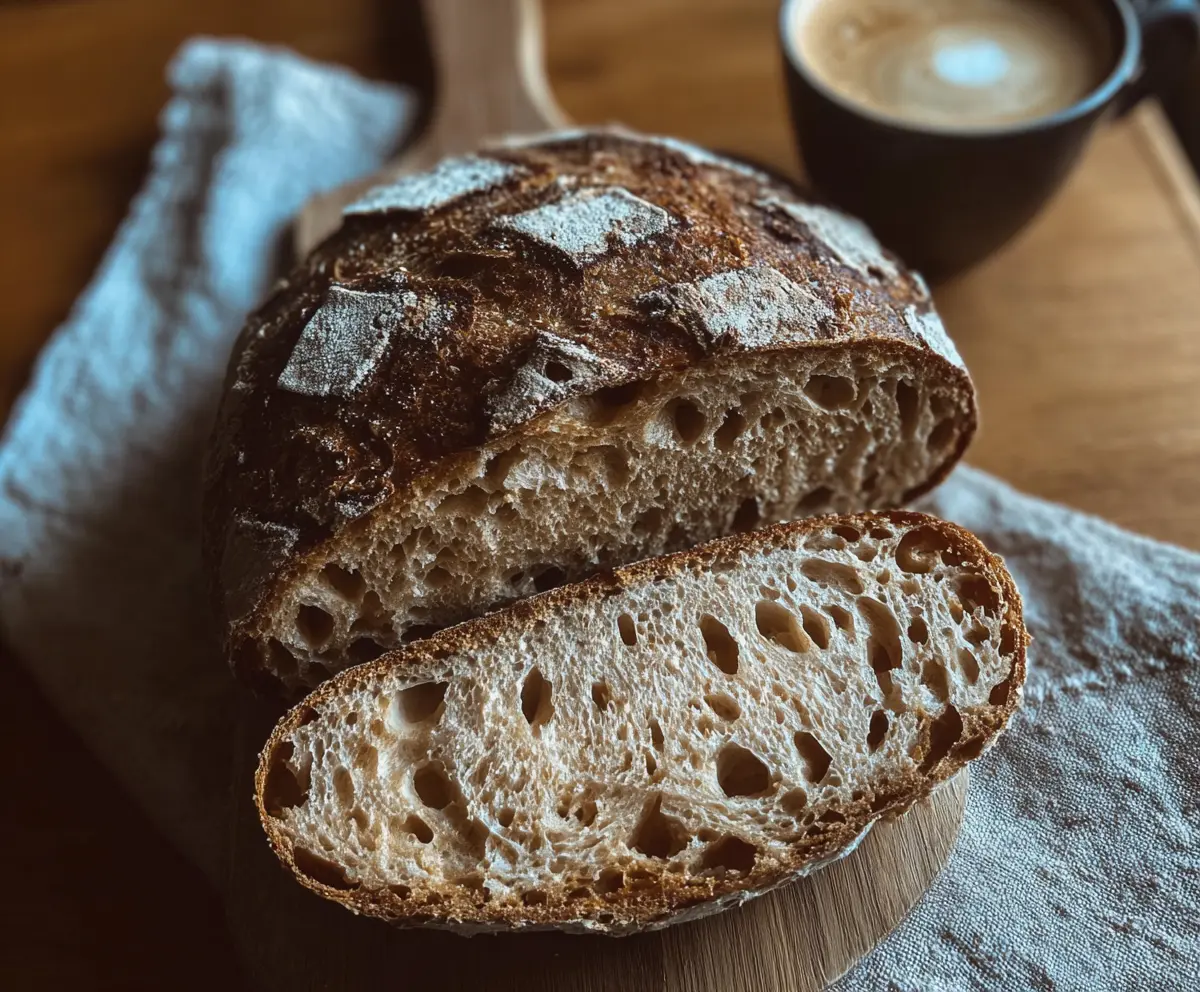
This crusty sourdough bread is perfect for your morning coffee! Its golden-brown crust and soft inside will make your breakfast feel special.
Slicing into this bread is pure joy, and I love to enjoy it with a warm cup of coffee! It’s the ideal way to start the day, don’t you think? ☕🍞
Key Ingredients & Substitutions
Bread Flour: It’s best to use high-protein bread flour for a strong gluten structure. However, if you can’t find it, you can mix all-purpose flour with a bit of vital wheat gluten to boost protein content.
Sourdough Starter: Make sure your starter is active and bubbly. If you’re not able to use your own, a store-bought sourdough starter can be a great substitute. Just make sure to feed it ahead of time!
Salt: Sea salt or kosher salt works well in bread. If you’re on a low-sodium diet, consider using a salt substitute, but be aware it might change the flavor slightly.
How Do I Get the Right Dough Consistency?
Mixing your flour and water to form a shaggy dough is the first step in achieving the right texture. Make sure not to knead at this stage; just combine them and let them rest. This resting period, known as autolyse, helps hydrate the flour and develop gluten naturally without much effort.
What is a Stretch and Fold, and Why Should I Do It?
The stretch and fold technique is crucial for building gluten strength. After the first two hours of fermentation, do the following:
- With wet hands, grab one side of the dough and gently stretch it up, then fold it over the center.
- Turn the bowl 90 degrees and repeat until all four sides have been stretched and folded.
- This helps the dough gain strength and structure without the need for heavy kneading.
Why Do I Refrigerate the Dough During the Final Proof?
Refrigerating the dough not only develops flavor but also improves texture. Cold dough is easier to handle, and it takes longer to proof, giving the yeast time to work out the flavors. The result is a more complex and tasty bread!
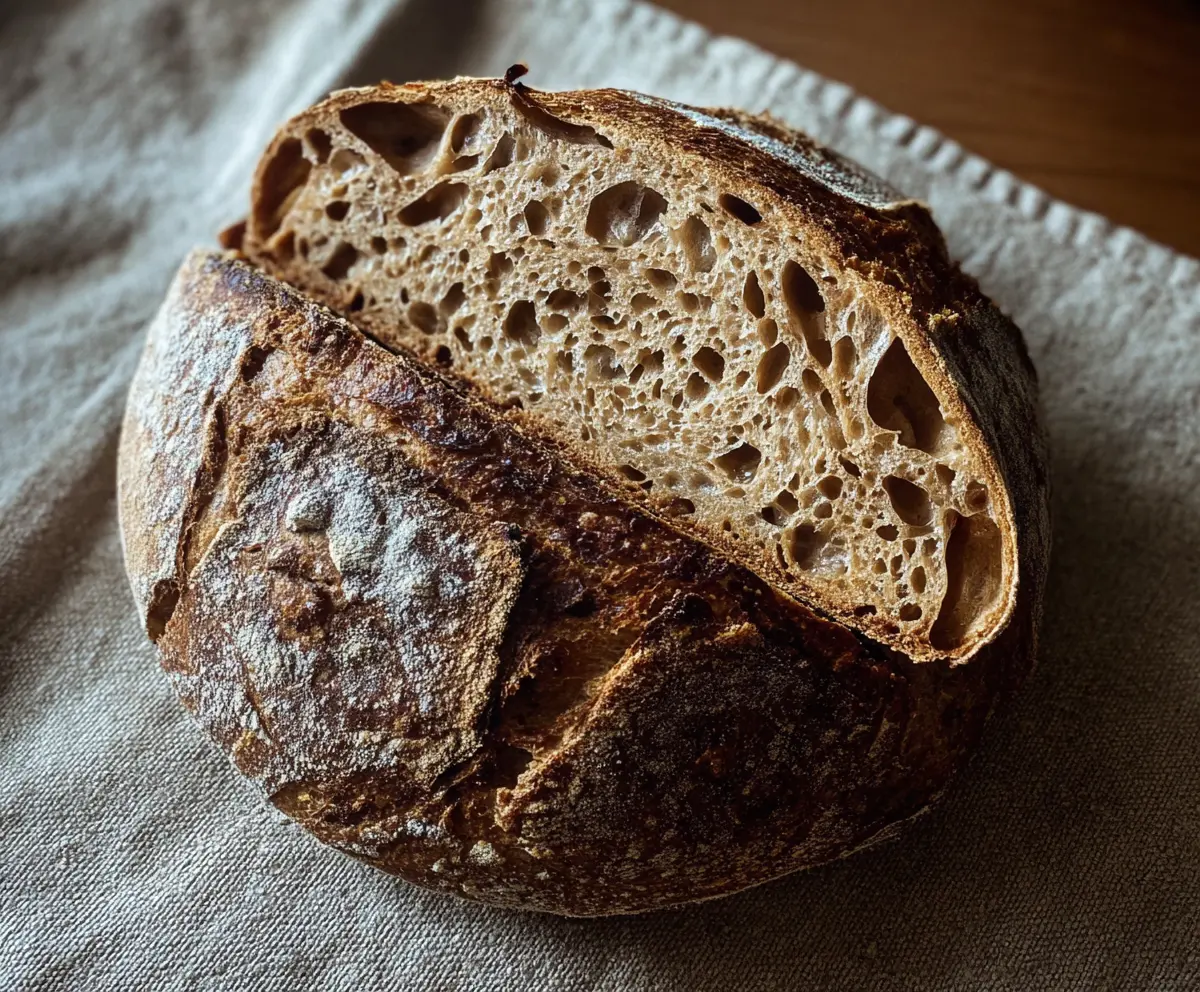
How to Make Crusty Sourdough Bread
Ingredients You’ll Need:
For The Dough:
- 500g bread flour (preferably high protein)
- 350g water (lukewarm)
- 100g active sourdough starter (fed and bubbly)
- 10g salt
How Much Time Will You Need?
This recipe requires about 1 hour of active prep time, plus a total of 12-18 hours for the dough to rest and rise in the refrigerator. The baking time is around 45-50 minutes. So, plan for a full day of deliciousness!
Step-by-Step Instructions:
1. Mix and Autolyse:
In a large mixing bowl, combine the bread flour and lukewarm water using your hands or a spatula. Mix until just combined to form a shaggy dough. Don’t worry about it being perfect at this stage! Cover with a towel and let it rest for 30 minutes. This resting period is called autolyse and helps hydrate the flour.
2. Add Starter and Salt:
After the 30-minute rest, add your bubbly sourdough starter and salt to the dough. Mix well using your hands until everything is fully incorporated, and you can’t see any dry flour. It should feel slightly sticky but cohesive.
3. Ferment and Stretch:
Cover the bowl with a kitchen towel and let the dough ferment at room temperature for 4-6 hours. During the first 2 hours, every 30 minutes, perform a stretch and fold to build gluten. To do this, gently stretch one side of the dough and fold it over itself. Repeat on all four sides—easy and effective!
4. Shaping the Dough:
After the bulk fermentation is complete, turn the dough out onto a lightly floured surface. Gently shape it into a round boule (ball) by folding the edges toward the center to create some surface tension. Be gentle to retain as much air in the dough as possible.
5. Final Proof:
Place the shaped dough seam-side up in a floured banneton or a bowl lined with a floured kitchen towel. Cover it up again and pop it into the refrigerator for 12-18 hours for the final proof. This step enhances the flavor!
6. Preheat the Oven:
When you’re ready to bake, preheat your oven to 250°C (480°F) with a Dutch oven (or a heavy oven-safe pot) inside for at least 30 minutes. This ensures the pot is hot, which is key for a great crust!
7. Bake the Bread:
Carefully take the hot Dutch oven out of the oven. Turn the dough out onto a piece of parchment paper and score the top with a sharp knife or blade—this allows for expansion during baking. Place the dough into the hot pot.
8. Bake with the Lid On:
Cover the Dutch oven with its lid and bake for 20 minutes. After that, remove the lid and continue to bake for an additional 25-30 minutes, or until the bread crust is a deep golden brown and sounds hollow when tapped.
9. Cool and Serve:
Once baked, transfer the bread onto a cooling rack and let it cool completely before slicing. This preserves the crust and crumb structure very well. Enjoy it fresh, perhaps with your favorite coffee!
Can I Use a Different Type of Flour?
Absolutely! While high-protein bread flour is ideal for a chewy crust, you can also blend it with whole wheat flour for extra flavor and nutrition. Just keep in mind that this may alter the hydration levels slightly, so you might need to adjust the water content.
What Should I Do if My Dough is Too Sticky?
If your dough feels overly sticky, it’s okay! Make sure your hands and work surface are well-floured. You can sprinkle a little extra flour on the dough during shaping, but avoid adding too much, as it can affect the texture of the final bread. Patience is key during fermentation, as it should become less sticky over time.
How Can I Tell If My Bread is Done Baking?
Look for a deep golden-brown crust and a hollow sound when you tap the bottom of the loaf. If you’re unsure, you can also use an instant-read thermometer; the internal temperature should be around 95°C (200°F) when done.
Can I Freeze the Bread for Later?
Yes! Once the bread is completely cool, wrap it tightly in plastic wrap or aluminum foil, then place it in a freezer-safe bag. For the best texture, consume it within 3 months. To thaw, leave it at room temperature or pop it in the oven at 180°C (350°F) for a few minutes to revive the crust.