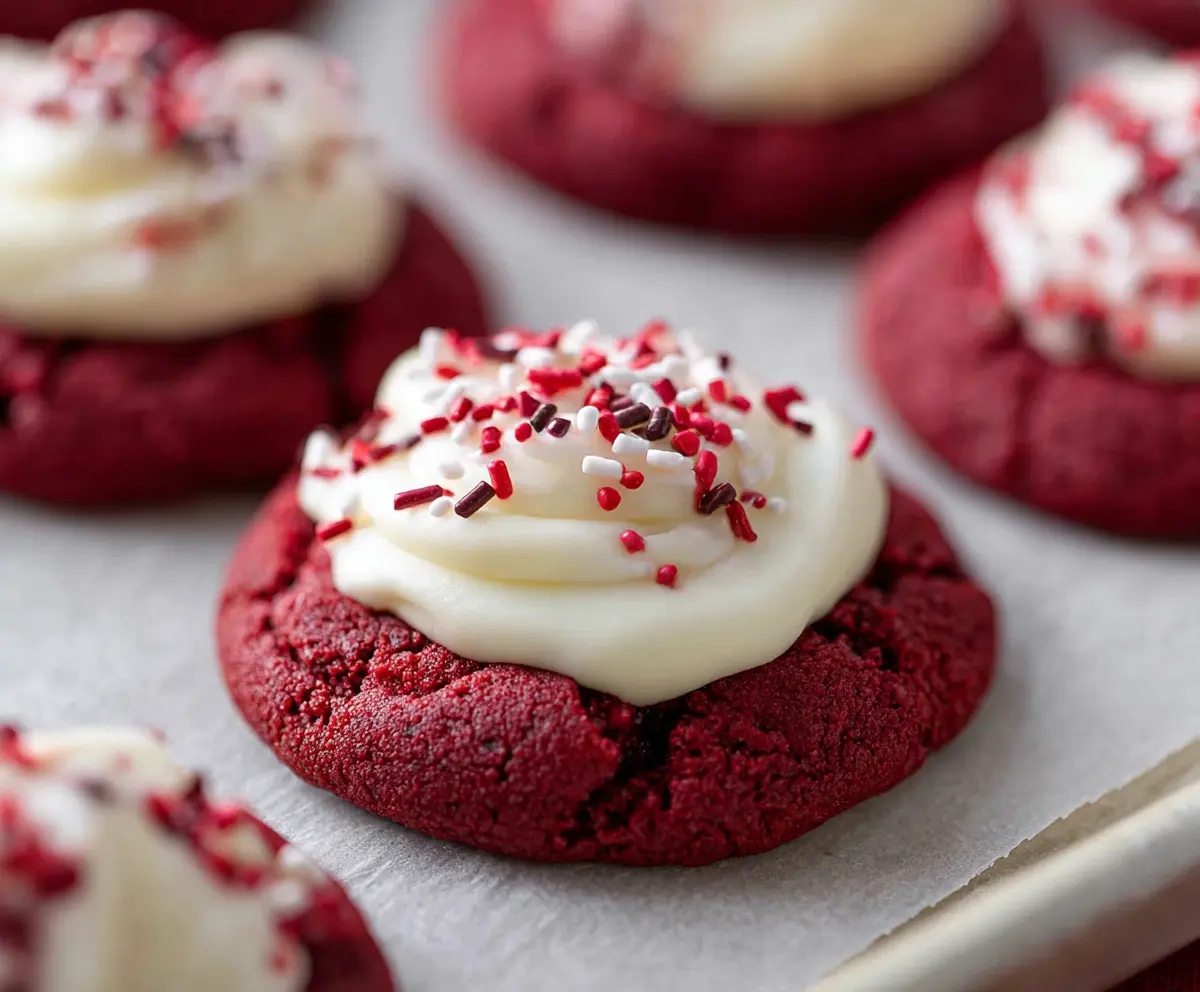
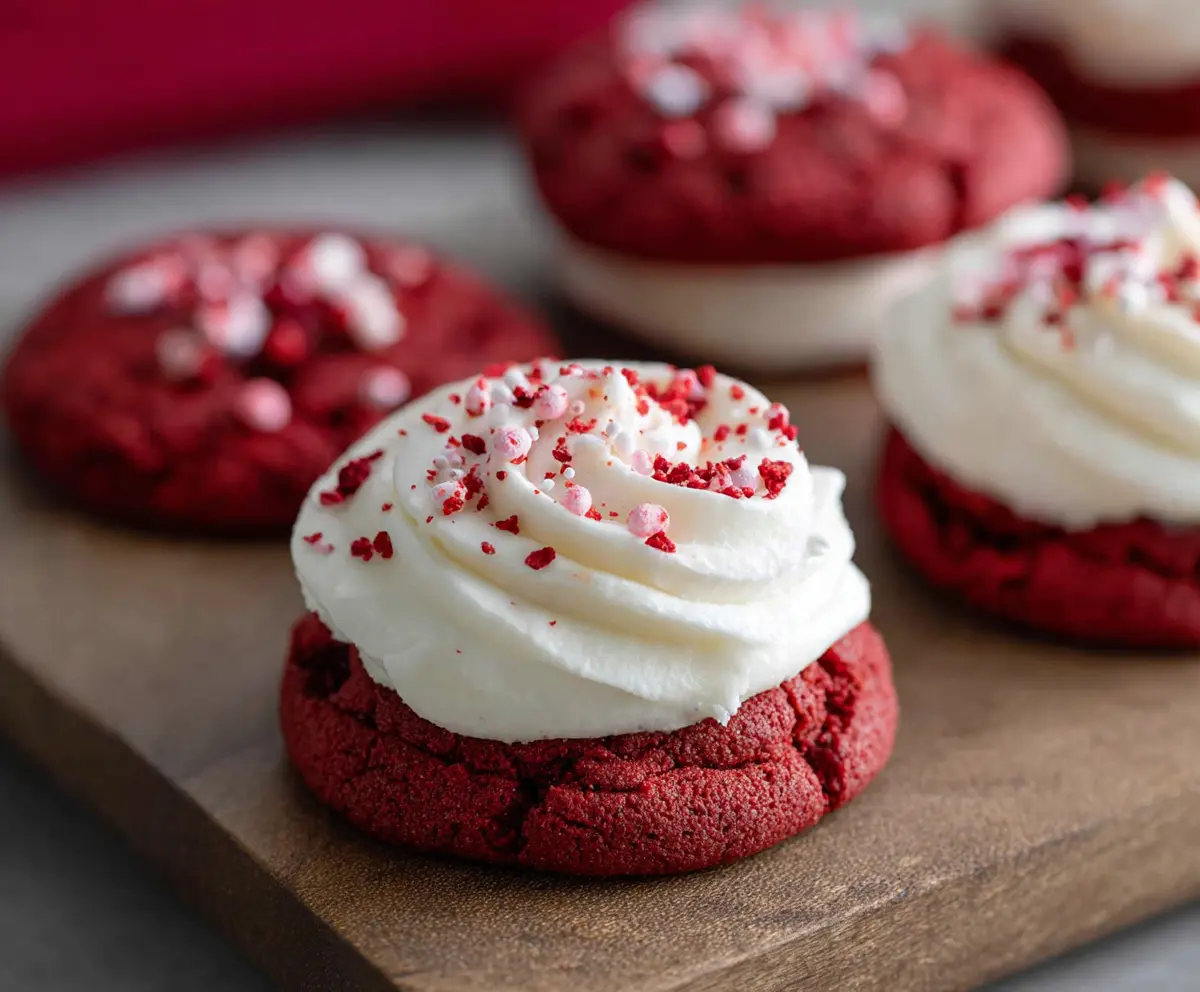
These Crumbl Red Velvet Cupcake Cookies are soft, chewy, and oh-so-delicious! Topped with creamy frosting, each bite feels like a treat from a bakery.
I can’t help but smile when I make these cookies! They’re perfect for celebrations or just because—who doesn’t love a red velvet surprise? 🍪❤️
Key Ingredients & Substitutions
Unsalted Butter: This is essential for a rich flavor and tender texture. You can use salted butter, just omit the added salt in the recipe.
Red Velvet Cake Mix: If you don’t have this handy, you can use all-purpose flour with an extra tablespoon of cocoa powder and a bit of red food coloring to achieve the desired color and taste.
Cream Cheese: A must for the frosting! If you’re looking for a lighter option, you can use Greek yogurt or mascarpone cheese instead, though the flavor will change a bit.
Red Food Coloring: If you prefer a natural option, consider beet juice or natural food coloring for that signature red hue.
How Do You Achieve Perfectly Soft Cookies?
To get those soft, chewy cookies, there are a few key tips to remember:
- Don’t over-bake: The cookies should look slightly underbaked in the center when you take them out. They’ll continue to set as they cool.
- Chilling the dough: If you have time, chill the cookie dough for 30 minutes. This can help them keep their shape better.
- Scoop and space: Use a cookie scoop for uniform size and remember to space your dough balls about 2 inches apart on the baking sheet to allow room for spreading.
How to Make Crumbl Red Velvet Cupcake Cookies
Ingredients You’ll Need:
For the Cookies:
- 1/2 cup (1 stick) unsalted butter, softened
- 3/4 cup granulated sugar
- 1 large egg
- 1 teaspoon vanilla extract
- 1 tablespoon red velvet cake mix (or red velvet cake flour blend)
- 1 cup all-purpose flour
- 1 tablespoon unsweetened cocoa powder
- 1/2 teaspoon baking powder
- 1/4 teaspoon salt
- 1-2 tablespoons red food coloring (adjust to desired red color)
For the Frosting:
- 4 oz cream cheese, softened
- 1/4 cup (1/2 stick) unsalted butter, softened
- 1 cup powdered sugar, sifted
- 1/2 teaspoon vanilla extract
For Decoration:
- Red, white, and brown sprinkles
How Much Time Will You Need?
This delicious recipe takes about 15 minutes to prep, and then you’ll need around 10-12 minutes for baking. After baking, let the cookies cool for about 5 minutes before transferring them to a wire rack to cool completely. If you want to frost them, make sure they are completely cool, which will take an additional 30 minutes or so.
Step-by-Step Instructions:
1. Preheat the Oven:
Begin by preheating your oven to 350°F (175°C). While that heats, line a baking sheet with parchment paper or a silicone baking mat. This will keep your cookies from sticking!
2. Cream Together the Butter and Sugar:
In a large mixing bowl, add the softened butter and granulated sugar. Using an electric mixer, beat them together until the mixture is light and fluffy. This usually takes about 2-3 minutes.
3. Add the Egg and Vanilla:
Add the egg and vanilla extract to your buttery mixture. Beat well until everything is combined. You’ll want a nice, smooth mixture.
4. Mix the Dry Ingredients:
In a separate bowl, whisk together the all-purpose flour, red velvet cake mix (if you’re using it), unsweetened cocoa powder, baking powder, and salt. This step ensures that your dry ingredients are well combined.
5. Combine Wet and Dry Ingredients:
Gradually add your dry mixture to the wet ingredients. Mix until just combined. Be careful not to overmix, as this can make your cookies tough!
6. Add the Red Food Coloring:
Now, it’s time for the fun part! Add the red food coloring to your dough a tablespoon at a time, mixing gently. Keep adding until you achieve your desired bright red color.
7. Scoop the Dough:
Scoop the cookie dough onto your prepared baking sheet. Use a cookie scoop or a tablespoon to create uniform cookies, spacing them about 2 inches apart. They will spread slightly while baking.
8. Bake the Cookies:
Place the baking sheet in the preheated oven and bake for 10-12 minutes. You want the edges to be set while the centers remain soft and slightly underbaked. They should look a little cracked on top!
9. Cool the Cookies:
Once baked, remove the cookies from the oven. Let them cool on the baking sheet for about 5 minutes, then lovingly transfer them to a wire rack to cool completely.
10. Make the Frosting:
While the cookies are cooling, it’s time to whip up the frosting! In a mixing bowl, beat together the softened cream cheese and butter until smooth and creamy.
11. Add the Sugar and Vanilla:
Add the sifted powdered sugar and vanilla extract to the frosting. Beat until it’s light and fluffy, creating a deliciously creamy texture.
12. Frost Your Cookies:
Once your cookies are completely cool, it’s time to frost them! Use a piping bag or a spatula to spread a generous swirl of cream cheese frosting on each cookie.
13. Add Fun Decorations:
Top off each frosted cookie with red, white, and brown sprinkles for a festive touch! This makes them look extra special.
14. Serve and Enjoy:
Serve your cookies immediately or store them in an airtight container in the refrigerator for up to 4 days. Just remember to bring them back to room temperature for the best flavor before serving.
Enjoy your delightful, soft, and moist red velvet Crumbl-inspired cupcake cookies topped with luscious cream cheese frosting!
Can I Use Cake Mix Instead of Cake Flour for This Recipe?
Absolutely! If you have red velvet cake mix, you can use it as a substitute for red velvet cake flour blend. Just keep in mind that it will add some sweetness and flavor to your cookies.
How Can I Store Leftover Cookies?
Store any leftover cookies in an airtight container in the refrigerator for up to 4 days. To maintain their softness, consider placing a slice of bread in the container with them. It helps to keep the cookies moist!
Can I Freeze These Cookies?
Yes, you can freeze the unbaked cookie dough! Scoop the dough onto a baking sheet, freeze until solid, then transfer to a freezer bag. When you’re ready to bake, no need to thaw—just add an extra minute or two to the baking time!
Can I Make the Frosting Ahead of Time?
Definitely! You can prepare the cream cheese frosting in advance. Store it in an airtight container in the fridge for up to a week. Just give it a good stir before using, as it may thicken while chilled.