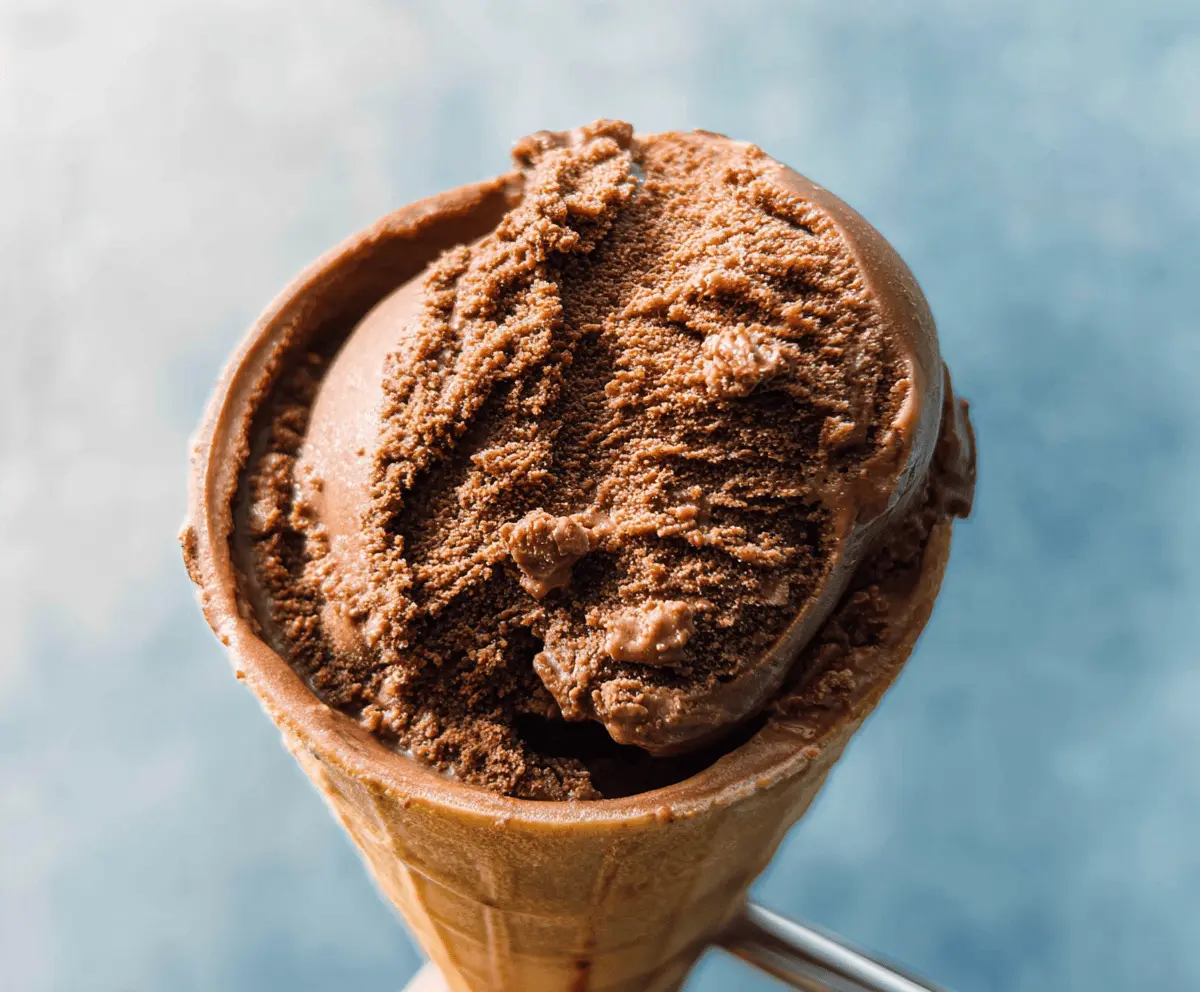
This creamy classic chocolate ice cream is a dream come true for chocolate lovers! It’s rich, smooth, and oh-so-delicious, making every scoop a real treat.
I love making this ice cream on warm days. It’s so satisfying to enjoy a bowl while watching a movie. Just don’t forget the sprinkles—those are a must! 🍦
Key Ingredients & Substitutions
Heavy Cream: This is key for a rich texture. If you want a lighter version, you can use half-and-half, but it won’t be as creamy.
Whole Milk: Regular milk works fine, but for creamier ice cream, stick to whole milk. You can also use almond or coconut milk for a dairy-free option.
Sugar: Granulated sugar is standard, but you can substitute with brown sugar for a hint of molasses flavor or a sugar alternative like stevia or coconut sugar.
Cocoa Powder: Unsweetened is essential for a true chocolate flavor. If you’re feeling adventurous, try Dutch-processed cocoa for a different depth of flavor.
Egg Yolks: They help create a smooth custard. If you’re avoiding eggs, use cream for richness or a commercial egg replacer, but the texture may vary.
What’s the Best Way to Temper Eggs?
Tempering eggs is crucial to avoid scrambling them when adding hot liquids. Here’s how to do it effectively:
- First, whisk the egg yolks in a separate bowl until smooth.
- Slowly add a cup of the hot cocoa mixture into the yolks, whisking continuously. This warms the yolks gently.
- Once combined, pour the yolk mixture back into the saucepan while stirring constantly to avoid cooking the yolks too fast.
This technique is key for a smooth custard, ensuring your ice cream turns out creamy and delicious!
How Do I Ensure My Ice Cream is Creamy and Not Icy?
To achieve that perfect creamy texture, follow these tips:
- Make sure your base has enough fat (thanks to heavy cream) to create a rich texture.
- Chill your custard thoroughly in the fridge for at least 4 hours before churning. The colder it is, the smoother your ice cream will be!
- While churning, avoid over-churning. Once it’s thick and creamy, stop to prevent ice crystals from forming.
- Store your ice cream in an airtight container to minimize ice buildup in the freezer.
Enjoy every scoop of your homemade chocolate ice cream! It’s a classic treat perfect for any occasion.
How to Make Creamy Classic Chocolate Ice Cream
Ingredients You’ll Need:
Base Ingredients:
- 2 cups heavy cream
- 1 cup whole milk
- 3/4 cup granulated sugar
- 3/4 cup unsweetened cocoa powder
- 4 large egg yolks
- 1 teaspoon pure vanilla extract
- Pinch of salt
Optional Ingredient:
- 4 oz semisweet or bittersweet chocolate, finely chopped (for an intense chocolate flavor)
How Much Time Will You Need?
This delicious ice cream recipe takes about 15 minutes to prepare and 4 hours to chill. Additionally, you’ll need about 20 to 25 minutes for churning in the ice cream maker. So, plan for around 4 hours and 40 minutes before you can enjoy your creamy dessert!
Step-by-Step Instructions:
1. Prepare the Chocolate Base:
In a medium saucepan, whisk together the cocoa powder, granulated sugar, and a pinch of salt until they’re well combined. Gradually pour in the whole milk and heavy cream, whisking until the mixture is smooth.
2. Heat the Mixture:
Place the saucepan over medium heat. Stir occasionally until the mixture begins to simmer. Make sure to watch it closely and do not let it boil as that can ruin the texture of your ice cream!
3. Whisk the Egg Yolks:
In a separate bowl, take your egg yolks and whisk them until they are smooth and creamy. This will help make your ice cream rich and delicious.
4. Temper the Eggs:
Now it’s time to carefully add the warm cocoa mixture to the egg yolks. Slowly pour about 1 cup of the hot mixture into the yolks while whisking constantly. This step is important to keep the eggs from cooking too quickly.
5. Combine Everything:
Pour the egg yolk mixture back into the saucepan with the rest of the cocoa mixture. Stir it well to combine.
6. Cook Until Thickened:
Continue cooking over medium heat, stirring constantly until the custard thickens enough to coat the back of a wooden spoon. This should happen when the mixture reaches around 170-175°F (77-80°C). Remember, do not let it boil!
7. Add Chocolate and Flavor:
Remove the saucepan from the heat. If you’re using the optional chopped chocolate, stir it in now until it melts and blends smoothly. Then add the vanilla extract for that yummy flavor boost!
8. Strain and Chill:
To ensure a silky texture, strain the custard through a fine-mesh sieve into a clean bowl to catch any cooked bits of egg. Cover the bowl and refrigerate for at least 4 hours, or overnight, until it’s completely chilled.
9. Churn the Ice Cream:
Once your custard is well chilled, pour it into your ice cream maker. Churn according to the manufacturer’s direction, usually around 20-25 minutes, until it’s thick and creamy.
10. Freeze and Enjoy:
Transfer the churned ice cream to an airtight container and freeze for at least 4 hours to allow it to firm up before you scoop. Enjoy your rich, creamy homemade chocolate ice cream with friends and family!
Happy scooping!

Frequently Asked Questions (FAQ)
Can I Use Unsweetened Baking Chocolate Instead of Cocoa Powder?
Yes, you can! Just melt about 4 oz of unsweetened baking chocolate and replace the cocoa powder in the recipe. Adjust the sugar to taste, as baking chocolate is usually more bitter than cocoa powder.
How Long Does This Ice Cream Last in the Freezer?
Homemade chocolate ice cream can last in the freezer for up to 2-3 weeks if stored in an airtight container. Just make sure to properly seal it to prevent ice crystals from forming!
Can I Make This Ice Cream Dairy-Free?
You can definitely make a dairy-free version! Substitute the heavy cream with coconut cream and the whole milk with almond milk. Just be aware that the texture may differ slightly without the fat from dairy.
What Can I Do If My Ice Cream is Too Soft After Churning?
If your ice cream is too soft, don’t worry! Just transfer it to an airtight container and freeze it for a few more hours. It should firm up nicely, ready for scooping!