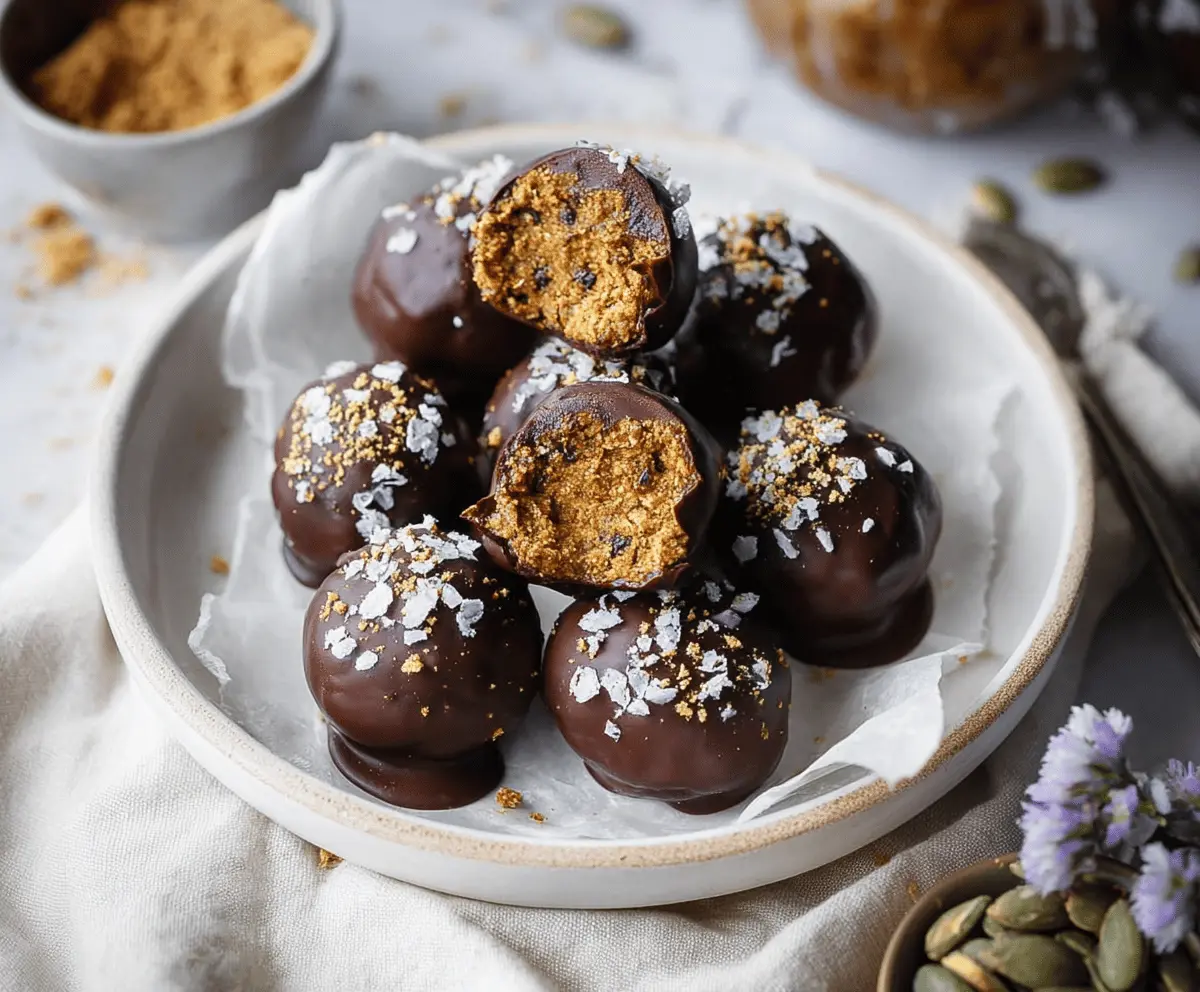
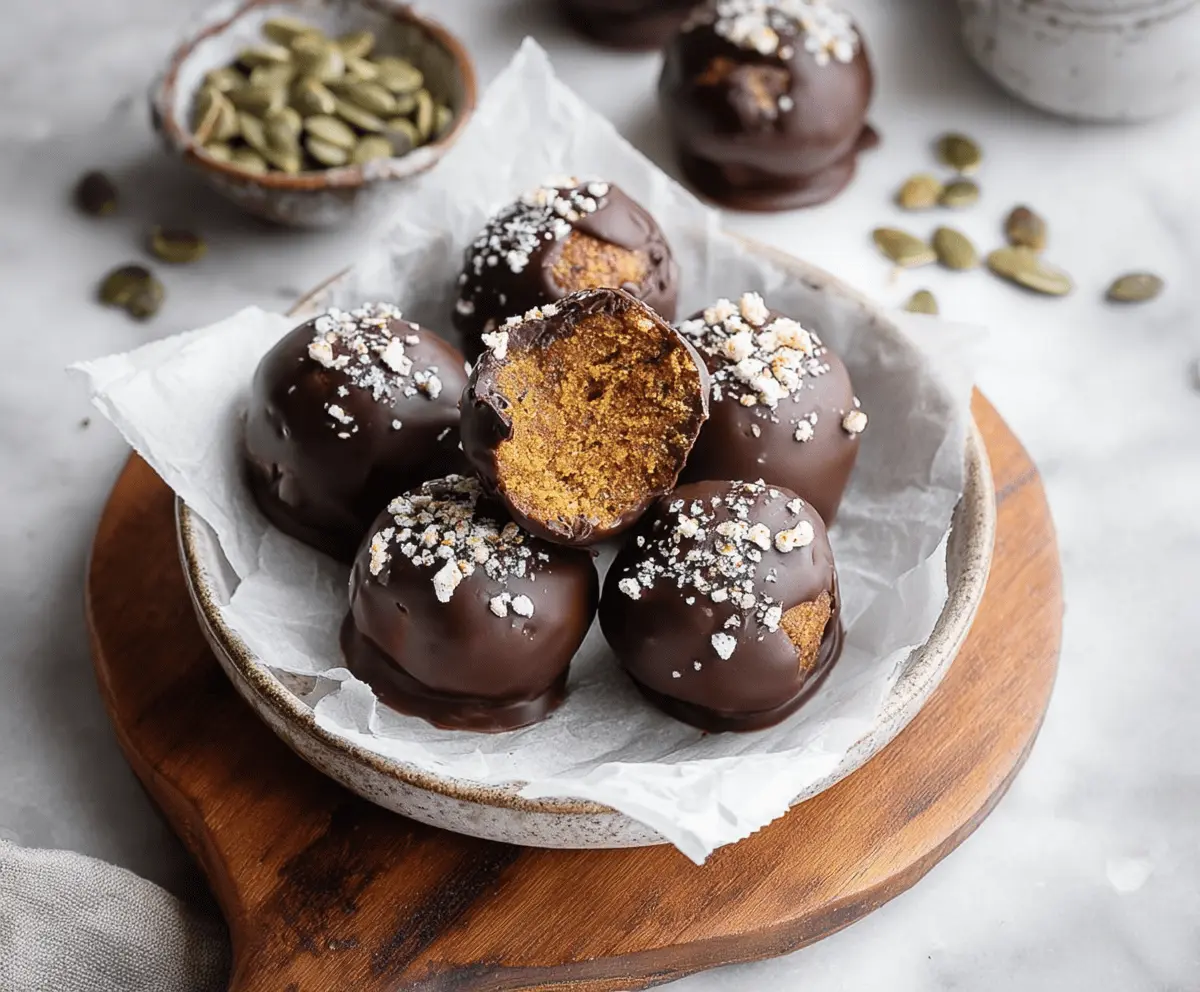
These Chocolate Covered Pumpkin Protein Balls are a tasty treat perfect for a quick snack. With a mix of pumpkin puree, protein powder, and rich chocolate, they hit the sweet spot!
Who knew healthy snacks could be this fun? I love grabbing one whenever I need a boost. Plus, they’re easy to make—just mix, roll, and coat! Give them a try, and you might just smile! 😄
Key Ingredients & Substitutions
Pumpkin Puree: Pumpkin puree adds flavor and moisture. Canned pumpkin works perfectly, but you can also use roasted and blended fresh pumpkin if that’s your preference. Just make sure it’s pure pumpkin, not pumpkin pie filling!
Protein Powder: I recommend using vanilla protein powder for extra flavor, but unflavored also works. If you want a dairy-free option, try pea protein or brown rice protein. You could also skip it altogether for a lighter snack!
Nut Butter: Almond butter is my go-to for its mild taste, but peanut or cashew butter is great too. If you need a nut-free option, sunflower seed butter or tahini makes a wonderful substitute. It will still hold the balls together nicely!
Sweetener: Maple syrup adds a nice flavor, but honey works well too. If you prefer a low-carb option, you could use agave syrup or a sugar-free sweetener like monk fruit or erythritol.
How Do You Ensure Your Protein Balls Hold Together?
Getting the right texture in your protein balls is important. If the mixture feels too wet, add more rolled oats or protein powder, 1 tablespoon at a time, mixing until you reach a good consistency. You want the dough to be sticky but not mushy.
- Mix wet ingredients first to combine flavors well.
- Don’t skip the chilling step! Freezing them helps them firm up before coating.
- Roll them tightly! The firmer they are when you shape them, the better they hold together.
By following these tips, you’ll have delicious protein balls ready for snacking anytime! Enjoy the healthy goodness!
Chocolate Covered Pumpkin Protein Balls
Ingredients You’ll Need:
Base Ingredients:
- 1 cup pumpkin puree (canned or fresh)
- 1 cup rolled oats (or oat flour)
- 1/2 cup vanilla or unflavored protein powder
- 1/4 cup nut butter (almond, peanut, or cashew)
- 2 tablespoons maple syrup or honey
- 1 teaspoon pumpkin pie spice
- 1/2 teaspoon vanilla extract
- Pinch of salt
For Coating:
- 1 cup dark chocolate chips (for coating)
- Optional topping: crushed nuts, seeds (pumpkin seeds shown), or coconut flakes
How Much Time Will You Need?
This recipe takes about 15 minutes of prep time, plus about 30 minutes for chilling in the freezer. The total time needed is about 45 minutes from start to finish. Perfect for a quick and healthy treat!
Step-by-Step Instructions:
1. Make the Base Mixture:
In a large mixing bowl, add the pumpkin puree, nut butter, maple syrup (or honey), and vanilla extract. Stir everything together until it’s nice and smooth. This will be the flavorful base for your protein balls!
2. Combine Dry Ingredients:
Next, add the rolled oats, protein powder, pumpkin pie spice, and a pinch of salt to the wet mixture. Mix it all together until a sticky dough forms. If it feels too wet, just sprinkle in a little more oats or protein powder until you have the right consistency.
3. Shape the Balls:
Using your hands or a cookie scoop, take small portions of the dough and roll them into balls about 1 inch in diameter. Place the balls on a parchment-lined tray. This step is fun and allows you to get creative with the size!
4. Chill the Balls:
Pop the tray into the freezer for about 20-30 minutes so the balls can firm up. This makes them easier to coat in chocolate later.
5. Melt the Chocolate:
While the balls chill, melt the dark chocolate chips. Place them in a microwave-safe bowl and heat them in 20-second bursts, stirring in between, until the chocolate is completely smooth.
6. Coat the Balls:
Once the pumpkin balls are firm, take each one and dip it into the melted chocolate, making sure to cover it completely. Place the coated balls back on the parchment paper to set.
7. Add Toppings:
If you want to add some extra flair, sprinkle crushed nuts, pumpkin seeds, or shredded coconut on top of the chocolate before it sets. This will add a nice crunch!
8. Final Chill:
Put the tray back in the refrigerator or freezer for another 10-15 minutes until the chocolate hardens completely. Patience pays off with this delicious final touch!
9. Store Your Treats:
Once set, store the pumpkin protein balls in an airtight container in the fridge for up to one week, or you can keep them in the freezer for longer enjoyment. Grab one whenever you need a healthy boost!
Enjoy these delicious, nutrient-packed treats as a sweet and healthy snack!
Can I Use Fresh Pumpkin Instead of Canned?
Absolutely! Fresh pumpkin can be used, just make sure to roast and puree it until smooth before measuring. It’s a great way to use seasonal pumpkins, but ensure it’s not too watery for the best texture.
What Can I Substitute for Nut Butter?
If you need a nut-free option, sunflower seed butter or tahini works wonderfully. They provide the necessary creaminess and help bind the balls together without compromising flavor!
How Do I Store Leftovers?
Store any leftovers in an airtight container in the fridge for up to a week. If you want to keep them longer, feel free to freeze them! Just make sure they’re in a sealed container or freezer bag to prevent freezer burn.
Can I Add Other Mix-Ins?
Definitely! Feel free to incorporate extras like dried fruit, mini chocolate chips, or even seeds like chia or flax for added nutrition. Just keep in mind that additional ingredients may affect the texture, so adjust the dry ingredients as needed!