
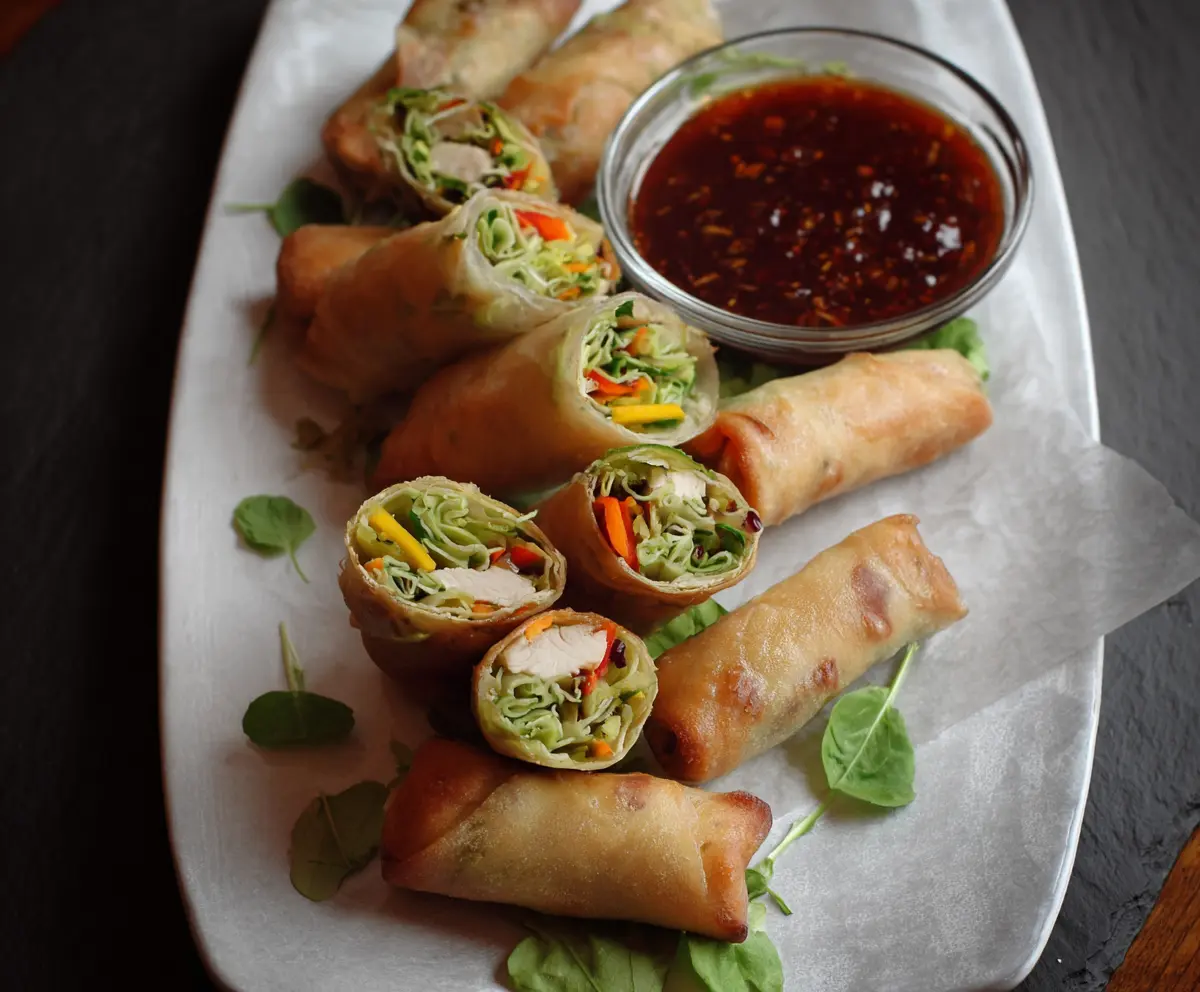
These Chicken Vegetable Spring Rolls are crispy delights, packed with tasty chicken and colorful veggies. They’re fresh, healthy, and perfect for a snack or appetizer!
Rolling them up is almost as fun as eating them! I love serving these with sweet chili sauce for an extra kick. They vanish quickly at family gatherings, trust me! 😄
Key Ingredients & Substitutions
Chicken: Using cooked chicken breast guarantees a lean and protein-rich filling. If you want a different flavor, shredded rotisserie chicken works great, or even tofu for a vegetarian option.
Cabbage: Shredded cabbage adds crunch and a mild flavor. If cabbage isn’t your thing, try using bok choy or even spinach for a softer touch.
Carrots: Grated carrots provide sweetness and color. If carrots aren’t available, sliced snap peas or shredded zucchini can work in a pinch.
Bell Peppers: Any color works! Red, yellow, or green add freshness. If you prefer something less sweet, opt for sliced jalapeños for a kick.
Fresh Herbs: Cilantro is key in uplifting the flavor of the filling. If you’re not a fan of cilantro, mint or parsley can make a lovely substitute.
How Do I Properly Roll Spring Rolls Without Them Breaking?
Rolling spring rolls can be tricky, but you can master it with a little practice. The key is to keep the wrappers moist without over-soaking them. Here’s how:
- Dip each wrapper quickly in warm water—10-15 seconds is perfect.
- Lay the wrapper flat on a dry surface. Place the filling only near one corner to leave room for folding.
- Fold the corner over the filling, then tuck in the sides gently and roll upwards tightly, sealing with water as needed.
Don’t worry if the first few rolls don’t look perfect; they’ll still taste delicious! Enjoy your cooking!
How to Make Chicken Vegetable Spring Rolls
Ingredients You’ll Need:
For the Filling:
- 1 cup cooked chicken breast, finely shredded
- 1 cup shredded cabbage
- 1/2 cup grated carrots
- 1/2 cup finely sliced bell peppers (any color)
- 1/4 cup finely chopped red onion
- 2 green onions, thinly sliced
- 1/4 cup fresh cilantro leaves, chopped (plus extra for garnish)
For the Seasoning:
- 1 tbsp soy sauce
- 1 tsp sesame oil
- 1 tsp grated fresh ginger
- 1 clove garlic, minced
For Wrapping and Frying:
- 1 package spring roll wrappers (about 12 sheets)
- Vegetable oil for frying
- Sweet chili sauce or dipping sauce of your choice
How Much Time Will You Need?
This dish takes about 30 minutes to prepare along with frying the spring rolls. After cooking, they can be served immediately. Enjoy these warm and crispy rolls as a delicious appetizer or snack!
Step-by-Step Instructions:
1. Make the Filling:
Start by taking a large bowl. In it, combine the cooked shredded chicken, cabbage, grated carrots, sliced bell peppers, red onion, green onions, and cilantro. Give it a good mix until everything is well combined. This colorful mix will be the tasty filling for your spring rolls!
2. Season the Mixture:
Now it’s time to add flavor! Pour in the soy sauce, sesame oil, grated ginger, and minced garlic. Mix everything together until all the ingredients are coated with the tasty sauces. This will give your filling a wonderful kick!
3. Prepare for Wrapping:
Before you start wrapping, find a clean, dry surface to work on. Also, take a shallow dish and fill it with warm water. This is where you will soak the spring roll wrappers to make them flexible. Make sure it’s not too hot—just warm enough to soften the wrappers.
4. Wrap the Spring Rolls:
Take one spring roll wrapper and dip it into the warm water for about 10-15 seconds until it becomes pliable. Carefully pick it up and place it flat on your prepared surface. Now, scoop about 2-3 tablespoons of the filling and place it near the closest corner of the wrapper. Fold that corner over the filling, then tuck in the sides, and roll tightly to seal. If needed, use a little water to moisten the edges to help them stick. Repeat this with the remaining wrappers and filling.
5. Fry the Spring Rolls:
In a deep frying pan, heat vegetable oil over medium-high heat. You want it hot enough for frying, but not so hot that it smokes. Carefully add the spring rolls to the oil in batches. Fry them for about 2-3 minutes on each side, or until they turn golden brown and crispy. Remember to keep an eye on them so they don’t burn!
6. Drain and Serve:
Once they are fried, use a slotted spoon to remove the spring rolls and place them on paper towels to drain any excess oil. When you’re ready, serve the warm chicken vegetable spring rolls, garnished with extra cilantro. Don’t forget a side of sweet chili sauce or your favorite dipping sauce for a delightful touch!
Can I Use Different Proteins in This Recipe?
Absolutely! While cooked chicken breast is the star of this dish, you can easily substitute it with cooked shrimp, beef, or even tofu for a vegetarian option. Just make sure the protein is cooked through and finely shredded or diced for easy wrapping.
How Do I Keep My Spring Rolls from Being Greasy?
To avoid greasy spring rolls, ensure that the oil is hot enough before frying—around 350°F (175°C) is ideal. Frying in small batches allows them to crisp up without absorbing too much oil. After frying, let them drain on paper towels to remove any excess oil.
Can I Make Spring Rolls in Advance?
Yes, you can prepare the filling and assemble the spring rolls ahead of time. Just keep them covered with a damp cloth to prevent the wrappers from drying out. When ready to eat, fry them fresh for the best texture. If you do need to fry them later, refrigerate until you’re ready to heat them up!
How to Store Leftover Spring Rolls?
Store any leftover spring rolls in an airtight container in the fridge for up to 2 days. To reheat, place them in an oven set to 375°F (190°C) for about 10-15 minutes until crispy and heated through. Avoid microwaving since it can make them soggy.