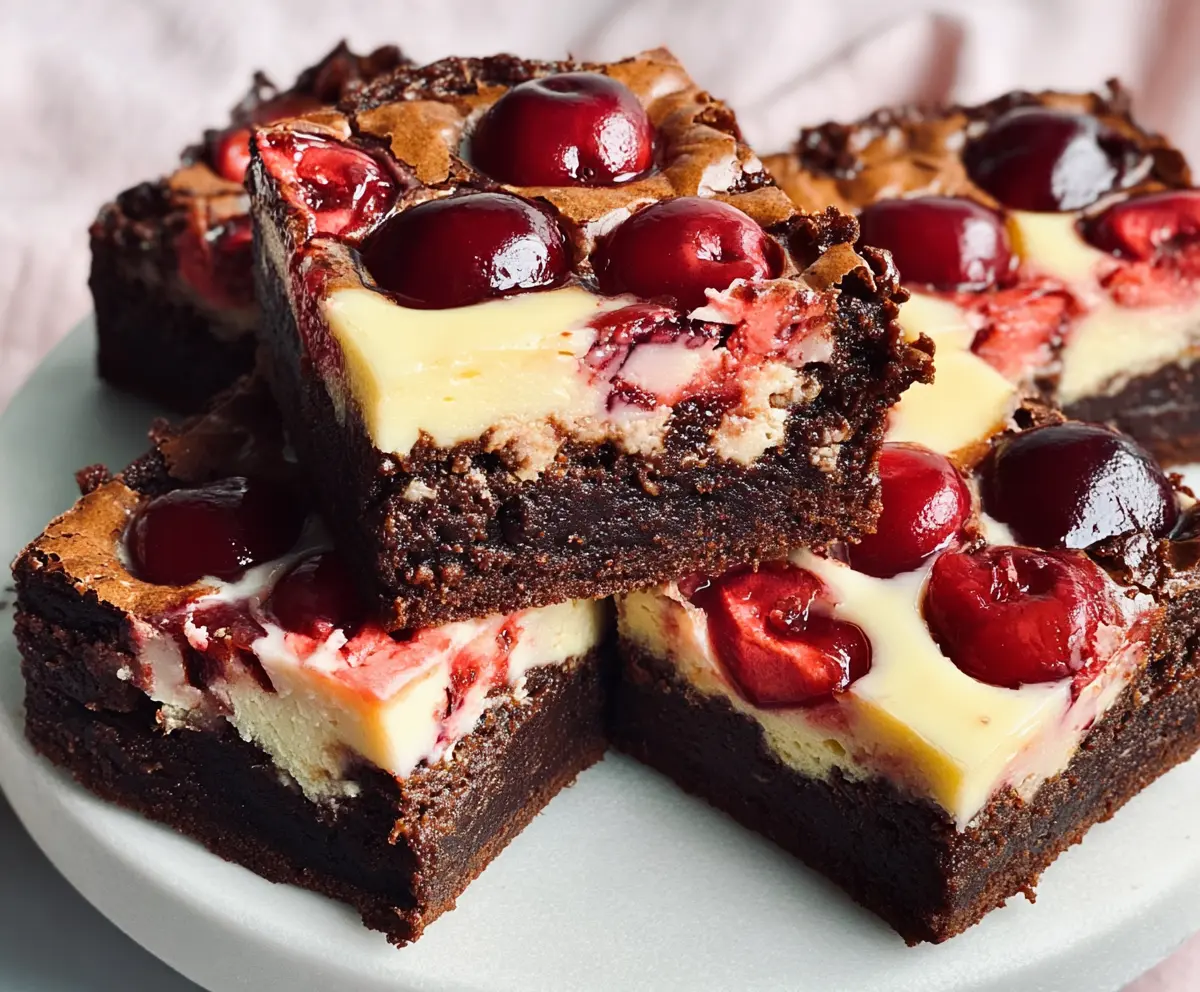
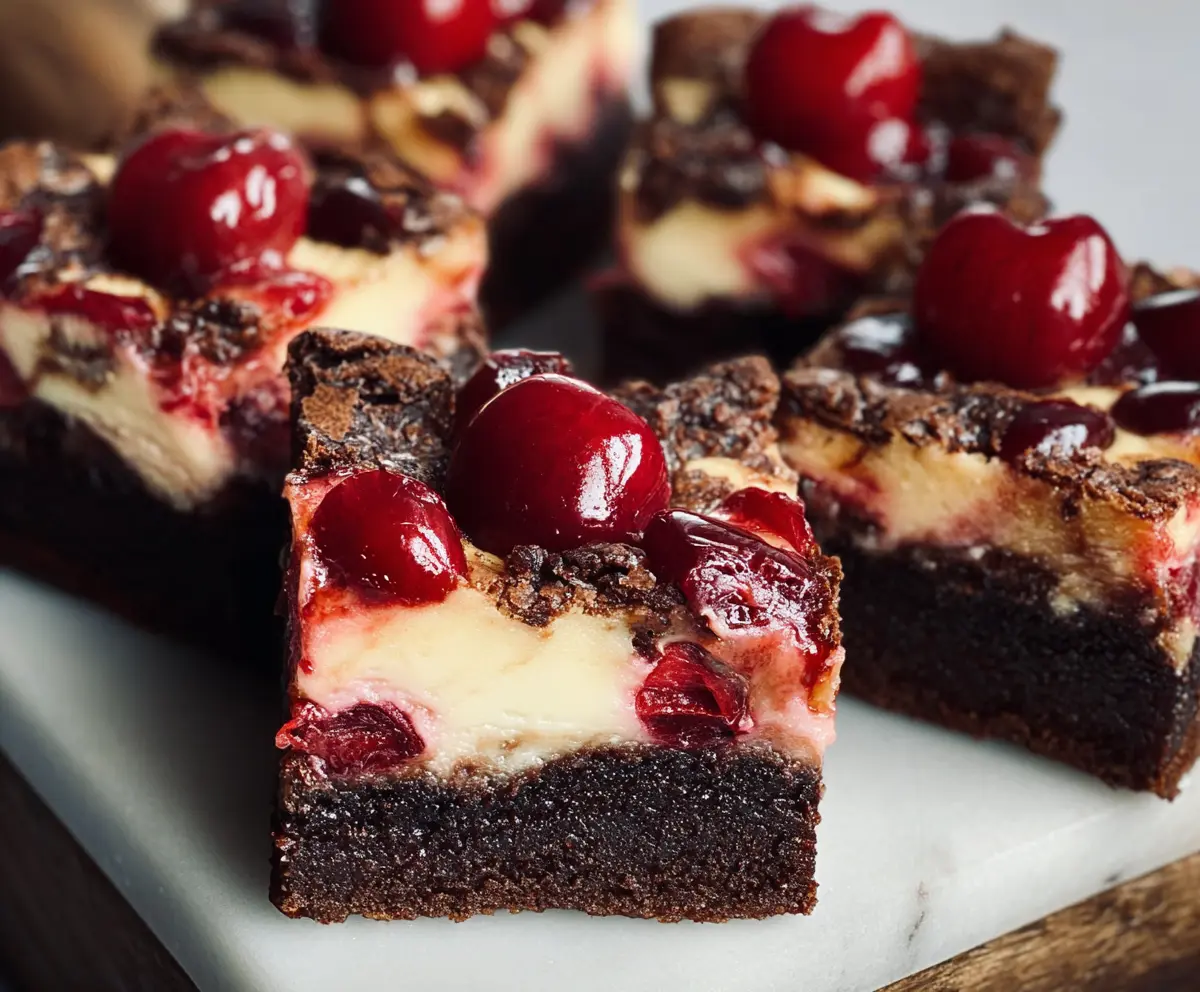
These cherry cheesecake brownies are a tasty treat! They combine rich chocolatey brownie with smooth cheesecake and sweet cherry topping—talk about a crowd-pleaser!
Who wouldn’t love brownies with a twist? I like to serve these at parties, and they always disappear fast. They’re easy to make and so delicious you’ll want seconds! 😊
Key Ingredients & Substitutions
Unsalted Butter: This is essential for a rich brownie flavor. If you’re in a pinch, you can use margarine, but real butter brings a better taste. Some even like to replace half with coconut oil for a unique flavor.
Granulated Sugar: Regular sugar works best here. If you’re looking to cut sugar, coconut sugar or a sweetener like Stevia can be good options, but they might alter the texture slightly.
Cocoa Powder: Unsweetened cocoa is key for that deep chocolate flavor. If you’d like a little sweetness, try Dutch-processed cocoa for a richer taste, or use carob powder as a caffeine-free alternative.
Cream Cheese: For a smooth cheesecake layer, go with full-fat cream cheese. Neufchâtel is a lighter choice. If vegan, use a plant-based cream cheese and ensure it’s well-blended!
Cherries: Fresh cherries add a lovely pop of flavor. Canned cherries work too, just be sure to drain them well. If cherries aren’t available, berries like raspberries or blueberries make a delightful swap.
How Do I Achieve the Perfect Brownie Layer?
The brownie base sets the stage for the cherries and cheesecake, so getting it just right is key! Here are some tips:
- Make sure your butter is fully melted, but not too hot. This helps the sugar blend in well.
- Don’t overmix once you combine the wet and dry ingredients; a few lumps are okay. This keeps your brownies fudgy!
- Greasing the pan or using parchment paper makes for easy lifting when it’s time to cut your brownies.
Cherry Cheesecake Brownies
Ingredients You’ll Need:
For the Brownie Layer:
- 1/2 cup (115g) unsalted butter, melted
- 1 cup (200g) granulated sugar
- 2 large eggs
- 1 teaspoon vanilla extract
- 1/3 cup (35g) unsweetened cocoa powder
- 1/2 cup (65g) all-purpose flour
- 1/4 teaspoon salt
- 1/4 teaspoon baking powder
For the Cheesecake Layer:
- 8 oz (225g) cream cheese, softened
- 1/4 cup (50g) granulated sugar
- 1 large egg yolk
- 1/2 teaspoon vanilla extract
For the Cherry Topping:
- 1 cup fresh or canned pitted cherries, halved (if using canned, drain well)
How Much Time Will You Need?
This recipe requires about 15 minutes of preparation time and 35-40 minutes for baking. After baking, let the brownies cool for at least 2 hours in the fridge to set properly. So all together, you’re looking at around 3 hours for a perfect treat!
Step-by-Step Instructions:
1. Preheat Oven & Prepare Pan:
Start by preheating your oven to 325°F (165°C). While that’s warming up, take an 8×8-inch square baking pan and line it with parchment paper or lightly grease it with some butter. This will ensure your brownies come out easily after baking.
2. Make the Brownie Batter:
In a medium mixing bowl, add the melted butter and sugar together. Mix them well until it’s smooth. Then crack in the eggs and pour the vanilla extract in, stirring until everything is blended nicely. Next, sift in the cocoa powder, flour, salt, and baking powder. Gently mix this all together until you see no dry ingredients left – it should be nice and smooth.
3. Spread Brownie Layer:
Grab your prepared baking pan, and pour the brownie batter into it. Use a spatula to spread the batter evenly across the bottom of the pan—this will be your delicious base layer.
4. Prepare Cheesecake Layer:
In a separate bowl, beat the softened cream cheese with granulated sugar until it’s creamy. Then add the egg yolk and half a teaspoon of vanilla extract, mixing until it’s smooth and fluffy.
5. Add Cheesecake Layer:
Take spoonfuls of the cheesecake mixture and drop them over the brownie layer in your pan. Use a knife or a skewer to gently swirl the cheesecake into the brownie batter, creating a marbled effect. Be careful not to fully mix them together; a little swirl is perfect!
6. Add Cherry Topping:
Now it’s time to arrange those beautiful cherries! Place them evenly on top of the cheesecake layer, pressing them in lightly so they sink in just a bit.
7. Bake:
Pop the pan into the preheated oven and bake for about 35-40 minutes. Keep an eye on them – you’ll know they’re done when the cheesecake layer is set and a toothpick inserted in the brownie comes out with a few moist crumbs. If it comes out clean, it might be a bit overbaked.
8. Cool & Serve:
Once baked, let the brownies cool completely in the pan on a wire rack. After they’ve cooled down, put them in the fridge for at least 2 hours. This helps them set nicely! Once chilled, cut them into squares, serve, and enjoy your scrumptious cherry cheesecake brownies!
Enjoy every bite! 😊
Can I Use Different Types of Cherries?
Absolutely! You can use fresh cherries, canned cherries, or even frozen cherries. If you’re using frozen cherries, remember to thaw them and drain excess moisture before adding them to the topping.
How Should I Store Leftover Brownies?
Store any leftover brownies in an airtight container in the refrigerator for up to 4 days. If you’d like to keep them longer, they can be frozen for up to 3 months. Just make sure to wrap them tightly to prevent freezer burn!
Can I Double the Recipe?
Yes, you can double the ingredients to make a larger batch! Use a 9×13 inch baking dish for the doubled recipe and adjust the baking time to 45-50 minutes, checking for doneness with a toothpick.
What Can I Substitute for Cream Cheese?
If you’re looking for a lighter option, you can use Neufchâtel cheese. For a dairy-free alternative, look for vegan cream cheese, which works well in this recipe and will still yield a creamy texture.