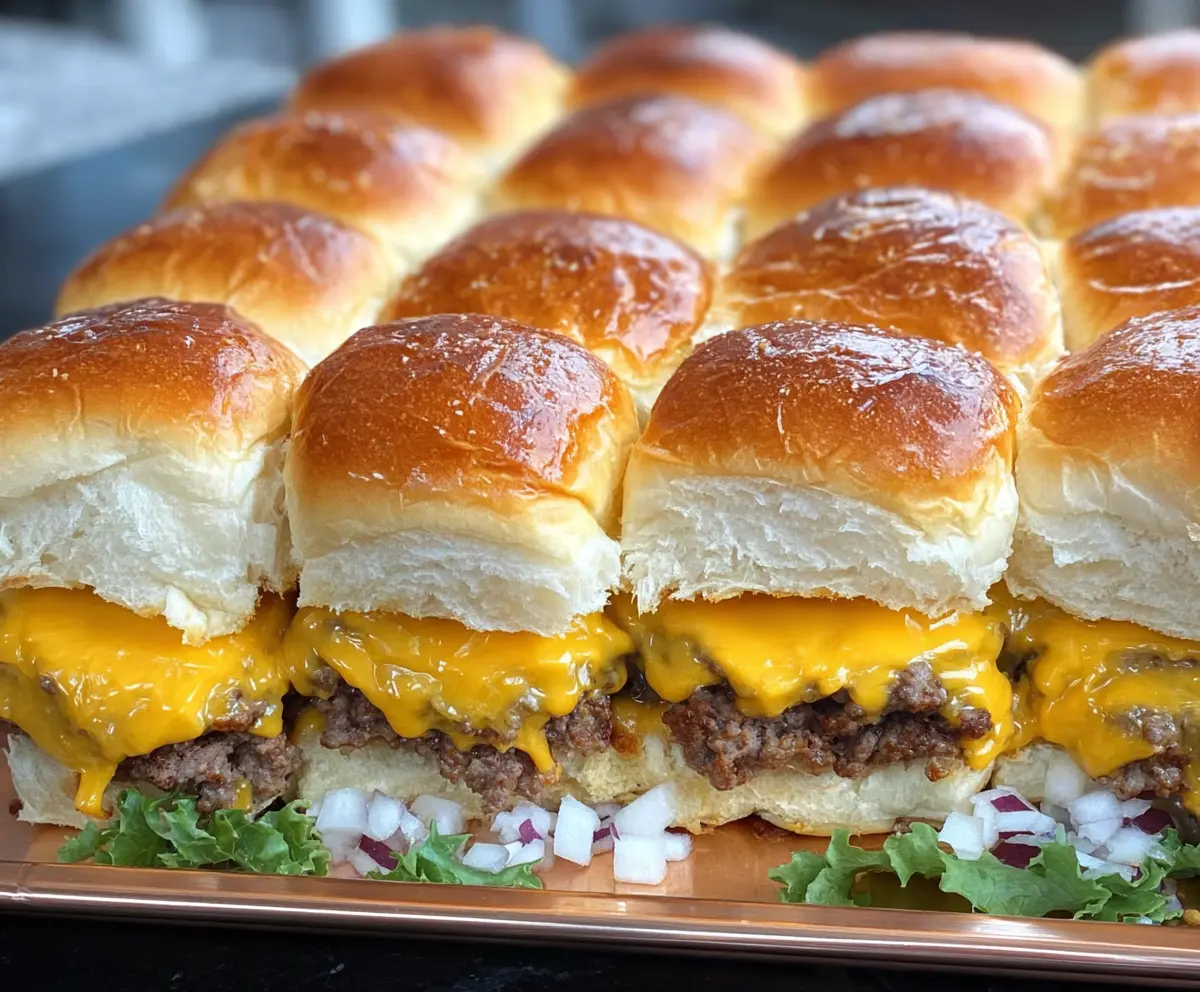
These cheeseburger sliders are mini burgers on soft Hawaiian rolls—perfect for a fun meal! Topped with melted cheese, they are super juicy and bursting with flavor.
Serving them is a breeze, and everyone loves their cute size! I can’t resist sneaking a couple more than I should. Who can blame me? 🤭
These sliders are also quick to make, so they’re great for busy days or gatherings. Just assemble, bake, and enjoy a mini feast with friends and family!
Key Ingredients & Substitutions
Hawaiian Rolls: These sweet rolls are perfect for sliders! If you’re looking for a less sweet option, try using dinner rolls or even whole wheat sliders for a healthier twist.
Ground Beef: I love using an 80/20 blend because it keeps the sliders juicy. If you want a leaner option, go for 90/10, or substitute with ground turkey or chicken for a different flavor.
Cheese: Cheddar is my go-to for cheeseburgers. You can mix it up with American cheese for that classic burger taste, or try pepper jack for a spicy kick!
Onions: I prefer red onions for their mild flavor and color. If you want something sweeter, use grilled onions instead. For a milder taste, try green onions chopped finely.
How Do You Get the Perfect Slider Texture?
One of the most important steps is pressing the beef evenly. This helps the sliders hold together and ensures that each bite is packed with flavor. Here’s how:
- Use a baking dish: This helps maintain the shape of your sliders.
- Press gently: You want an even layer, but don’t overwork the meat—keeping it tender is key!
- Cover while baking: Covering with foil traps steam, helping the meat cook more evenly before browning.
This method gives you sliders that are soft on the outside but perfectly juicy on the inside. Enjoy cooking!
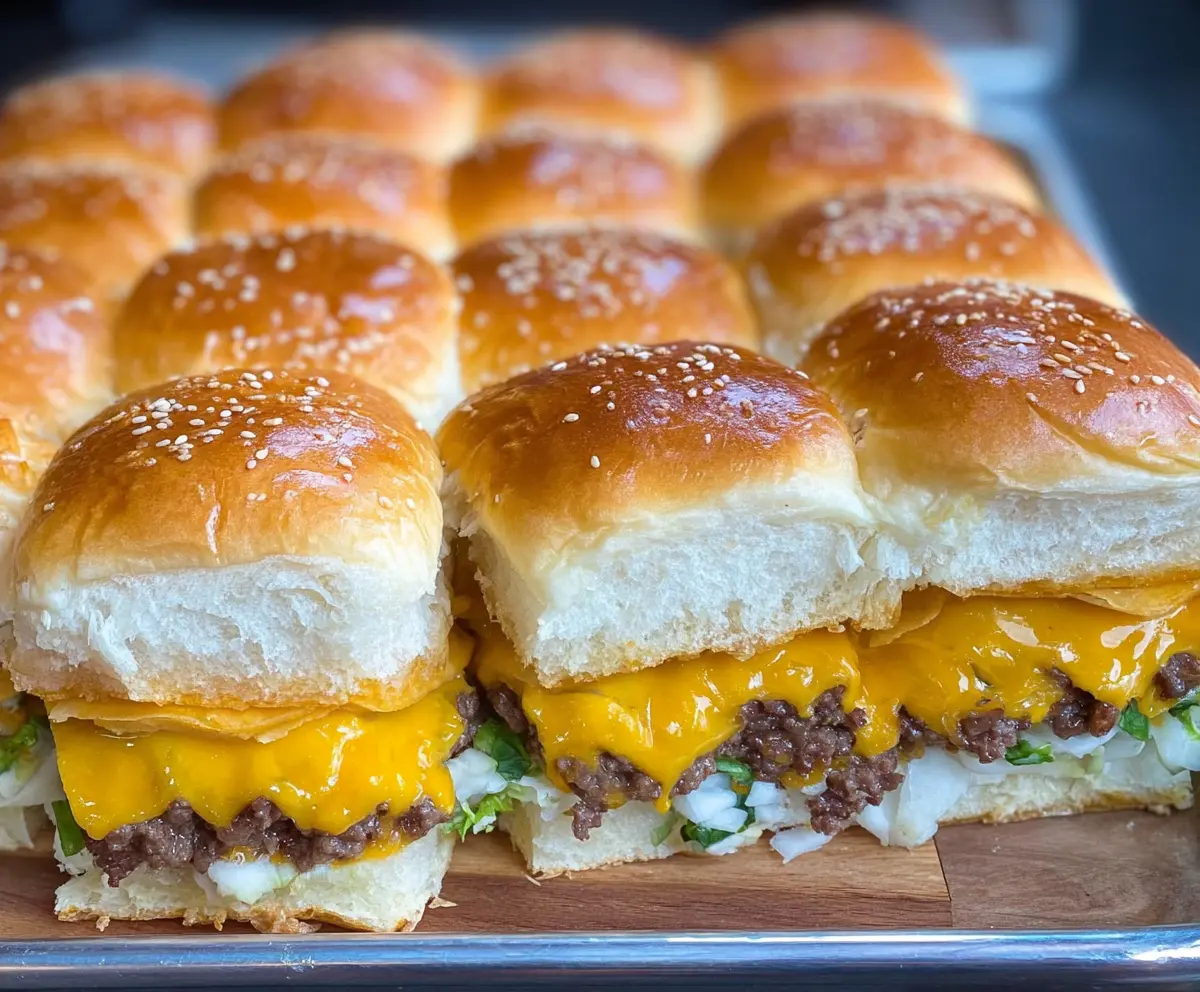
Cheeseburger Sliders With Hawaiian Rolls
Ingredients You’ll Need:
- 12 Hawaiian sweet rolls, split horizontally (keep tops and bottoms intact)
- 1 ½ pounds ground beef (80/20 blend for juiciness)
- Salt and black pepper, to taste
- 12 slices cheddar cheese (or American cheese)
- 1 cup diced onions (white or red onion)
- 6 leaves green leaf lettuce, washed and torn to fit slider size
- 2 tablespoons butter, melted
- Optional: ketchup, mustard, pickles, or other favorite burger condiments
How Much Time Will You Need?
This recipe takes about 10 minutes to prepare and about 20 minutes to bake, so you can have these cheesy sliders ready in just around 30 minutes! Perfect for a quick dinner or an easy gathering snack.
Step-by-Step Instructions:
1. Preheat Your Oven:
Start by preheating your oven to 350°F (175°C) so it’s hot and ready when you’re done mixing the ingredients.
2. Prepare the Baking Dish:
Lightly spray a 9×13-inch baking dish with non-stick spray or line it with parchment paper. This will keep your sliders from sticking and make for easy cleanup.
3. Get the Rolls Ready:
Carefully split the Hawaiian rolls horizontally. Be sure to keep the entire top and bottom together so you have one big bread sheet. Place the bottom half in your baking dish.
4. Season the Beef:
In a large bowl, mix the ground beef with salt and black pepper. Be gentle; you want to combine them evenly without overworking the beef.
5. Form the Beef Layer:
Press the seasoned beef evenly over the bottom half of the rolls. This helps create a nice, firm layer for your sliders.
6. Add the Onions:
Sprinkle the diced onions evenly over the beef layer. The onions will add a lovely flavor and crunch!
7. Cheese It Up:
Layer the sliced cheddar cheese over the beef and onions, making sure to cover the entire surface to melt beautifully during baking.
8. Complete Your Slider Stack:
Carefully place the top half of the rolls over the cheese-covered beef. It’s important to do this gently to maintain the layers.
9. Brush with Butter:
Using a brush, spread the melted butter evenly over the tops of the rolls. This will give them a golden color when they bake.
10. Cover and Bake:
Cover the pan tightly with aluminum foil to trap in the heat and steam. Bake in the preheated oven for about 15 minutes.
11. Finish Baking:
Remove the foil and bake for an additional 5 minutes. This will help melt the cheese completely and lightly brown the tops of the rolls.
12. Cool and Cut:
Once done, remove the pan from the oven and let it cool for a few minutes. Then, carefully cut the sliders into 12 individual pieces.
13. Add Lettuce and Serve:
Before serving, add torn lettuce leaves to each slider. Feel free to set out ketchup, mustard, and pickles for your guests to customize their sliders!
Enjoy these juicy, cheesy sliders that are perfect for parties, game day, or a fun family meal! They’re sure to be a hit with everyone!
Can I Use Turkey or Chicken Instead of Beef?
Absolutely! You can substitute ground beef with ground turkey or chicken for a leaner option. Just be sure to season it well, as these meats can be milder in flavor.
How Do I Store Leftover Sliders?
To store leftovers, place them in an airtight container in the fridge for up to 3 days. You can reheat them in the microwave or in the oven at 350°F (175°C) until warmed through.
Can I Make These Sliders Ahead of Time?
Yes, you can prepare the beef and onion layer and assemble the sliders in advance. Cover them with foil and store in the fridge. Bake when you’re ready to serve, adding a few extra minutes to the bake time if they’re cold from the fridge.
What Are Some Fun Topping Ideas?
Feel free to get creative! You can add toppings like crispy bacon, jalapeños, avocado, or different types of cheese for a unique twist. The sliders can be customized to suit your taste!