These blueberry banana pancakes are fluffy and bursting with fruity flavor! They’re perfect for a cozy breakfast or brunch, making your mornings a little brighter.
Who wouldn’t love pancakes that taste like dessert but are still a yummy breakfast? I often find myself making an extra batch to enjoy later. Who can resist a stack of these? 😄
They’re super easy to whip up—just mash the bananas, toss in some blueberries, and cook. I love serving them with a drizzle of syrup or a sprinkle of powdered sugar for that extra sweetness!
Key Ingredients & Substitutions
All-Purpose Flour: This is the base for your pancakes, giving them structure. If you’re looking for alternatives, try whole wheat flour for a nuttier flavor or gluten-free flour blends for a gluten-free option.
Buttermilk: It adds a nice tang and helps the pancakes rise. If you don’t have it, you can make a quick substitute by mixing regular milk with a tablespoon of vinegar or lemon juice and letting it sit for 5-10 minutes.
Banana: Ripe bananas give natural sweetness and moisture. If you’re out of bananas or need a different flavor, try using applesauce or even pureed pumpkin for a unique twist.
Blueberries: Fresh blueberries are delicious, but frozen ones work too. Just fold them in directly from the freezer to avoid too much moisture in the batter.
How Do You Get Fluffy Pancakes Every Time?
Fluffy pancakes come from the right mixing technique! When combining wet and dry ingredients, be gentle. Overmixing will activate gluten, which makes pancakes tough instead of light. Aim for a few lumps in the batter.
- Mix the dry ingredients first, ensuring even distribution of baking powder and baking soda.
- When adding wet ingredients, stir gently and stop once everything is just combined.
- Let the batter rest for a few minutes to allow for bubbles to form, which helps the pancakes rise during cooking.
Keeping your skillet at the right temperature is crucial too. Too hot will burn the outside, leaving the inside raw. Medium heat is usually perfect!

Blueberry Banana Pancakes
Ingredients You’ll Need:
- 1 cup all-purpose flour
- 1 tablespoon sugar
- 1 teaspoon baking powder
- 1/2 teaspoon baking soda
- 1/4 teaspoon salt
- 1 cup buttermilk
- 1 large ripe banana, mashed
- 1 large egg
- 2 tablespoons melted butter or vegetable oil
- 1/2 cup fresh blueberries, plus extra for serving
- Butter or oil for cooking
- Maple syrup, for serving
- Sliced bananas, for topping
- Powdered sugar, for dusting (optional)
How Much Time Will You Need?
This recipe takes about 10-15 minutes of prep time, plus an additional 10-15 minutes for cooking. In total, you can have these delicious pancakes ready in about 30 minutes—perfect for a quick and satisfying breakfast or brunch!
Step-by-Step Instructions:
1. Whisk Dry Ingredients:
In a large bowl, whisk together the flour, sugar, baking powder, baking soda, and salt until they are well combined. This helps ensure that your pancakes rise nicely and have a great texture.
2. Mix Wet Ingredients:
In another bowl, mix the buttermilk, mashed banana, egg, and melted butter (or oil) together until well combined. Don’t worry if the mixture looks a bit lumpy from the banana—that’s all part of the charm!
3. Combine Wet and Dry Ingredients:
Pour the wet ingredients into the bowl with the dry ingredients. Gently stir the mixture with a spatula or wooden spoon just until everything is combined. It’s okay if the batter is a bit lumpy—just be careful not to overmix!
4. Fold in Blueberries:
Carefully fold in the fresh blueberries to the batter. This will help prevent them from breaking apart and coloring the batter.
5. Prepare the Skillet:
Heat a non-stick skillet or griddle over medium heat, and lightly grease it with butter or oil. This helps prevent the pancakes from sticking and gives them a nice golden color.
6. Cook the Pancakes:
Pour about 1/4 cup of batter onto the skillet for each pancake. Cook until the edges look set and bubbles form on the surface, about 2-3 minutes. This shows that they’re ready to flip!
7. Flip and Finish Cooking:
Gently flip the pancakes with a spatula and cook for another 1-2 minutes until they are golden brown and cooked through. Keep an eye on them to make sure they don’t burn!
8. Repeat Cooking:
Repeat the process with the remaining batter, greasing the skillet as needed. You can adjust the heat if the pancakes are cooking too quickly or slowly.
9. Serve Your Pancakes:
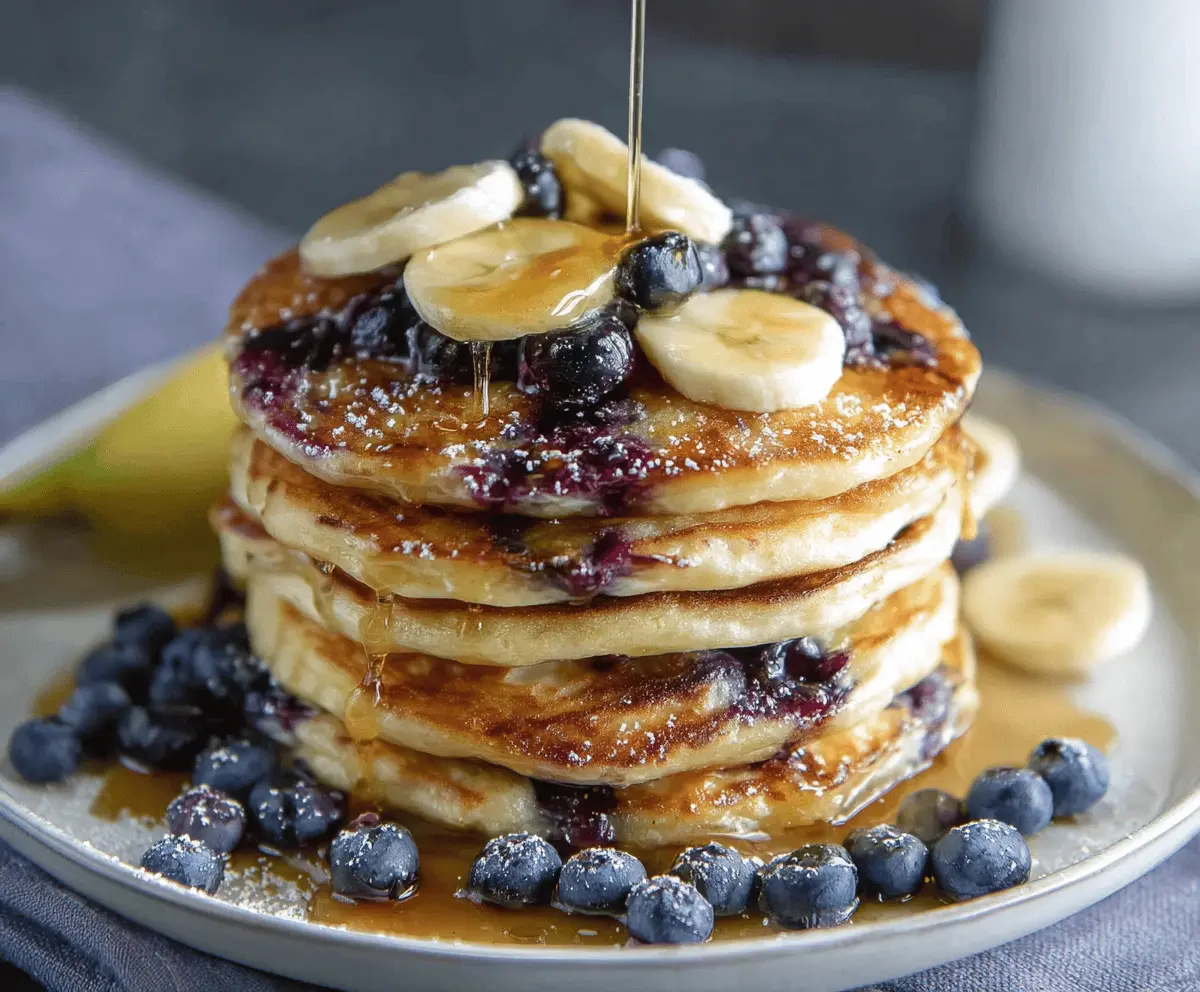
Stack the pancakes high on plates and top with extra blueberries and banana slices for a fun and colorful presentation.
10. Drizzle and Enjoy:
Generously drizzle your pancakes with maple syrup, and if you like, add a light dusting of powdered sugar to finish. Serve them warm and enjoy your delicious breakfast!
Can I Use Gluten-Free Flour for This Recipe?
Absolutely! You can substitute all-purpose flour with a gluten-free flour blend. Just ensure it contains xanthan gum, as this helps mimic the structure gluten provides. Follow the package instructions for best results when using gluten-free alternatives.
What Can I Substitute for Buttermilk?
If you don’t have buttermilk on hand, you can make a simple substitute by adding 1 tablespoon of lemon juice or vinegar to 1 cup of regular milk. Let it sit for about 5-10 minutes until it thickens slightly. This will give your pancakes the necessary acidity for fluffiness!
How Do I Store Leftover Pancakes?
To store leftovers, let the pancakes cool completely, then place them in an airtight container. They can be stored in the fridge for up to 3 days or frozen for up to 2 months. To reheat, simply pop them in the toaster or microwave until warmed through!
Can I Make the Batter Ahead of Time?
While you can prepare the dry ingredients in advance and mix the wet ingredients, it’s best to combine them just before cooking for optimal fluffiness. If you must prepare it ahead of time, store the batter in the refrigerator for a few hours, but expect a slight decrease in fluffiness.