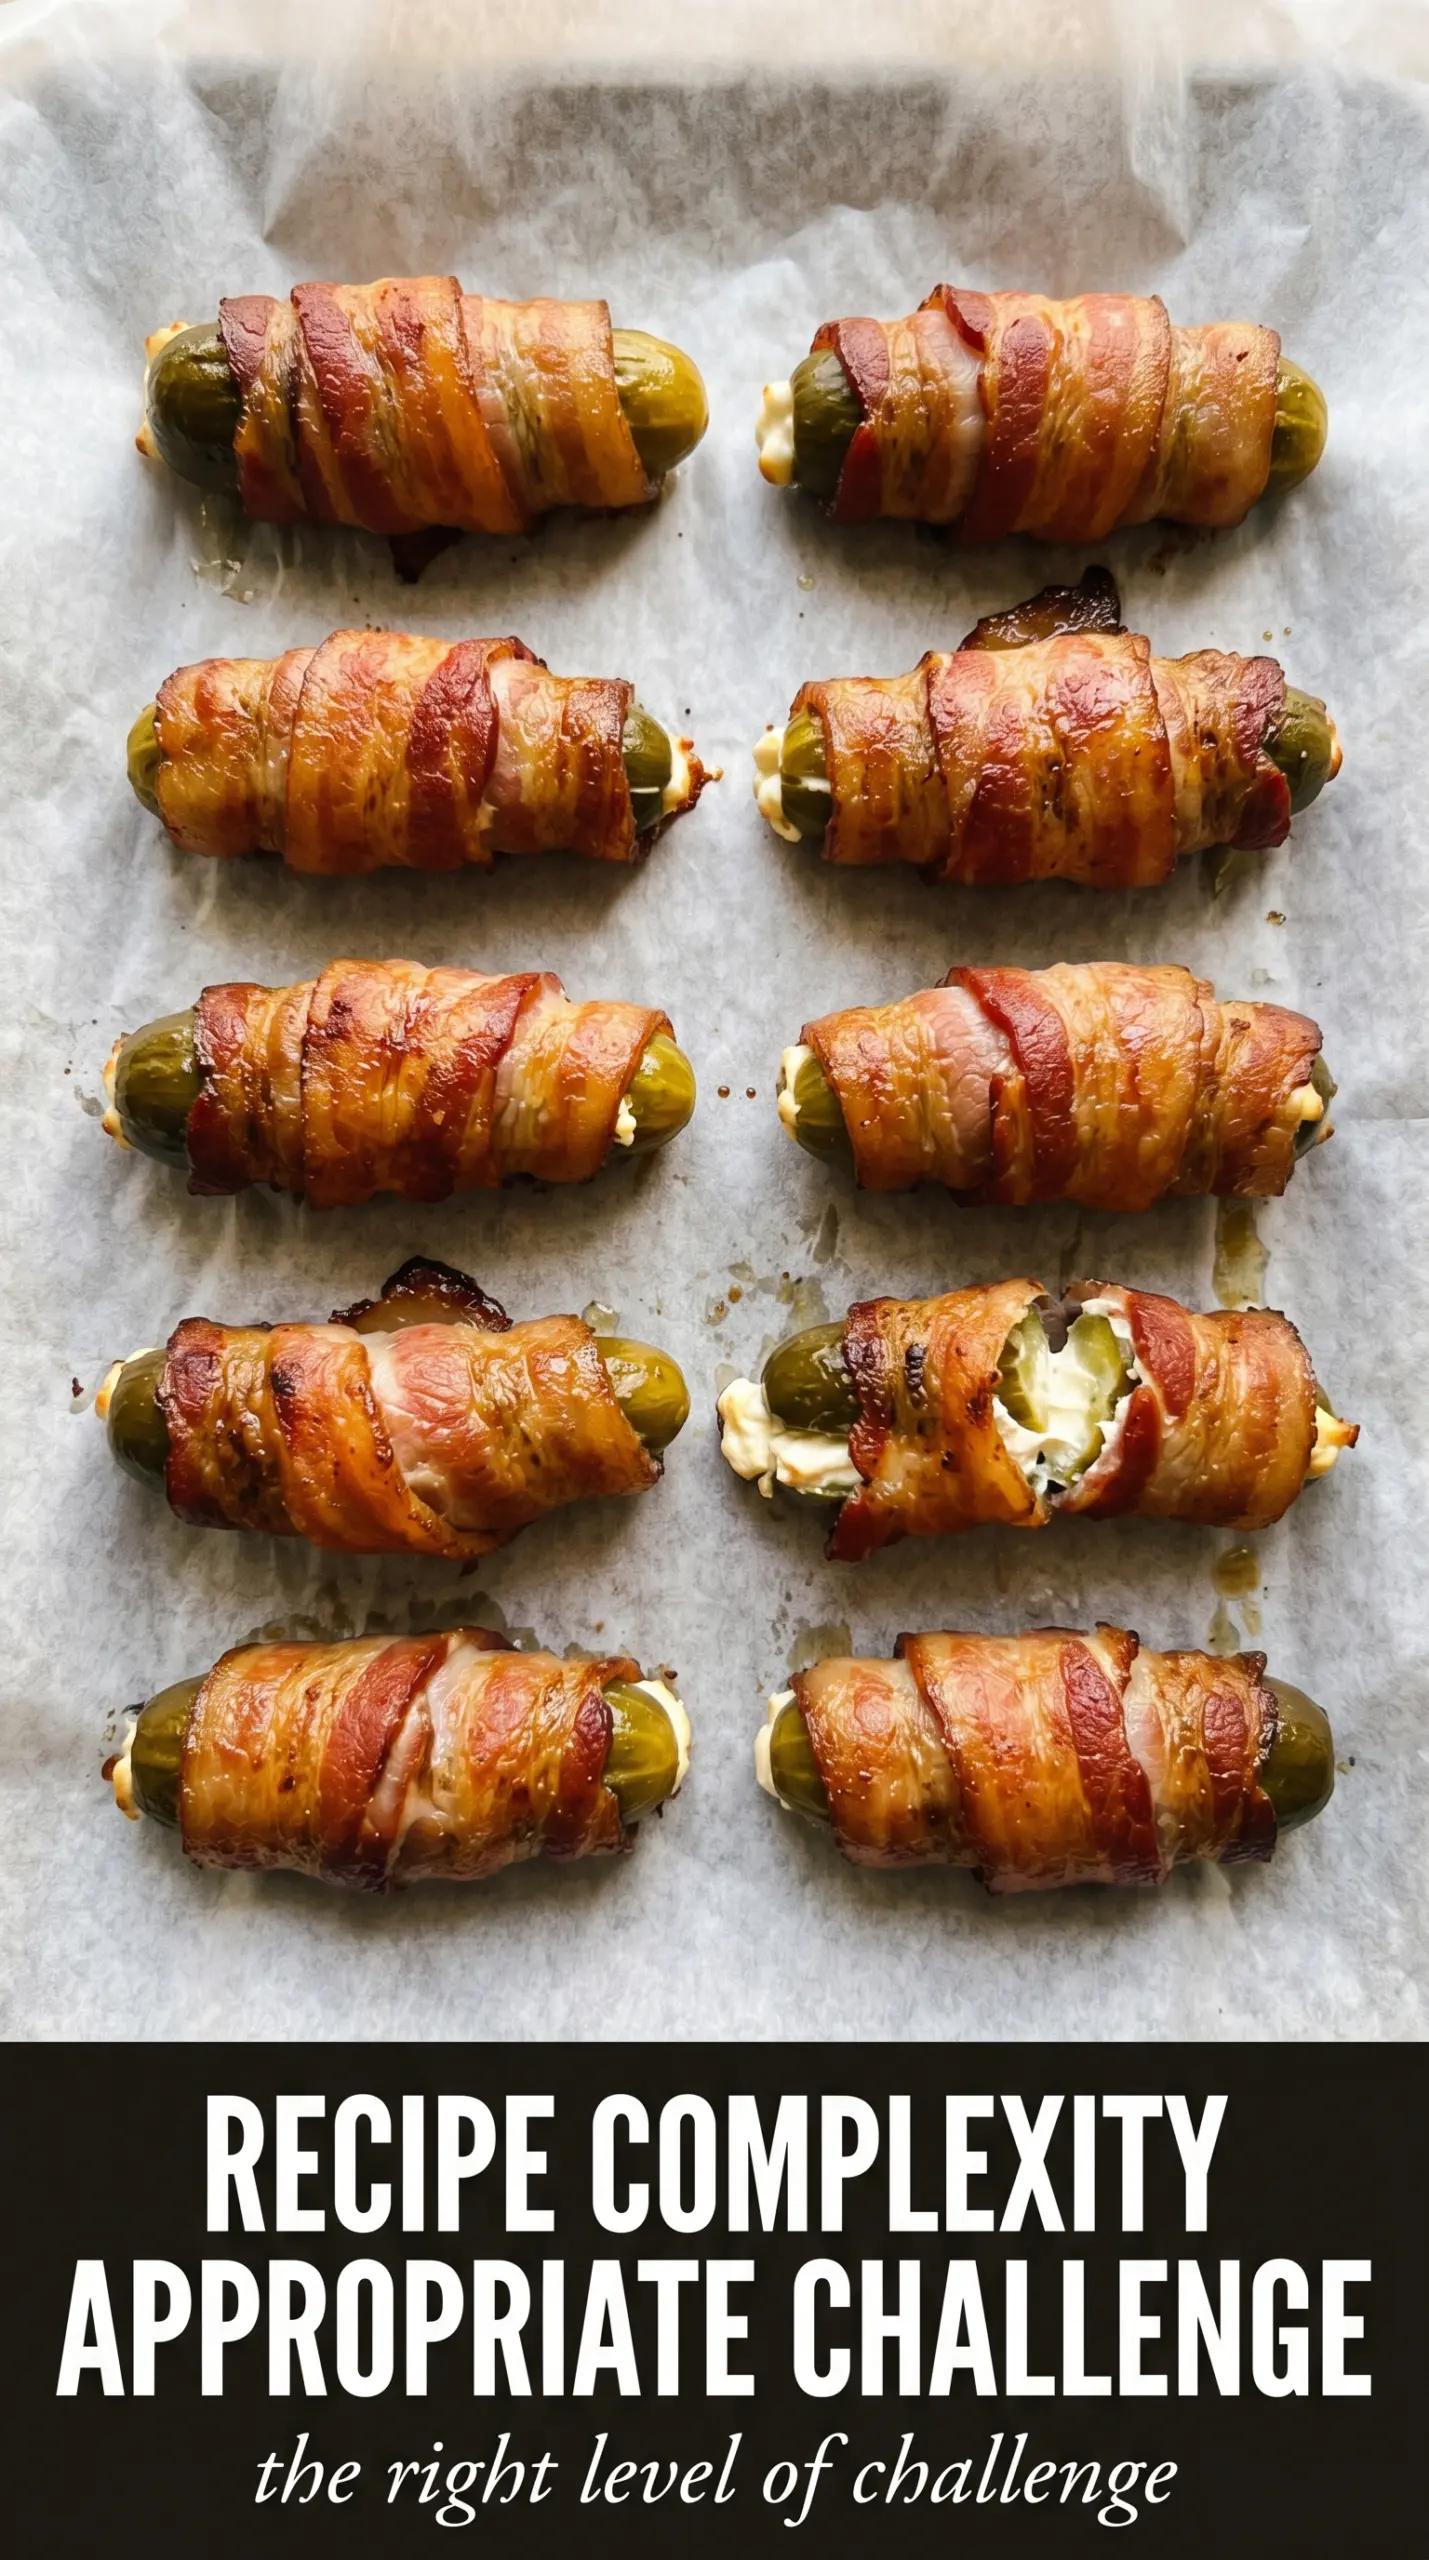
Crispy bacon wrapped around a cold, salty pickle is already a strong move. Add a thick swipe of cream cheese in the middle and you get the kind of appetizer that disappears before the rest of the food even hits the table. The bacon turns crisp, the pickle stays snappy, and the filling mellows everything out without making the bite heavy.
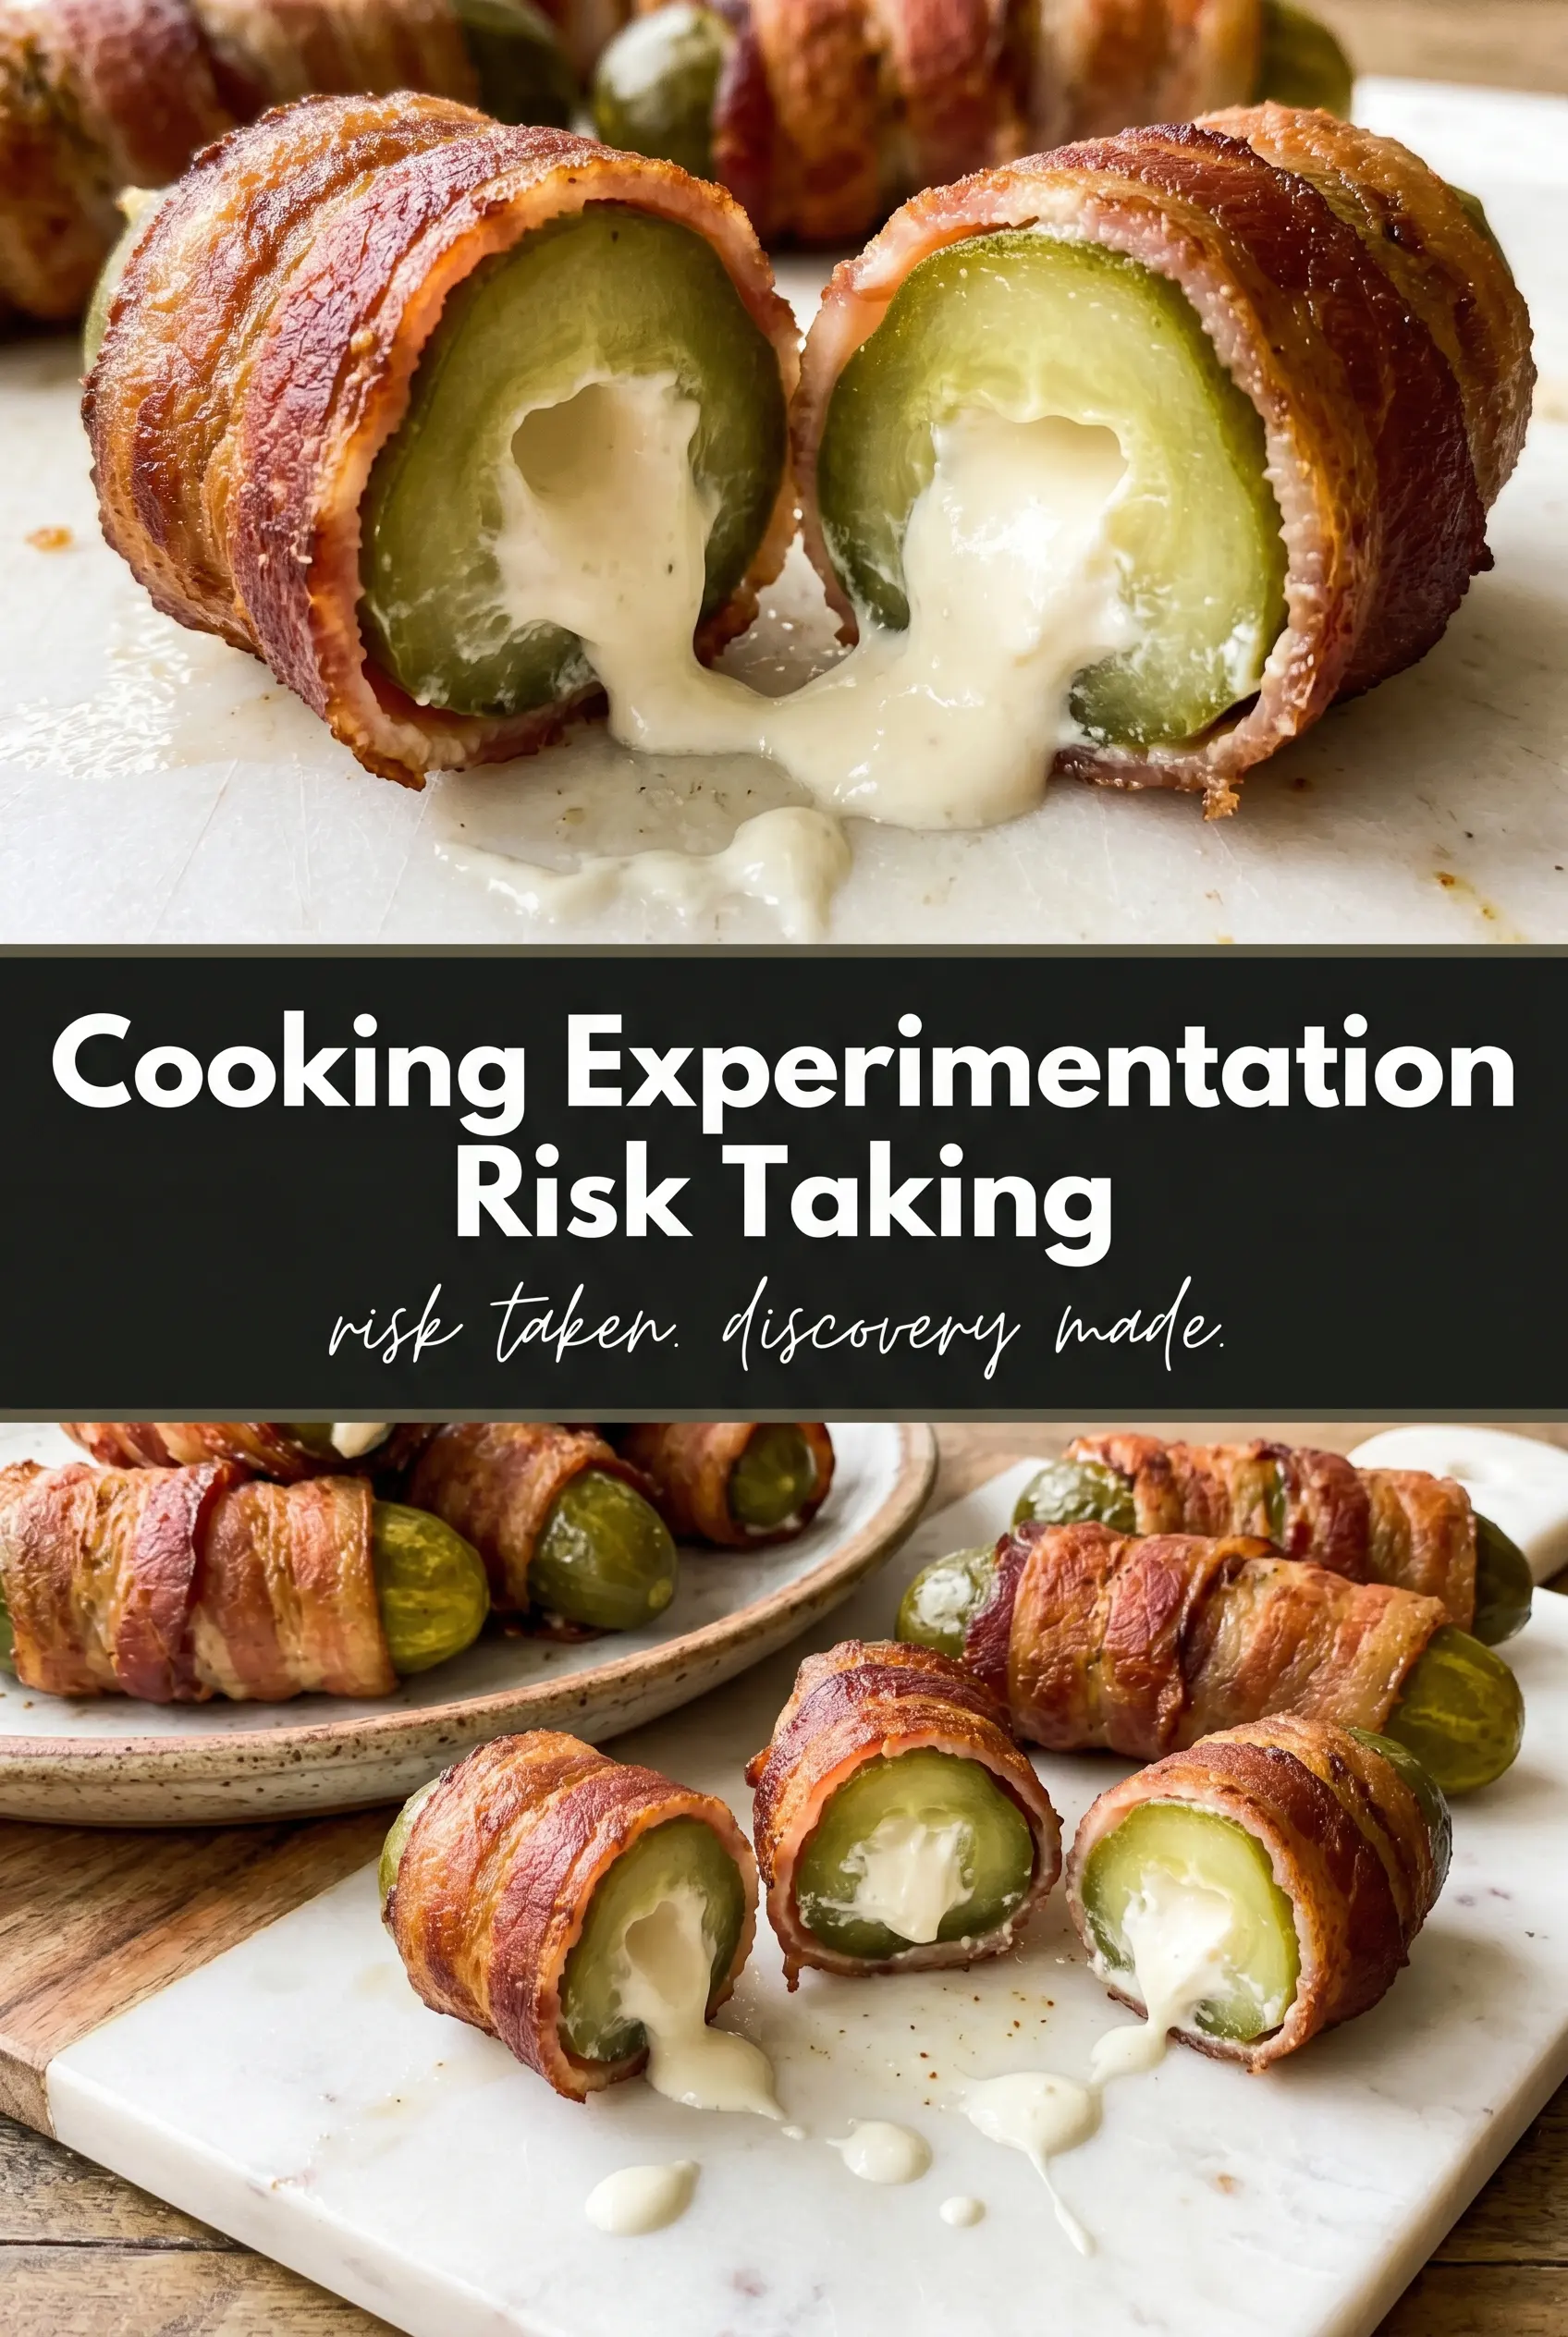
The trick is drying the pickles well before stuffing them. Any extra brine fights the cream cheese and makes the bacon slippery, which is how these go from neatly wrapped to messy on the grill. I also like softened cream cheese here, not melted cream cheese. It holds its shape long enough for the bacon to firm up around it, so you get a clean cross-section instead of a runny center.
Below, I’ll show you how to keep the bacon tight, how to grill these without scorching the outside before the center warms through, and a couple of easy ways to adapt them if you want a little heat or need to make them ahead.
The bacon got crisp all the way around and the cream cheese stayed inside the pickle instead of melting out on the grill. These were gone in minutes.
Bacon Wrapped Pickles Stuffed With Cream Cheese are the salty-crisp party bite worth pinning for game day and grill nights.
The Fix for Bacon That Stays Crisp Without Overcooking the Pickle
These appetizers live or die on timing. If the bacon cooks too fast, the outside goes dark before the fat has rendered and you end up with chewy patches. If the heat is too low, the pickle warms through and the whole thing turns soft before the bacon crisps. Medium heat hits the sweet spot because it gives the bacon time to brown while the pickle stays firm and the filling stays put.
The other mistake is leaving the seam loose. A tight wrap keeps the bacon in contact with itself, which helps it seal as it cooks. Toothpicks are not just for holding the roll together at the start; they keep the bacon from springing open as the fat softens.
- Dill pickle spears — Spear-shaped pickles are sturdy enough to stuff and wrap without falling apart. Pat them dry with a paper towel before you start so the cream cheese actually sticks.
- Cream cheese — Full-fat cream cheese gives the best texture here. It stays thick inside the pickle instead of turning greasy. Let it soften first so it spreads cleanly into the slit.
- Bacon — Standard sliced bacon wraps more easily than thick-cut bacon and crisps faster, which matters on the grill. Thick-cut can work, but it takes longer and may need a brief head start.
- Toothpicks — These keep the bacon from unrolling while the fat renders. If they’re wooden, soak them for a few minutes so they don’t scorch as quickly on the grill.
What Each Ingredient Is Actually Doing in Bacon-Pickle Balance
- Bacon cooked until just crispy (not burned) — The bacon should shatter when you bite it. Burned bacon tastes bitter and overpowers the pickle.
- Pickle added near the end of bacon cooking — The pickle needs minimal cooking so it stays crisp. Adding it early makes it soggy and soft.
- Heat management (medium, not high) — Too high heat burns the bacon before it gets crispy. Medium heat renders the fat and crisps the meat without burning.
- Rendered fat coating the pickle — The flavorful fat from the bacon should coat the pickle. This is what makes the dish work together.
- Brief cooking for the pickle (just warmed, not cooked) — The pickle should stay crisp and crunchy. Just warm it in the bacon fat for a minute.
- Drain excess fat if needed — If the bacon is very fatty, drain some of the fat so the pickle doesn’t get soggy. But save some for flavor.
- Serve immediately — Both bacon and pickle should be eaten while still warm and crispy. Sitting too long makes the bacon soggy again.
- Optional: finish with acid (vinegar or lemon) — A splash of acid right before serving brightens everything and helps cut the richness of the bacon fat.
Wrapping and Grilling So the Filling Stays Put
Cutting the Pickle Without Splitting It
Lay each spear flat and cut a slit lengthwise, stopping before you cut all the way through. You want a pocket, not two halves. If the pickle splits open, the filling will push out while the bacon cooks, and the wrap won’t have anything firm to hold onto.
Stuffing and Securing the Wrap
Spoon the softened cream cheese into the slit and press it in just enough to fill the cavity. Wrap the bacon around the outside with a little overlap, then pin it where the seam meets. If the bacon is stretched too tight, it shrinks and tears as it heats, so keep the wrap snug but not strained.
Grilling Until the Bacon Turns Crisp
Set the pickles over medium heat and turn them often so the bacon cooks evenly on all sides. You’re looking for rendered bacon that’s crisp at the edges and deeply browned, not blackened. If flare-ups start, move them to a cooler spot on the grill for a minute or two; direct flames will scorch the bacon before the center has time to warm through.
Serving Them Hot
Pull the toothpicks before serving so nobody has to wrestle with them at the table. These are best eaten while the bacon is still crisp and the cream cheese is warm and soft. Let them sit for a minute after the grill, because the filling settles slightly and the bites hold together better.
Three Easy Ways to Make These Bacon Wrapped Pickles Your Own
Add a little heat
Stir a pinch of cayenne or a spoonful of finely chopped jalapeño into the cream cheese. The filling gets a sharp little kick that cuts through the salt and smoke without changing the structure of the recipe.
Bake instead of grill
Set the wrapped pickles on a rack over a sheet pan and bake at 425°F until the bacon crisps, usually about 20 to 25 minutes depending on thickness. You lose a little smoke flavor, but you gain easy indoor cooking and more even browning.
Go lower-carb and dairy-free
Use a dairy-free cream cheese substitute that bakes or grills well. It won’t be quite as tangy or rich as the original, but it still gives you that creamy center and works cleanly with the bacon wrap.
Use a sweeter pickle
Swap dill spears for bread-and-butter style pickles if you want a sweeter bite, but keep them thick enough to stuff. The result is softer and less briny, which changes the whole balance of the appetizer, so it works best for people who like sweet-salty snacks.
Storage and Reheating
- Refrigerator: Store leftovers in an airtight container for up to 3 days. The bacon softens as it chills, so expect a less crisp bite after refrigeration.
- Freezer: These don’t freeze well after cooking because the pickle turns watery and the cream cheese can separate. If you need to get ahead, assemble them and refrigerate for a few hours before grilling instead.
- Reheating: Reheat in a hot oven or air fryer until the bacon crisps again. Skip the microwave; it makes the bacon rubbery and can burst the pickles.
Answers to the Questions Worth Asking
Bacon Wrapped Pickles Stuffed With Cream Cheese
Ingredients
Equipment
Method
- Cut a slit lengthwise in each dill pickle spear without cutting all the way through, keeping the spear intact. The opening should be deep enough to hold filling.
- Stuff each pickle with softened cream cheese, pressing gently to fill the slit. Stop when the filling is slightly visible at the opening.
- Wrap each stuffed pickle with a slice of bacon and secure it with a toothpick. Make sure the bacon overlaps slightly so it stays in place.
- Grill over medium heat for 15-20 minutes, turning frequently, until the bacon is crispy and browned. Keep turning so every side renders and crisps evenly.
- Remove the toothpicks before serving. Serve warm so the cream cheese remains soft inside.