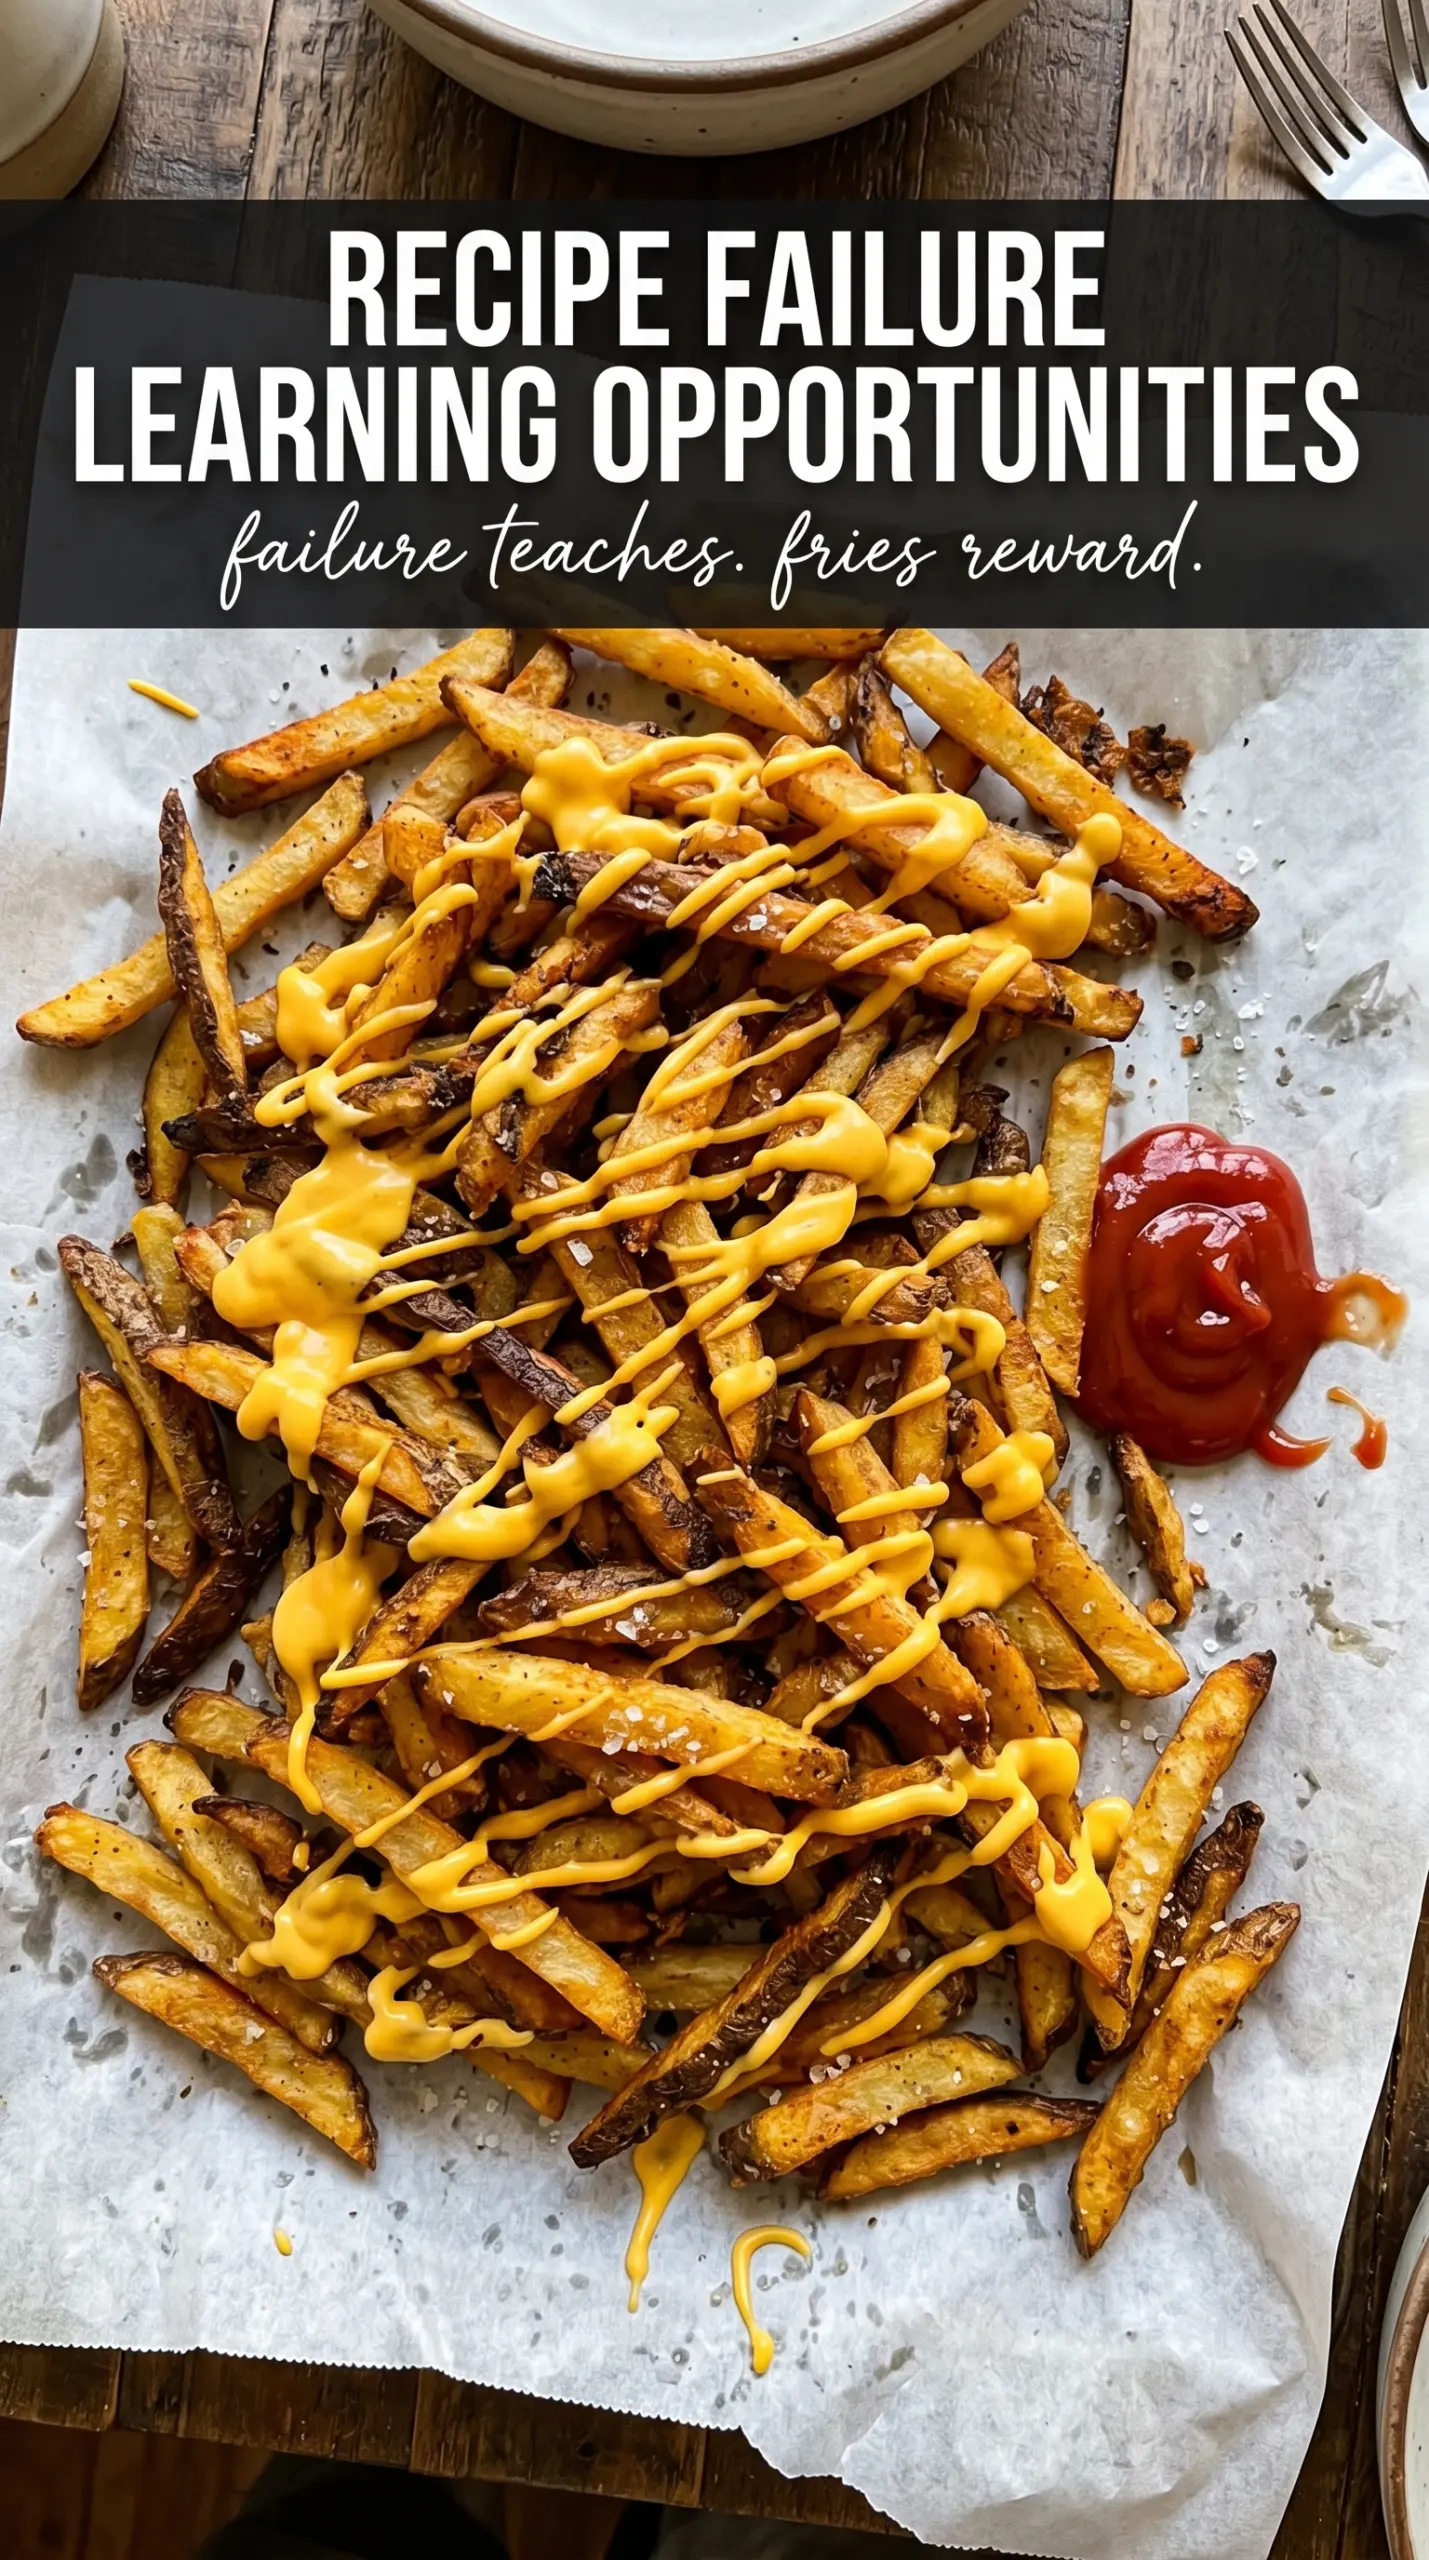
Blackstone fries hit that sweet spot between shattering crisp edges and a fluffy potato center, with enough seasoned butter on the outside to make them taste like you grabbed them from a favorite diner basket. On a griddle, they cook in a thin, even layer, which means you get more direct contact with the hot surface and less of that soft, steamed texture that ruins homemade fries.
The trick is drying the potatoes well after the soak and giving them enough time untouched on the griddle to build a real crust before you flip them. Butter adds richness and helps the seasoning cling, but it works best with oil underneath it so the fries don’t scorch before the centers catch up. That little balance is what turns ordinary cut potatoes into fries people reach for before the ketchup even hits the table.
Below, you’ll find the timing cues that matter most, the seasoning order that keeps the fries crisp, and a few smart ways to adjust them for different tastes or serving styles.
I soaked and dried the potatoes like you said, and the fries came off the griddle with actual crunch instead of going limp. The garlic paprika seasoning was perfect, and they stayed crisp long enough for the whole basket to disappear.
Save these crispy Blackstone fries for the next burger night or backyard cookout when you want that golden griddle crust and garlic-butter finish.
The Part That Keeps Blackstone Fries Crispy Instead of Steaming
Most griddle fries fail because the potatoes go onto the surface wet or crowded, and then the moisture trapped between them softens the crust before it has a chance to set. A cold-water soak pulls off surface starch, which helps the fries brown more cleanly, but the soak only matters if you dry them completely afterward. Any water left clinging to the cut potatoes turns into steam the second they hit the griddle.
The other key move is leaving them alone after you spread them out. If you keep nudging them, they won’t develop that deep golden layer that tells you they’re ready to flip. Let the first side sit until the edges look dry and the bottoms release without sticking. That patience is what gives you fries with a proper bite instead of soft potato sticks.
What the Oil, Butter, and Seasoning Are Doing Here
- Russet potatoes — Russets are the right choice because they’re starchy and dry out into a fluffy interior with a crisp shell. Waxy potatoes stay firmer and don’t give you the same crunch. Cut them evenly so the thinner pieces don’t burn while the thicker ones finish.
- Vegetable oil — Oil gives the fries the direct, even heat they need to brown on a griddle. A neutral oil works best here because it won’t fight the seasoning. If you use olive oil, keep it light and expect a slightly different flavor and a lower smoke tolerance.
- Butter — Butter adds the rich finish that makes these taste more like seasoned diner fries than plain griddle potatoes. It also helps the spices stick. The catch is that butter alone would brown too fast, so it needs the oil as its partner.
- Garlic powder, paprika, and onion powder — These seasonings work best after cooking, when they cling to the hot, oiled surface instead of burning on the griddle. Paprika gives color and a little warmth, garlic powder brings the savory note, and onion powder rounds everything out. If you season too early, the powders can scorch and turn bitter.
- Fresh parsley — Parsley isn’t there for garnish-only reasons. It adds a fresh finish that cuts through the butter and keeps the fries tasting bright. Chop it fine so it sticks instead of sliding off.
Building the Griddle Finish Without Burning the Fries
Cutting and Drying the Potatoes
Slice the potatoes into even 1/4-inch fries so they cook at the same pace. After the 10-minute soak, drain them well and pat them until the surface feels dry instead of damp or tacky. If they go onto the griddle wet, the oil will sputter and the fries will steam instead of brown. This is one of those places where a few extra paper towels save the whole batch.
Starting the First Side
Heat the Blackstone to medium-high, then add the oil and butter and let the butter melt into the oil before the potatoes go down. Spread the fries in a single layer with a little space between them. If you pile them up, they’ll trap steam and soften each other. Leave them alone for 8 to 10 minutes until the bottoms are deeply golden and the edges look set.
Flipping for the Last Bit of Crisp
Turn the fries and cook the second side another 8 to 10 minutes. You’re looking for color on the edges and a firm, crisp exterior, not pale, floppy potatoes. If they’re sticking when you try to turn them, give them another minute; they’ll release once the crust has formed. This is the stage where rushing costs you crunch.
Seasoning at the End
Pull the fries off the heat and season them right away with garlic powder, paprika, onion powder, salt, and pepper. The hot buttered surface grabs the spices better than the griddle ever could. Toss them quickly so the seasoning coats the whole batch, then finish with parsley. Serve immediately while the edges are still crisp.
How to Change Blackstone Fries for Different Crowds and Cravings
Cheesy Griddle Fries
Sprinkle finely grated Parmesan over the hot fries right after seasoning. It melts into the butter and adds a salty, savory edge without making the fries heavy. Use a fine grate so it clings instead of falling through the basket.
Dairy-Free Blackstone Fries
Swap the butter for more oil or a dairy-free butter substitute with a high smoke point. You’ll lose a little of the rich finish, but the fries will still crisp well if the pan stays hot and the potatoes stay dry. Keep the seasoning the same.
Spicy Fry Seasoning
Add a pinch of cayenne or chili powder to the seasoning mix for fries with a little heat. Cayenne brings a sharper kick, while chili powder adds a deeper, rounder spice. Start small because the butter helps heat bloom fast on the hot fries.
Storage and Reheating
- Refrigerator: Store leftovers in an airtight container for up to 3 days. They’ll lose some crispness in the fridge, but they still reheat well.
- Freezer: These fries freeze better if you par-cook them until just starting to brown, then cool and freeze in a single layer. Fully cooked fries can be frozen, but they won’t come back as crisp.
- Reheating: Reheat on a hot skillet or griddle in a thin layer until the edges crisp back up. Avoid the microwave if you want any crunch at all; it softens the fries and turns the seasoning dull.
Answers to the Questions Worth Asking

Blackstone Fries
Ingredients
Equipment
Method
- Cut russet potatoes into 1/4-inch thick fries and soak in cold water for 10 minutes, keeping them submerged. This helps the fries crisp up by removing excess surface starch.
- Pat the fries completely dry after soaking. Remove as much surface moisture as possible so they brown instead of steaming.
- Heat the Blackstone griddle to medium-high, then add vegetable oil and butter. Let the fats shimmer for a few seconds before adding fries.
- Spread the fries in a single layer and cook for 8-10 minutes without moving. Leave them undisturbed so they form a golden crust.
- Flip the fries and cook another 8-10 minutes until golden and crispy on all sides. Watch for visible browning and rising steam as they finish.
- Season immediately with garlic powder, paprika, onion powder, salt, and pepper. Toss lightly so the hot fries grab the seasoning for an even coating.
- Garnish with fresh parsley and serve with ketchup and other dipping sauces. Serve hot for the crispiest texture and best seasoning pickup.