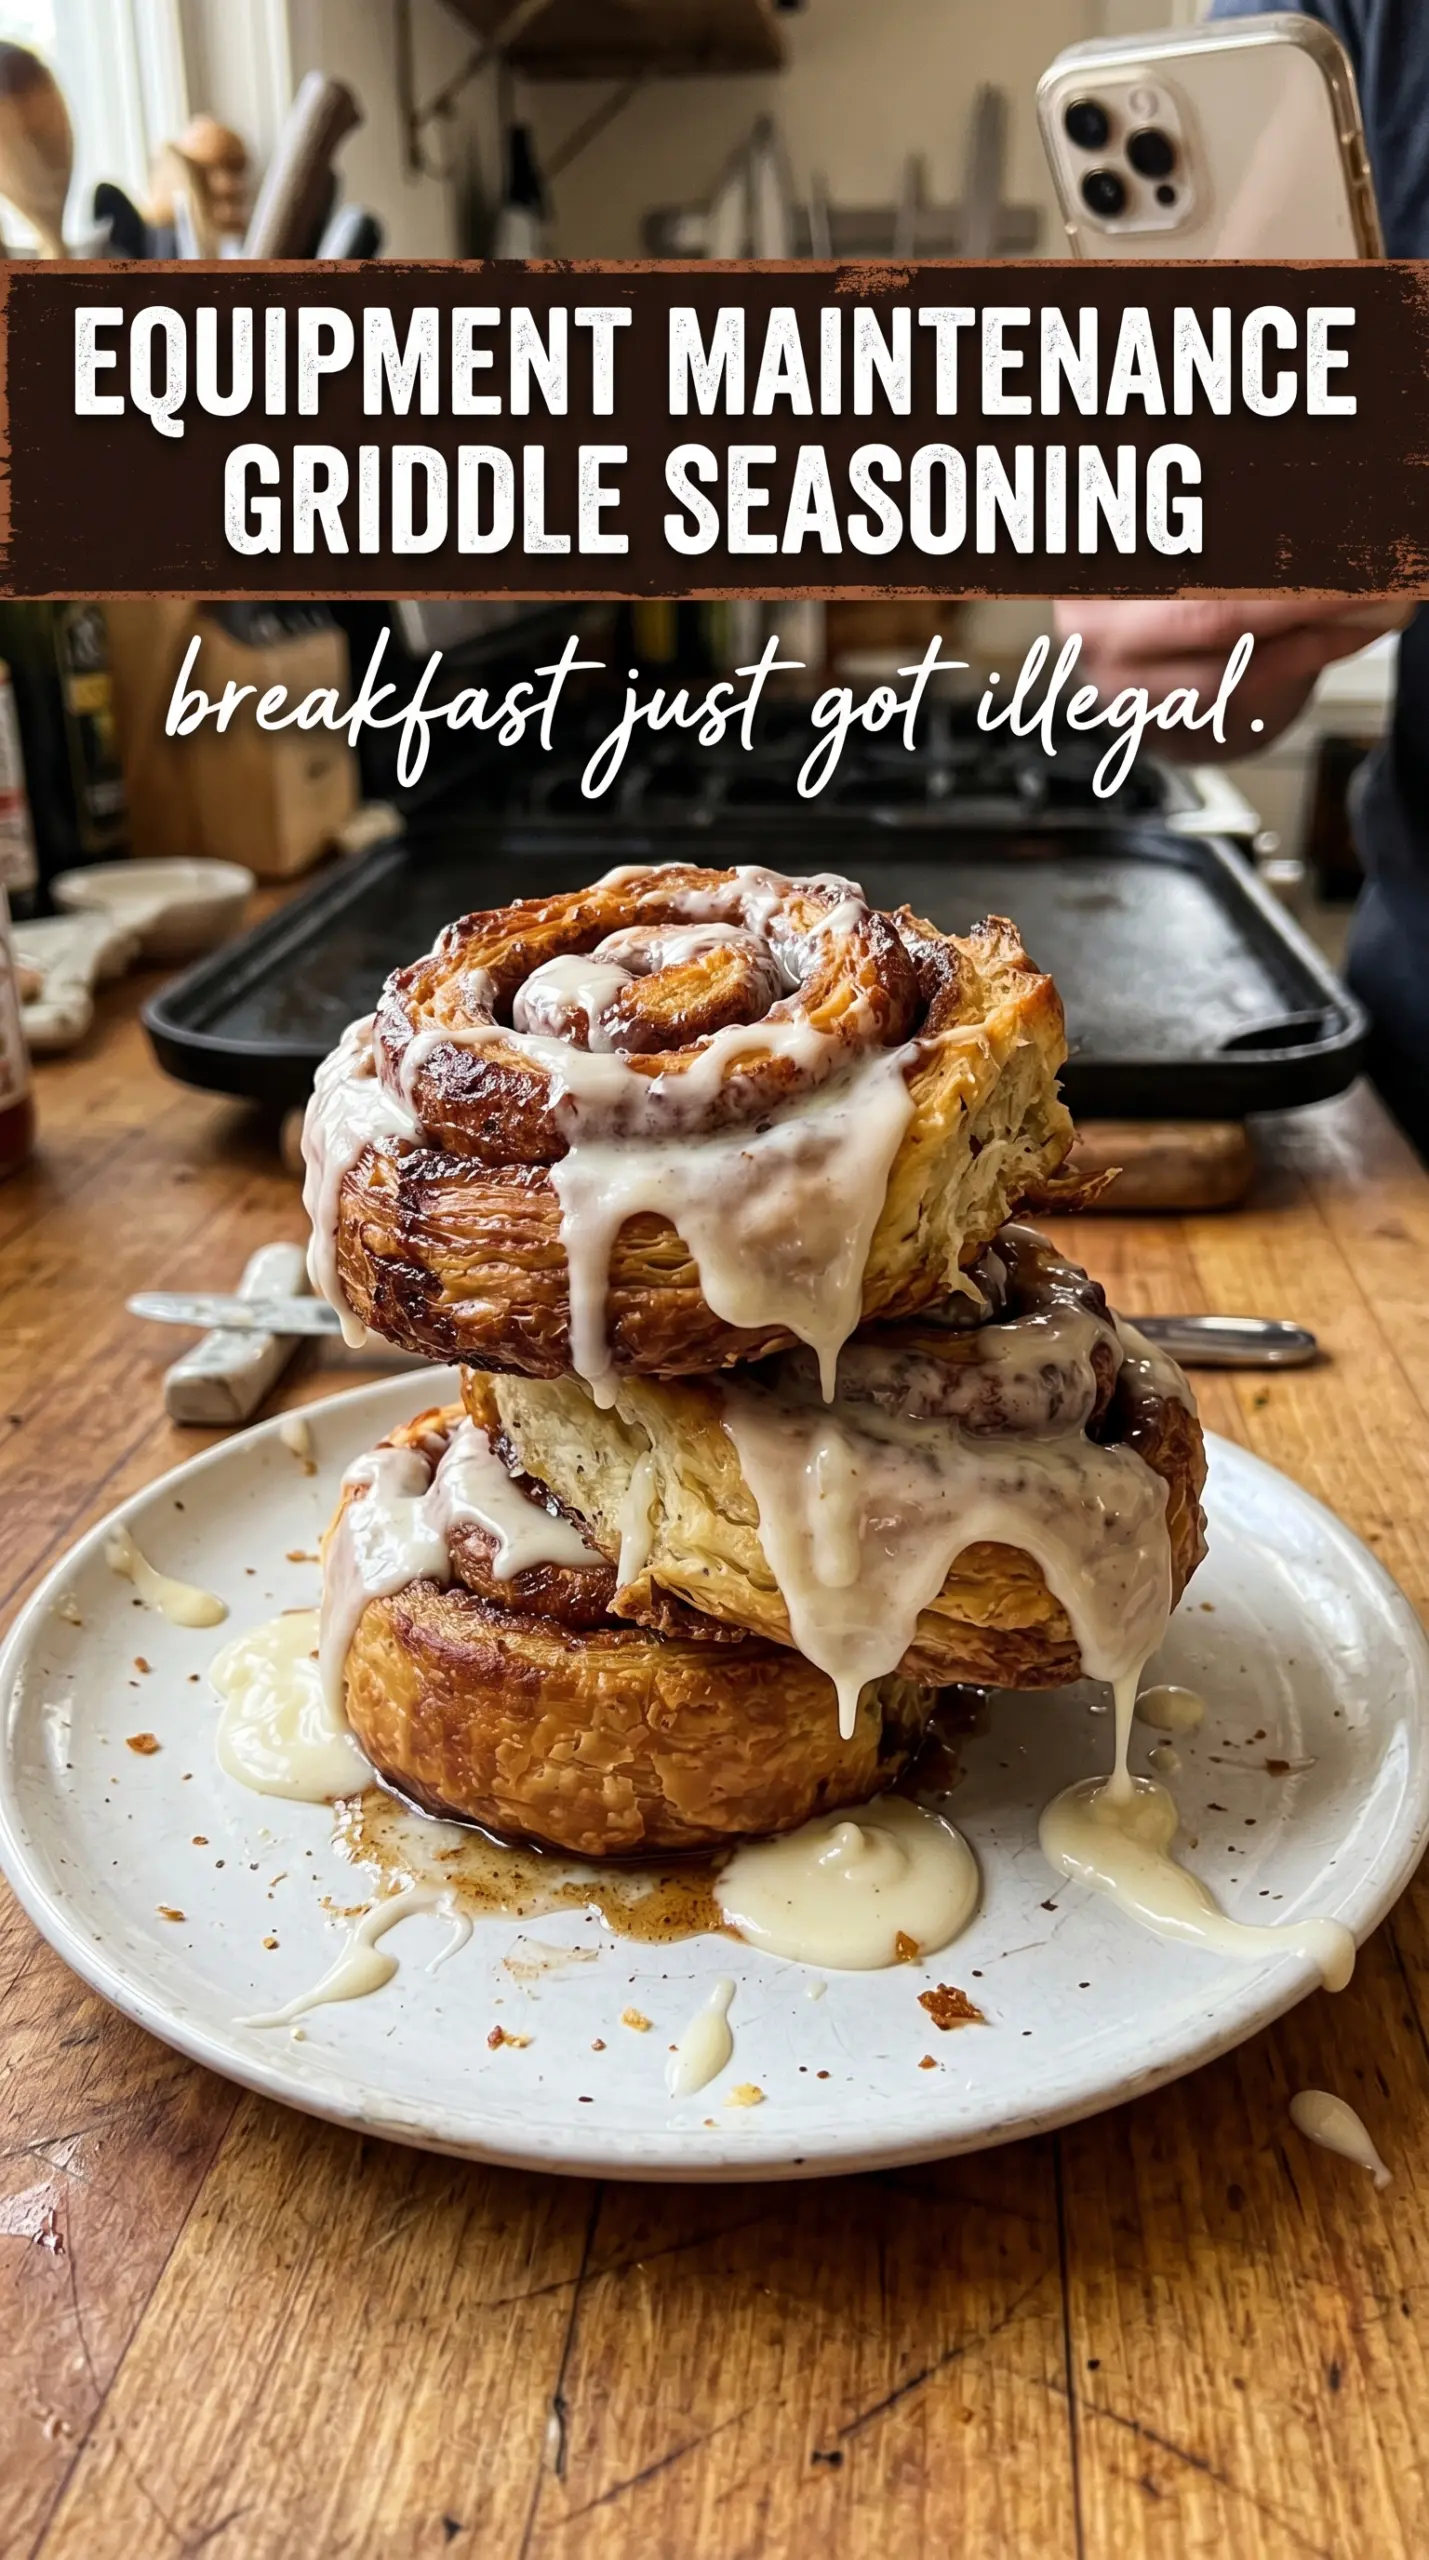
Hot-off-the-griddle cinnamon rolls turn into something different when you smash them flat and let the edges caramelize in butter. The outside goes crisp and lacy, the center stays soft and tender, and the icing melts into all those ridges instead of just sitting on top. It’s the kind of breakfast that feels a little playful but still comes together fast enough for a sleepy morning.
The key here is simple: medium-low heat and a firm press. That combo gives the rolls time to brown without burning the sugar before the centers cook through. Butter on the griddle does more than keep things from sticking — it helps those cut edges fry into a deep golden crust, which is what makes this version worth doing.
Below you’ll find the exact timing that keeps the rolls from turning doughy in the middle, plus a few easy ways to change up the icing and finish. If you’ve ever wanted cinnamon rolls with crisp edges, gooey centers, and a little extra crunch, this is the one to try.
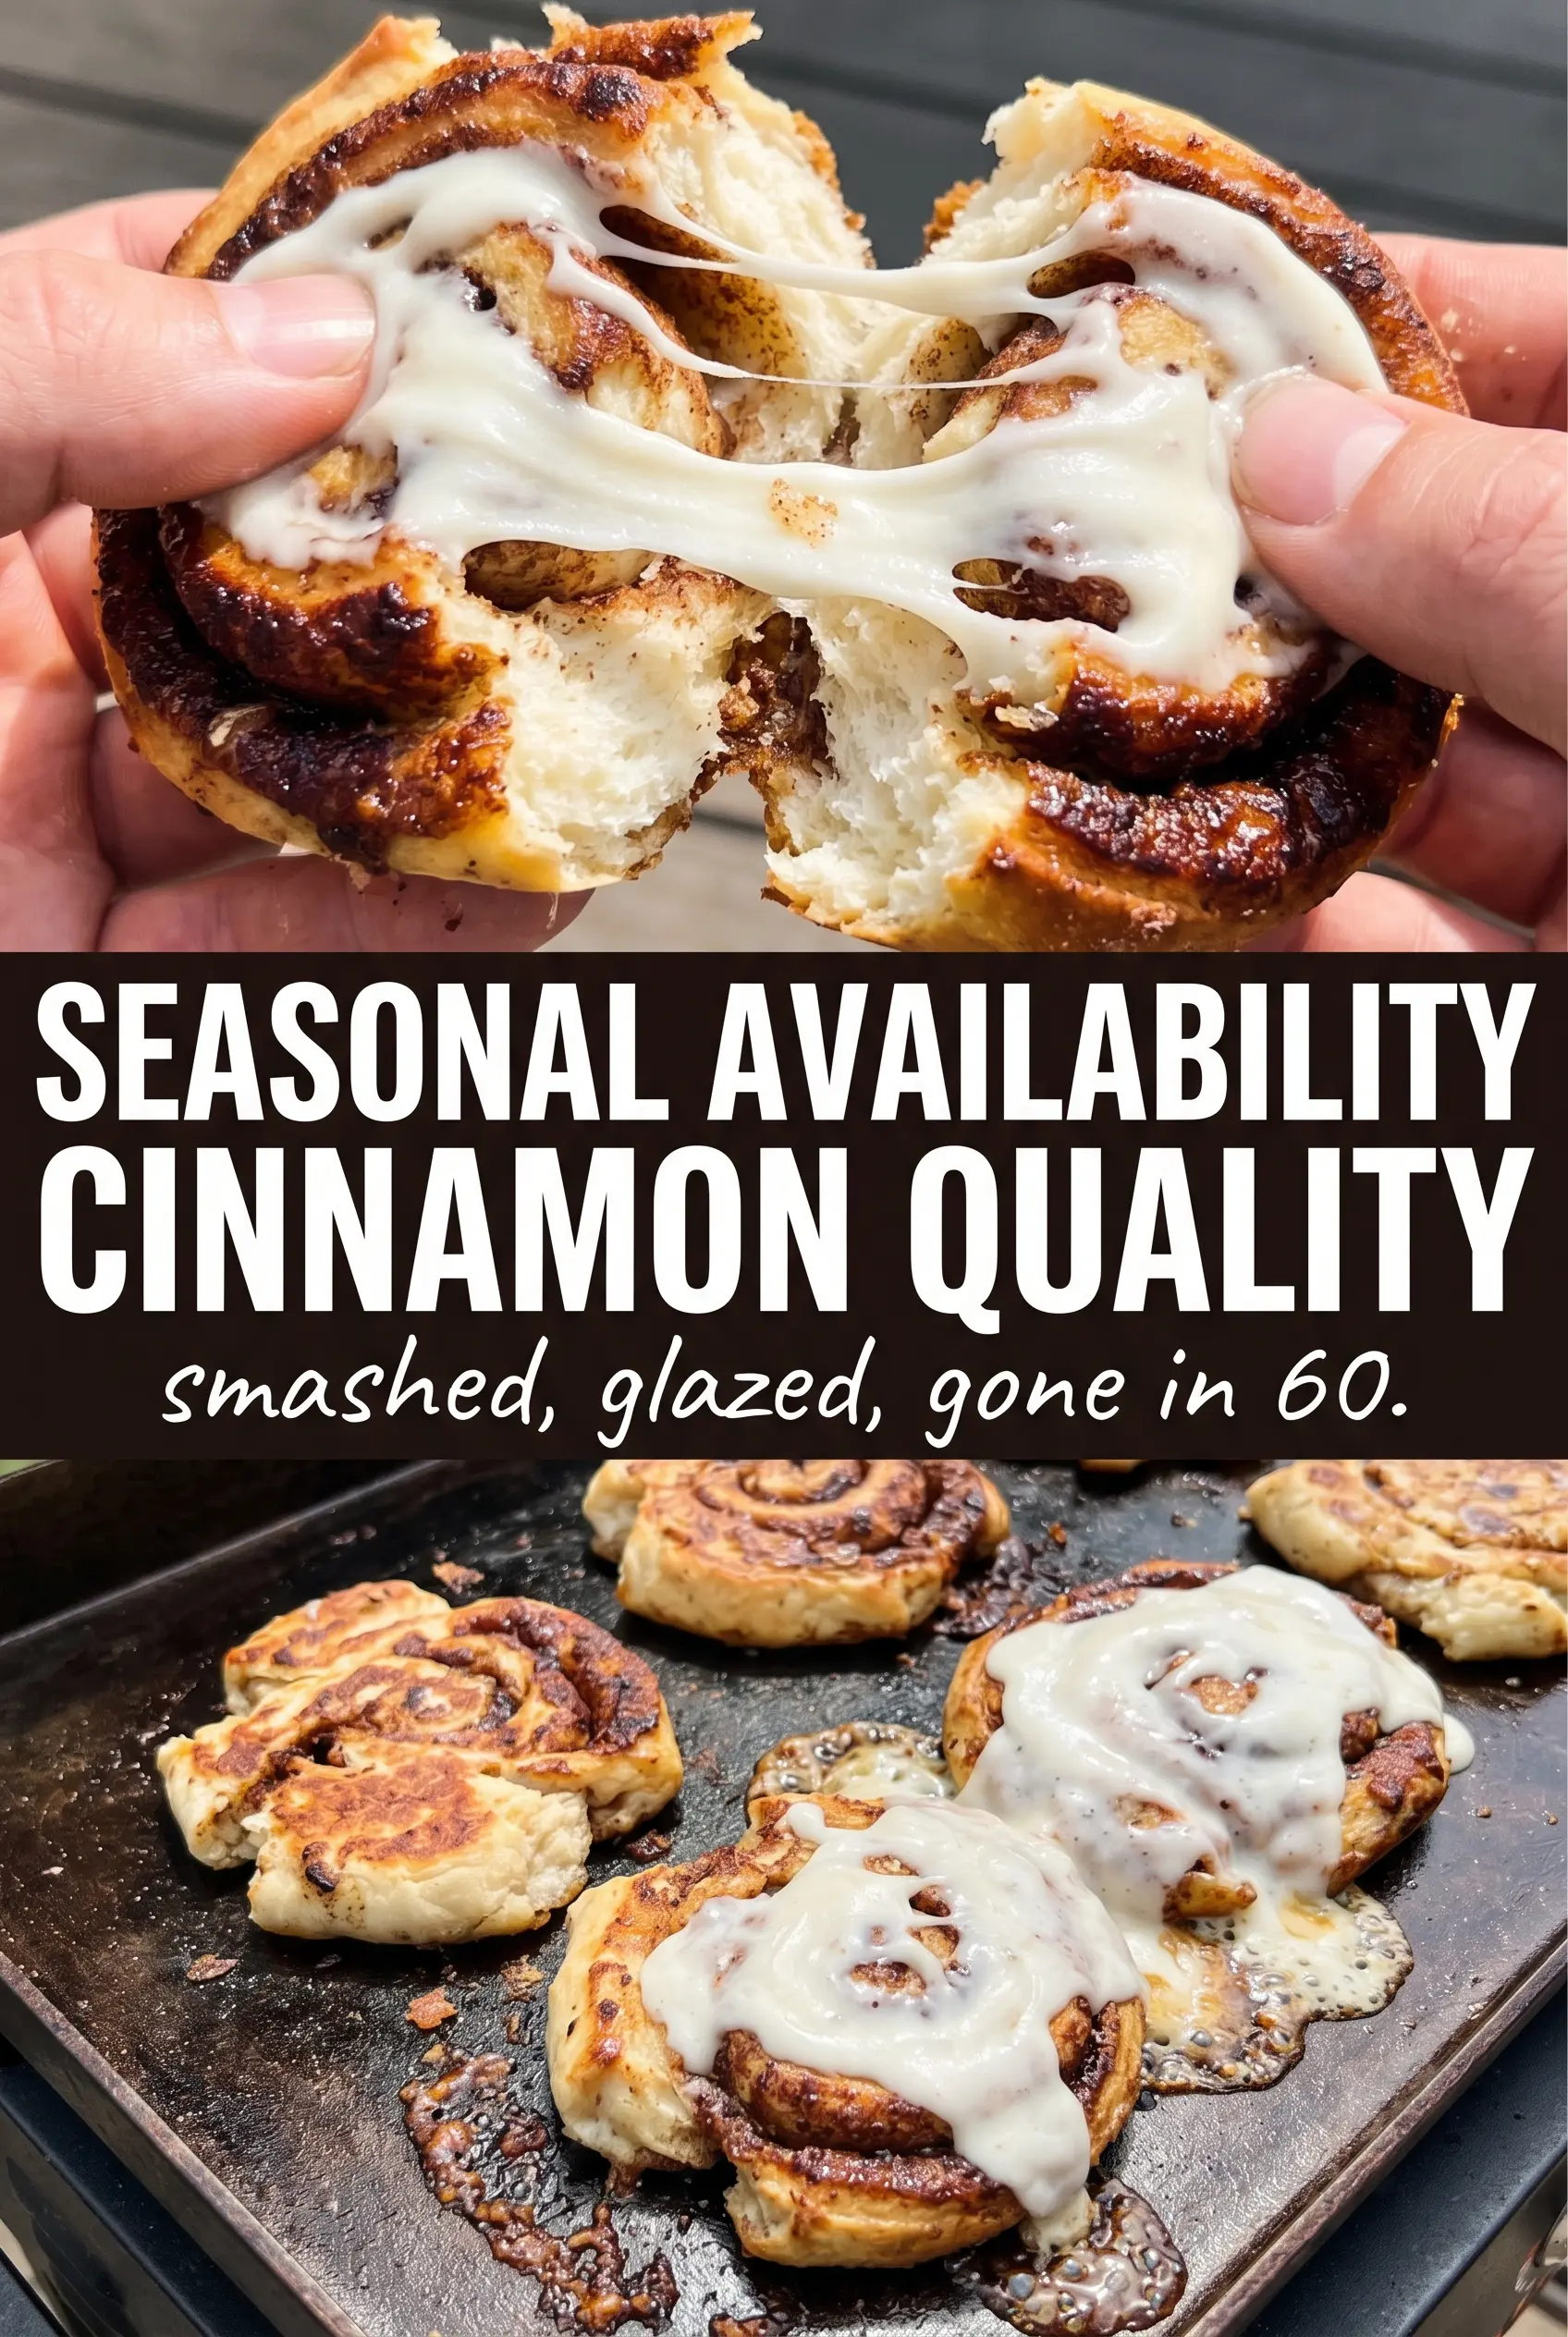
The rolls cooked through in the middle and the smashed edges got this buttery crunch I never get in the oven. The cream cheese icing melted right into the ridges and made them taste bakery-level.
Like these smashed Blackstone cinnamon rolls? Save them to Pinterest for the mornings when you want crisp edges, gooey centers, and fast icing.
The Trick to Crisp Edges Without Burning the Sugar
The mistake with griddle cinnamon rolls is using too much heat. The sugar in the dough and filling goes from golden to scorched fast, especially on a Blackstone where the hot spots can sneak up on you. Medium-low gives the rolls time to set after you smash them, so the centers cook through while the outsides get that caramelized shell.
Pressing them flat does two things at once. It increases the surface area for browning, and it forces the filling into the ridges where it can fry in the butter. If you leave them thick, you end up with pale sides and a doughy middle. Smash them once, firmly, and then let the griddle do the rest.
Why the Butter and Icing Both Matter Here
- Refrigerated cinnamon rolls — The canned dough is soft enough to flatten without tearing, and the built-in icing keeps this fast. Homemade dough can work, but it won’t give you the same quick rise and predictable center unless you’ve already proofed it.
- Butter — This is the browning engine. It keeps the rolls from sticking and helps the cut edges fry instead of dry out. If you use less, the crust won’t get as rich or crisp.
- Cream cheese icing — Optional, but worth it if you want a tangier finish that balances the sweetness. The included icing is fine on its own; extra cream cheese icing makes the rolls taste more like bakery pastries.
- Cinnamon sugar — This adds a little crunch right at the end. Sprinkle it after the icing while the rolls are still warm so it clings instead of falling off.
The Few Minutes That Decide the Texture
Heating the Griddle
Set the Blackstone to medium-low and let it preheat before the butter goes on. If the surface is too hot, the outside will darken before the inside firms up, and the sugar will taste bitter instead of caramelized. The butter should melt and shimmer, not smoke.
Smashing and Searing
Place the rolls on the buttered griddle, then press them flat with a heavy spatula. You want a clear sizzle and a little spreading at the edges, but not so much pressure that the dough tears apart. Leave them alone for 4 to 5 minutes until the underside is deeply golden and releases easily.
Flipping and Finishing
Flip the rolls and cook the second side for another 3 to 4 minutes. The tops should feel set and the edges should look crisp, not pale and soft. If the centers still look doughy, give them another minute or two at lower heat instead of cranking the burner higher.
Icing at the Right Moment
Move the rolls off the griddle and drizzle them right away. Warm rolls melt icing into the cracks, which is what gives you those glossy pools in the finished photo. Add cinnamon sugar last so it sticks while the surface is still warm.
How to Change These Up Without Losing the Crunch
Cream Cheese Icing Upgrade
Stir the packet icing with a spoonful of softened cream cheese and a splash of milk until it’s smooth and pourable. You’ll get a tangier finish and a thicker drizzle that settles into the smashed ridges instead of disappearing.
Dairy-Free Version
Use a dairy-free butter substitute and skip the cream cheese icing. The rolls still crisp up well, though the finish will be a little less rich and a little more straightforwardly sweet.
Extra Cinnamon Crunch
Dust a little cinnamon sugar onto the buttered griddle before the rolls go down, then add more at the end. That gives the bottom a candied edge and a tiny bit of crunch that plays well with the soft center.
Storage and Reheating
- Refrigerator: Store leftovers in an airtight container for up to 2 days. The crust softens a bit, but the centers stay tender.
- Freezer: They freeze, but the texture gets softer after thawing, so I only do it if I’ve got extras. Wrap individually and freeze for up to 1 month.
- Reheating: Warm them in a skillet or on the griddle over low heat for a minute or two per side. Microwaving works in a pinch, but it wipes out the crisp edges and turns the icing loose.
Answers to the Questions Worth Asking
Smashed Blackstone Cinnamon Rolls
Ingredients
Equipment
Method
- Heat the Blackstone griddle to medium-low heat and add the butter, letting it melt and turn glossy.
- Place the cinnamon rolls on the griddle and use a heavy spatula to smash them flat into a thin, even layer.
- Cook for 4-5 minutes until the bottom is golden and caramelized.
- Flip the smashed rolls and cook another 3-4 minutes until both sides are crispy.
- Remove the rolls from the griddle and immediately drizzle with the included icing or additional cream cheese icing.
- Sprinkle with cinnamon sugar and serve warm.