Silky turkey gravy is what turns a good roast into a proper meal. When it’s made right, it coats the spoon, glides over mashed potatoes, and settles into every slice of turkey instead of running off the plate. This version has the deep, savory taste people hope for on the holiday table, but it stays smooth and pourable instead of turning gluey or thin.
The difference is in the pan drippings and the way the roux is handled. Letting the fat separate gives you control, and cooking the flour long enough before the stock goes in keeps the gravy from tasting raw. Warm stock matters too — cold liquid can tighten the roux too fast and leave you chasing lumps.
Below, I’m walking through the small details that matter most, including how to fix gravy that looks a little too thick, too pale, or slightly grainy before it hits the table.
The gravy came out smooth and rich, and the thyme with that little splash of soy gave it the same deep flavor I always hope for from the drippings. It thickened up perfectly after about 10 minutes.
Save this silky turkey gravy for roast dinners, mashed potatoes, and every plate that needs rich pan-dripping flavor.
The Trick to Gravy That Stays Smooth Instead of Turning Pasty
Gravy breaks down in two common ways: the roux stays undercooked and tastes floury, or the liquid goes in too fast and the mixture seizes into lumps. Cooking the fat and flour together for a few minutes gives the gravy a deeper color and takes away that raw starch taste. The flour also needs time to toast before the stock arrives, which is why this version has a richer finish than a just-thickened pan sauce.
The other part that matters is temperature. Warm stock blends into the roux cleanly; cold stock tightens the mixture before you’ve had a chance to whisk it smooth. If the gravy looks too thick at first, keep whisking and let it simmer — it loosens a little as it cooks and thickens again as the starch hydrates.
What Each Ingredient Is Doing in the Pan
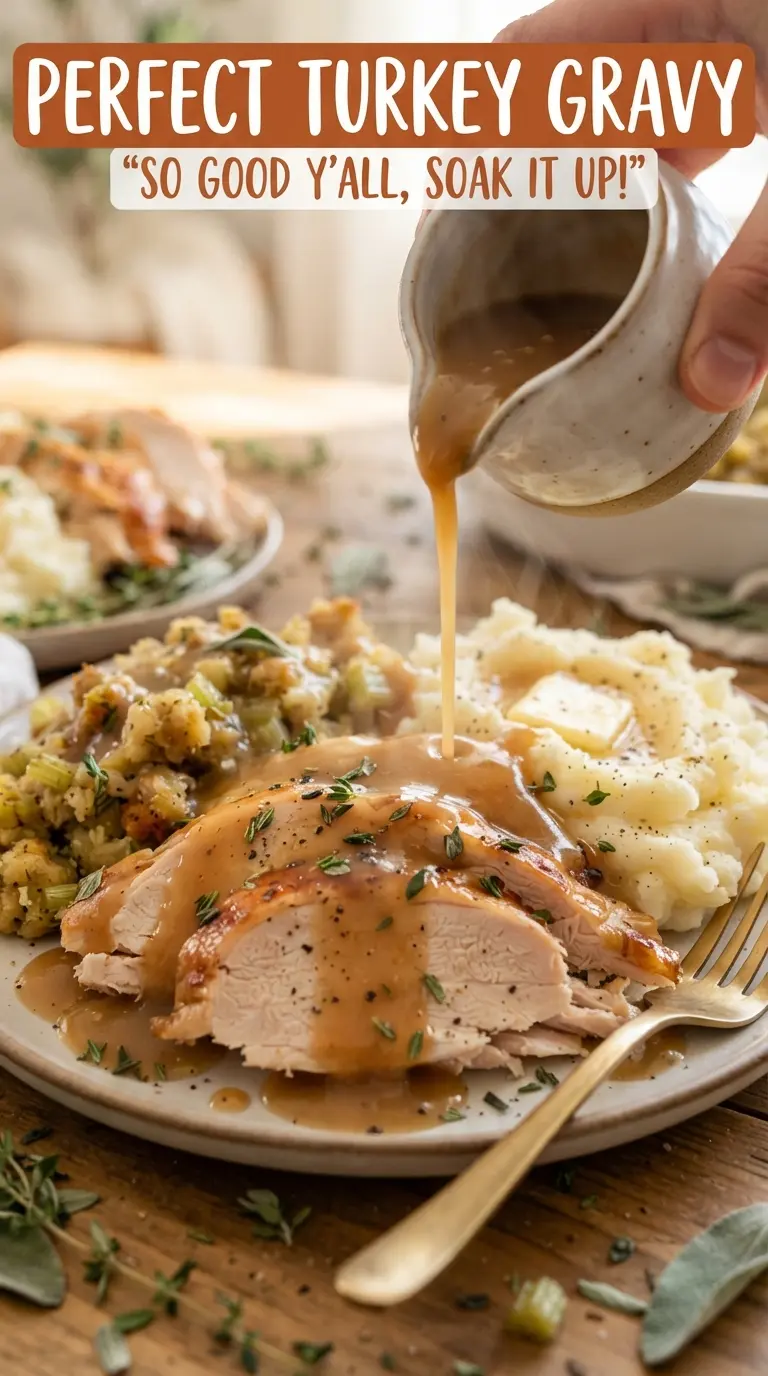
- Turkey pan drippings — This is where the best flavor comes from. The fat carries the roast flavor, and the browned bits left in the pan deepen the gravy. If you don’t have enough drippings, use butter for the fat and deglaze the pan with a little stock so you still get those roasted notes.
- All-purpose flour — Flour gives the gravy its body. Whisk it into the fat and cook it until the mixture looks golden and smells nutty; that’s what keeps the final sauce from tasting chalky. Cornstarch won’t behave the same way here, and it gives a different kind of gloss and texture.
- Warm turkey or chicken stock — Warm stock helps the roux stay smooth. Homemade stock will taste deeper, but a good boxed stock works fine if it tastes clean and not overly salty. If your pan juices are very salty, use low-sodium stock so you can season at the end.
- Fresh thyme — Thyme cuts through the richness and makes the gravy taste finished. Dried thyme works in a pinch, but use less because the flavor is more concentrated.
- Soy sauce — This is the quiet booster. It doesn’t make the gravy taste like soy sauce; it adds color and a little savory depth that makes the whole thing taste like it simmered longer than it did.
Building the Roux and Finishing the Gravy
Separating the Fat
Pour the drippings into a measuring cup and let them sit long enough for the fat to rise. Spoon off the fat for the roux, but don’t throw away the browned pan juices underneath — they’re loaded with flavor and should go right into the gravy. If the drippings are nearly all lean liquid, add enough butter to reach the right amount of fat.
Cooking the Roux
Whisk the flour into the hot fat over medium heat until it forms a smooth paste, then keep cooking for 3 to 4 minutes. It should look golden and smell a little nutty, not pale and raw. If it starts to darken too quickly, pull the pan slightly off the heat while you whisk; burnt roux tastes bitter and there’s no fixing it.
Whisking in the Stock
Add the warm stock gradually, whisking after each splash so the mixture stays smooth. The gravy will look thin at first, then go glossy as it comes back to a simmer. If lumps form, keep whisking hard before you reach for a strainer — most small lumps dissolve once the liquid heats through.
Simmering to the Right Spoon-Coating Texture
Stir in the thyme and soy sauce, then let the gravy simmer until it lightly coats the back of a spoon, usually 8 to 10 minutes. It should leave a clear trail when you drag a finger through it. If it gets thicker than you want, whisk in a little more warm stock; if it seems thin, give it another minute or two, because gravy thickens as it cools.
How to Adjust This Gravy for Different Tables
No Drippings, Still Full Flavor
Use butter for the fat and start by deglazing the roasting pan or skillet with a little stock before you measure the liquid in. You won’t get quite the same roasted depth, but the soy sauce and thyme help bring the same savory backbone.
Gluten-Free Gravy
Swap the all-purpose flour for a gluten-free flour blend that works as a 1:1 replacement. The texture will be a little less silky than classic roux gravy, but it still thickens nicely if you give it the full simmer time.
Make It Ahead for a Big Meal
Gravy holds well if you make it a day early and thin it with a splash of warm stock when reheating. It thickens in the fridge, so don’t judge the final texture until it’s hot again on the stove.
Storage and Reheating
- Refrigerator: Store in an airtight container for up to 4 days. It will set up thicker as it chills.
- Freezer: Freezes well for up to 2 months. Leave a little room in the container because it expands slightly, and whisk well after thawing.
- Reheating: Warm it slowly in a saucepan over low heat with a splash of stock. High heat can make it break or scorch on the bottom before the center loosens.
Questions I Get Asked About This Recipe
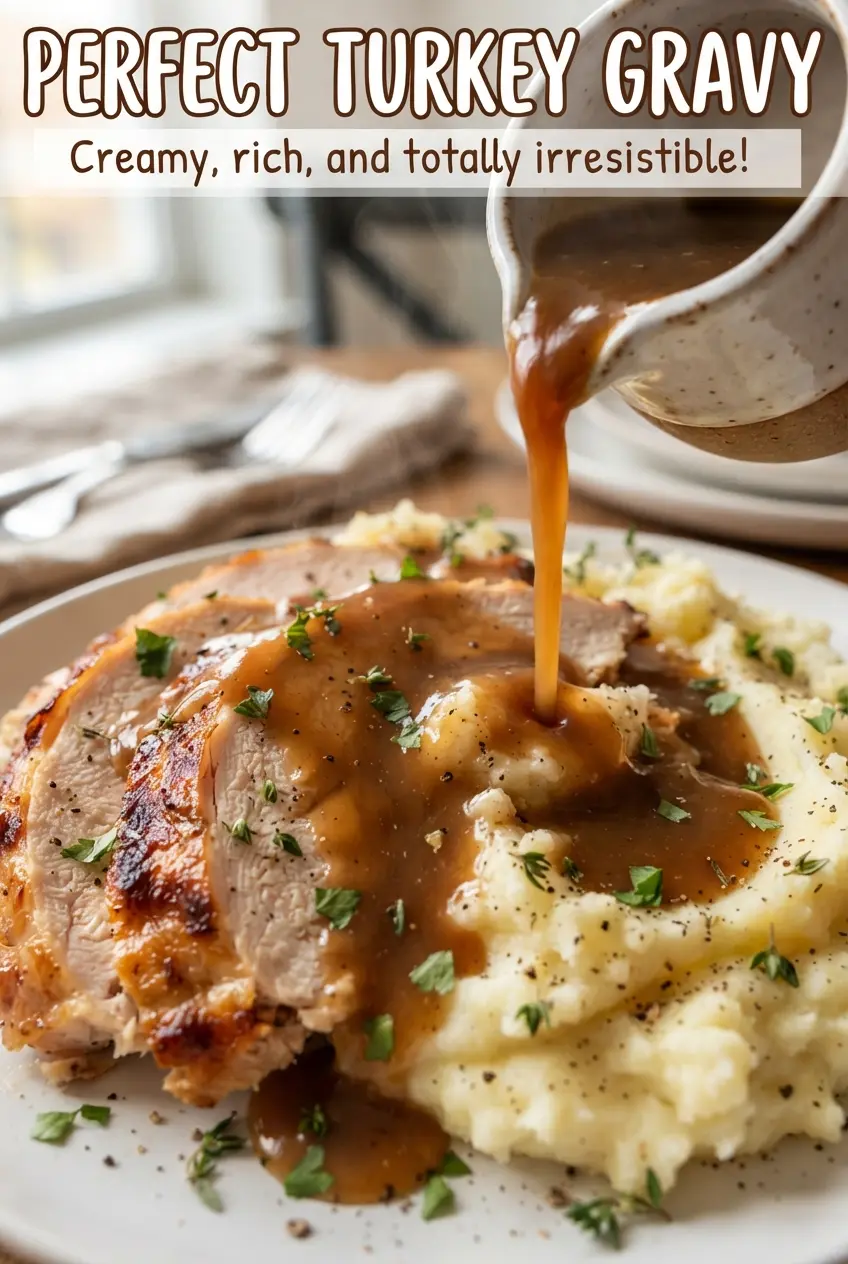
Perfect Turkey Gravy
Ingredients
Equipment
Method
- Pour the roasting pan drippings into a measuring cup and let the fat rise to the top.
- Spoon 1/4 cup of the fat into a saucepan over medium heat, then whisk in the all-purpose flour.
- Cook the roux 3-4 minutes, whisking, until golden brown.
- Gradually whisk in the warm turkey or chicken stock and the defatted pan juices until smooth.
- Add the fresh thyme leaves and soy sauce, then simmer 8-10 minutes until thick enough to coat a spoon.
- Season with salt and black pepper to taste.
- Strain if desired, then serve hot.