Cinnamon fried apples land in that sweet spot between dessert and side dish: tender but not mushy, glossy with buttery brown sugar, and scented all the way through with cinnamon and nutmeg. The sauce clings to every slice instead of pooling at the bottom of the pan, which is what makes this version worth keeping around. It tastes like the best part of apple pie filling, minus the crust and the extra work.
The trick is using firm apples and cooking them covered just long enough for the slices to soften without collapsing. Then the cornstarch slurry goes in at the end, not at the beginning, so the syrup thickens into a shine instead of turning pasty. A small splash of vanilla after the heat does the last bit of rounding out and keeps the flavor from tasting flat.
Below, you’ll find the best apples to reach for, why the sauce thickens the way it does, and a few smart swaps if you want to serve these with breakfast, spoon them over ice cream, or make them dairy-free.
The apples stayed tender but didn’t fall apart, and the syrup thickened up into a glossy coating right at the end. I served them over pancakes and my husband asked for the same thing again the next morning.
Save these cinnamon fried apples for the skillet sauce that turns soft apples, butter, and brown sugar into a glossy Southern-style side.
The Mistake That Turns Fried Apples Into Mush
Most bad fried apples happen because the heat is too high or the pan gets uncovered too early. Apples need time to soften, but they also need enough moisture around them to cook evenly. If the liquid evaporates before the centers are tender, you end up with wrinkled slices in a scorched syrup. If the heat stays too aggressive, the outsides collapse before the apples have any structure left.
This recipe solves that by starting with butter and sugar, then covering the skillet so the apples steam gently in their own sweet sauce. The final cornstarch step matters just as much. It turns the juices into a syrupy glaze that coats the fruit, which is what keeps the dish from tasting watery.
- Firm apples — Honeycrisp holds its shape beautifully, while Granny Smith brings a sharper bite that balances the sugar. Softer apples can work, but they break down faster and give you more of a compote than distinct slices.
- Butter — This gives the sauce richness and helps the sugar dissolve smoothly. There isn’t a great substitute for the flavor here, though a neutral dairy-free butter will work if needed.
- Brown sugar — Packed brown sugar melts into the apples and adds that molasses note that makes the sauce taste deeper than plain white sugar would. Light or dark brown sugar both work; dark brown gives a stronger caramel edge.
- Cornstarch — This is what turns the apple juices into a glossy sauce. Stir it into cold water first so it disperses cleanly; dumping it straight into the pan can leave you with little starchy clumps.
What Each Ingredient Is Doing in the Pan
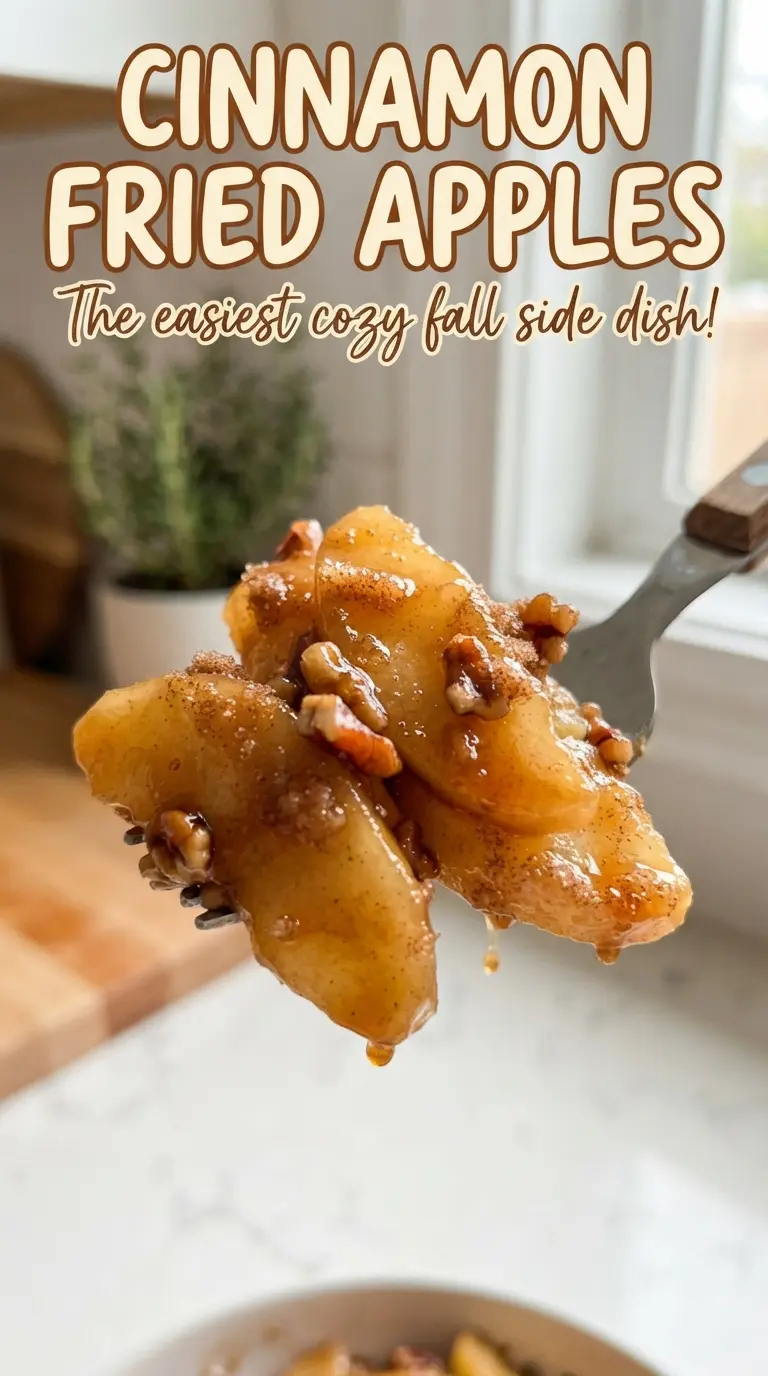
Every ingredient here has a job, and the balance matters. The apples bring structure and freshness, the butter carries the cinnamon, and the brown sugar melts into the fruit instead of just sitting on the surface. Cinnamon does the obvious heavy lifting, but the nutmeg is what makes the flavor taste complete rather than one-note.
The vanilla goes in at the very end because its perfume fades with longer cooking. Salt sounds small, but it keeps the sauce from tasting like candy. And the water is there only to help the cornstarch disperse into a smooth slurry before it thickens in the pan.
- Honeycrisp or Granny Smith apples — Pick firm apples that can stand up to heat. If you use a softer apple, cut the cooking time back a little and expect a looser finish.
- Brown sugar — This creates the syrup and the caramel note. White sugar will sweeten the dish, but it won’t give the same depth.
- Cornstarch — Use it for a glossy sauce with a clean finish. Flour will thicken too, but it turns the sauce cloudy and heavier.
- Vanilla extract — Stir it in after the heat starts coming off the pan. Add it too early and much of that round, warm aroma cooks away.
How to Keep the Apples Tender, Not Waterlogged
Starting the Syrup
Melt the butter over medium heat, then add the apples, brown sugar, cinnamon, nutmeg, and salt right away. The sugar should begin dissolving almost immediately and look wet, not grainy. If the pan is too hot, the sugar can grab onto the butter and scorch before the apples even start softening, so keep the heat at a gentle sizzle rather than a hard fry.
Letting the Apples Steam Under Cover
Cover the skillet and cook the apples until they’re just tender, stirring once or twice so the slices at the bottom don’t overcook. The lid traps enough steam to soften the fruit without requiring extra liquid. If the apples still feel too firm after 8 minutes, keep going in short bursts; different varieties and slice thicknesses change the timing more than most people expect.
Thickening the Sauce at the End
Whisk the cornstarch with water until it looks completely smooth, then pour it in and simmer for a couple of minutes. You’re looking for the sauce to go from thin and cloudy to glossy and spoon-coating. If it stays loose, give it another minute; if you add too much heat here, the sauce can go from silky to gluey fast.
Finishing with Vanilla
Turn off the heat and stir in the vanilla once the sauce has thickened. That keeps the flavor bright and warm instead of cooked out. Serve the apples while they’re still warm, when the sauce is loose enough to spoon but thick enough to cling.
Three Ways to Work These Apples Into Your Own Kitchen
Dairy-Free Version
Swap the butter for a good dairy-free baking butter with a similar fat content. The apples will still soften and the sauce will still thicken, but you’ll lose a little of that classic buttery finish, so lean on the vanilla and cinnamon for warmth.
Less Sweet, More Tart
Use all Granny Smith apples and drop the brown sugar by a couple of tablespoons. The sauce will still glaze properly, but the finished dish will taste sharper and more balanced, which works well beside pork, biscuits, or rich breakfast foods.
Extra-Soft Filling Style
Cook the apples a few minutes longer before adding the cornstarch if you want them closer to pie filling. The slices will start to slump and the texture gets softer, which is great over waffles or pound cake but less ideal if you want distinct apple pieces.
Storage and Reheating
- Refrigerator: Store in an airtight container for up to 4 days. The sauce thickens as it chills, so expect a firmer texture.
- Freezer: Freezing works, but the apple texture softens more after thawing. Cool completely, freeze in a shallow container, and thaw in the refrigerator before reheating.
- Reheating: Warm gently in a skillet over low heat with a tablespoon of water if needed. High heat can make the sauce tighten up too much and push the apples past tender into mushy.
Questions I Get Asked About This Recipe
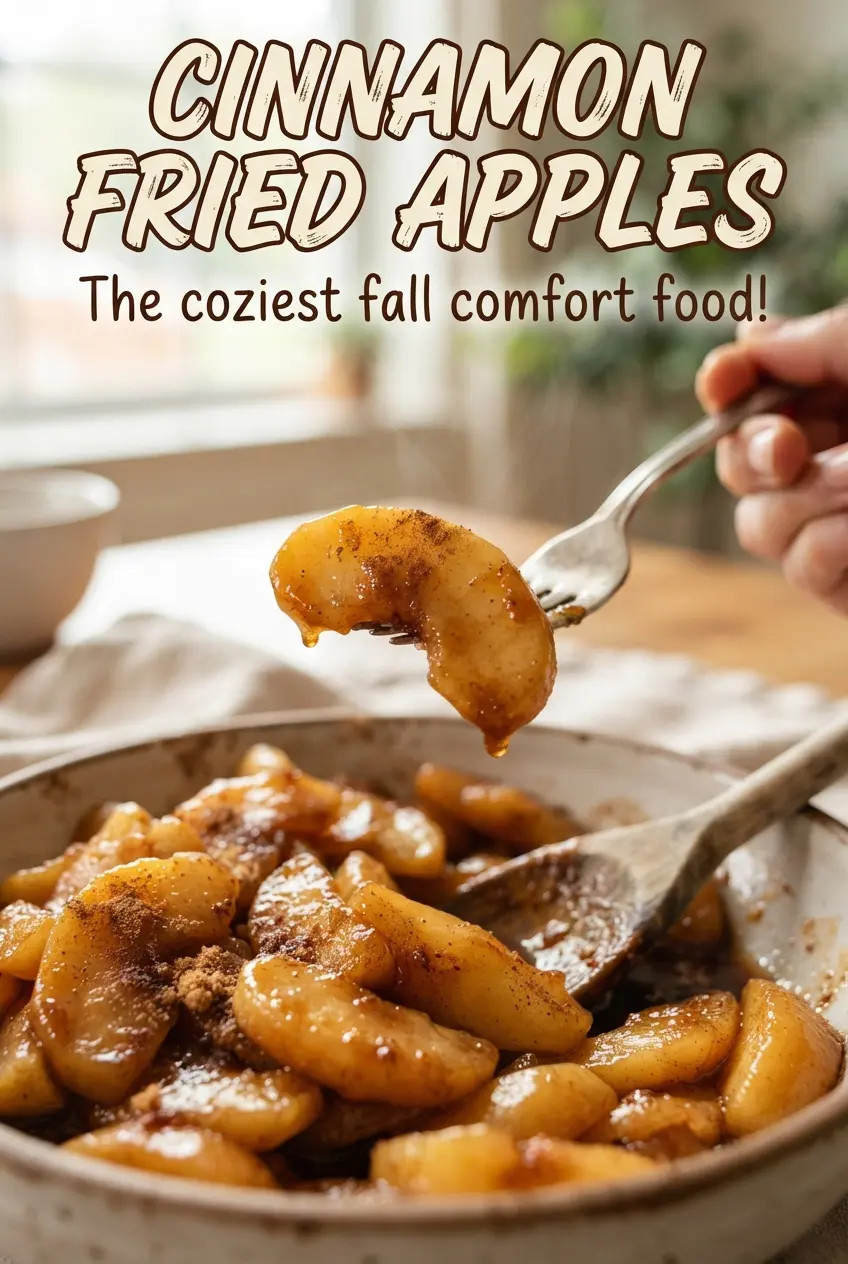
Cinnamon Fried Apples
Ingredients
Equipment
Method
- Melt butter in a large skillet over medium heat until it foams lightly.
- Add firm apples, brown sugar, ground cinnamon, nutmeg, and salt, then stir to coat every slice.
- Cover and cook 8-10 minutes, stirring occasionally, until the apples are just tender.
- Whisk cornstarch with water, then pour it into the skillet while stirring.
- Simmer 2-3 minutes until the sauce thickens and looks glossy.
- Stir in vanilla extract and serve warm.