Golden roast chicken gets a lot of attention for the skin, but what keeps you coming back is the pan sauce: tart cranberries, sweet maple, sharp Dijon, and the browned juices from the bird all collapsing into one glossy spoonful. The chicken comes out with lacquered skin that cracks under the knife, while the cranberries burst just enough to turn the roasting pan into its own built-in sauce.
What makes this version work is the timing. The chicken roasts first on its own, which gives the skin a chance to render and brown before the maple glaze goes on. If you brush the glaze too early, the sugars can darken before the meat is done. Adding the cranberries and broth later keeps them from turning to jam too soon and gives the pan sauce enough liquid to stay spoonable instead of sticky.
You’ll find the little details that matter below: how to rub the butter under the skin for better flavor, when to start glazing, and how to know when the chicken has gone from nearly done to ready for a proper rest.
The glaze set up beautifully and the cranberries popped just enough to make the pan sauce taste bright instead of overly sweet. I followed the timing exactly and the chicken skin stayed crisp after resting.
Save this Cranberry Maple Roast Chicken for the nights when you want a glazed roast with tart cranberry pan sauce and minimal cleanup.
The Trick to Keeping the Maple Glaze from Burning Before the Chicken Is Done
The biggest mistake with a maple-glazed roast chicken is brushing on the sweet part too early. Sugar starts browning fast in a hot oven, and if it’s on the skin from the beginning, the outside can go too dark before the thigh is fully cooked. This recipe avoids that by roasting the chicken plain first, then glazing it near the end when the skin is already set and the meat only needs finishing heat.
The second thing that matters is the pan itself. The onion, cranberries, broth, and chicken juices turn into the sauce underneath the bird, and that only works if the pan has enough room for air and heat to circulate. Crowding the pan makes everything steam. You want the chicken to sit above the fruit and onion enough that the skin stays crisp while the sauce bubbles around the edges.
What Each Ingredient Is Doing in This Roast Chicken
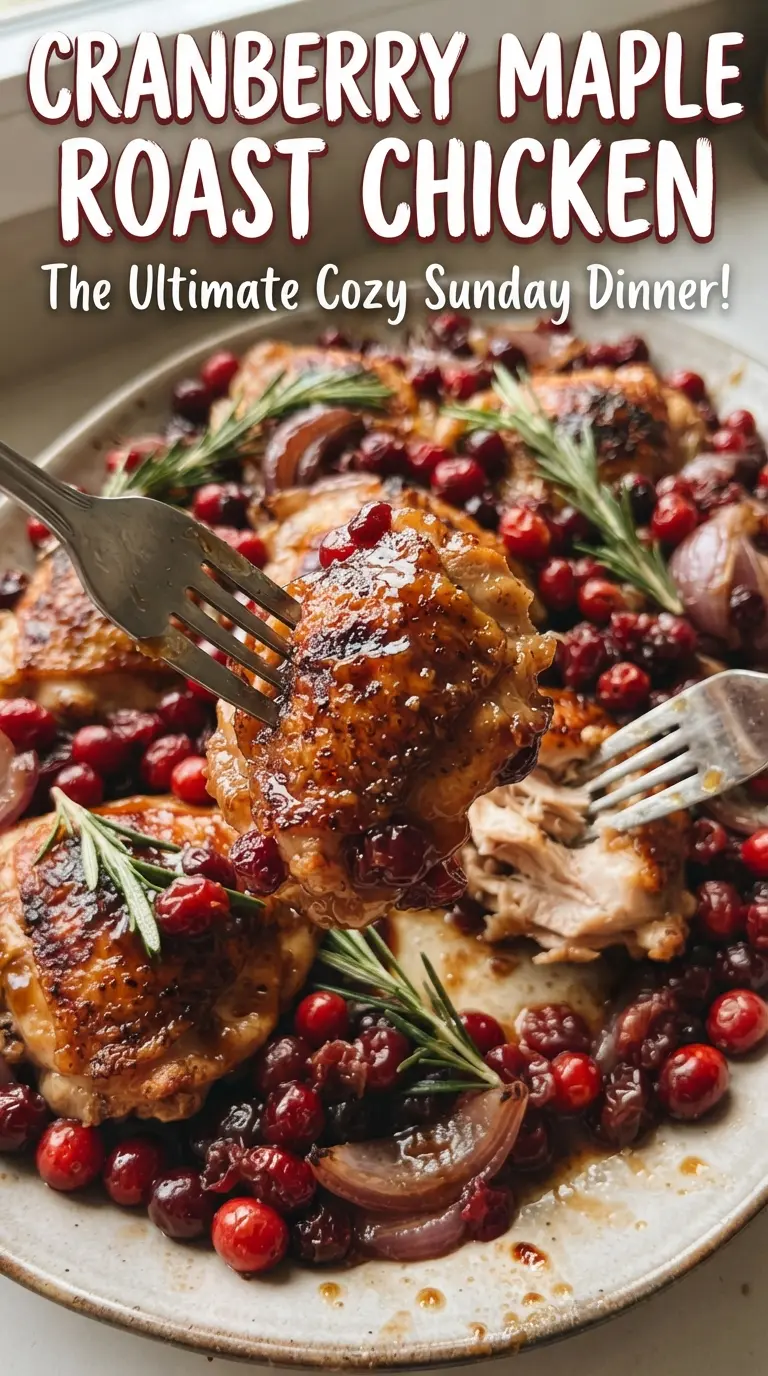
The chicken is the centerpiece, but the seasoning and aromatics do the quiet work. Drying the bird well before it goes into the oven helps the skin crisp instead of steam, and the butter rubbed with rosemary adds flavor under the skin where it can actually matter. The orange and garlic inside the cavity perfume the meat from the inside out without turning it into a stuffed roast that takes longer to cook.
- Fresh cranberries — They give the sauce its sharp bite and burst just enough in the pan to create texture. Frozen cranberries can work, but don’t thaw them first or they’ll release too much liquid all at once.
- Maple syrup — Use real maple syrup here. It gives the glaze depth and a clean sweetness that doesn’t taste flat or candy-like. Pancake syrup won’t behave the same in the oven and can taste artificial after roasting.
- Dijon mustard — This keeps the glaze from tasting one-note sweet and helps it cling to the chicken. If you need a substitute, use a grainy mustard or a small spoonful of whole-grain mustard, but expect a slightly rougher finish.
- Butter and rosemary — The butter carries the herb flavor and helps the skin brown evenly. Fresh rosemary is worth using here because dried rosemary can feel woody and overpowering in a glazed roast.
- Orange, garlic, and red onion — These build the background flavor in the pan. The onion softens and sweetens, the garlic turns mellow, and the orange keeps the sauce bright enough to cut through the richness.
Building the Roast in Two Stages So the Skin Stays Crisp
Seasoning and Buttering the Bird
Salt and pepper go on first so the chicken is seasoned all the way through, not just on the surface. Work the softened butter with rosemary under and over the skin, especially over the breast and thighs, where the meat can handle and benefit from extra fat. If the butter is too cold, it tears the skin; if it’s melted, it runs off before the oven can do its job.
Starting the Roast Without the Glaze
Set the chicken in the pan with the onion around it and the orange and garlic inside the cavity, then roast it at 425°F for the first 50 minutes. That high heat renders the skin and gives you the color you want before the glaze goes on. If the skin is pale at this point, the oven is running cool or the chicken went in wet.
Brushing on the Maple and Adding the Cranberries
Whisk the maple syrup and Dijon together before brushing on half of it. Add the cranberries and broth to the pan now, not earlier, so the fruit can soften without disappearing. Brush with the remaining glaze during the final roast; that second layer is what gives the bird its shiny finish without burning the sugars.
Knowing When to Pull It and Rest It
The chicken is done when the thigh reaches 165°F and the juices run clear. Pull it from the oven and let it rest for 15 minutes before carving so the juices settle back into the meat instead of running onto the cutting board. If you carve too soon, the bird will still taste good, but the slices won’t stay as moist and the pan sauce won’t have time to thicken slightly.
How to Adapt This Roast Chicken for a Smaller Table or a Different Pantry
Use bone-in chicken pieces instead of a whole bird
Thighs and drumsticks roast faster than a whole chicken, so start checking them early. You’ll get more glaze on each piece and less carving at the table, but you’ll lose some of the drama and the built-in juices from a whole bird.
Make it dairy-free
Swap the butter for an equal amount of olive oil or a plant-based butter that can handle high heat. Olive oil gives you crisp skin and a lighter finish, while plant-based butter keeps the flavor a little closer to the original.
Use frozen cranberries when fresh aren’t available
Frozen cranberries work well straight from the bag. Don’t thaw them first, or they’ll leak too much juice into the pan and water down the sauce before they have a chance to burst and thicken.
Storage and Reheating
- Refrigerator: Store leftovers for up to 4 days. The skin softens in the fridge, but the meat stays juicy if it’s kept with the pan sauce.
- Freezer: The carved chicken freezes well for up to 3 months, though the cranberry sauce will loosen after thawing. Pack the meat and sauce separately if you can.
- Reheating: Reheat covered in a 325°F oven with a spoonful of broth or sauce to keep the meat from drying out. A microwave will work in a pinch, but it turns the skin rubbery fast.
Answers to the Questions Worth Asking
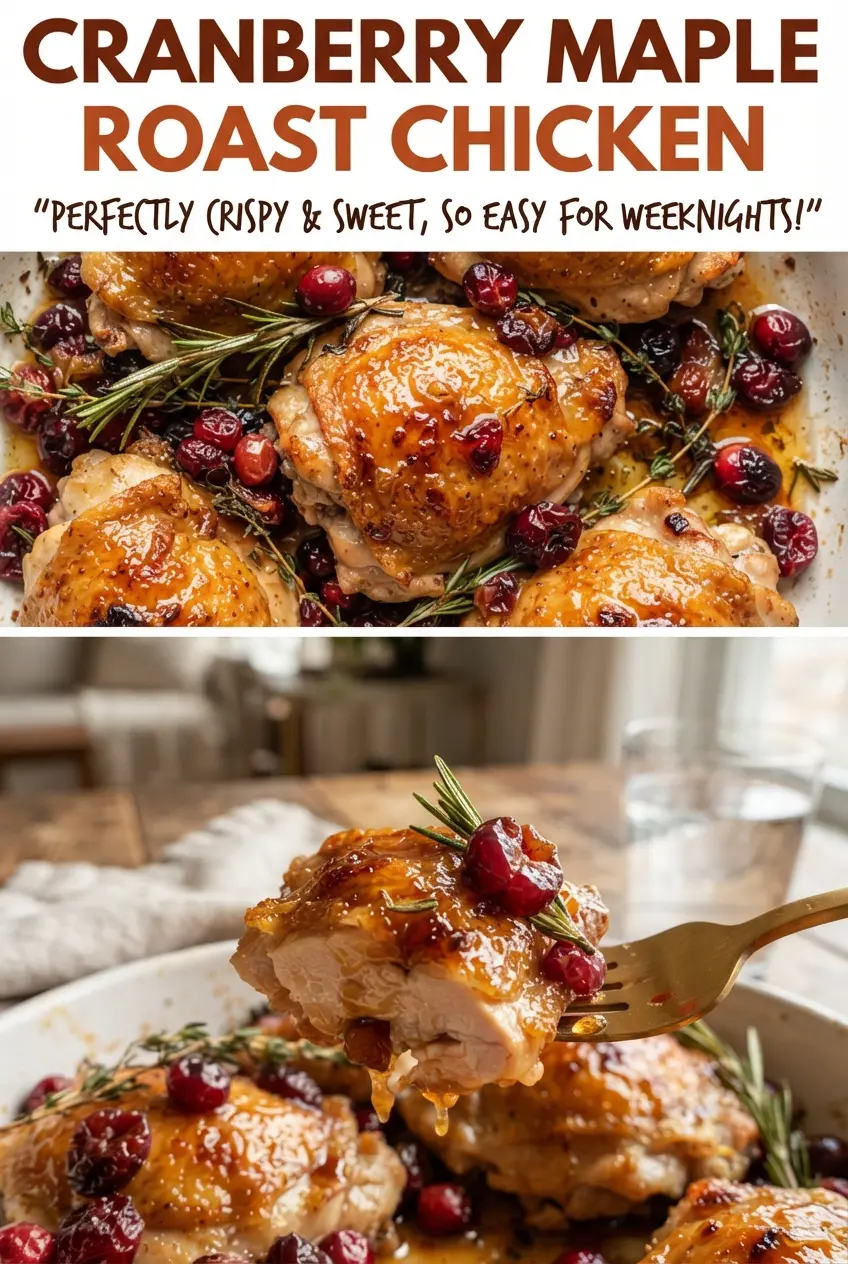
Cranberry Maple Roast Chicken
Ingredients
Equipment
Method
- Preheat oven to 425F. Set a roasting pan in the oven or prepare it on the counter for loading.
- Season the chicken inside and out with salt and pepper, then rub the butter mixed with rosemary under and over the skin. Pat everything evenly so the skin looks coated.
- Stuff the cavity with orange halves and garlic, then set the chicken in a roasting pan with the onion around it. Arrange the onion wedges so they sit beside the chicken, not on top.
- Roast the chicken for 50 minutes. Look for the skin to be starting to turn golden and set on the surface.
- Whisk maple syrup and Dijon mustard, then brush half over the chicken. You should see a glossy amber sheen on the skin.
- Add cranberries and chicken broth to the pan. Distribute cranberries around the chicken so some are submerged in the pan liquid.
- Roast 25-30 minutes more, brushing with the remaining glaze once during this window. Stop when the thigh reaches 165F.
- Rest the chicken for 15 minutes, then carve and spoon the cranberry pan sauce over the top. The juices should settle, and the sauce should look thick and spoonable.