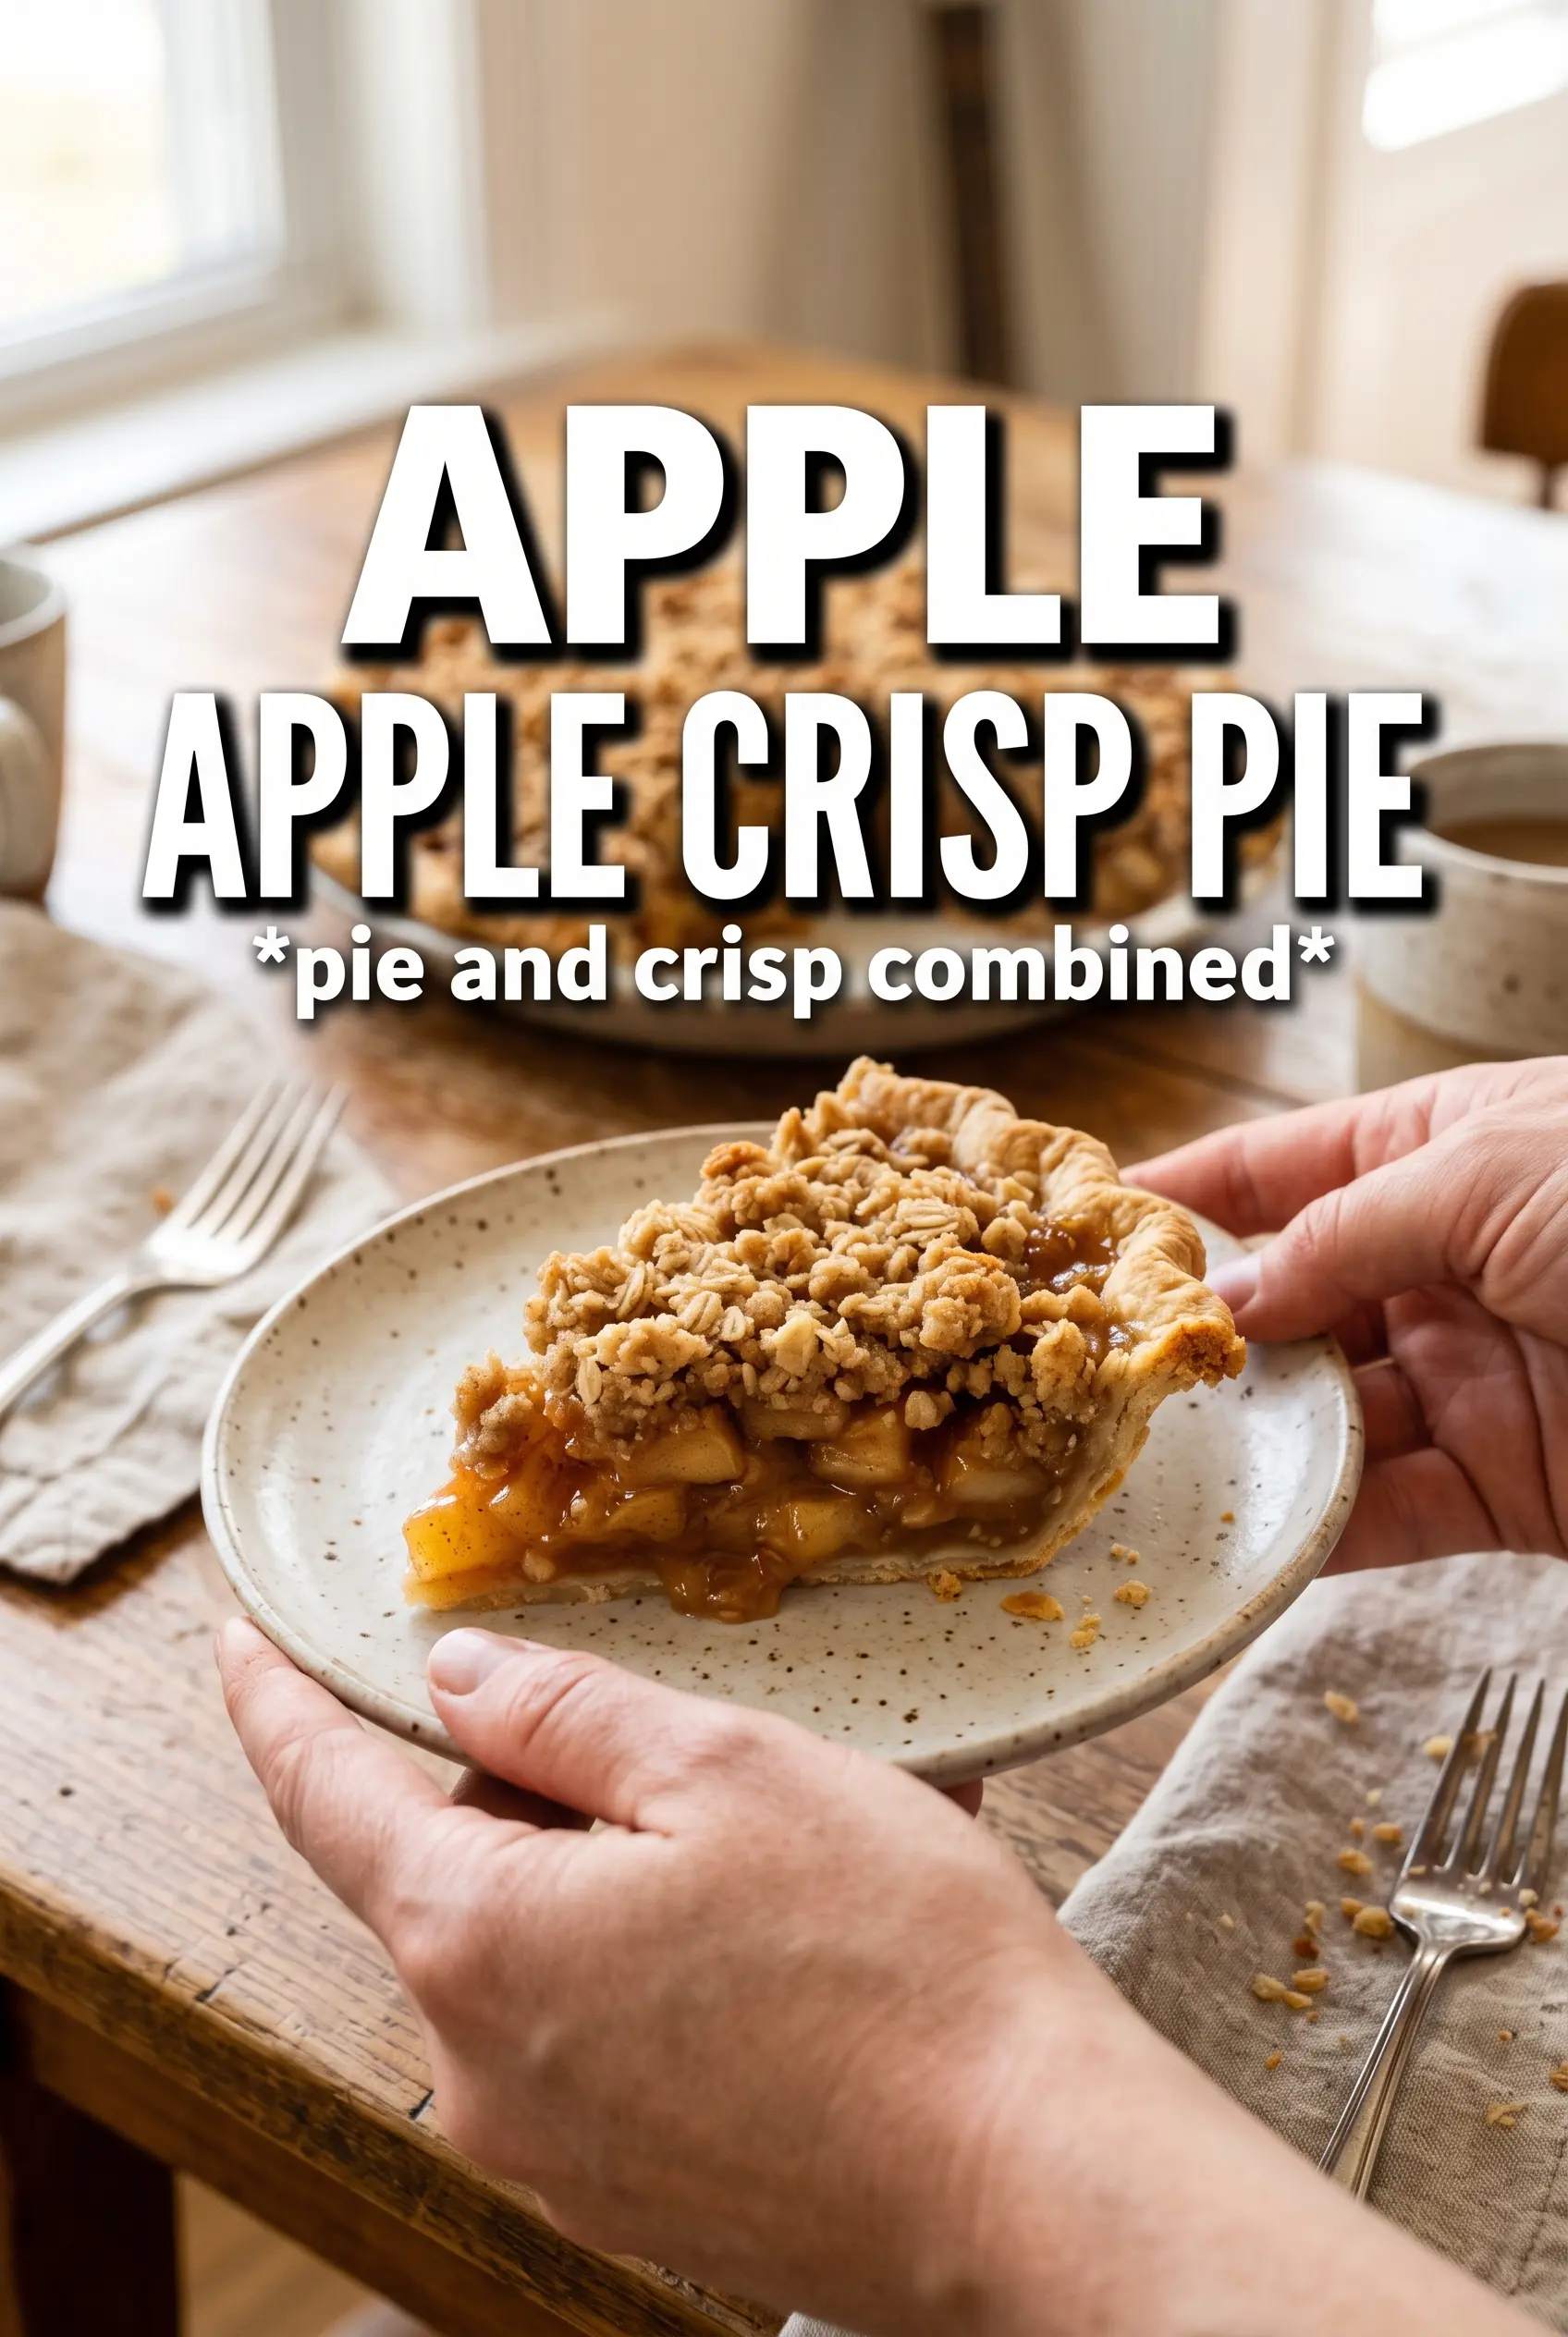
Apple Crisp Pie lands in that sweet spot between a classic apple pie and a crumble-topped dessert that disappears fast at the table. You get a flaky bottom crust, tender spiced apples, and a thick oat topping that turns crisp at the edges while staying a little nubby and buttery in the middle. The caramel ties the whole thing together without making it cloying, so every slice tastes like apples first, dessert second.
What makes this version work is the balance of moisture and structure. The cornstarch thickens the filling as the apples bake, which keeps the slice from collapsing into a runny puddle, and the cold butter in the topping gives you those big golden clumps instead of sandy crumbs. A deep-dish shell matters here because the fruit settles as it cooks, and you want enough room for the apple mound to soften without spilling over.
Below, I walk through the small details that keep the crust crisp, the topping crunchy, and the filling bubbling in the right way. There’s also a note on which apples behave best and how to keep the top from overbrowning before the center is done.
The filling set up beautifully and the oat topping stayed crisp even after the pie cooled. I loved that the caramel didn’t make it soggy — it just gave the apples a deeper, almost toffee-like finish.
Love the buttery oat crumble and caramel-studded apple filling? Save this Apple Crisp Pie for the dessert nights when you want a classic pie with extra texture.
The Part That Keeps the Filling from Turning Soupy
The biggest mistake with apple crisp pie is underestimating how much juice the fruit releases. Apples soften, sugar pulls out liquid, and caramel adds even more moisture. Without enough thickener, that liquid runs straight into the crust and leaves you with a bottom that never really sets.
That’s why the cornstarch is doing more than just “helping.” It needs the full bake time to activate and thicken the juices as the filling bubbles. The pie is done when you can see steady bubbling at the edges and through the topping, not when the top merely looks golden. If the crumble is browning too quickly before that happens, tent it with foil and keep baking until the filling is visibly active.
- Deep-dish pie shell — This gives the apples room to settle and the filling room to bubble without spilling over. A standard shallow shell is too tight for this much fruit.
- Corngarch-free apples? No. — The starch matters here. Flour will thicken, but it won’t give you the same clean, glossy set that cornstarch does in a fruit pie.
- Caramel sauce — Use a thick sauce, not a thin ice cream topping, or the filling can get loose. The caramel should accent the apples, not flood them.
What Each Ingredient Is Actually Doing in This Pie
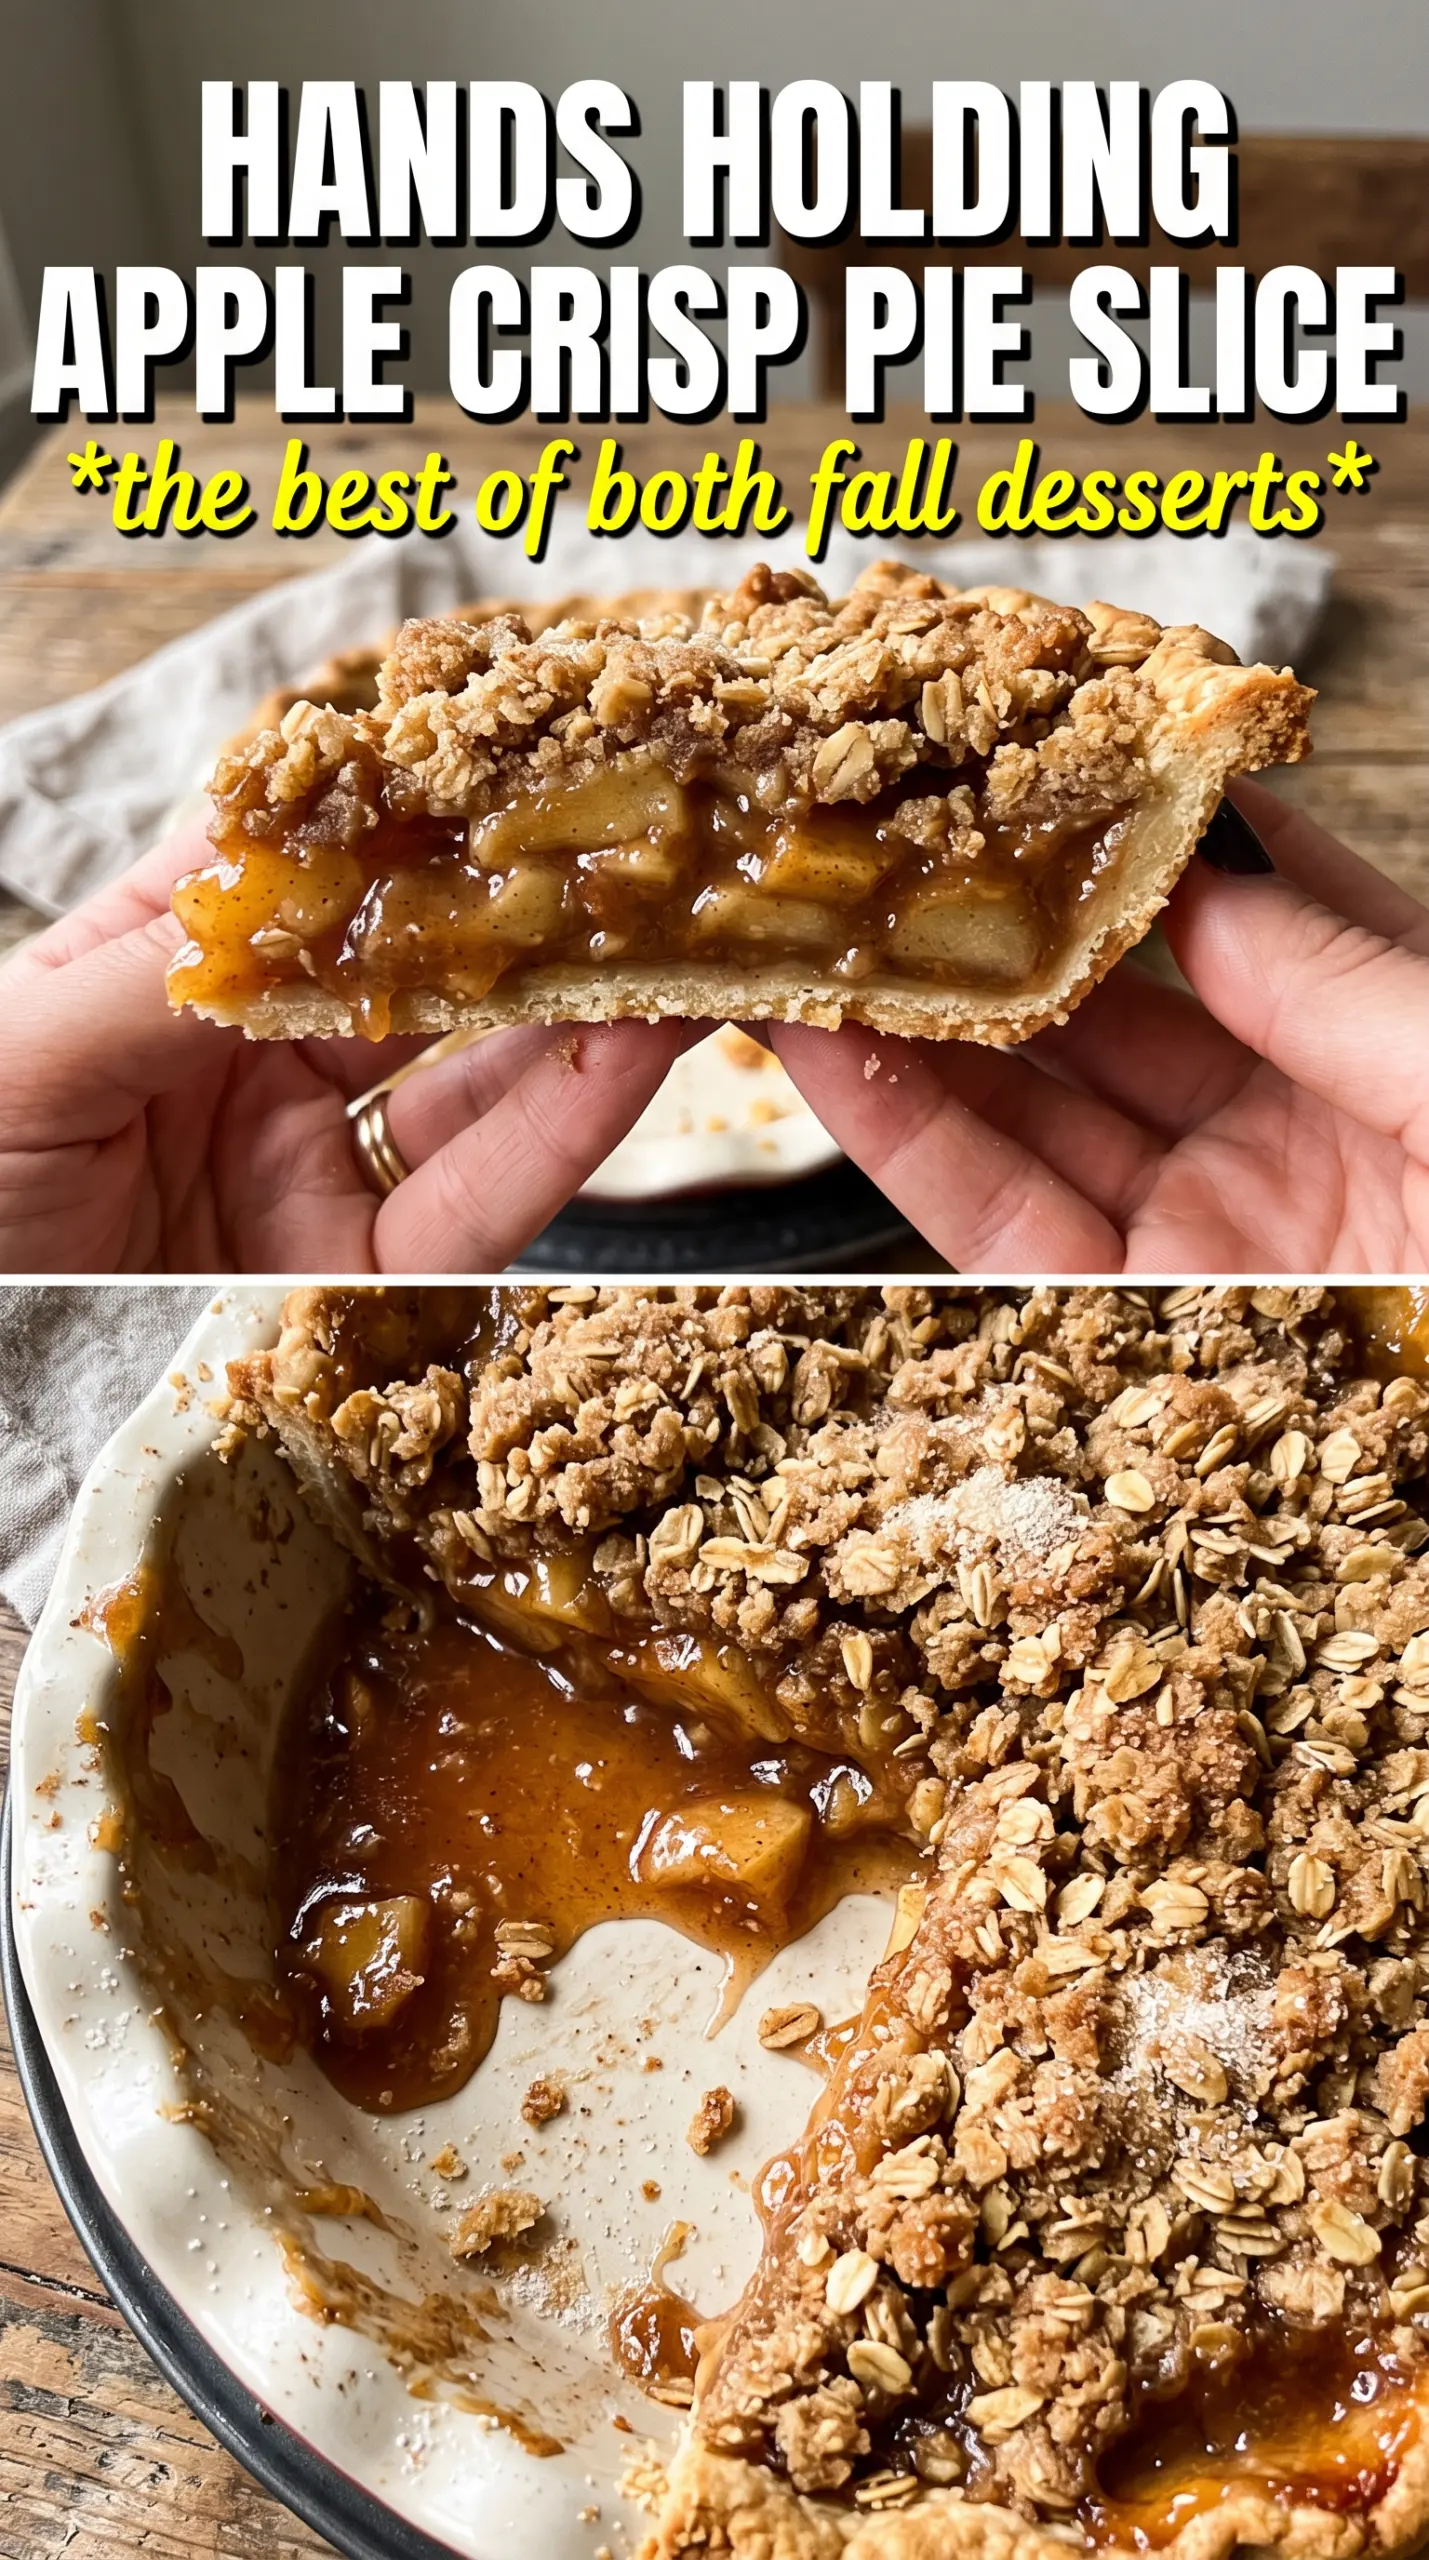
- Apples — Use firm baking apples that hold their shape, like Granny Smith, Honeycrisp, Braeburn, or a mix. Softer apples can still work, but they break down faster and give you a softer, less defined filling.
- Brown sugar — This adds a deeper, molasses-style sweetness that plain white sugar can’t match. You can swap in more granulated sugar in a pinch, but the filling and topping will taste flatter.
- Lemon juice — It keeps the apples tasting bright and helps balance the caramel. Don’t skip it unless your apples are very tart already.
- Rolled oats — Old-fashioned oats give the topping structure and that crisp, craggy texture. Quick oats can work, but the topping turns finer and less substantial.
- Cold butter — This is what creates the clumps and the crisp edges. If the butter softens before baking, the topping bakes up denser and less crunchy.
Building the Layers So the Crumble Stays Crisp
Getting the Filling Ready First
Toss the sliced apples with the sugars, spices, cornstarch, lemon juice, and caramel until every slice is coated. The cornstarch should disappear into the juices, not sit in dry pockets at the bottom of the bowl. Pile the fruit into the crust and mound it a little in the center, because the apples shrink as they bake. If you leave the filling level and compacted, the pie can look underfilled once it comes out of the oven.
Making a Topping That Bakes into Clumps
Mix the oats, flour, brown sugar, cinnamon, and salt, then cut in the cold butter until you have large, shaggy clumps. Stop before the mixture turns sandy. The best crisp topping looks uneven, with some fine crumbs and some bigger chunks, because those bigger pieces brown into the crunchy bits everyone reaches for first. Press the topping on gently so it stays loose enough to crisp instead of turning into a packed lid.
Watching for the Bake Cue That Matters
Bake at 375°F until the topping is deep golden and the filling is bubbling at the edges. Bubbling is the sign that the cornstarch has done its job. If the top gets dark before the filling bubbles, lay foil loosely over the pie for the rest of the bake. Let the pie cool before slicing so the juices can settle; if you cut it while it’s raging hot, the filling will run.
Make It Gluten-Free
Swap the all-purpose flour in the topping for a 1:1 gluten-free baking blend. The texture will still be crisp, but it may be a touch more delicate, so let the pie cool fully before slicing.
Make It Dairy-Free
Use a plant-based butter block, not a soft tub spread. The firmer style behaves more like dairy butter in the crumble and helps the topping bake up with actual clumps instead of a greasy layer.
Mix Up the Apples
A mix of tart and sweet apples gives the best balance. Granny Smith brings structure, while Honeycrisp or Braeburn softens the sharp edge and adds a juicier bite. Using only sweet apples can make the pie taste heavy.
Storage and Reheating
- Refrigerator: Store covered for up to 4 days. The topping will soften a little, but the flavor stays strong.
- Freezer: Freeze baked pie slices tightly wrapped for up to 2 months. The crumble won’t be as crisp after thawing, but it still works well.
- Reheating: Warm slices in a 325°F oven until heated through. The microwave makes the topping soft, so use it only if you don’t care about crunch.