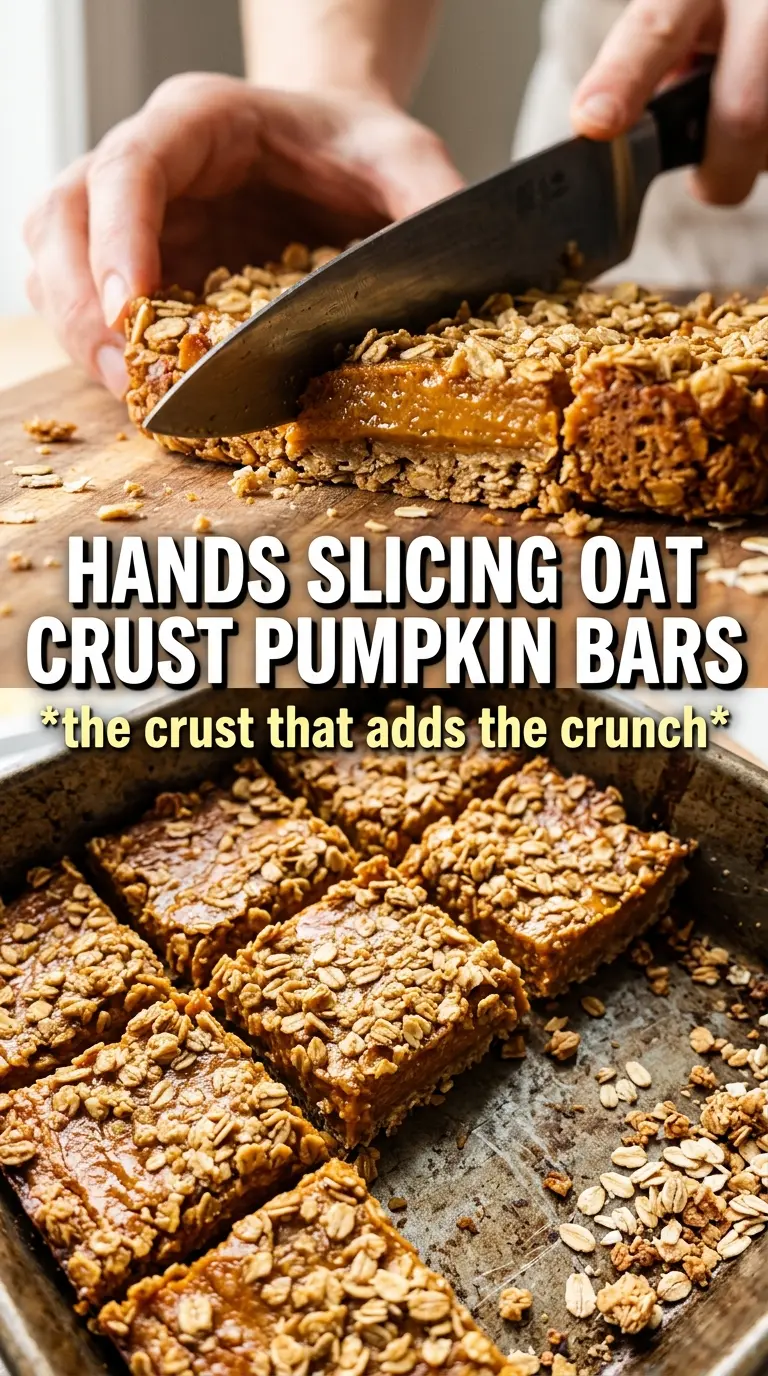
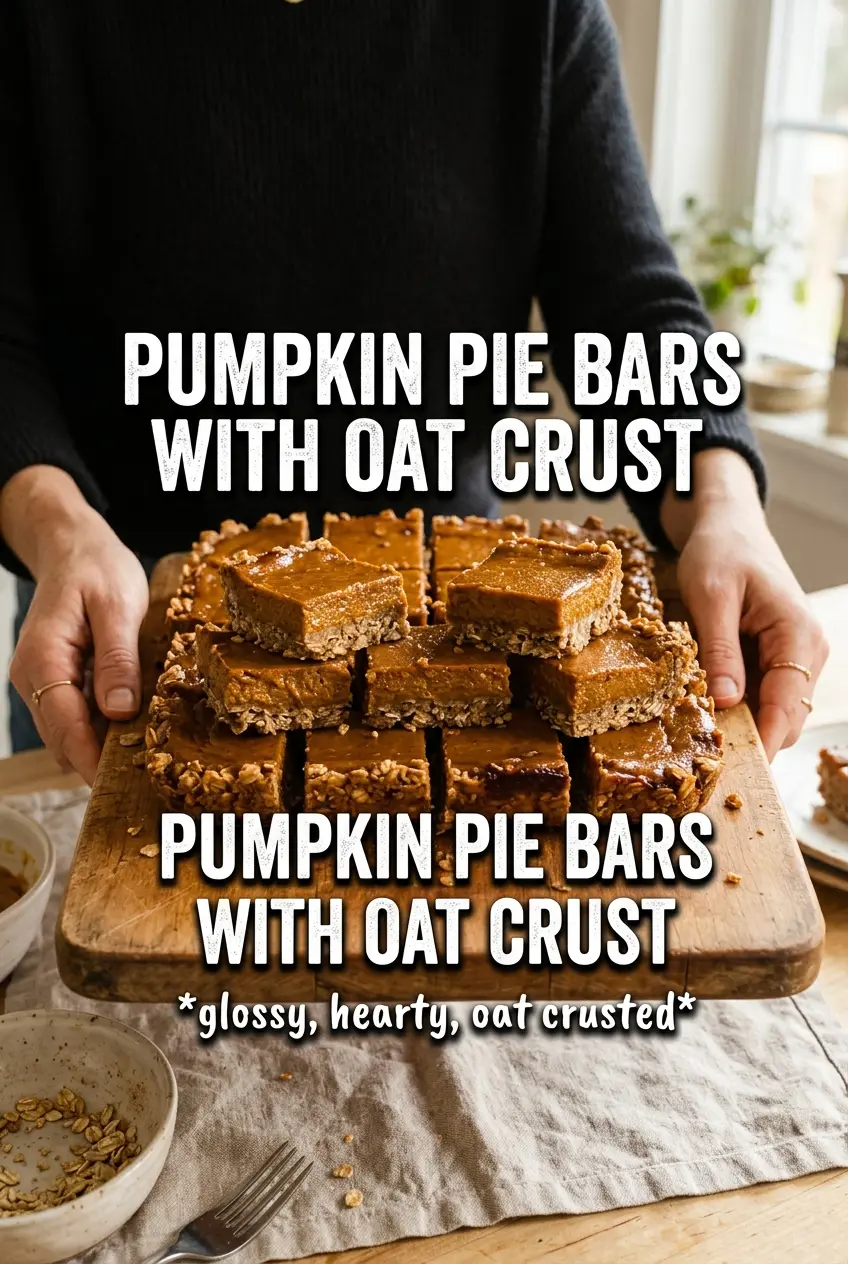
These pumpkin pie bars come out with the best kind of contrast: a sturdy, buttery oat crust on the bottom, silky pumpkin filling in the middle, and a crumbly topping that bakes into little toasted pockets across the surface. They slice cleanly, travel well, and taste like pumpkin pie with less fuss and a lot more texture.
The oat mixture does double duty here. Part of it gets pressed into the pan and baked first so the crust stays crisp under the filling, and the rest stays loose for a true crumble topping. That first bake matters. It keeps the bars from turning soggy and gives you a base that stands up once the pumpkin layer goes on.
Below, I’ve included the exact chilling step that makes the bars cut neatly, plus a few swaps and troubleshooting notes so you can get the same clean layers every time.
The oat crust stayed crisp under the pumpkin layer, and the bars cut into neat squares after chilling overnight. I brought them to Thanksgiving and there wasn’t a crumb left.
Save these pumpkin pie bars with oat crust for a make-ahead dessert with a crisp base and a buttery crumb topping.
The Reason the Bottom Stays Crisp Instead of Turning Soggy
The first bake on the oat crust is the difference between bars that hold together and bars that slump when you cut them. Pressing most of the mixture into the pan and baking it before the filling goes in gives the flour time to set and the butter time to toast, which keeps the pumpkin layer from soaking straight through. If you skip that step, the bars still taste good, but the base turns soft and muddy.
The other thing that matters here is how firmly you pack the crust. Loose crumbs underneath the filling won’t knit into a proper base. Use the bottom of a measuring cup or your fingers to press it into an even layer, with a little extra pressure around the corners where the filling tends to run thin. That gives you neat edges and a crust that cuts without crumbling apart.
- Cold butter — This is what gives the crust and topping their texture. If the butter is soft, the mixture turns pasty instead of crumbly, and you lose those toasted oat pockets on top.
- Rolled oats — Rolled oats hold their shape and bake into a sturdier crumble than quick oats. Quick oats will work in a pinch, but the topping comes out finer and less defined.
- Evaporated milk — It adds richness and helps the filling set with a smooth, custardy texture. Regular milk doesn’t give the same body, so the bars can bake up looser.
- Pumpkin puree — Use pure pumpkin, not pumpkin pie filling. Pie filling is already sweetened and spiced, which throws off both the flavor and the texture here.
What Each Ingredient Is Actually Doing in This Recipe
- Primary ingredient (the star) — Quality matters most. Choose the best you can find.
- Cooking medium (oil, butter, or broth) — This carries flavors and prevents dryness.
- Seasonings (salt, pepper, spices, herbs) — Layer flavors so nothing overpowers. Build depth gradually.
- Aromatics (garlic, onion, herbs) — Cook with fat to bloom flavors. Become the foundation.
- Supporting ingredients — Complement the main ingredient without overpowering it.
- Sauce or liquid (if applicable) — Brings flavors together. Balance richness with acid.
- Acid (lemon, vinegar, wine, or other) — Brightens and prevents flat-tasting results.
- Final finish (garnish, glaze, or sauce) — Prevents one-dimensional taste and adds visual appeal.
Building the Pumpkin Layer Without Overbaking It
Mix the Crumble First
Combine the oats, flour, brown sugar, cinnamon, and salt before cutting in the butter. You want a sandy mixture with pea-size bits of butter still visible, not a smooth dough. Those little butter pieces melt in the oven and create the crumbly texture on top. If the butter disappears completely, the topping bakes up dense instead of crisp.
Press and Par-Bake the Base
Reserve one cup of the crumb mixture, then press the rest firmly into the parchment-lined pan. Bake it until the edges look set and the top is just starting to look dry, about 12 minutes. That short bake gives the crust a head start so it doesn’t collapse under the filling. Pull it too early and it stays pale and soft under the pumpkin layer.
Pour the Filling Over a Hot Crust
Whisk the pumpkin puree, evaporated milk, eggs, sugar, spices, salt, and vanilla until completely smooth, then pour it over the hot crust. The hot pan helps the filling begin setting right away at the edges, which keeps the layers distinct. Scatter the reserved crumble over the top without pressing it down. If you pack the topping, it bakes into a solid lid instead of a crumbly finish.
Watch the Center, Not the Clock
Bake until the topping is golden and the center looks set with just a slight wobble when you nudge the pan. The filling should no longer look wet in the middle, but it also shouldn’t be puffed and cracking. Overbaking dries the custard and can make the bars grainy around the edges. Let them cool completely, then chill for at least an hour before slicing so the filling firms up and the layers cut cleanly.
How to Adapt These Bars for Different Kitchens and Crowds
Make them gluten-free
Swap the all-purpose flour for a 1:1 gluten-free baking blend and use certified gluten-free oats. The texture stays close to the original, though the crust may be a little more delicate when warm, so the chilling step matters even more.
Dairy-free version
Use a firm plant-based butter in both the crust and topping, and replace the evaporated milk with canned coconut milk or a rich unsweetened oat-based cooking milk. Coconut milk adds a slight coconut note and a creamier finish, while oat milk tastes closer to the original but sets a little softer.
Less sweet, more spiced
Cut the granulated sugar in the filling by 1/4 cup and add an extra 1/2 teaspoon pumpkin pie spice. The bars will taste a little more grown-up and less dessert-heavy, but the custard still bakes up properly because the eggs and evaporated milk carry the structure.
Storage and Reheating
- Refrigerator: Store covered for up to 5 days. The crust stays best when the bars are kept chilled.
- Freezer: Freeze individual bars tightly wrapped, then tucked into an airtight container for up to 2 months. Thaw in the refrigerator so the filling doesn’t weep.
- Reheating: These are best served cold or just slightly cool. If you want to soften them, let a bar sit at room temperature for 15 to 20 minutes rather than microwaving, which can make the custard watery.
Answers to the Questions Worth Asking
Pumpkin Pie Bars With Oat Crust
Ingredients
Equipment
Method
- Preheat the oven to 375°F and line a 9x13 pan with parchment, leaving overhang for easy lifting. Keep the oven fully preheated before baking.
- Combine rolled oats, all-purpose flour, brown sugar, cinnamon, and salt in a bowl. Add cold cubed butter and cut in until the mixture looks like coarse crumbs.
- Reserve 1 cup of the oat mixture for topping and press the remaining mixture firmly into the bottom of the prepared pan. Press with a flat bottom to compact it.
- Bake for 12 minutes until lightly set. The crust should look dry and slightly golden at the edges.
- Whisk pumpkin puree, evaporated milk, eggs, granulated sugar, pumpkin pie spice, cinnamon, ginger, salt, and vanilla until smooth. Pour the filling over the hot crust.
- Scatter the reserved oat crumble evenly over the filling. Make sure the top is covered but not clumpy.
- Bake for 35-40 more minutes at 375°F until the topping is golden and the filling is set. The center should no longer jiggle when you gently shake the pan.
- Cool the bars completely at room temperature. Letting them cool prevents the filling from cracking during chilling.
- Refrigerate for 1 hour before cutting. Chill until fully firm for clean bar slices.