Apple Crisp Cheesecake Muffins bake up with three things going for them at once: a tender, cinnamon-spiced crumb, a cool cream cheese center, and a buttery oat topping that turns crisp in the oven. You get the comfort of apple muffins, but with enough contrast in texture to keep every bite interesting. The filling stays creamy instead of disappearing, and the crumble gives the tops a bakery-style finish without any fussy steps.
The part that makes these work is temperature control. The cream cheese filling gets mixed first and chilled so it stays put in the center of the muffin instead of melting into the batter. The oat crumble also goes back into the fridge, which helps the butter hold its shape long enough to brown and crisp instead of dissolving into the top. Use finely diced apples here; large chunks weigh the batter down and make the muffins bake unevenly.
Below you’ll find the exact layering method that keeps the cheesecake filling from leaking, plus a few smart swaps if you need a dairy-free or make-ahead version.
The cream cheese center stayed in the middle instead of sinking, and the oat topping came out crisp even after sitting on the counter for an hour. My kids picked out the apple pieces first and asked for another batch the next morning.
Save these Apple Crisp Cheesecake Muffins for a breakfast bake with a creamy center and crunchy oat topping.
The Trick to Keeping the Cheesecake Filling in the Middle
These muffins only work cleanly if the filling stays cold and the batter gets layered with a little patience. Warm cream cheese turns loose in the oven, and then the center disappears into the muffin instead of staying distinct. Chilling the filling gives you a thicker dollop that holds its shape long enough for the muffin to set around it.
The other thing that matters is how you cover the filling. A thin layer of batter under the cream cheese helps keep it from sticking to the paper liner, and a good top layer seals it in so it doesn’t bubble through the crumble. If the filling is too close to the surface, you’ll get leaks instead of a neat swirl.
What the Apples, Sour Cream, and Crumble Each Do Here
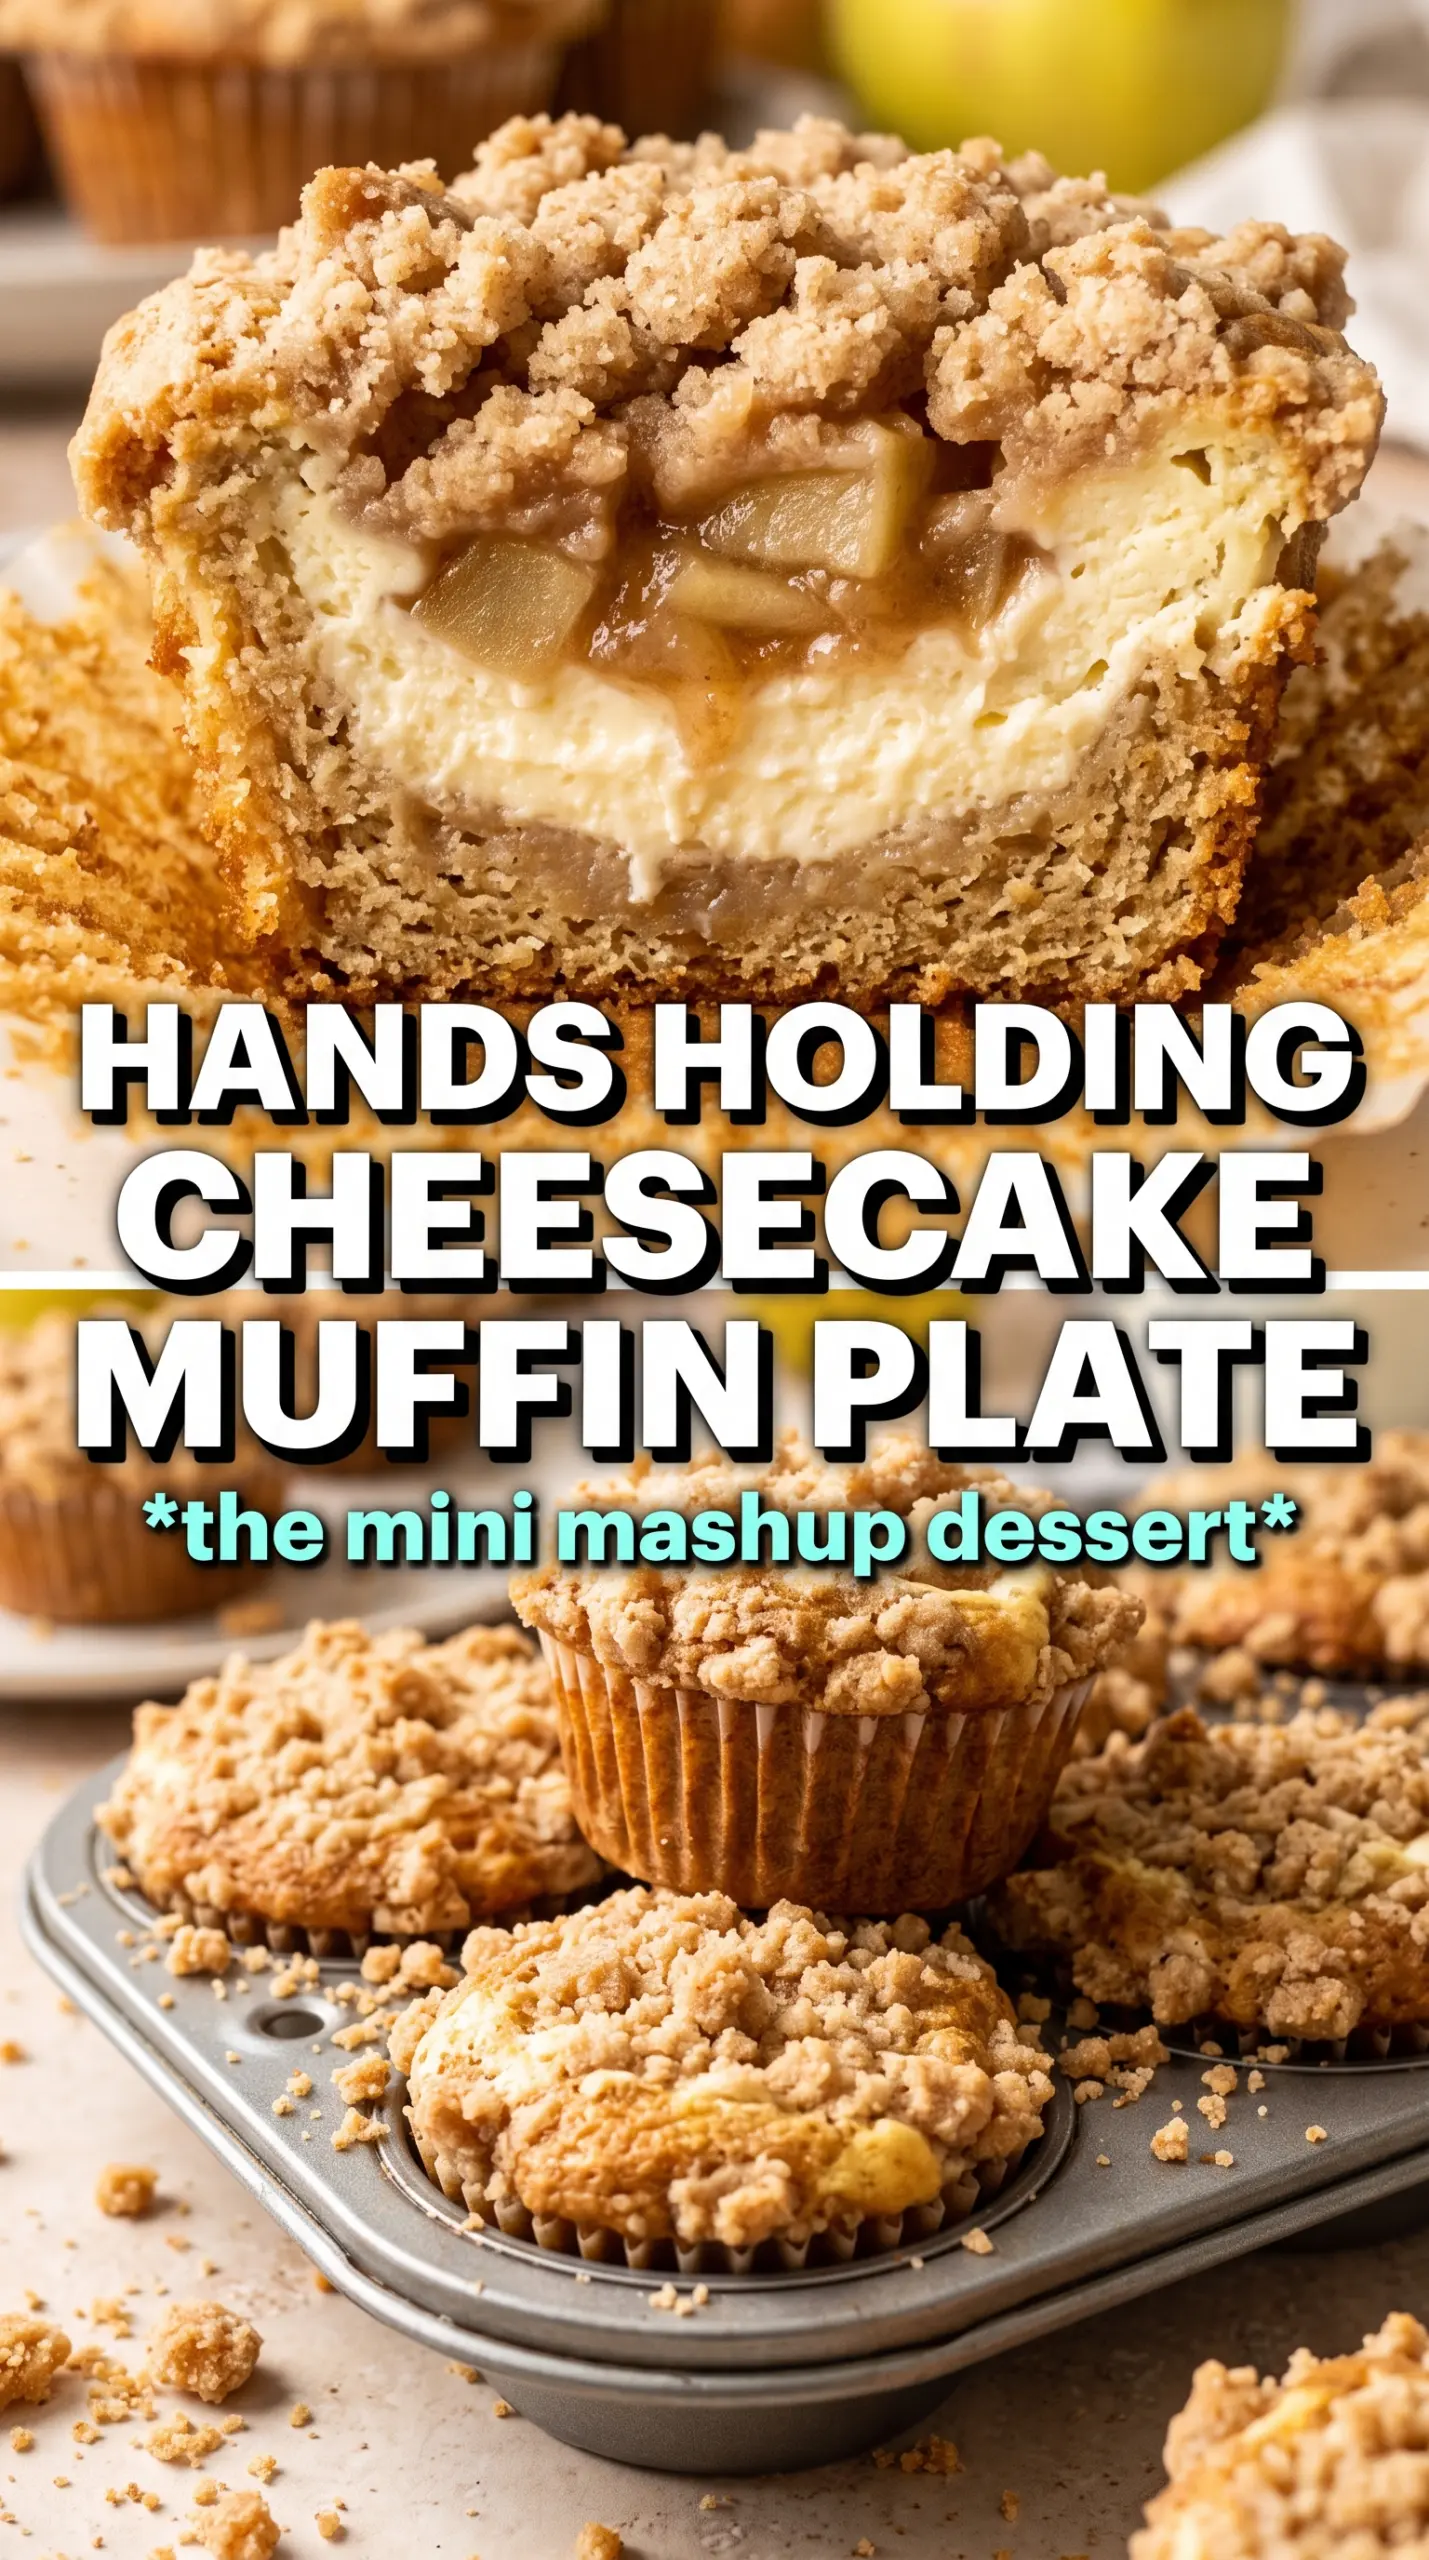
- Apples — Finely diced apples distribute through the batter and bake into soft little pockets instead of sinking. A firm baking apple works best because it keeps some structure. If all you have is a softer apple, dice it small and don’t overmix the batter.
- Sour cream — This is what keeps the muffins tender and a little rich without making them heavy. Plain Greek yogurt works in its place, but the crumb will be slightly less plush and the tang a touch sharper.
- Melted butter — Melted butter gives a moist, even crumb and is easier to whisk in than softened butter. You lose the airiness of a creamed-butter muffin, but you gain a more bakery-style, dense-tender texture that suits the filling.
- Cream cheese — Use full-fat cream cheese for the smoothest center. Lower-fat versions soften too fast and can turn watery once baked.
- Oats — The oats are what make the top taste like apple crisp instead of just a streusel muffin. Quick oats work if that’s what you have, but old-fashioned oats give a chunkier, more crumbly topping.
Building the Batter, Filling, and Topping Without Mixing Them Together
Make the Filling First
Beat the cream cheese, sugar, and vanilla until the mixture is completely smooth, with no lumps hiding at the bottom of the bowl. Then put it in the refrigerator while you work on everything else. If you skip the chill, the filling softens fast and becomes hard to portion neatly into the batter.
Mix the Crumble While the Butter Is Cold
Combine the oat crumble ingredients and cut in the cold butter until you have uneven, sandy crumbs with a few larger bits. Those larger bits are what bake into a crisp top, so don’t overwork it into a paste. Refrigerating the crumble keeps the butter solid until the muffins hit the oven.
Bring the Batter Together Gently
Whisk the dry ingredients in one bowl and the wet ingredients in another, then fold them together just until you stop seeing dry flour. The batter will look thick, and that’s correct. Once the apples go in, stop stirring as soon as they’re evenly distributed, because overmixing makes the muffins tough and pushes the crumbly texture out of the finished bake.
Layer, Top, and Bake Until Set
Fill each muffin cup halfway, add a teaspoon of chilled filling, then cover it with more batter so the center is hidden. Top with the crumble and bake at 375°F until the muffins are golden and the tops spring back lightly when touched. If the centers still look wet but the tops are already deep brown, tent them loosely with foil for the last few minutes so the middle finishes without burning the crumble.
How to Adapt These Muffins for Different Mornings
Make Them Dairy-Free
Use a plant-based cream cheese, dairy-free butter, and unsweetened non-dairy yogurt in place of the sour cream. The muffin crumb will still be tender, but the cheesecake center will be a little softer and less tangy than the original.
Make Them Gluten-Free
Swap in a cup-for-cup gluten-free flour blend for the all-purpose flour and use certified gluten-free oats. The texture stays close, though gluten-free muffins usually need the full bake time and an extra minute or two to finish setting in the center.
Use Pear Instead of Apple
Pears work well when they’re firm and not overly juicy. Dice them small, the same way you’d handle the apples, because soft pears can blur into the batter and make the muffins a little too moist.
Storage and Reheating
- Refrigerator: Store in an airtight container for up to 4 days. The crumble softens a little, but the muffins stay moist.
- Freezer: Freeze individually wrapped muffins for up to 2 months. Thaw overnight in the fridge so the filling doesn’t weep as it comes back to temperature.
- Reheating: Warm in a 300°F oven for 8 to 10 minutes or in the microwave for 15 to 20 seconds. High heat can make the cheesecake center split, so reheat gently.
Questions I Get Asked About This Recipe
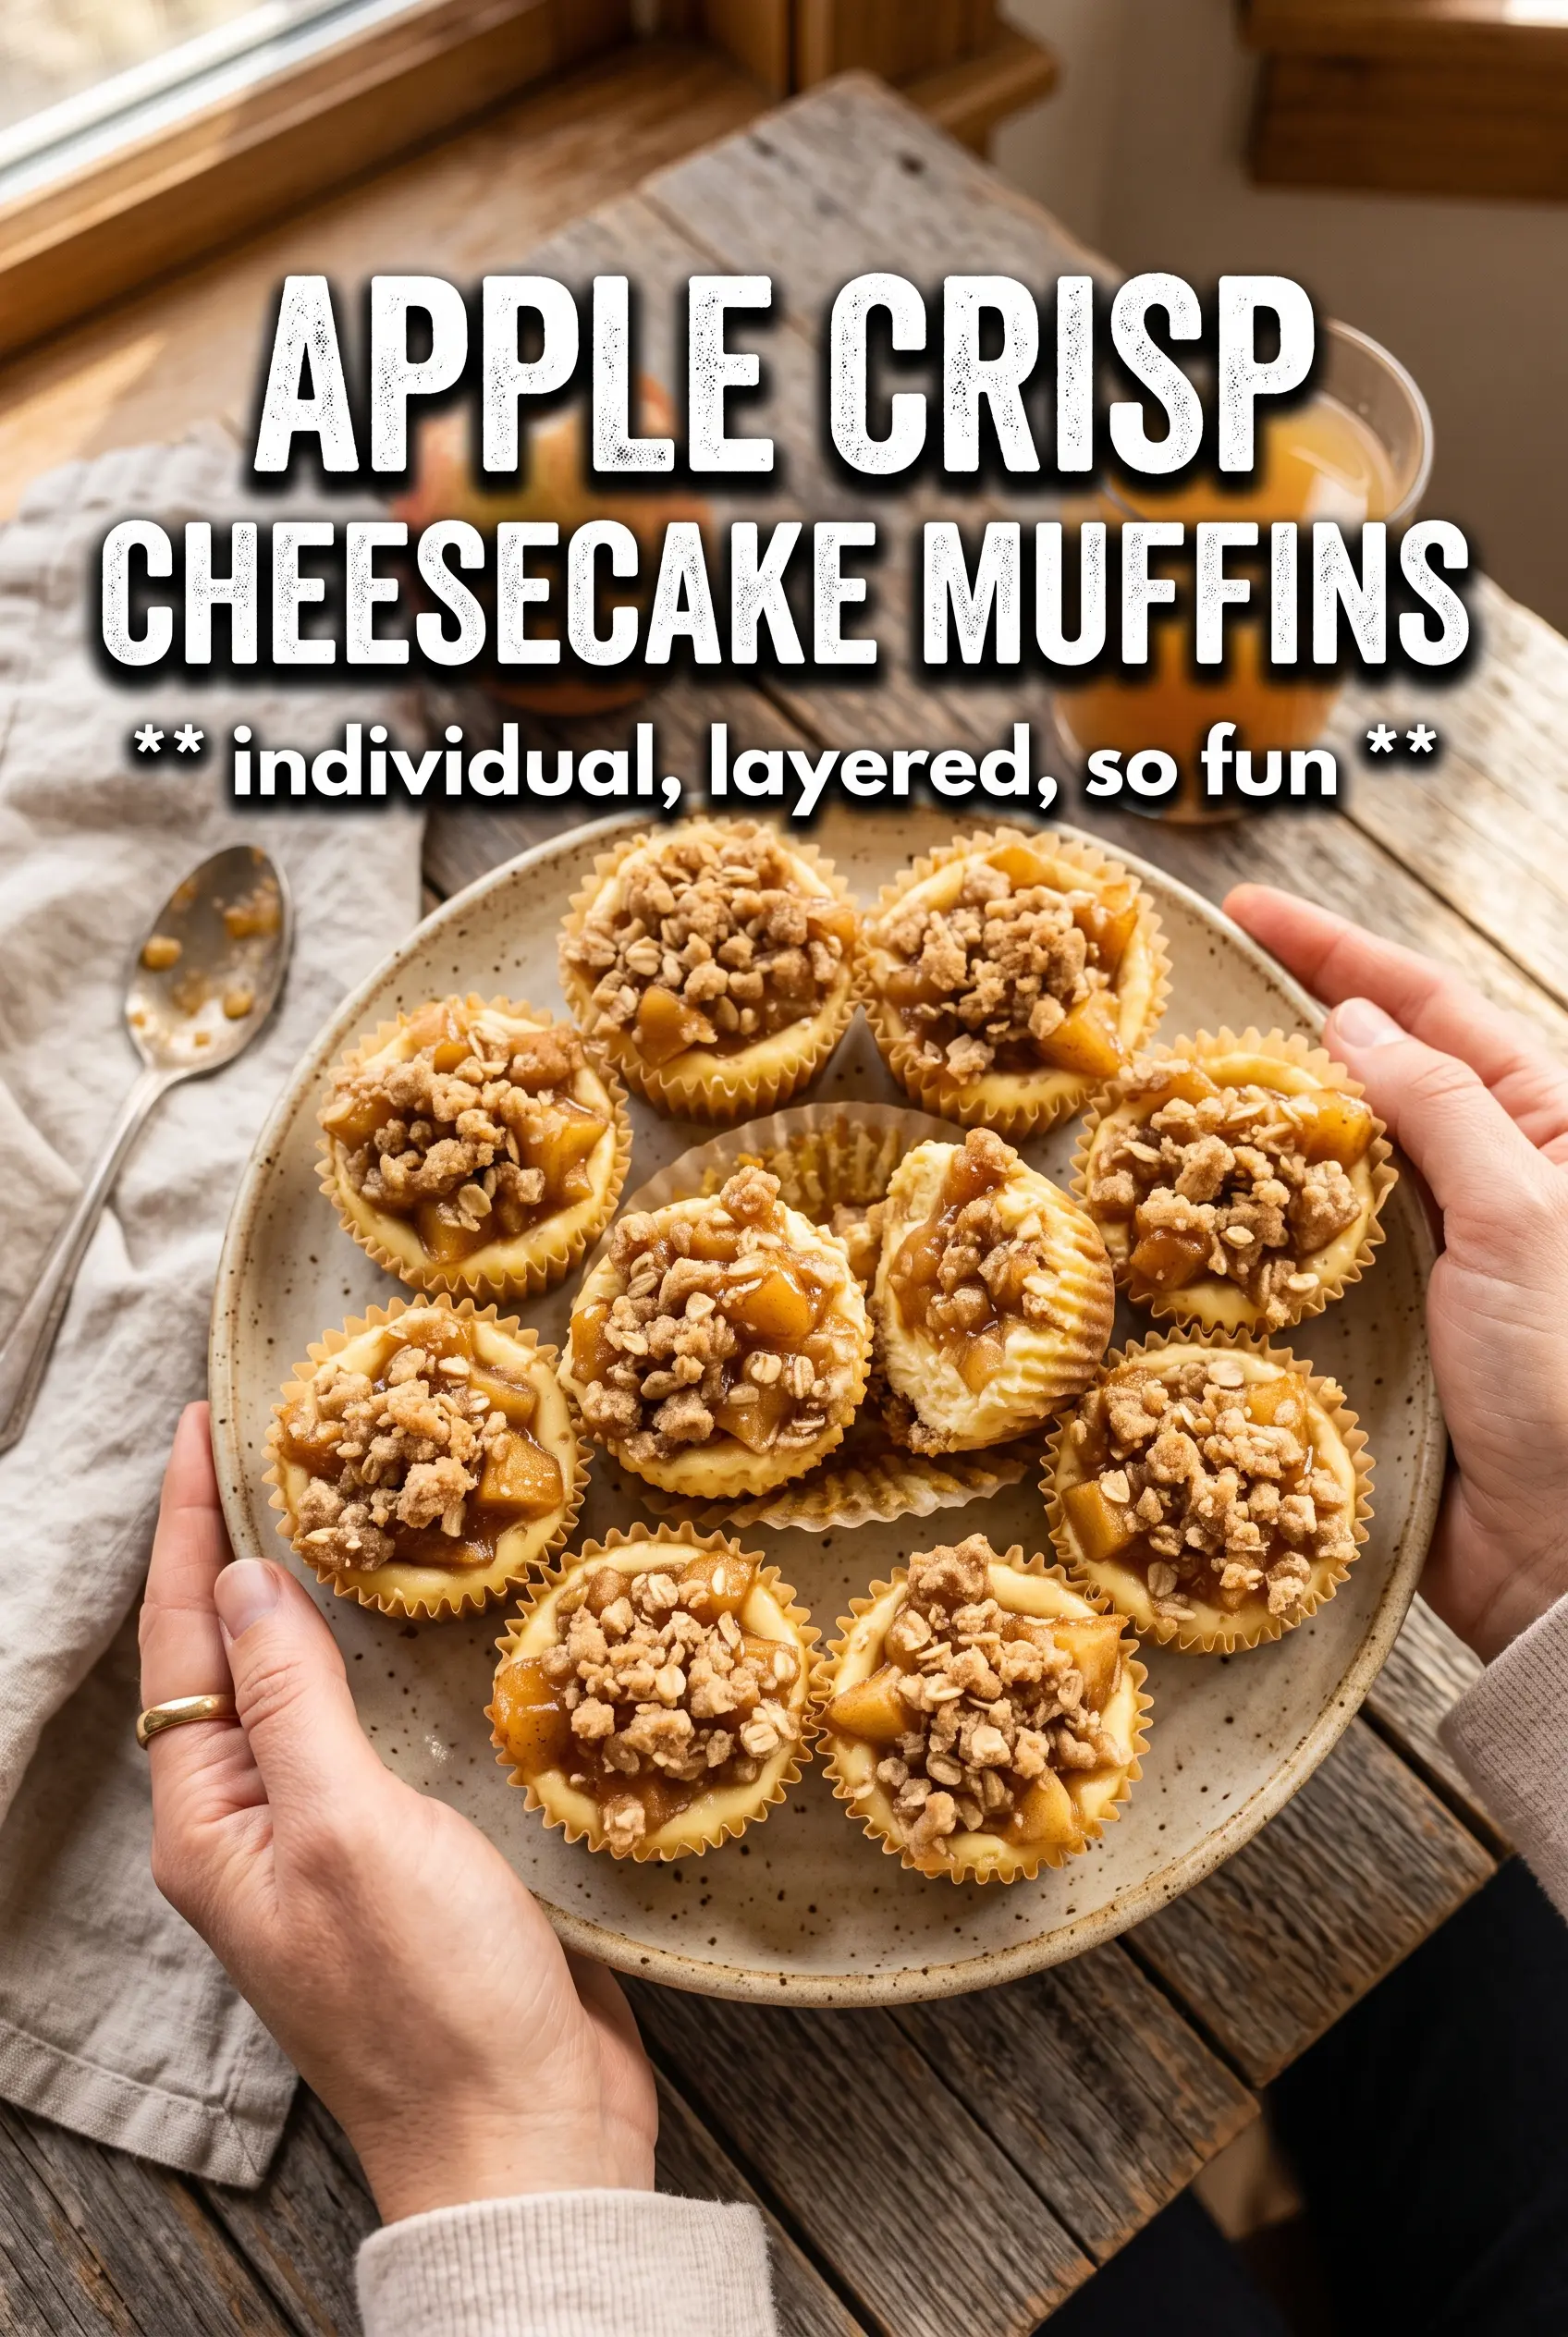
Apple Crisp Cheesecake Muffins
Ingredients
Equipment
Method
- Preheat oven to 375F and line a 12-cup muffin tin. This sets the temperature so the muffins bake evenly once filled.
- Beat cream cheese, sugar, and vanilla until smooth, then refrigerate. Chill helps the filling hold its shape in the center.
- Combine oats, flour, brown sugar, and cinnamon, then cut in cold butter until crumbly and refrigerate. The crumbs stay crisp on top during baking.
- Whisk all-purpose flour, baking powder, baking soda, cinnamon, and salt together. Make sure the dry ingredients are evenly distributed.
- Whisk melted unsalted butter, brown sugar, eggs, sour cream, milk, and vanilla together until smooth. Keep mixing until no streaks remain.
- Fold the flour mixture into the wet mixture until just combined, then fold in finely diced apples. Stop mixing as soon as the batter comes together.
- Fill muffin cups halfway, add a teaspoon of cream cheese filling to the center, then cover with more batter. Press lightly so the batter reaches the edges around the filling.
- Top each muffin with oat crumble. Spread crumbs so they form a visible crunchy cap.
- Bake at 375F for 22-25 minutes until golden. Look for set tops and browned crumble, and a tester should come out mostly clean.