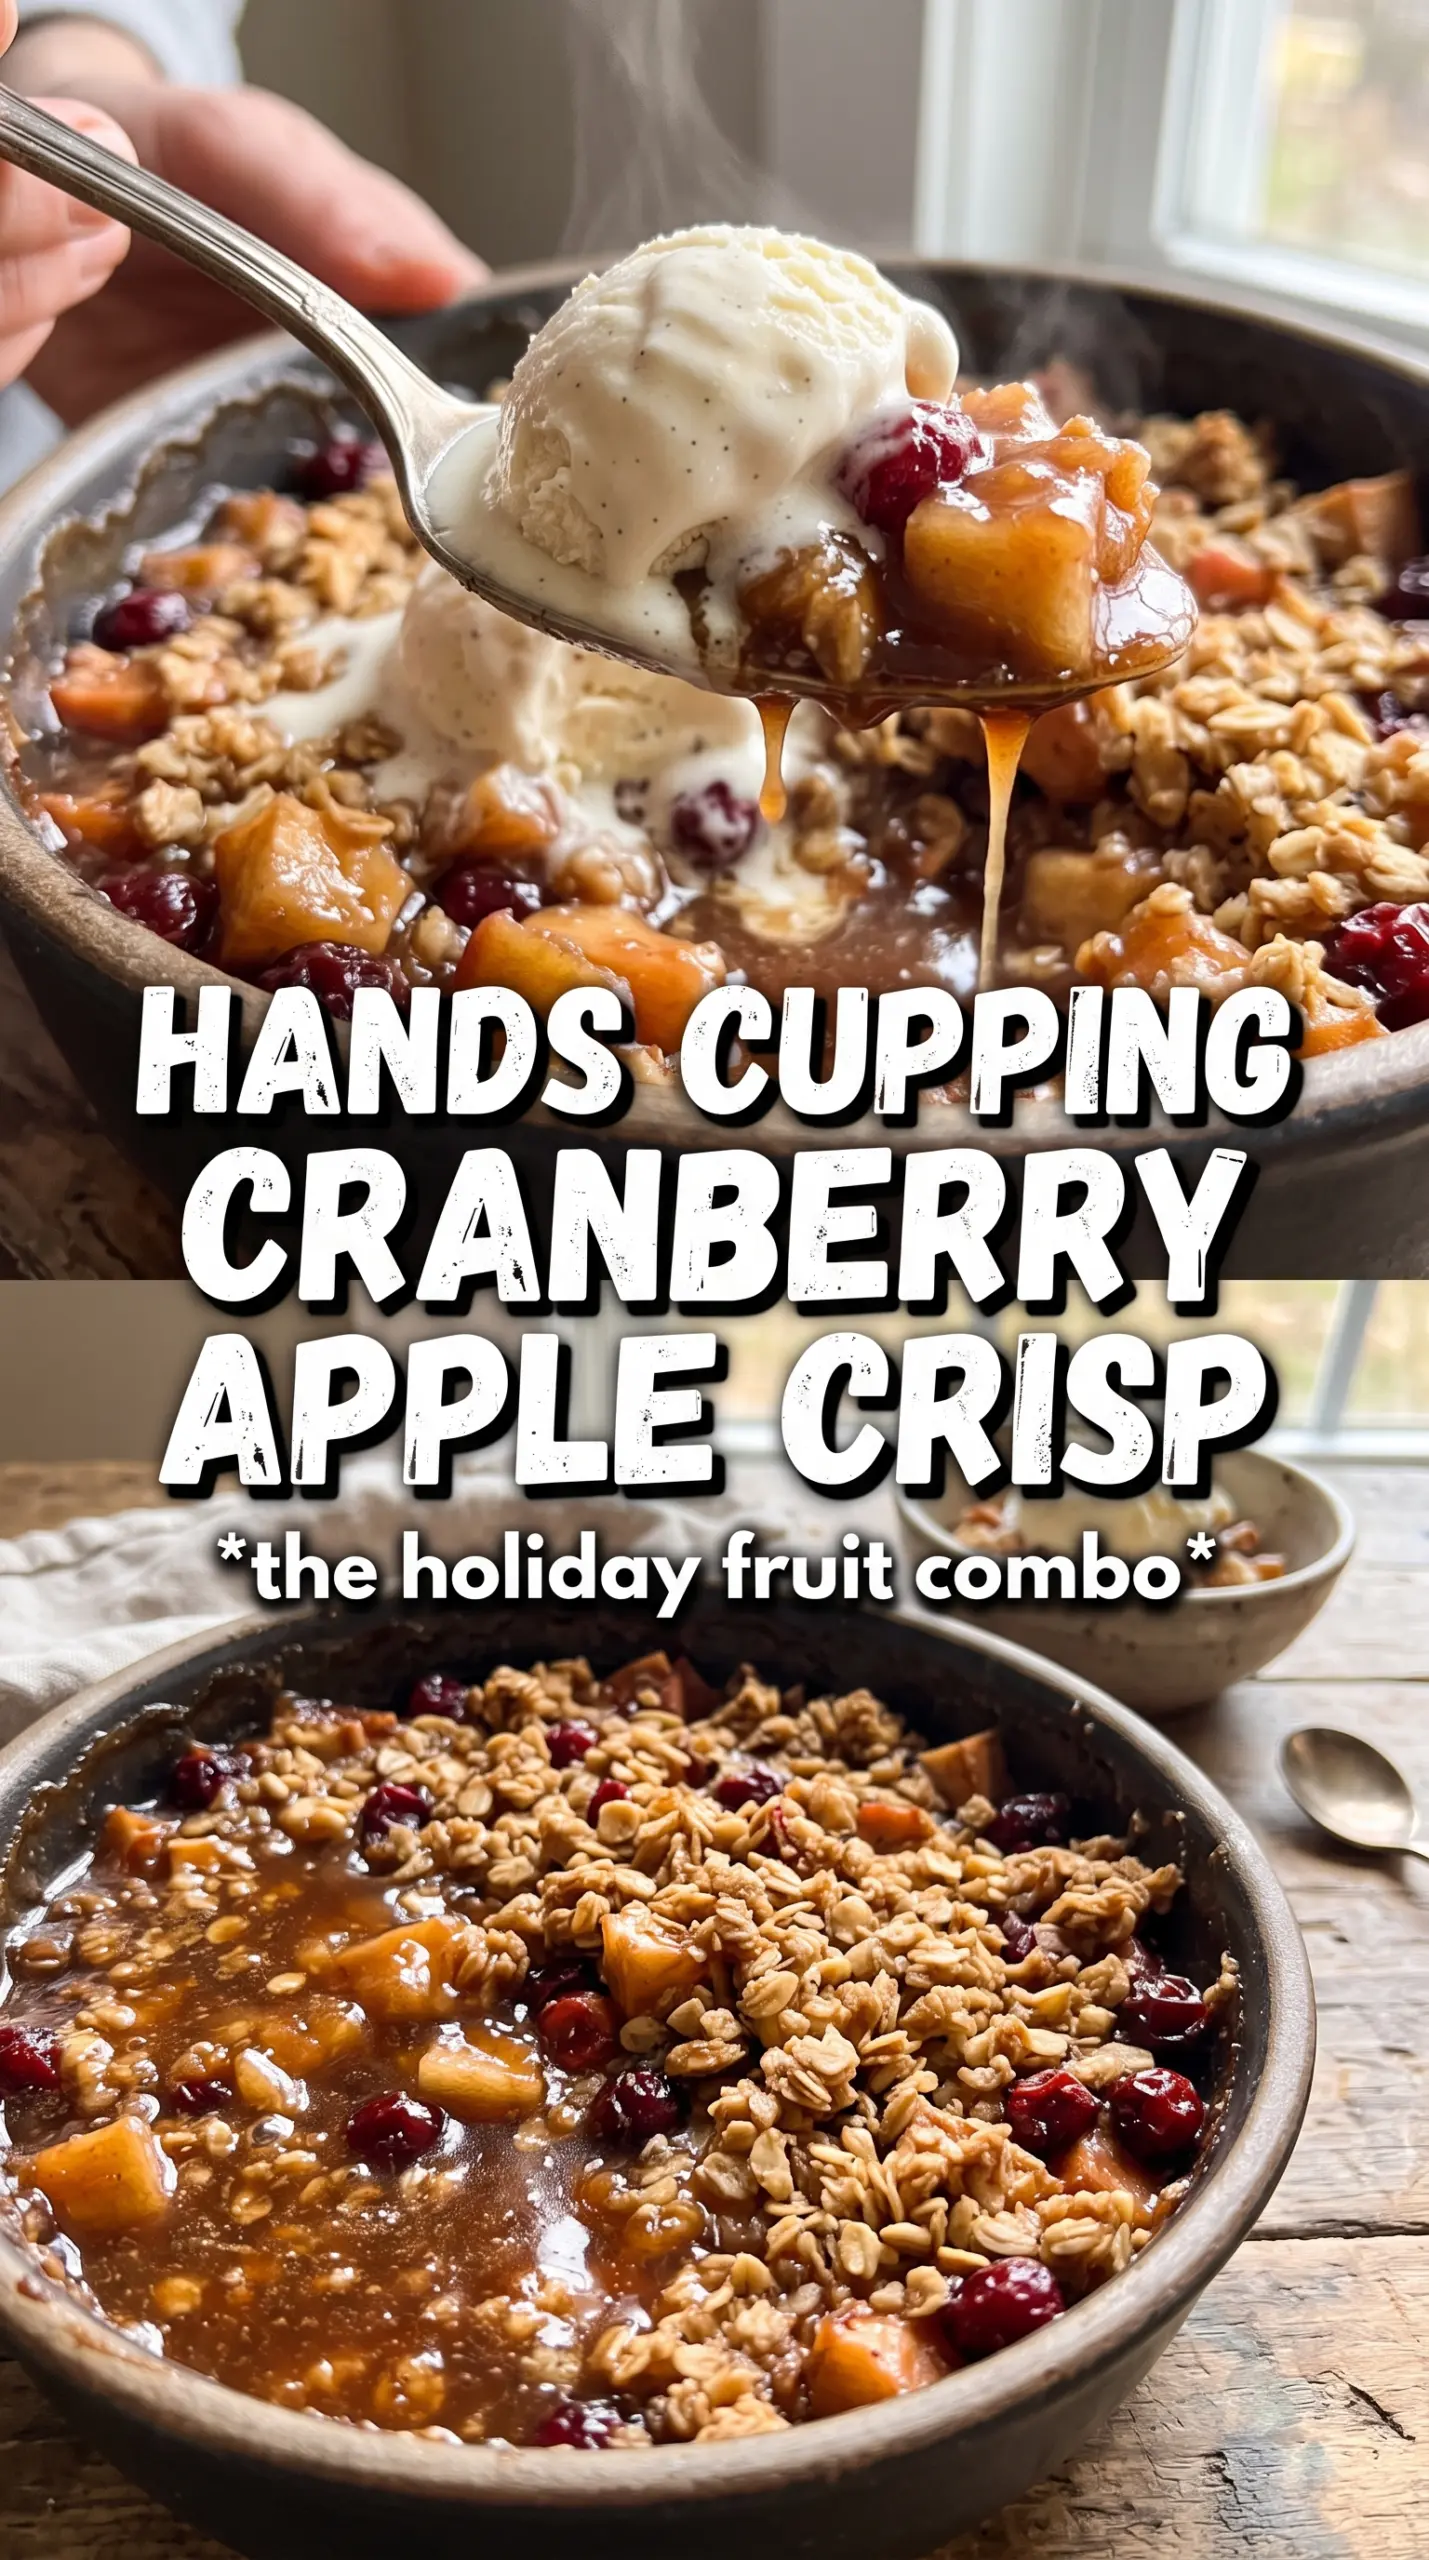
Warm cranberry apple crisp lands with the kind of contrast people remember: tart fruit bubbling up around soft baked apples, all tucked under a thick oat crumble that turns bronzed and knobby in the oven. The topping stays crisp at the edges while the filling turns glossy and spoonable underneath, which is exactly what you want from a fruit dessert like this.
The orange zest is what keeps this version from tasting flat. It lifts the cranberries and brightens the apples without making the crisp taste citrusy. Cornstarch does the quiet work here too, giving the fruit juices enough structure to thicken instead of running all over the pan.
Below, I’ll walk through the small details that matter most: how to keep the topping crumbly instead of sandy, which apples hold up best, and how to serve it so the filling has just enough time to set.
The filling thickened up beautifully and the topping stayed crunchy even after sitting on the counter for a bit. The orange zest made the cranberries taste brighter, and my husband went back for a second bowl before dinner was even over.
Save this cranberry apple crisp for the nights when you want tart fruit, a golden oat crumble, and a dessert that bakes up with almost no fuss.
The Reason the Filling Stays Thick Instead of Watery
Cranberry apple crisp can go wrong in one very specific way: the fruit releases a flood of juice, the topping browns before the filling thickens, and you end up with a loose puddle under the crumbs. Cornstarch fixes that, but only if it gets tossed evenly through the fruit before baking. It needs direct contact with the juices to do its job.
The other thing that matters here is balance. Apples bring body and sweetness, while cranberries bring sharpness and moisture, so this dessert needs enough sugar to round the edges without turning syrupy. The orange juice and zest help the whole pan taste brighter, which is important once the fruit cooks down.
- Apples — Use a firm baking apple if you can. Honeycrisp, Granny Smith, Pink Lady, or a mix of sweet and tart all hold their shape better than softer apples that collapse into applesauce.
- Cranberries — Fresh or frozen both work. Frozen berries don’t need to be thawed; they’ll just give up a little extra liquid, which the cornstarch is there to catch.
- Cornstarch — This is what turns the filling from soupy to glossy and spoonable. Flour won’t thicken as cleanly here, and arrowroot can work too, though it gives a slightly looser set.
- Orange zest and juice — The zest matters more than the juice. The zest perfumes the fruit without thinning it out, and the juice gives just enough acidity to keep the filling lively.
What Each Ingredient Is Actually Doing in This Recipe
- Primary ingredient (the star) — Quality matters most. Choose the best you can find.
- Cooking medium (oil, butter, or broth) — This carries flavors and prevents dryness.
- Seasonings (salt, pepper, spices, herbs) — Layer flavors so nothing overpowers. Build depth gradually.
- Aromatics (garlic, onion, herbs) — Cook with fat to bloom flavors. Become the foundation.
- Supporting ingredients — Complement the main ingredient without overpowering it.
- Sauce or liquid (if applicable) — Brings flavors together. Balance richness with acid.
- Acid (lemon, vinegar, wine, or other) — Brightens and prevents flat-tasting results.
- Final finish (garnish, glaze, or sauce) — Prevents one-dimensional taste and adds visual appeal.
What the Oats, Butter, and Brown Sugar Are Doing on Top
The topping is more than a blanket of crumbs. The flour gives it structure, the oats keep it rustic and craggy, and the brown sugar melts around the edges into those darker, caramelized bits everyone fights over. Cold butter is the key to getting clumps instead of a sandy layer. If the butter softens too much before baking, the topping turns dense instead of crisp.
You want the butter cut in until the mixture looks uneven on purpose: some pea-sized pieces, some sandy bits, and some larger chunks. Those bigger pieces bake into the crunchiest spots. If you only work it until it looks uniform, you lose that texture.
- Rolled oats — Old-fashioned oats give the best chew and structure. Quick oats will work in a pinch, but they make the topping tighter and less nubby.
- All-purpose flour — This helps the topping hold together as it bakes. There isn’t a great 1:1 substitute if you want the same crumble, though a 1:1 gluten-free blend usually behaves well for a gluten-free version.
- Brown sugar — This deepens the topping and helps it brown. Dark brown sugar makes the crisp taste a little more molasses-forward; light brown sugar keeps it cleaner and a touch brighter.
- Cold butter — Keep it cold all the way through mixing. If you notice it starting to smear, stop and chill the bowl for 10 minutes before finishing the topping.
Getting the Fruit Bubbling Before the Top Burns
Build the filling first
Toss the sliced apples and cranberries with both sugars, cinnamon, nutmeg, orange zest, orange juice, and cornstarch until every piece looks lightly coated. The fruit should glisten, not sit in dry patches of starch. Spread it in an even layer in the baking dish so the heat can move through the pan evenly.
Make the crumble with cold hands
Combine the oats, flour, brown sugar, cinnamon, and salt, then cut in the cold butter until you have chunky clumps. A pastry cutter works well, but your fingertips or two forks do the same job if you work quickly. Stop as soon as the mixture holds together when squeezed. If it turns paste-like, the butter warmed up too much.
Bake until the edges bubble hard
Scatter the topping over the fruit and bake at 375°F for 40 to 45 minutes. The crisp is done when the top is deeply golden and the filling is bubbling up around the edges and through the center. That bubbling matters; it tells you the cornstarch has activated and the juices have thickened. If the top is browning too fast, lay a loose piece of foil over it for the last 10 minutes.
Let it set before serving
This part is worth waiting for. Give the crisp 10 minutes to rest after it comes out of the oven so the filling can settle from loose and active to thick and spoonable. If you cut in immediately, the juices run everywhere and the texture feels thinner than it should.
How to Adapt This Crisp When You Need a Different Version
Make it gluten-free
Swap the all-purpose flour for a good 1:1 gluten-free baking blend. The topping will still bake up crisp, though it may be a touch more delicate when you scoop it. Keep the oats certified gluten-free if cross-contact matters.
Use pear instead of some of the apples
You can replace up to half the apples with firm pears for a softer, more floral filling. Pears break down faster than apples, so don’t go all-pear unless you’re fine with a looser texture and a less defined fruit layer.
Cut the sugar a little
You can reduce the granulated sugar in the filling by 2 to 3 tablespoons if your apples are very sweet. Don’t cut the sugar too hard or the cranberries will taste aggressively sharp and the filling won’t bake up with the same glossy finish.
Storage and Reheating
- Refrigerator: Store covered for up to 4 days. The topping softens a bit as it sits, but the flavor holds up well.
- Freezer: Freeze baked crisp for up to 2 months, tightly wrapped and then covered. Thaw overnight in the refrigerator before reheating.
- Reheating: Warm in a 325°F oven until the filling is hot and the top perks back up, about 15 to 20 minutes. The microwave works, but it turns the crumble soft, which is the main thing you’re trying to avoid.
Answers to the Questions Worth Asking
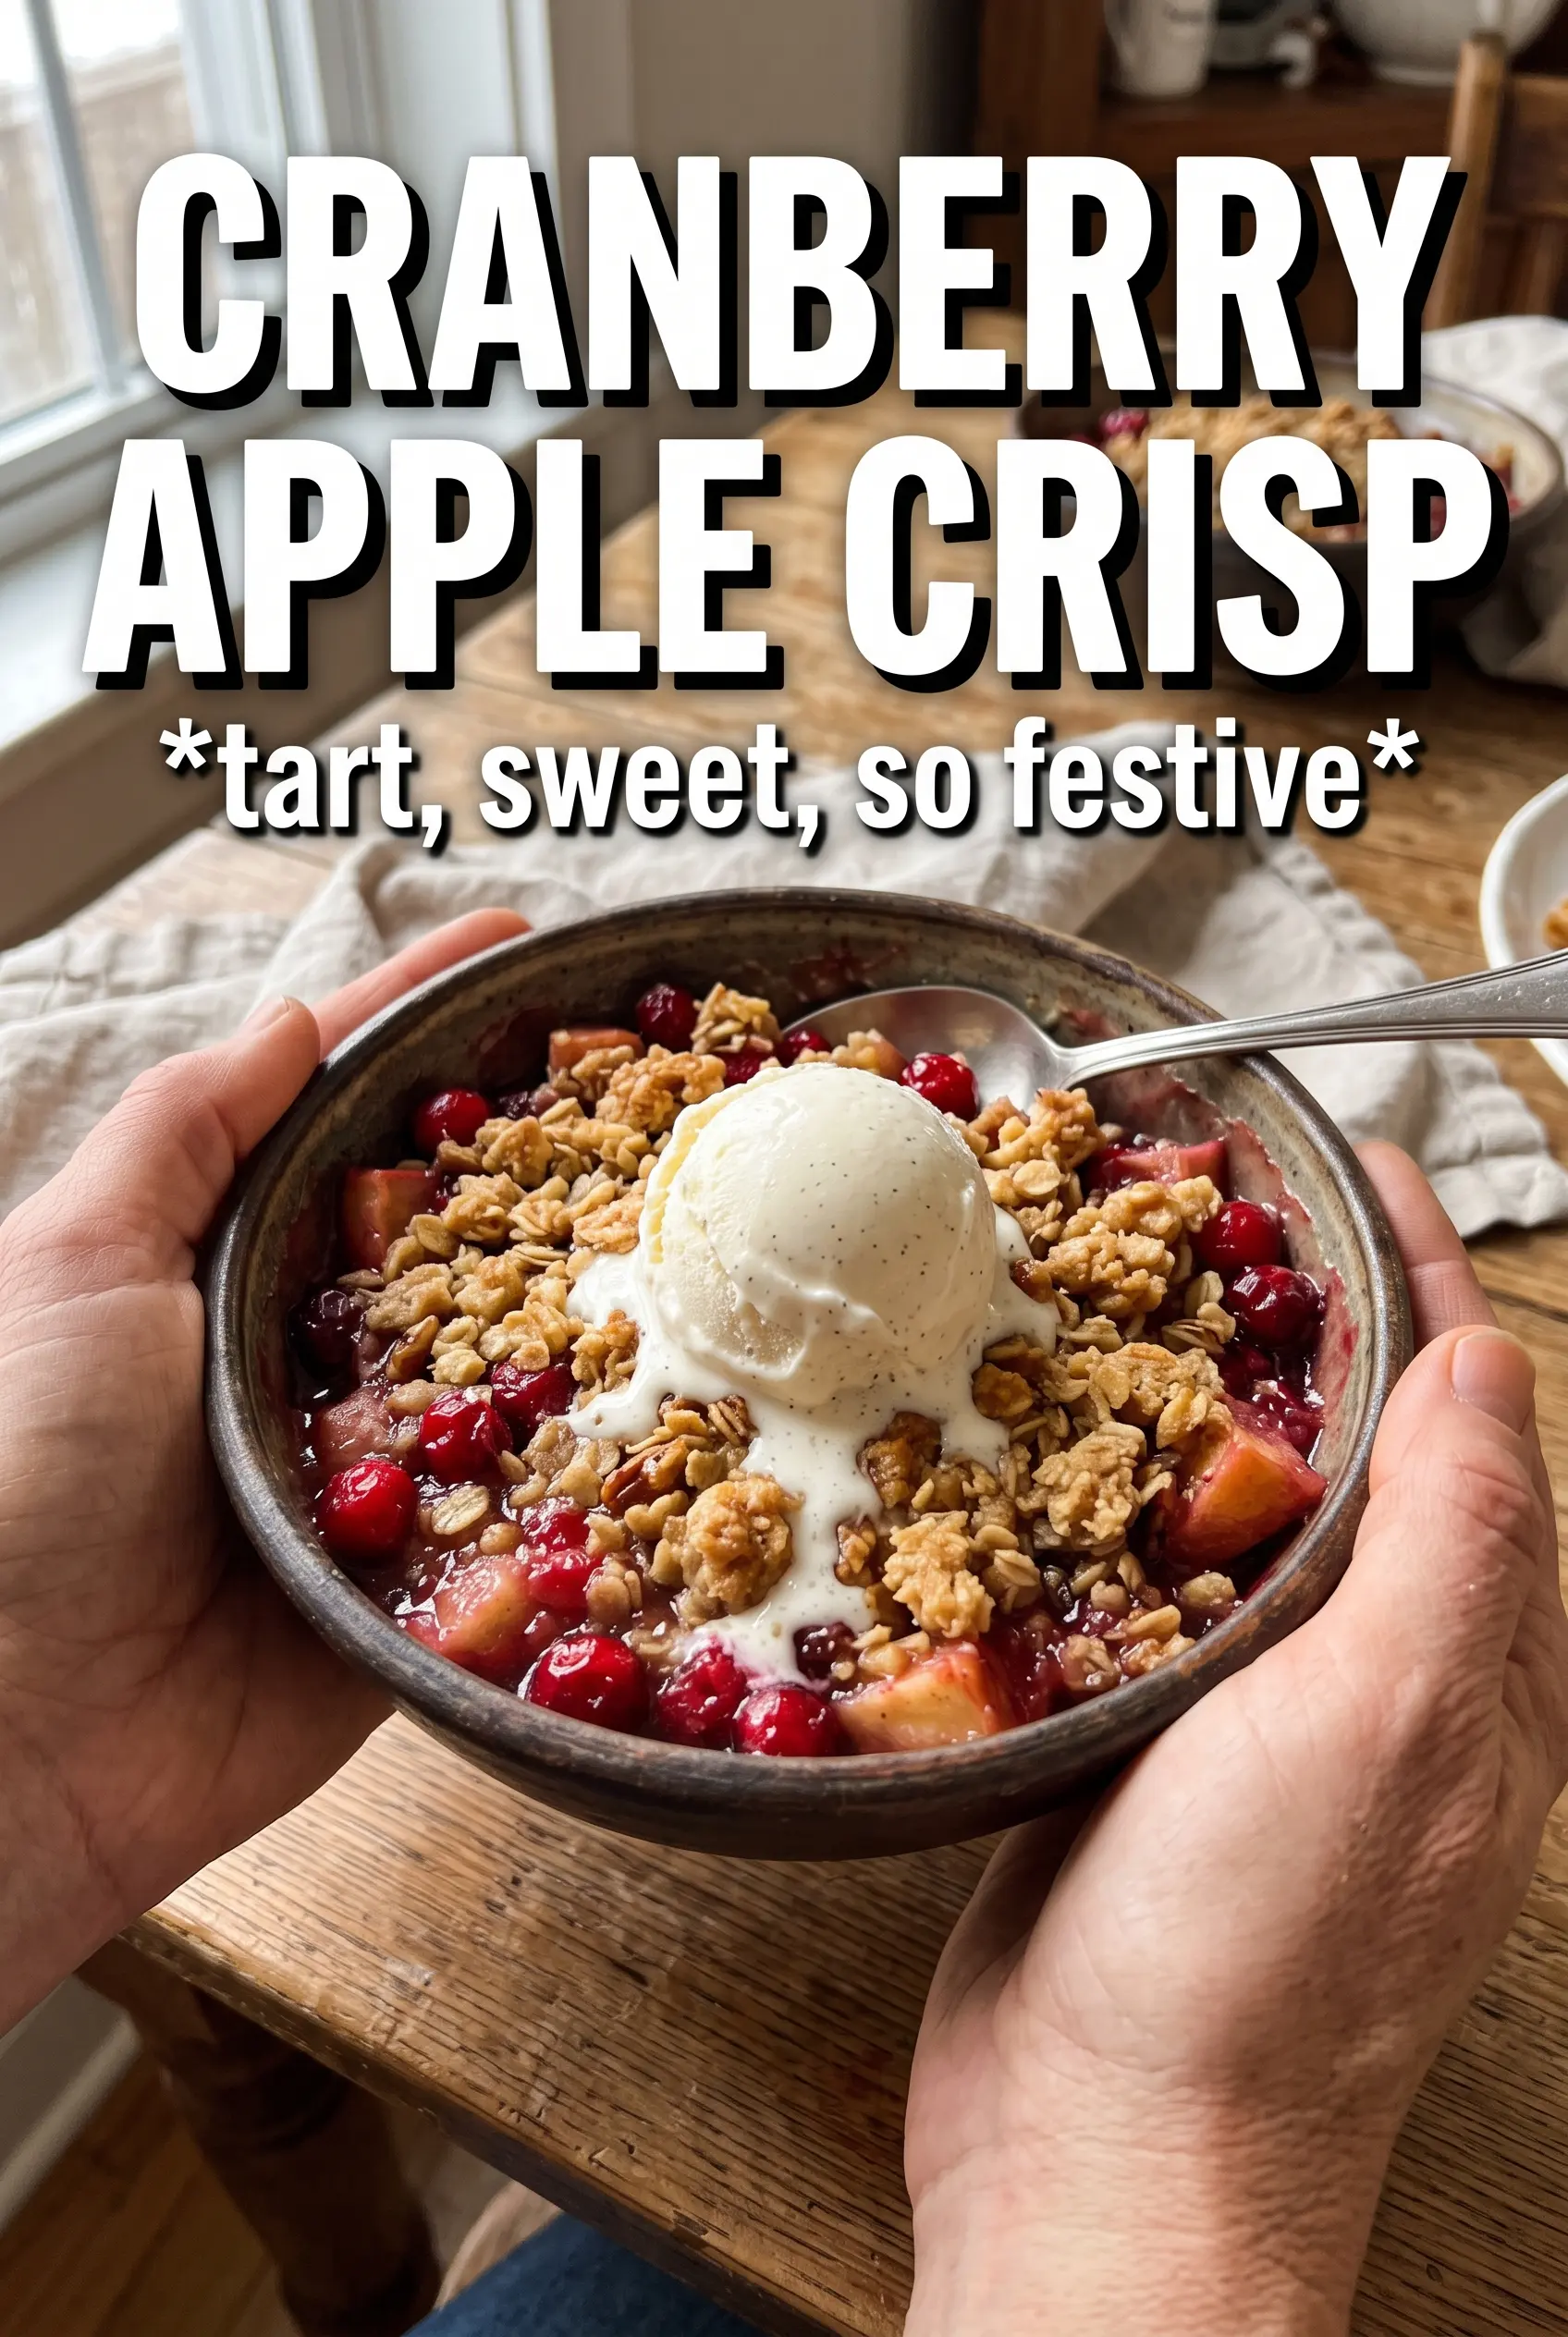
Cranberry Apple Crisp
Ingredients
Equipment
Method
- Preheat the oven to 375F and grease a 9x13 baking dish.
- Toss the apples and cranberries with granulated sugar, brown sugar, cinnamon, nutmeg, orange zest, orange juice, and cornstarch, then spread the mixture in the dish.
- Combine rolled oats, all-purpose flour, brown sugar, cinnamon, and salt, then cut in cold butter until chunky clumps form.
- Scatter the crumble over the filling and bake 40-45 minutes at 375F until golden with caramelized edges and the cranberry-apple filling is bubbling and thick.
- Rest the crisp 10 minutes before serving so the filling sets.