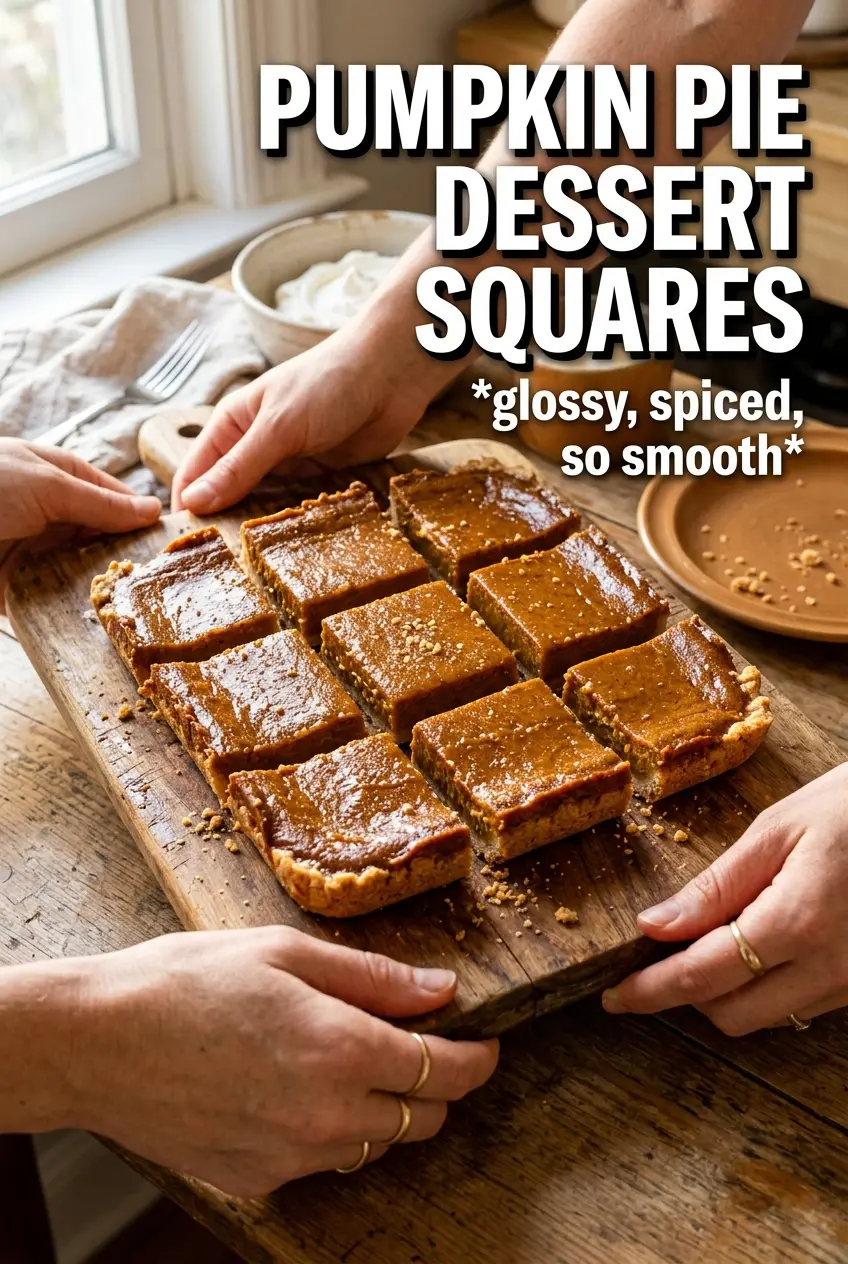
Pumpkin pie dessert squares land somewhere between a classic pie and a buttery bar cookie, and that’s exactly why they disappear so fast. The crust bakes up tender and lightly cakey instead of flaky, the filling sets into a smooth pumpkin custard, and the cinnamon crumble on top gives each square a little crunch so every bite has contrast.
The trick is baking the bottom layer first just long enough to keep it from turning soggy under the filling. From there, the pumpkin mixture goes over the warm crust, which helps the layers settle together, and the reserved cake mix topping bakes into a golden streusel without needing a separate pastry dough. You get all the familiar pumpkin pie flavor with a lot less fuss and no rolling.
Below you’ll find the small details that matter most, including how to know when the center is set and which swaps still keep the texture on track. If you’ve ever wished pumpkin pie was easier to slice for a crowd, this one earns its place.
The filling set beautifully and the crumble stayed crisp even after chilling overnight. I brought these to work and everyone asked if I used homemade pie crust because the bottom layer tasted so buttery.
Like these pumpkin pie dessert squares? Save them to Pinterest for the kind of make-ahead dessert that slices cleanly and brings that pumpkin custard-and-crumble combo every time.
The Crust Needs That First Bake or It Goes Soft
The bottom layer here is a cake-mix crust, which sounds casual until you skip the par-bake and end up with a dense, damp base under the custard. That first 10 minutes in the oven sets the butter and egg mixture enough to hold the filling without soaking through. It doesn’t need to brown fully. It just needs to look matte on top and feel set when you tap the pan.
The other thing that matters is pressing the crust evenly all the way into the corners. If the center is thicker than the edges, the middle stays doughy while the sides overbake. A flat-bottom measuring cup works well for this because it gives you even pressure without sticking to the dough.
- Cake mix — This gives you structure and a little built-in sweetness. Yellow cake mix works best because it stays neutral enough to let the pumpkin filling lead.
- Butter — Melted butter binds the crust into a press-in dough. If it’s too hot, give it a minute before mixing so the egg doesn’t start scrambling at the bowl’s edge.
- Egg — The egg is what keeps the crust from crumbling apart after baking. There isn’t a true swap here if you want the same texture, though a flax egg will work in a pinch and make the base a little softer and more crumbly.
What Each Ingredient Is Actually Doing in This Recipe
- Primary ingredient (the star) — Quality matters most. Choose the best you can find.
- Cooking medium (oil, butter, or broth) — This carries flavors and prevents dryness.
- Seasonings (salt, pepper, spices, herbs) — Layer flavors so nothing overpowers. Build depth gradually.
- Aromatics (garlic, onion, herbs) — Cook with fat to bloom flavors. Become the foundation.
- Supporting ingredients — Complement the main ingredient without overpowering it.
- Sauce or liquid (if applicable) — Brings flavors together. Balance richness with acid.
- Acid (lemon, vinegar, wine, or other) — Brightens and prevents flat-tasting results.
- Final finish (garnish, glaze, or sauce) — Prevents one-dimensional taste and adds visual appeal.
What Each Layer Is Doing in These Squares
The filling is a real pumpkin pie custard, not just pumpkin puree with sugar. The eggs set the filling, the evaporated milk adds richness without making it greasy, and the sugar balances the spice so the pumpkin still tastes like pumpkin. If you use regular milk instead of evaporated milk, the filling can bake up thinner and less creamy.
The topping pulls double duty. Reserved cake mix plus sugar and butter bakes into a crumbly lid that echoes pie crust without the work of pastry. Cold butter is the detail that matters most there. It should stay in visible bits when you mix it, because those bits melt in the oven and create the nubby crumble instead of a sandy layer.
- Pumpkin puree — Use pure pumpkin, not pumpkin pie filling. Pie filling already has sugar and spices mixed in, which throws off the texture and can make the bars too sweet.
- Evaporated milk — This is what gives the custard its silky body. Heavy cream can work, but it makes the filling richer and slightly heavier.
- Pumpkin pie spice plus cinnamon and ginger — The blend gives depth, while the extra cinnamon and ginger sharpen the flavor so it doesn’t taste flat after baking.
- Reserved cake mix for the topping — Don’t skip reserving that cup at the start. Once the rest is mixed into the crust, you can’t pull it back out, and the crumble loses its balance.
Building the Layers So the Center Sets Cleanly
Pressing and Par-Baking the Base
Mix the crust ingredients until they form a thick, soft dough, then press it into the prepared 9×13 pan in an even layer. Bake it just until the surface loses its raw shine and starts to look set. If it puffs a little in the center, gently press it back down with a spatula right after it comes out of the oven. This short bake gives the filling something firm to sit on.
Whisking the Filling Smooth
Whisk the pumpkin, eggs, sugar, evaporated milk, spices, and salt until the mixture looks completely even and slightly loose. You’re not trying to whip in air here. Too much froth can give the top a bumpy finish and hide whether the custard is actually set. Pour it over the warm crust as soon as it’s mixed so the layers bond instead of separating.
Making the Crumble With Visible Butter Bits
Cut the cold butter into the reserved cake mix, sugar, and cinnamon until the mixture looks like coarse pebbles and damp sand mixed together. Stop before it turns paste-like. Those little clumps are what bake into the best topping. Scatter it evenly over the filling so the surface browns in patches instead of clumping in one heavy strip.
Baking Until the Center Has a Gentle Jiggle
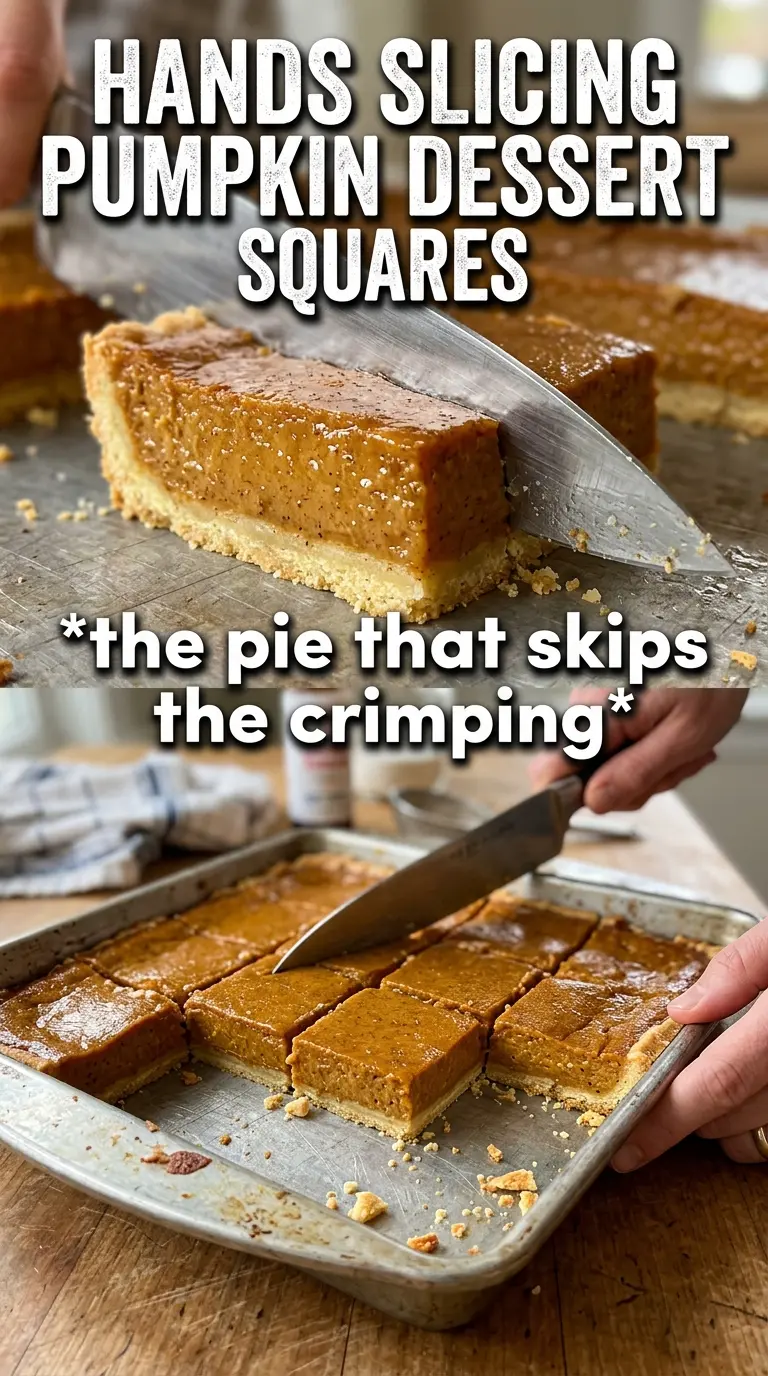
Bake until the topping is golden and the center no longer looks wet. A slight wobble in the middle is fine; a slosh means it needs more time. The edges usually set first, so don’t judge the whole pan by the corners. Pull it when the center has only a soft jiggle, then cool completely before cutting. If you slice early, the custard will run and the squares won’t hold their shape.
Make Them Gluten-Free With a Cake Mix That Bakes Well
Use a gluten-free yellow cake mix that’s meant for 1:1 baking. The texture will be a little more delicate and slightly less cakey, but the bars still slice well once fully cooled. I’d avoid mixes that rely heavily on bean flour because the flavor can come through in a dessert this simple.
Dairy-Free Version That Still Sets
Swap the butter for a plant-based baking stick and use canned coconut evaporated milk if you can find it. The filling will taste a little richer and slightly coconut-forward, which works nicely with the spices. Keep the bake time the same, but cool it completely before cutting so the custard firms up fully.
How to Make the Squares Less Sweet
Cut the sugar in the filling by 2 tablespoons and keep the crumble topping as written. That keeps the dessert balanced without changing the custard structure. If you reduce sugar much more than that, the filling can taste flat and the topping loses some of its caramelized edge.
Storage and Reheating
- Refrigerator: Store covered for up to 4 days. The crust softens slightly after day one, but the flavor stays good.
- Freezer: Freeze cut squares tightly wrapped for up to 2 months. Thaw in the refrigerator so the custard doesn’t weep.
- Reheating: These are best served chilled or at cool room temperature. If you want them warmer, use a few seconds in the microwave only. Long reheating makes the filling loose and the crumble loses its texture.