Walnut pear apple crisp bakes into the kind of dessert that disappears while the pan is still warm. The fruit turns soft and jammy underneath, but it doesn’t collapse into mush, and the walnut-studded oat topping stays chunky enough to give you a real crunch with every spoonful. A little bubbling around the edges tells you the filling has thickened the way it should, so each serving holds together instead of running across the plate.
The balance here matters. Apples bring structure, pears bring perfume and tenderness, and the cornstarch helps the juices thicken without turning pasty. Cold butter is nonnegotiable for the topping; it melts in the oven and leaves those coarse crumbs and golden clumps that make a crisp worth making. The walnuts are more than a garnish. They toast in the oven and add a deeper, almost buttery flavor that plays well with the fruit.
Below, I walk through the part that usually causes trouble: how to keep the topping crisp while the fruit bakes through, plus the swaps I trust when you want to adjust the fruit or make it gluten-free.
The topping stayed crunchy even after it sat on the counter for a bit, and the filling thickened up instead of turning watery. I used very ripe pears, and the cinnamon-ginger combo gave it a warm, almost pie-like flavor without feeling heavy.
Love the bubbling fruit and walnut crumble on this crisp? Save it to Pinterest for the nights when you want a warm dessert that slices cleanly and tastes even better with ice cream.
The Trick to Keeping the Fruit Tender Without Watering Out the Crisp
Apples and pears release a lot of juice as they bake, and that juice can either turn glossy and thick or thin and soupy. The difference is how you build the filling before it goes into the oven. Cornstarch needs time and heat to activate, so tossing it evenly with the fruit and sugars gives every slice a chance to thicken the juices as they cook.
Use a mix of firm apples and ripe pears. The apples hold some shape, while the pears break down into a softer layer that perfumes the whole dish. If the pears are rock hard, the crisp bakes up bland and underwhelming. If they’re overripe and mealy, the filling turns soft too fast and loses that clean fruit texture underneath the topping.
- Apples — Use a baking-friendly variety that stays intact, not a mealy snacking apple that turns to sauce.
- Pears — Ripe but still firm pears bring sweetness and moisture; they shouldn’t be mushy before they hit the oven.
- Cornstarch — This is what turns the fruit juices into a spoonable filling. Flour works in a pinch, but it gives a duller, heavier finish.
- Lemon juice — It keeps the fruit bright and balances the sugar. Fresh lemon is best here because the flavor is clean and sharp.
What the Walnut Crumble Is Really Doing
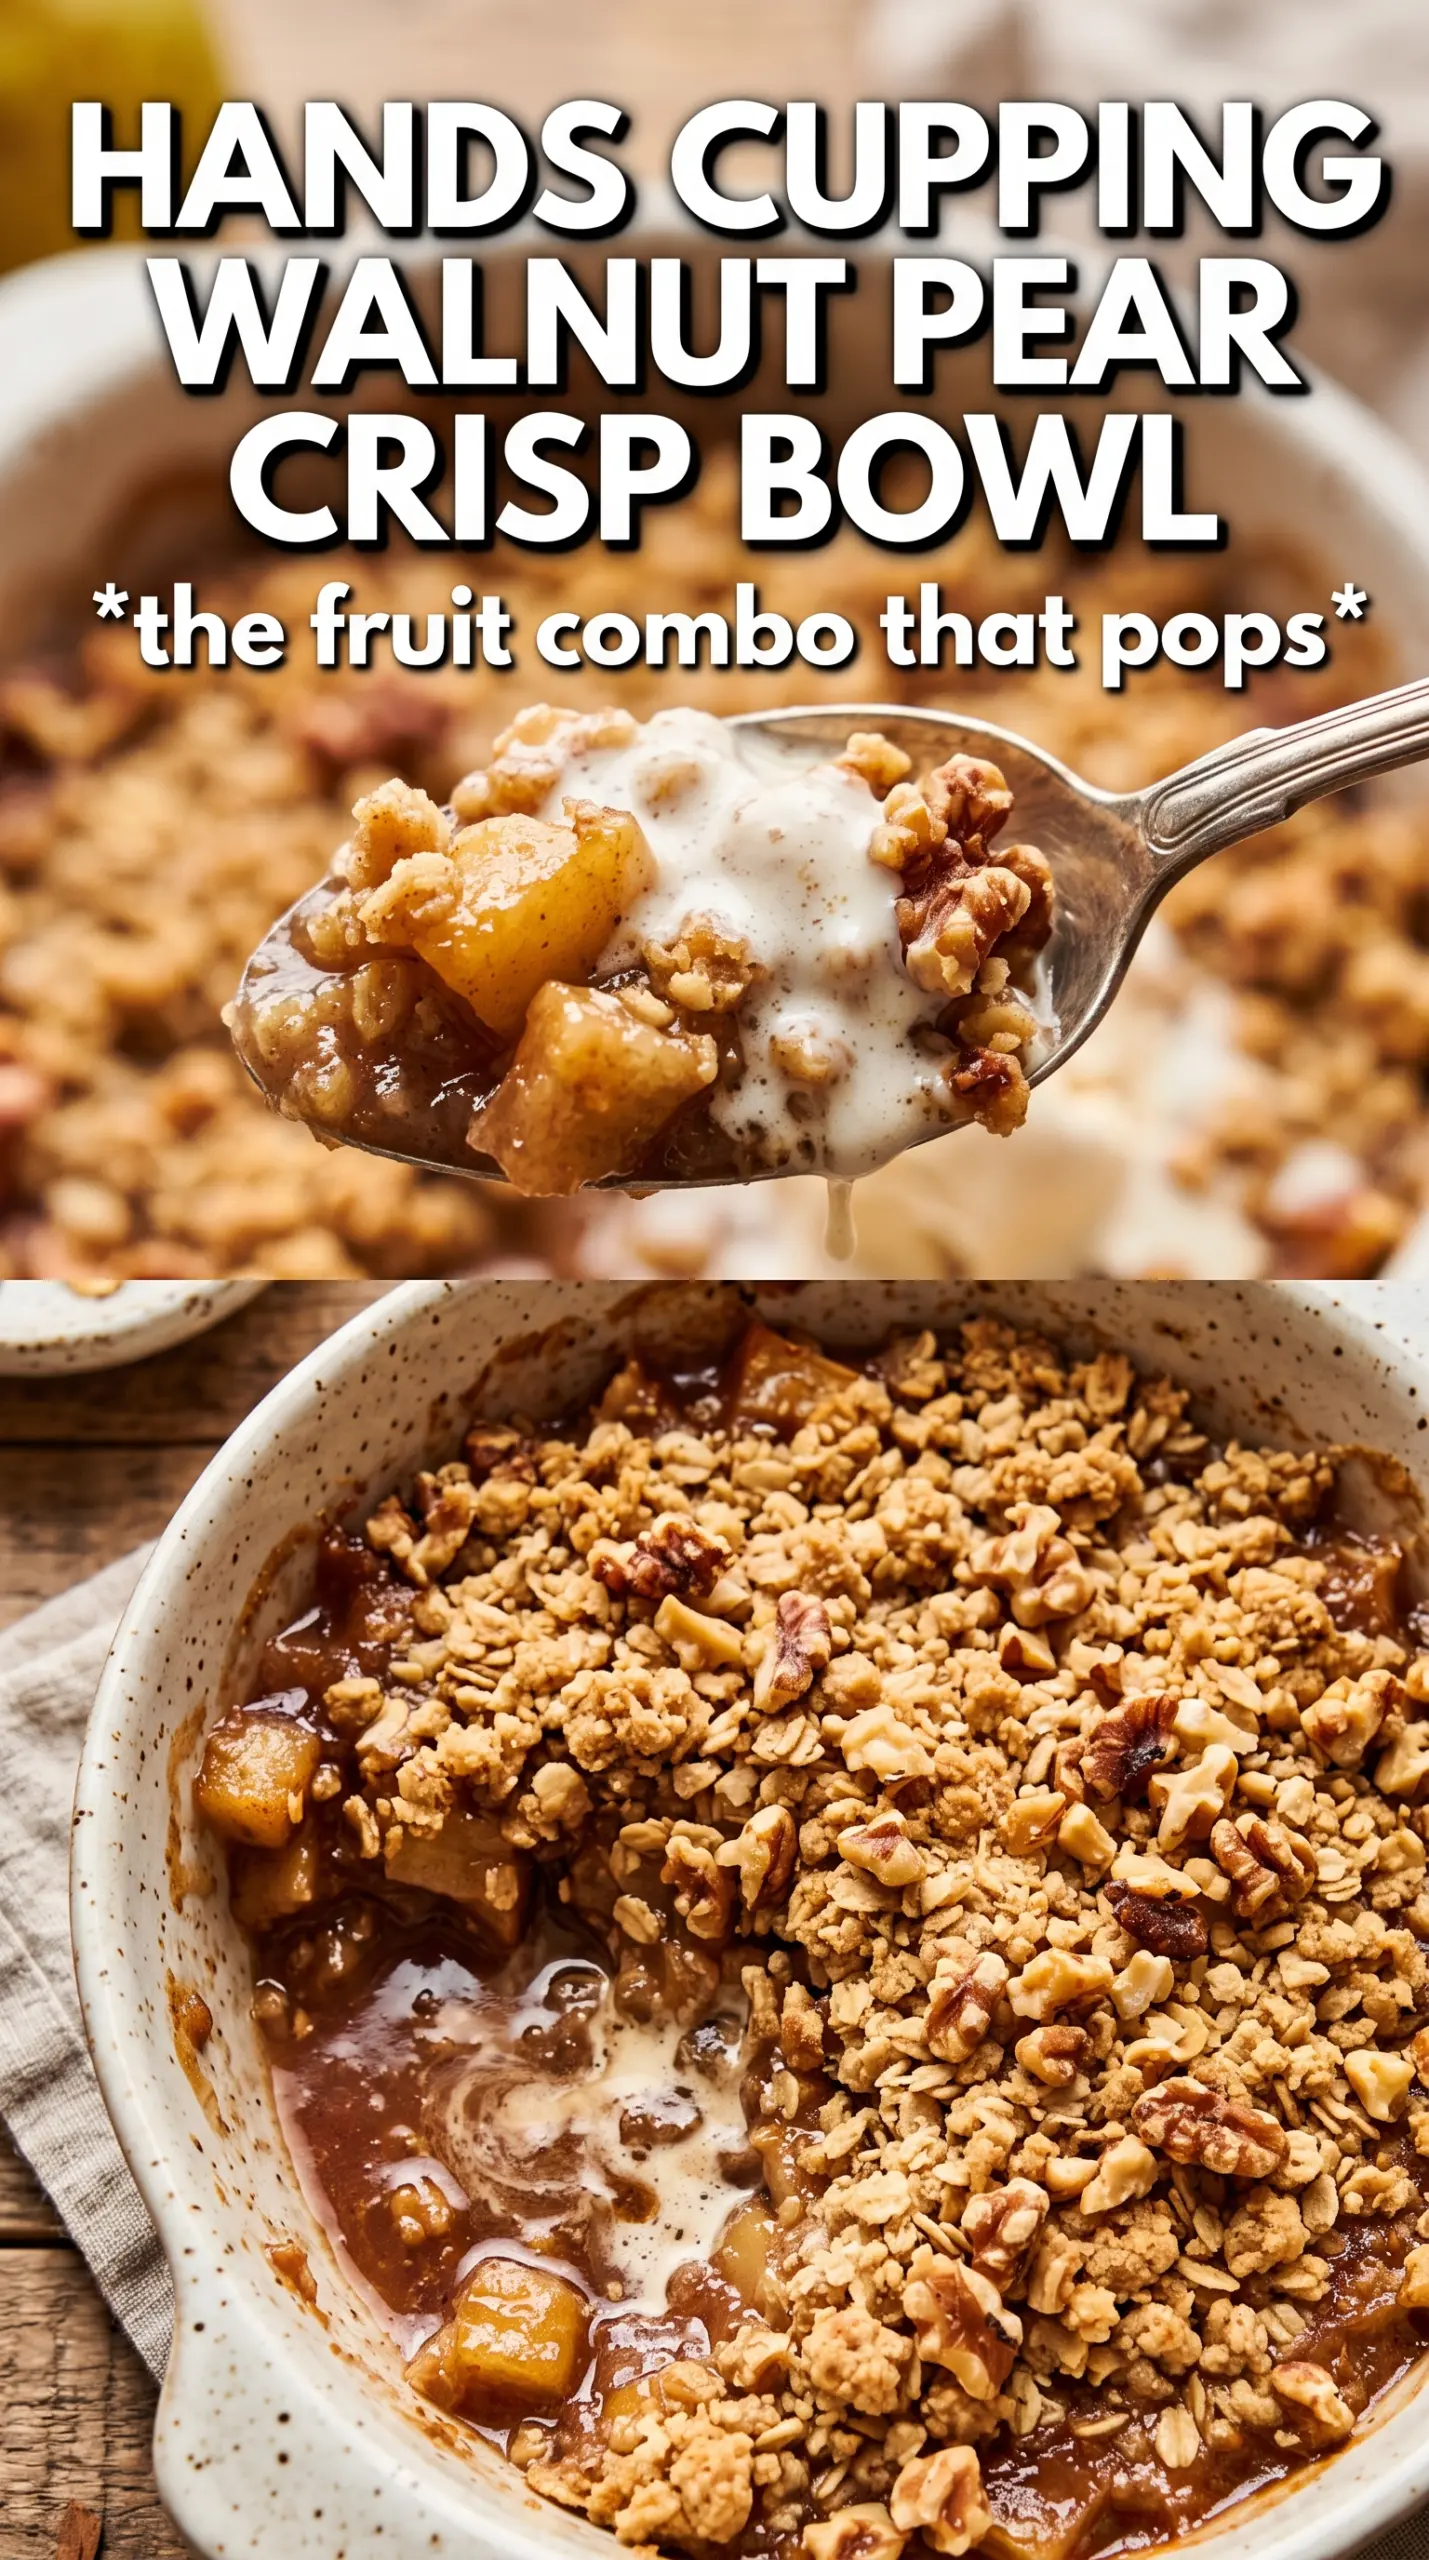
- Walnuts — They add crunch and a toasty, slightly bitter note that keeps the crisp from tasting one-dimensional. Chop them roughly so you get texture, not dust.
- Rolled oats — These give the topping its nubby, crisp bite. Quick oats work if that’s all you have, but the topping will be finer and less rustic.
- Cold butter — This is what creates clumps instead of sandy crumbs. Warm butter blends in too fast and bakes into a flat layer.
- Brown sugar — It brings caramel depth and helps the topping brown. Packed brown sugar is important because loose sugar throws off the balance and makes the topping drier.
Building the Crisp in the Right Order
Coating the Fruit So the Filling Sets
Toss the sliced apples and pears with the sugars, cinnamon, ginger, cornstarch, and lemon juice until every piece looks lightly coated. The mixture should look glossy, not wet and clumpy. If you see dry cornstarch at the bottom of the bowl, keep tossing; that powder turns chalky in the oven and won’t thicken evenly. Spread the fruit in an even layer so it bakes at the same pace across the dish.
Cutting the Butter Into True Clumps
Combine the oats, flour, brown sugar, cinnamon, salt, and walnuts first, then cut in the cold butter until you have a mix of sandy bits and larger pebbly clumps. Those bigger pieces are what bake into the best crunchy bits. If the butter starts softening while you work, stop and put the bowl in the fridge for a few minutes. A topping that feels paste-like now will bake up dense instead of crisp.
Baking Until the Filling Bubbles
Scatter the crumble over the fruit and bake until the top is deeply golden and the fruit is bubbling around the edges and through the center. That bubbling matters more than the clock, because it tells you the cornstarch has thickened the juices. If the top browns before the filling bubbles, lay a loose piece of foil over the dish and keep baking. Pulling it out too early leaves you with juicy fruit that never quite sets.
Letting It Rest Before Serving
Give the crisp at least 10 minutes on the counter before you scoop it. That short rest lets the filling settle, so you get fruit and sauce instead of a puddle. The topping stays crunchy, and the fruit layer underneath becomes easier to serve cleanly. It still tastes best warm, especially with vanilla ice cream melting into the edges.
How to Adapt This Crisp for Different Pantry Situations
Make It Gluten-Free
Swap the all-purpose flour for a good 1:1 gluten-free flour blend. The texture stays close to the original, though the crumble may be a little more delicate. Keep the oats certified gluten-free if you need the dessert to be fully gluten-free.
Make It Dairy-Free
Use a solid plant-based butter that bakes well in place of the unsalted butter. You still want it cold and cubed so the topping forms clumps. Soft tub-style spreads can make the crumble greasy and less crisp.
Change the Fruit Mix
You can swap in firm peaches, plums, or all apples if that’s what you have. Keep the total fruit amount about the same and watch the texture of the fruit you choose, since softer fruit may need a few minutes less in the oven. The cornstarch stays the same unless your fruit is especially juicy.
Storage and Reheating
- Refrigerator: Store covered for up to 4 days. The topping softens a bit in the fridge, but the flavor stays good.
- Freezer: Freeze baked crisp in a tight, freezer-safe container for up to 2 months. Thaw in the fridge before reheating, or the center can stay cold while the top dries out.
- Reheating: Warm in a 325F oven until the filling is hot and the topping perks back up, usually 15 to 20 minutes. The microwave will heat the fruit, but it makes the crumble soggy.
Questions I Get Asked About This Recipe
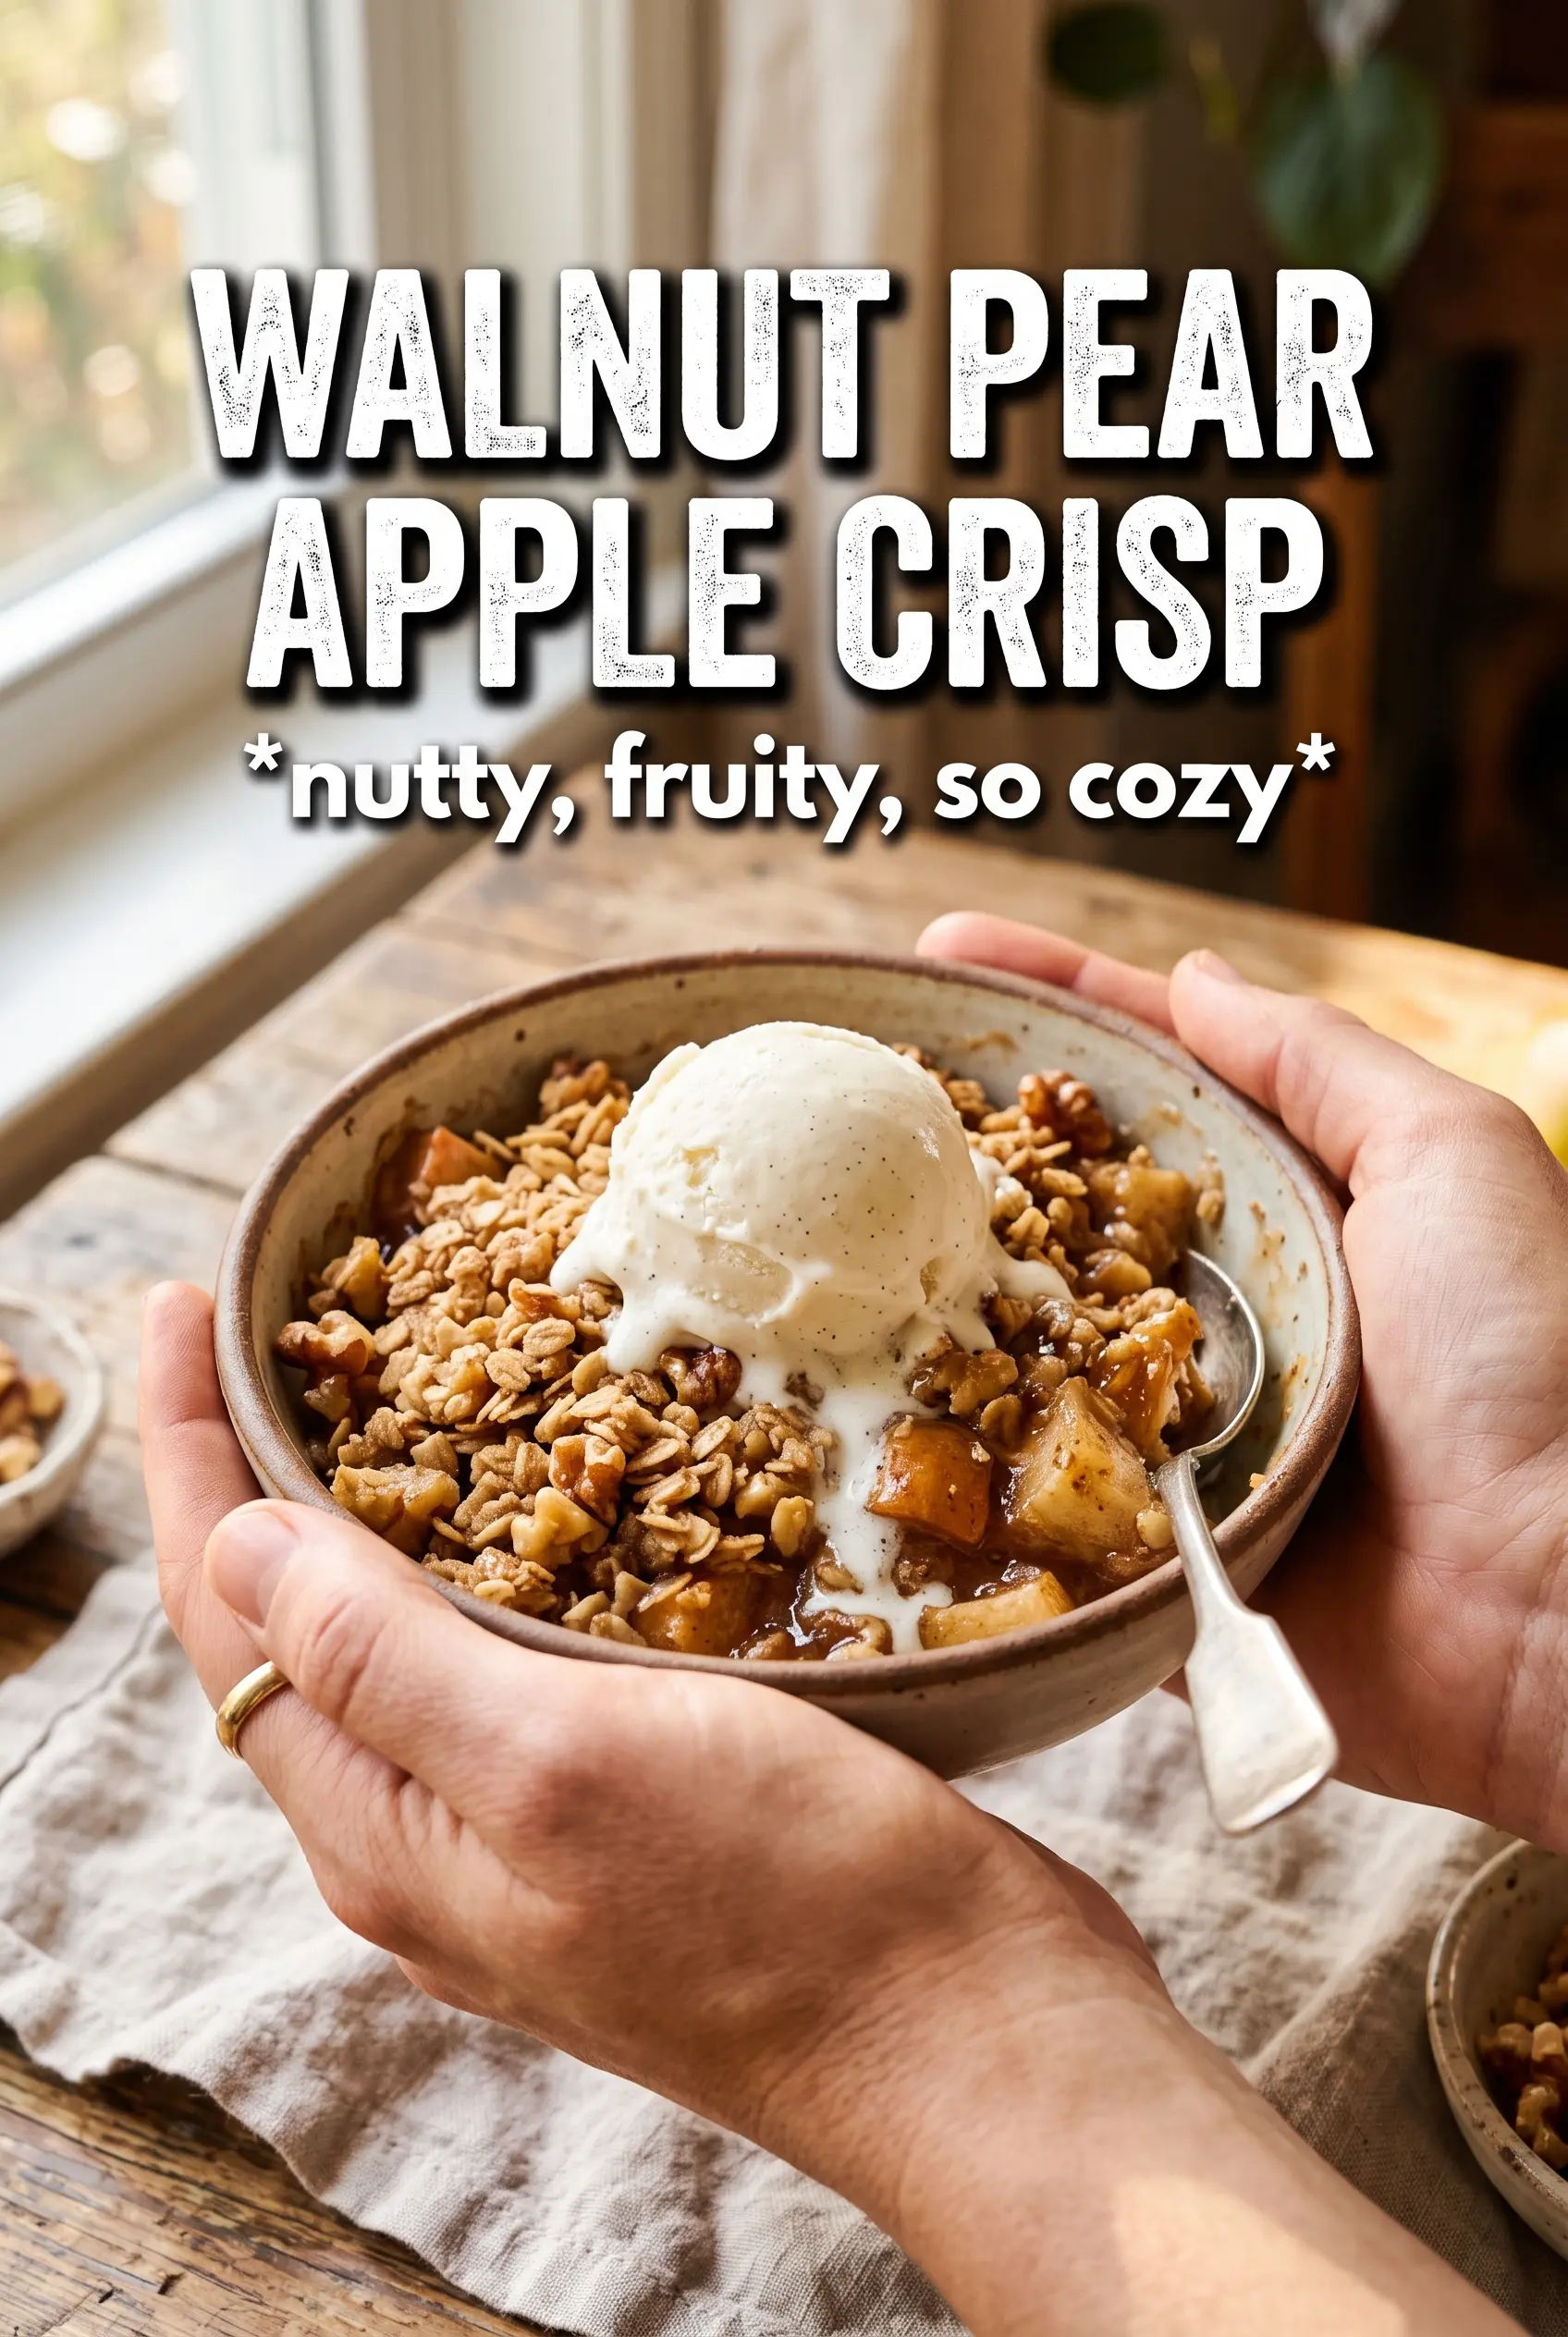
Walnut Pear Apple Crisp
Ingredients
Equipment
Method
- Preheat the oven to 375F and grease a 9x13 baking dish.
- Toss the apple and pear slices with granulated sugar, brown sugar, cinnamon, ginger, cornstarch, and lemon juice, then spread them in the baking dish.
- Combine the rolled oats, all-purpose flour, brown sugar, cinnamon, salt, and walnuts, then cut in the cold unsalted butter until chunky clumps form.
- Scatter the crumble evenly over the fruit.
- Bake for 40-45 minutes at 375F until the top is deeply golden and the fruit is bubbling.
- Rest the crisp for 10 minutes before serving.