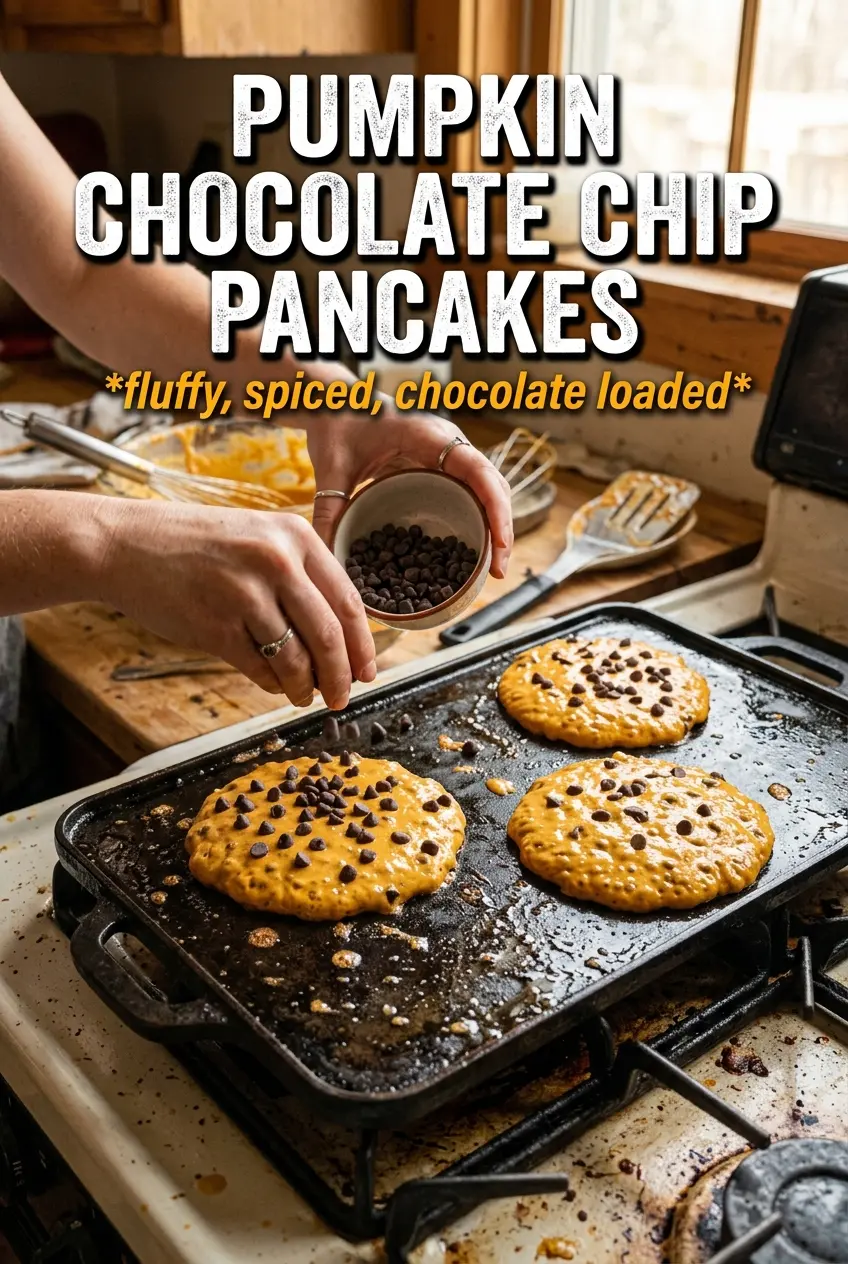
Golden-orange pancakes with melted chocolate chips in every bite are the kind of breakfast that gets people to the table fast. The pumpkin keeps them soft and tender, while the chocolate gives you little pockets of sweetness that melt into the warm crumb. They cook up with crisp edges, a fluffy center, and just enough spice to taste like fall without becoming heavy or cakey.
What makes these work is the balance. Pumpkin puree adds moisture, but it also adds weight, so the batter needs enough leavening to lift without turning dry or hollow. Buttermilk brings a gentle tang and helps the baking soda do its job, and melted butter keeps the crumb rich without making the pancakes greasy. Stir the batter just until the flour disappears. A few streaks are fine; overmixing is what turns pancakes tough.
Below you’ll find the small details that matter most: how to keep the first batch from soaking up too much fat, why the batter should rest briefly, and the easiest way to get chocolate chips distributed evenly instead of clumping in one place.
The pancakes stayed fluffy even with the pumpkin, and the chocolate chips melted into little pockets instead of sinking. I also liked that the batter thickened just enough after a 5-minute rest so the pancakes held their shape on the griddle.
Save these pumpkin chocolate chip pancakes for a stack that stays fluffy, spiced, and chocolate-studded from the first flip to the last bite.
The Trick to Keeping Pumpkin Pancakes Fluffy Instead of Dense
Pumpkin batter can go wrong fast because pumpkin puree adds moisture without adding structure. If you stir like you’re making cake batter, the gluten in the flour tightens and the pancakes turn heavy. The goal is a batter that looks a little rough and slightly thick, not silky smooth. That texture lets the pancakes rise on the griddle instead of spreading flat.
- Don’t overmix the batter — stop as soon as the dry flour disappears. A few small lumps are fine and help keep the crumb tender.
- Let the batter sit for 5 minutes — the flour hydrates and the baking powder starts working, which gives you a better lift.
- Keep the heat at medium — too hot and the chocolate chips scorch before the center cooks through. Too low and the pancakes dry out before they brown.
What Each Ingredient Is Actually Doing in These Pancakes
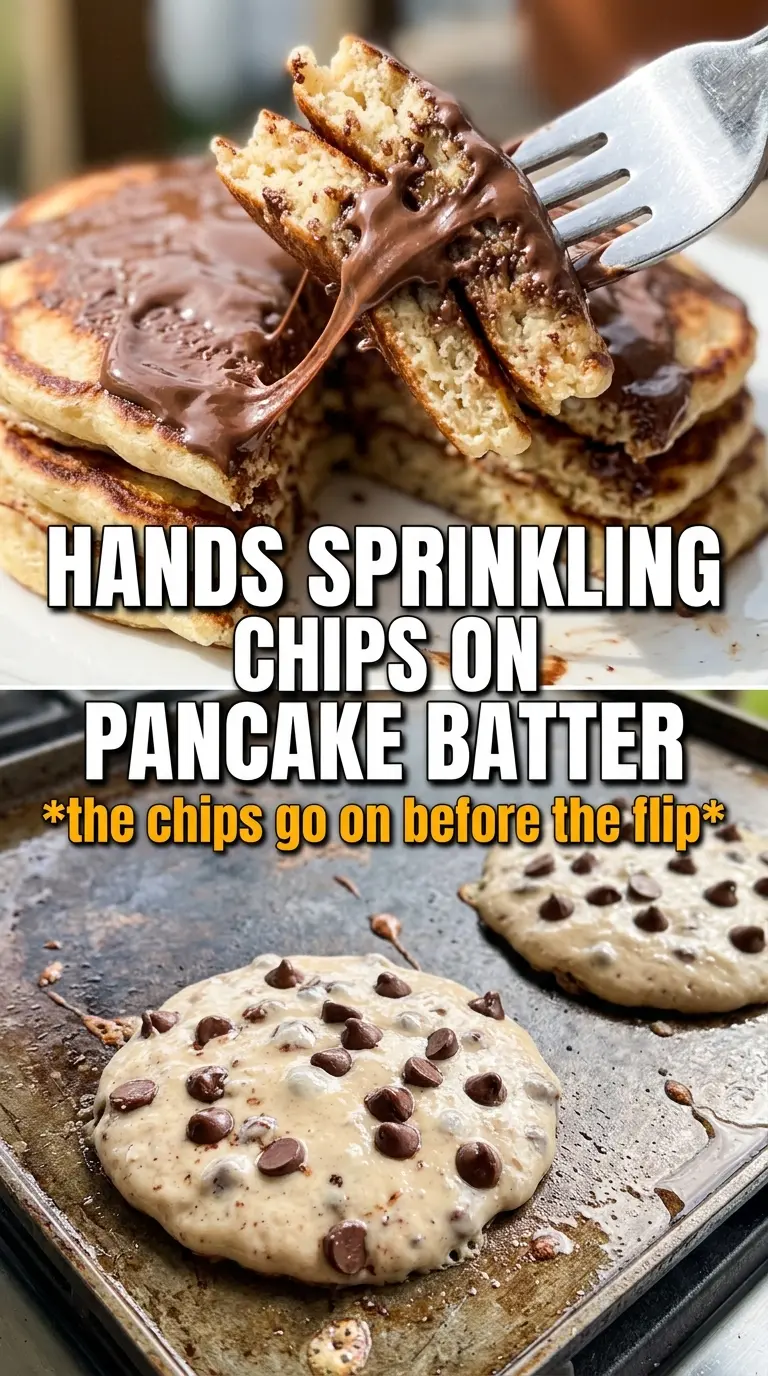
- Pumpkin puree — this is what gives the pancakes their color, moisture, and soft texture. Use pure pumpkin, not pumpkin pie filling, or the pancakes will be overly sweet and spiced in the wrong way.
- Buttermilk — the acidity reacts with the baking soda for lift, and it adds a light tang that keeps the flavor from tasting flat. If you need a substitute, use milk mixed with a tablespoon of lemon juice or vinegar, but the texture won’t be quite as plush.
- Butter — melted butter gives the pancakes a richer crumb than oil and helps the edges brown. Let it cool for a minute before whisking it in so it doesn’t scramble the eggs.
- Chocolate chips — semi-sweet works best because the pumpkin and spice already bring warmth. Dark chocolate gives a deeper, less sugary bite if you want the pancakes to feel a little more grown-up.
- Pumpkin pie spice and cinnamon — both matter here. Pumpkin pie spice gives the familiar blend, and the extra cinnamon sharpens it just enough so the flavor doesn’t disappear under the chocolate.
Building the Batter and Flipping at the Right Moment
Mix the dry ingredients first
Whisk the flour, sugar, baking powder, baking soda, spices, and salt together until the color looks even. This keeps the leavening from clumping in one spot, which is one of the easiest ways to end up with uneven pancakes. You want the spices distributed well enough that every bite tastes balanced, not like the chocolate landed all the way on top of a plain base.
Bring the wet ingredients together
Whisk the pumpkin, buttermilk, eggs, melted butter, and vanilla until smooth and glossy. The mixture should look thick but pourable. If the butter is too hot, it can create little cooked egg bits or a greasy film, so let it cool briefly before adding it in.
Fold, don’t beat
Add the wet mixture to the dry ingredients and fold just until no dry patches remain, then fold in the chocolate chips. The batter should still look a little lumpy and thick enough to mound from a spoon. If it seems too stiff, let it rest instead of adding more liquid right away; pumpkin batter relaxes as it sits.
Cook until the surface tells you it’s time
Use a greased skillet or griddle over medium heat and scoop about 1/4 cup batter per pancake. The pancakes are ready to flip when bubbles form across the surface and the edges look set and matte, usually around 3 minutes. Flip once and cook the second side for about 2 minutes more. If they brown too fast before the center firms up, the pan is too hot.
Make them dairy-free
Swap the buttermilk for an unsweetened non-dairy milk mixed with 1 tablespoon lemon juice or vinegar, and use melted coconut oil or a neutral oil instead of butter. The pancakes will still rise well, but they’ll taste a little less rich and a little lighter on the palate.
Go gluten-free without losing the lift
Use a cup-for-cup gluten-free flour blend that already includes xanthan gum. The texture will be slightly more delicate, so let the batter rest for the full 5 minutes before cooking and flip gently once the edges are set.
Swap the chips for chopped chocolate
Chopped chocolate melts into wider, uneven pockets and gives you a more dramatic chocolate hit. It can also smear a little more on the griddle, so keep the heat moderate and wipe away any stray bits between batches.
Storage and Reheating
- Refrigerator: Store leftovers in an airtight container for up to 3 days. They soften a little as they sit, but the flavor holds up well.
- Freezer: These freeze well. Cool completely, layer with parchment, and freeze in a zip-top bag for up to 2 months.
- Reheating: Warm in a toaster oven, skillet, or microwave until just heated through. Don’t blast them too long or the chocolate turns greasy and the pancakes dry out.