Cold, creamy cheesecake layered over a buttery oat crumble crust has the kind of texture contrast that makes a dessert disappear fast. The apple topping brings in just enough spice and softness to echo the crust without turning the whole thing heavy, and the extra crumble on top keeps every slice from feeling too smooth. It’s the kind of dessert that looks like you spent all day on it, but the fridge does most of the work.
The part that makes this version stand out is the balance: the crust gets pressed firmly enough to hold a clean slice, but the oats keep it from tasting like a plain cookie base. Whipped cream lightens the filling so it sets up mousse-like instead of dense, and the apple pie filling gets a quick hit of cinnamon and nutmeg so it tastes finished, not canned. Let the crust chill before filling it, and give the cheesecake the full rest time so the layers firm up the way they should.
The crust held together perfectly and the filling was light but still rich. I made it the night before, and the apple layer sliced clean instead of sliding off.
Like this no-bake apple crumble cheesecake? Save it to Pinterest for an easy make-ahead dessert with a crisp oat crust and spiced apple topping.
The Part That Keeps the Crust from Turning Soggy
The biggest mistake with a no-bake cheesecake like this is treating the crust like it can hold itself together on goodwill alone. It can’t. The oat mixture needs to be pressed firmly enough that the butter binds it into a compact base, then chilled before the filling goes in so the crust sets instead of crumbling under the knife.
Reserved crumble on top is more than decoration. It gives you a dry, toasted bite against the soft filling and the juicy apple layer, which is what keeps the dessert from eating like one long, smooth mouthful. If your crust seems loose after mixing, it usually needs one more thorough toss with the melted butter, not more butter poured on top.
- Rolled oats — These keep the crust hearty and textured. Quick oats will work in a pinch, but they make the base denser and a little pasty instead of nubby and crisp.
- Brown sugar — Used in both the crust and filling, it brings a deeper caramel note than white sugar alone. That flavor matters here because it ties the crust, cheesecake, and apples together.
- Cream cheese — Use full-fat blocks, not tub-style spread. Block cream cheese beats smooth and sets with more body, which is what lets the cheesecake slice cleanly.
- Heavy cream — Whip it to stiff peaks before folding it in. That’s what gives the filling lift without baking, and it’s why the texture stays light instead of dense.
- Apple pie filling — The canned filling saves time and gives you a built-in soft fruit layer, but a quick spice stir makes it taste intentional. If you use homemade cooked apples instead, let them cool completely so they don’t melt the filling.
What Each Ingredient Is Actually Doing in This Recipe
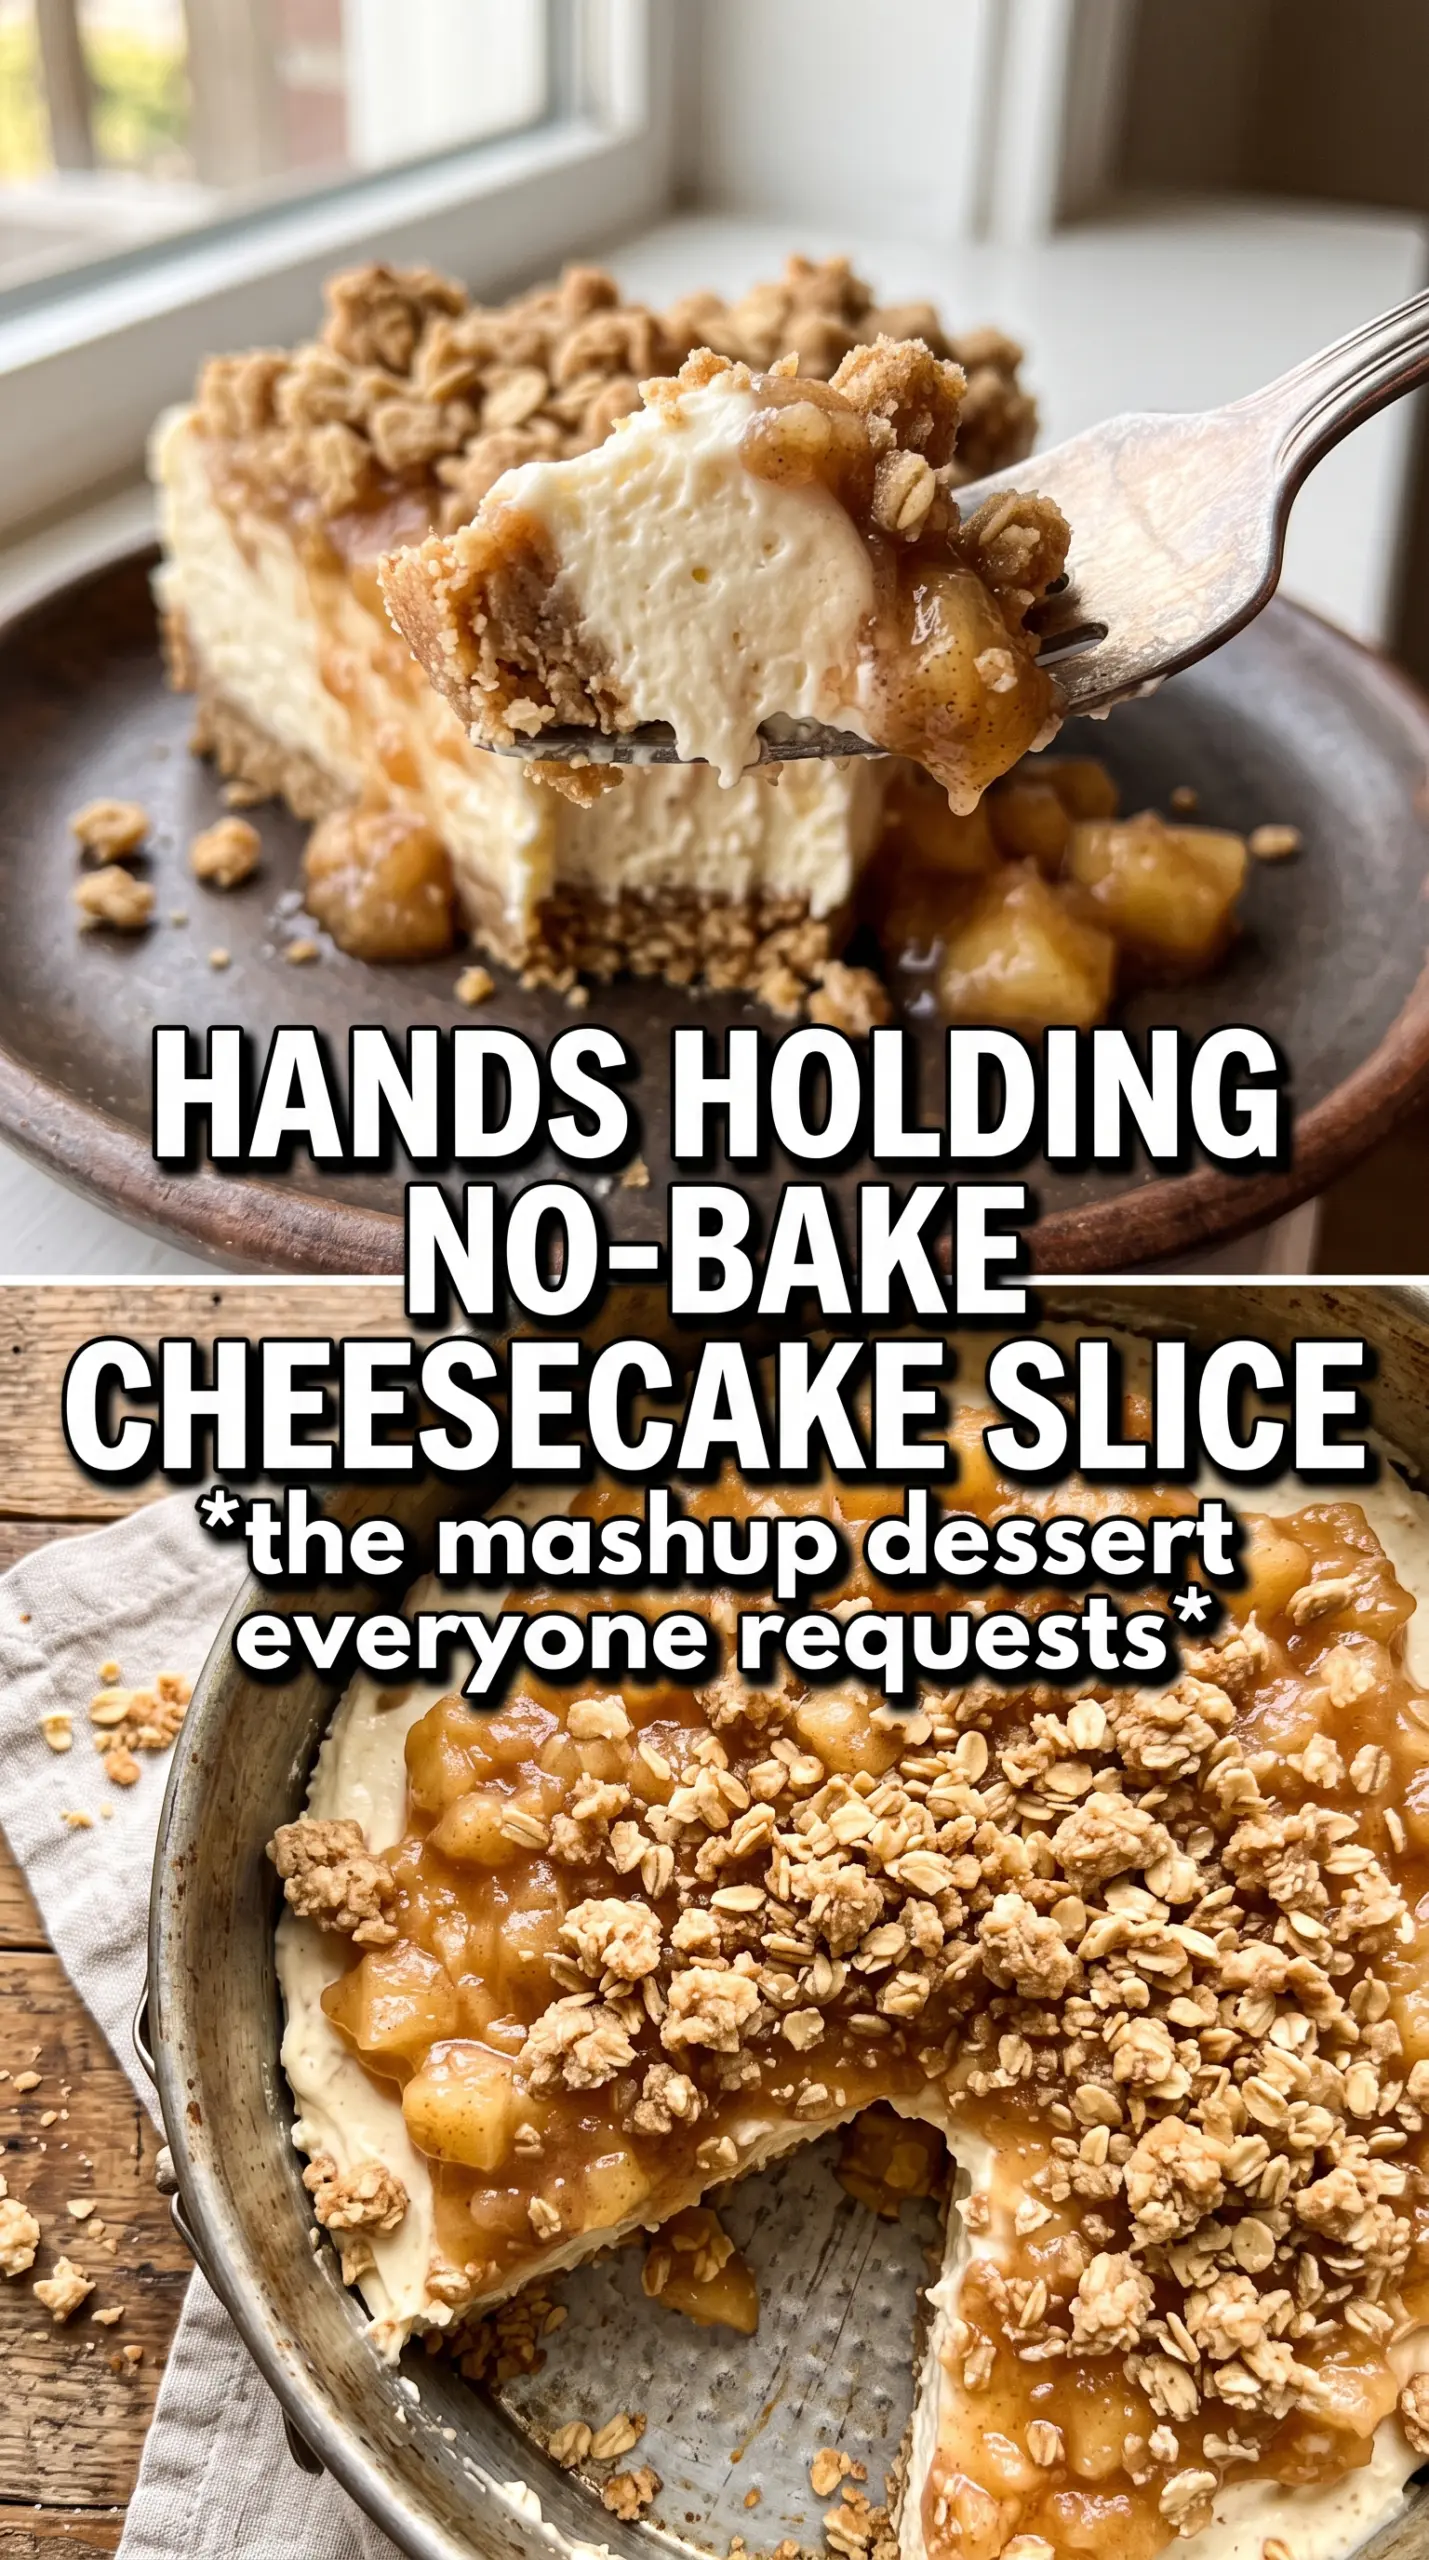
- Primary ingredient (the star) — Quality matters most. Choose the best you can find.
- Cooking medium (oil, butter, or broth) — This carries flavors and prevents dryness.
- Seasonings (salt, pepper, spices, herbs) — Layer flavors so nothing overpowers. Build depth gradually.
- Aromatics (garlic, onion, herbs) — Cook with fat to bloom flavors. Become the foundation.
- Supporting ingredients — Complement the main ingredient without overpowering it.
- Sauce or liquid (if applicable) — Brings flavors together. Balance richness with acid.
- Acid (lemon, vinegar, wine, or other) — Brightens and prevents flat-tasting results.
- Final finish (garnish, glaze, or sauce) — Prevents one-dimensional taste and adds visual appeal.
Building the Layers Without Deflating the Filling
Pressing and Chilling the Base
Mix the oats, flour, brown sugar, cinnamon, and melted butter until every dry spot is coated and the mixture looks like damp clumps rather than loose sand. Press it firmly into the springform pan with the bottom of a measuring cup, especially around the edges where loose crumbs usually break first. Chill it for the full 20 minutes so the butter firms back up and the crust can support the filling.
Whipping the Cheesecake to the Right Texture
Beat the cream cheese, both sugars, vanilla, and cinnamon until it’s completely smooth before the whipped cream goes in. Any lumps left at this stage will still be there later, and folding in the cream won’t fix them. The whipped cream should go in gently, with a spatula, until the mixture looks uniform and airy; stop as soon as the streaks disappear so you don’t knock out the volume.
Layering the Apples and Finishing the Top
Spread the filling over the chilled crust in an even layer, then spoon the spiced apple filling across the top without pressing it down. That keeps the cheesecake layer underneath from getting mashed or mixed into the fruit. Scatter the reserved crumble over the apples last so it stays dry and crisp against the chilled topping instead of soaking in.
How to Adapt This Dessert for Different Kitchens and Schedules
Gluten-Free Version with a Crispier Base
Swap the flour for a 1:1 gluten-free blend and use certified gluten-free oats. The crust still holds together, but it will be a little more delicate when sliced, so chill it well and use a sharp knife wiped clean between cuts.
Dairy-Free Cheesecake Filling
Use a dairy-free cream cheese block and whipped coconut cream in place of the heavy cream. The filling won’t taste exactly the same, but it still sets with a light, mousse-like texture if the coconut cream is whipped cold and folded in gently.
Fresh Apple Topping Instead of Canned Filling
Cook peeled apple slices with a little butter, brown sugar, cinnamon, and nutmeg until just tender, then cool them completely before topping the cheesecake. This gives you a brighter apple flavor and more bite, but it adds an extra cooling step that canned filling skips.
Storage and Reheating
- Refrigerator: Keep covered for up to 4 days. The crust softens a little after the first day, but the flavor stays excellent.
- Freezer: Freeze individual slices wrapped tightly in plastic and foil for up to 1 month. Thaw in the refrigerator overnight; don’t thaw at room temperature or the filling can turn loose.
- Reheating: This dessert is served cold, not reheated. If you want the crust to taste a little firmer after chilling, let the slice sit out for 10 to 15 minutes before serving instead of warming it.
Questions I Get Asked About This Recipe
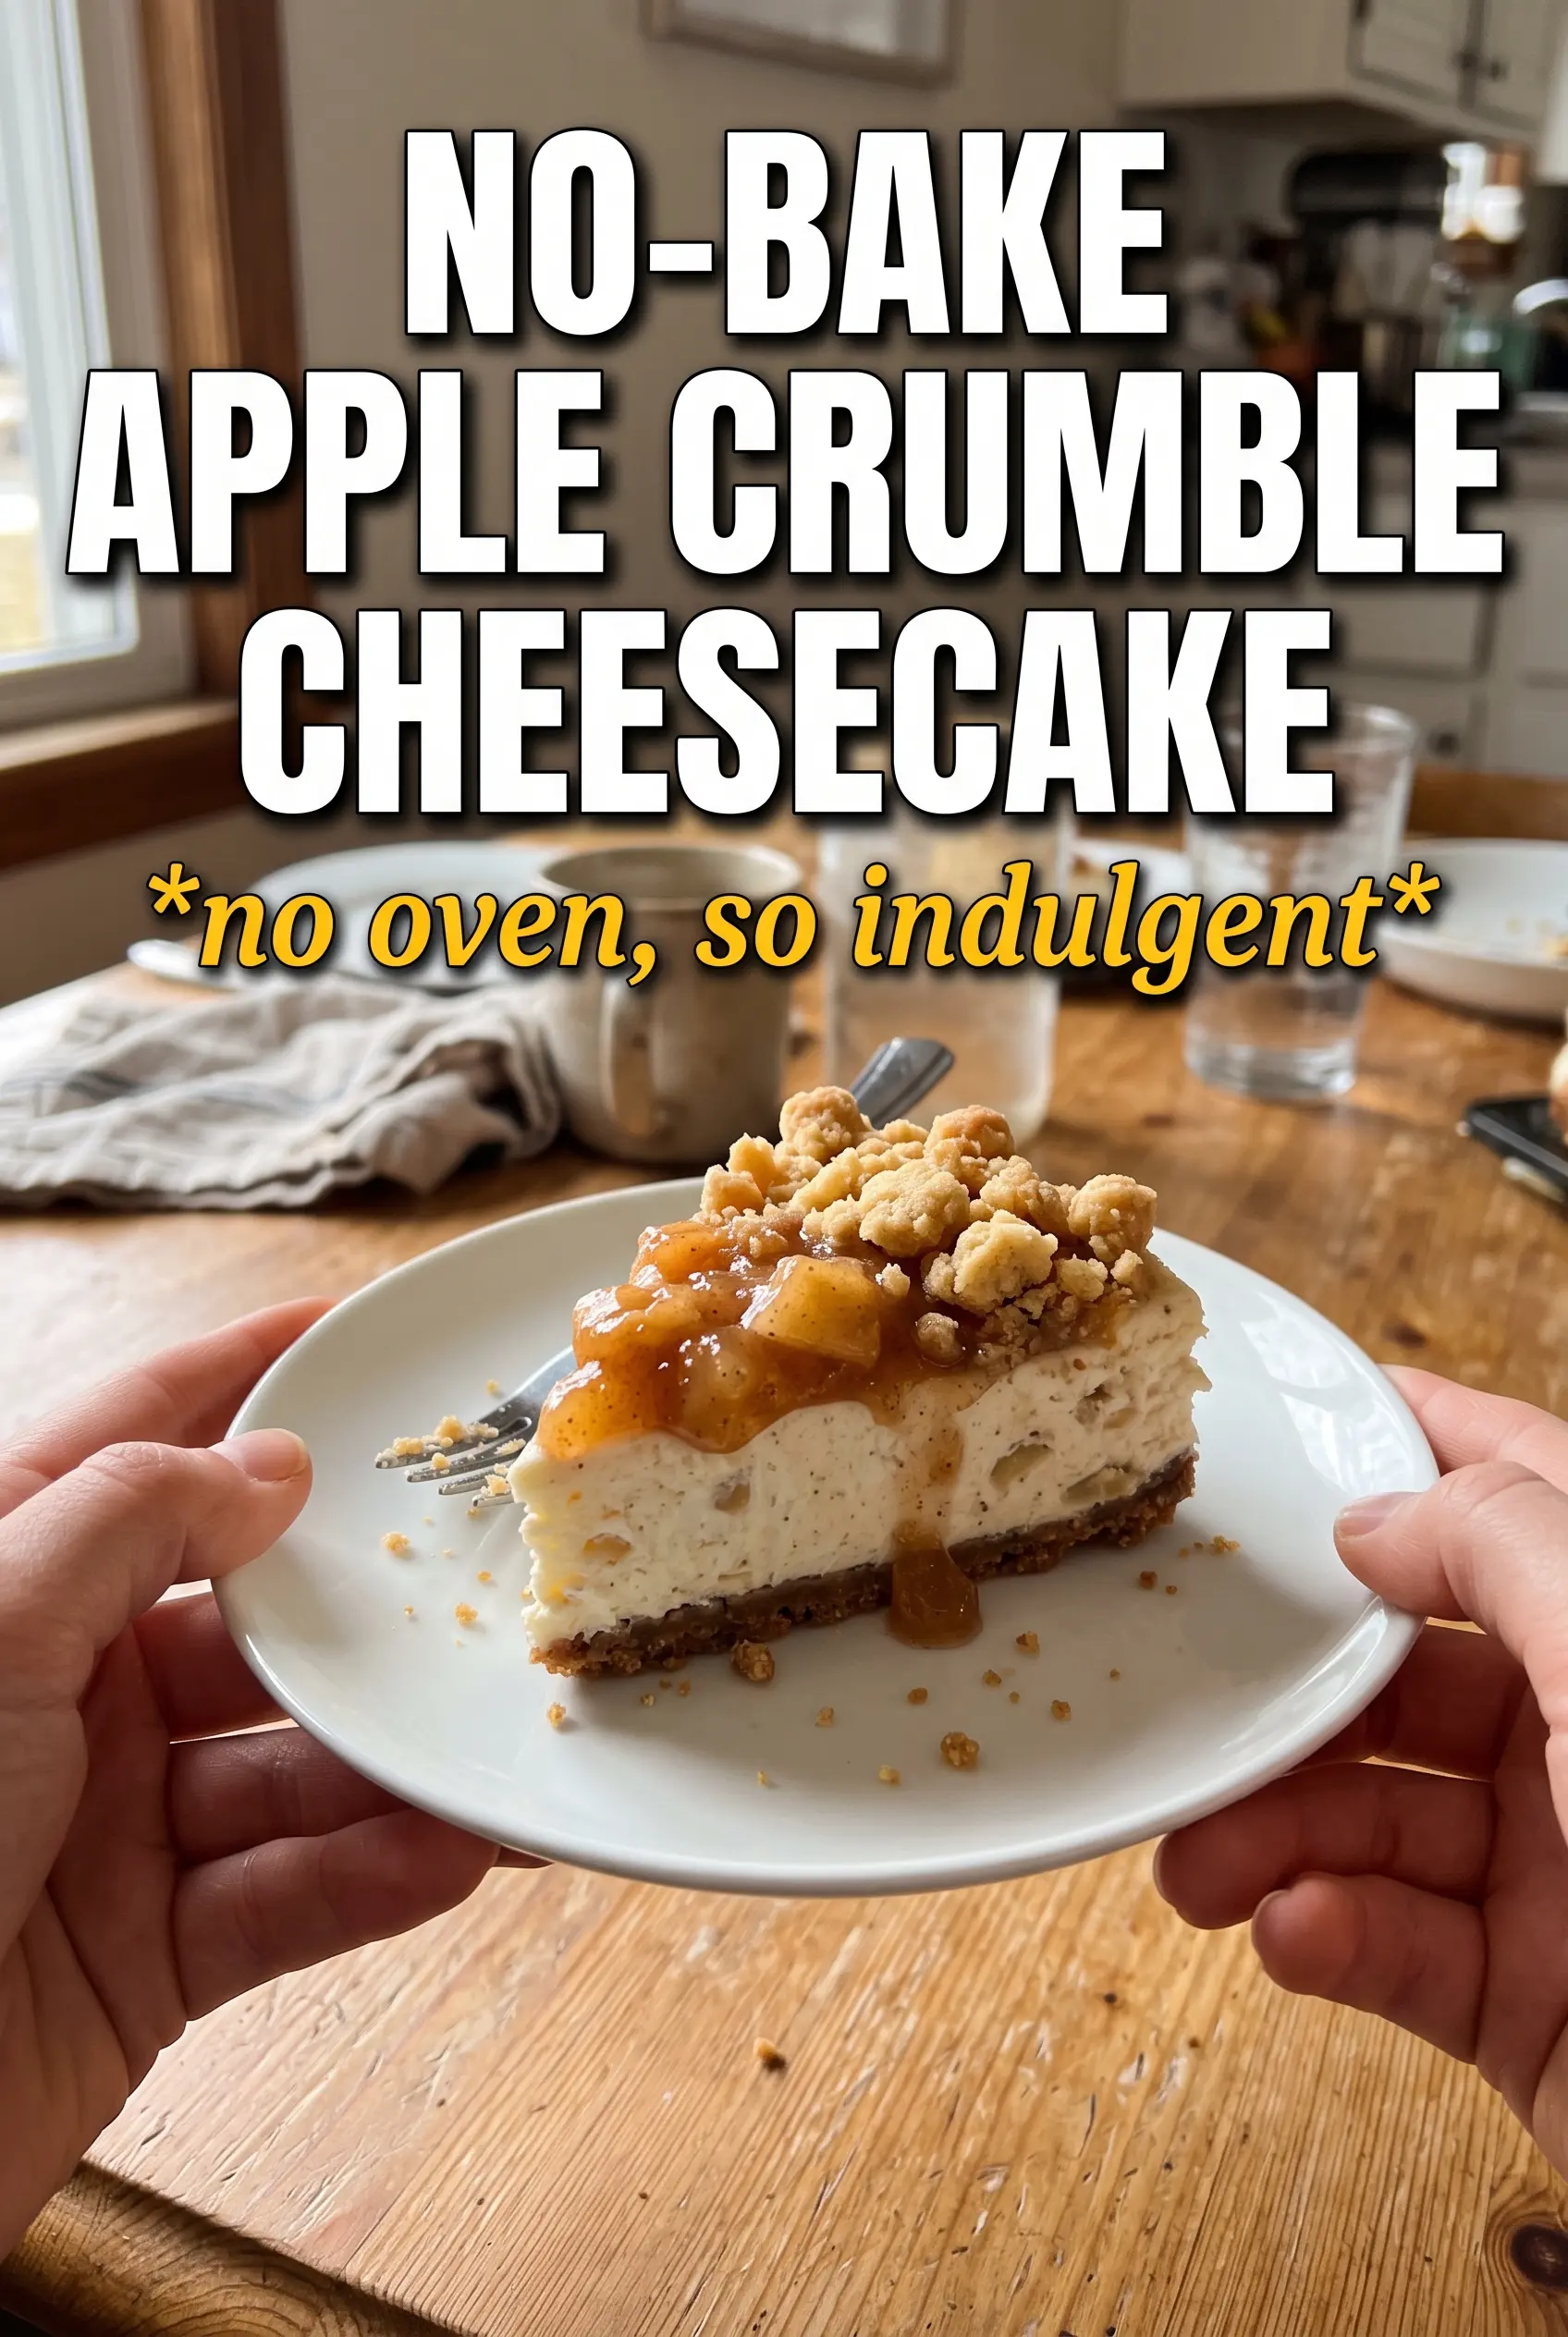
No-Bake Apple Crumble Cheesecake
Ingredients
Equipment
Method
- Combine rolled oats, flour, brown sugar, and cinnamon, then drizzle in melted unsalted butter and toss until evenly moistened, with the mixture holding together when pressed. Press firmly into a 9-inch springform pan.
- Refrigerate the crust for 20 minutes, until firm to the touch, then reserve 1/2 cup of the crust mixture for the crumble topping.
- Beat cream cheese, powdered sugar, brown sugar, vanilla, and cinnamon until completely smooth, stopping to scrape the bowl so no lumps remain.
- Fold in whipped heavy cream until no streaks remain, then spread the filling over the chilled crust in an even layer.
- Stir cinnamon and nutmeg into apple pie filling, then spoon it evenly over the cheesecake so it reaches the edges without spilling.
- Scatter the reserved crumble over the apple topping, creating an even layer with visible oat crumbs.
- Refrigerate for 6 hours (or overnight) until fully set, then release from the springform right before slicing.