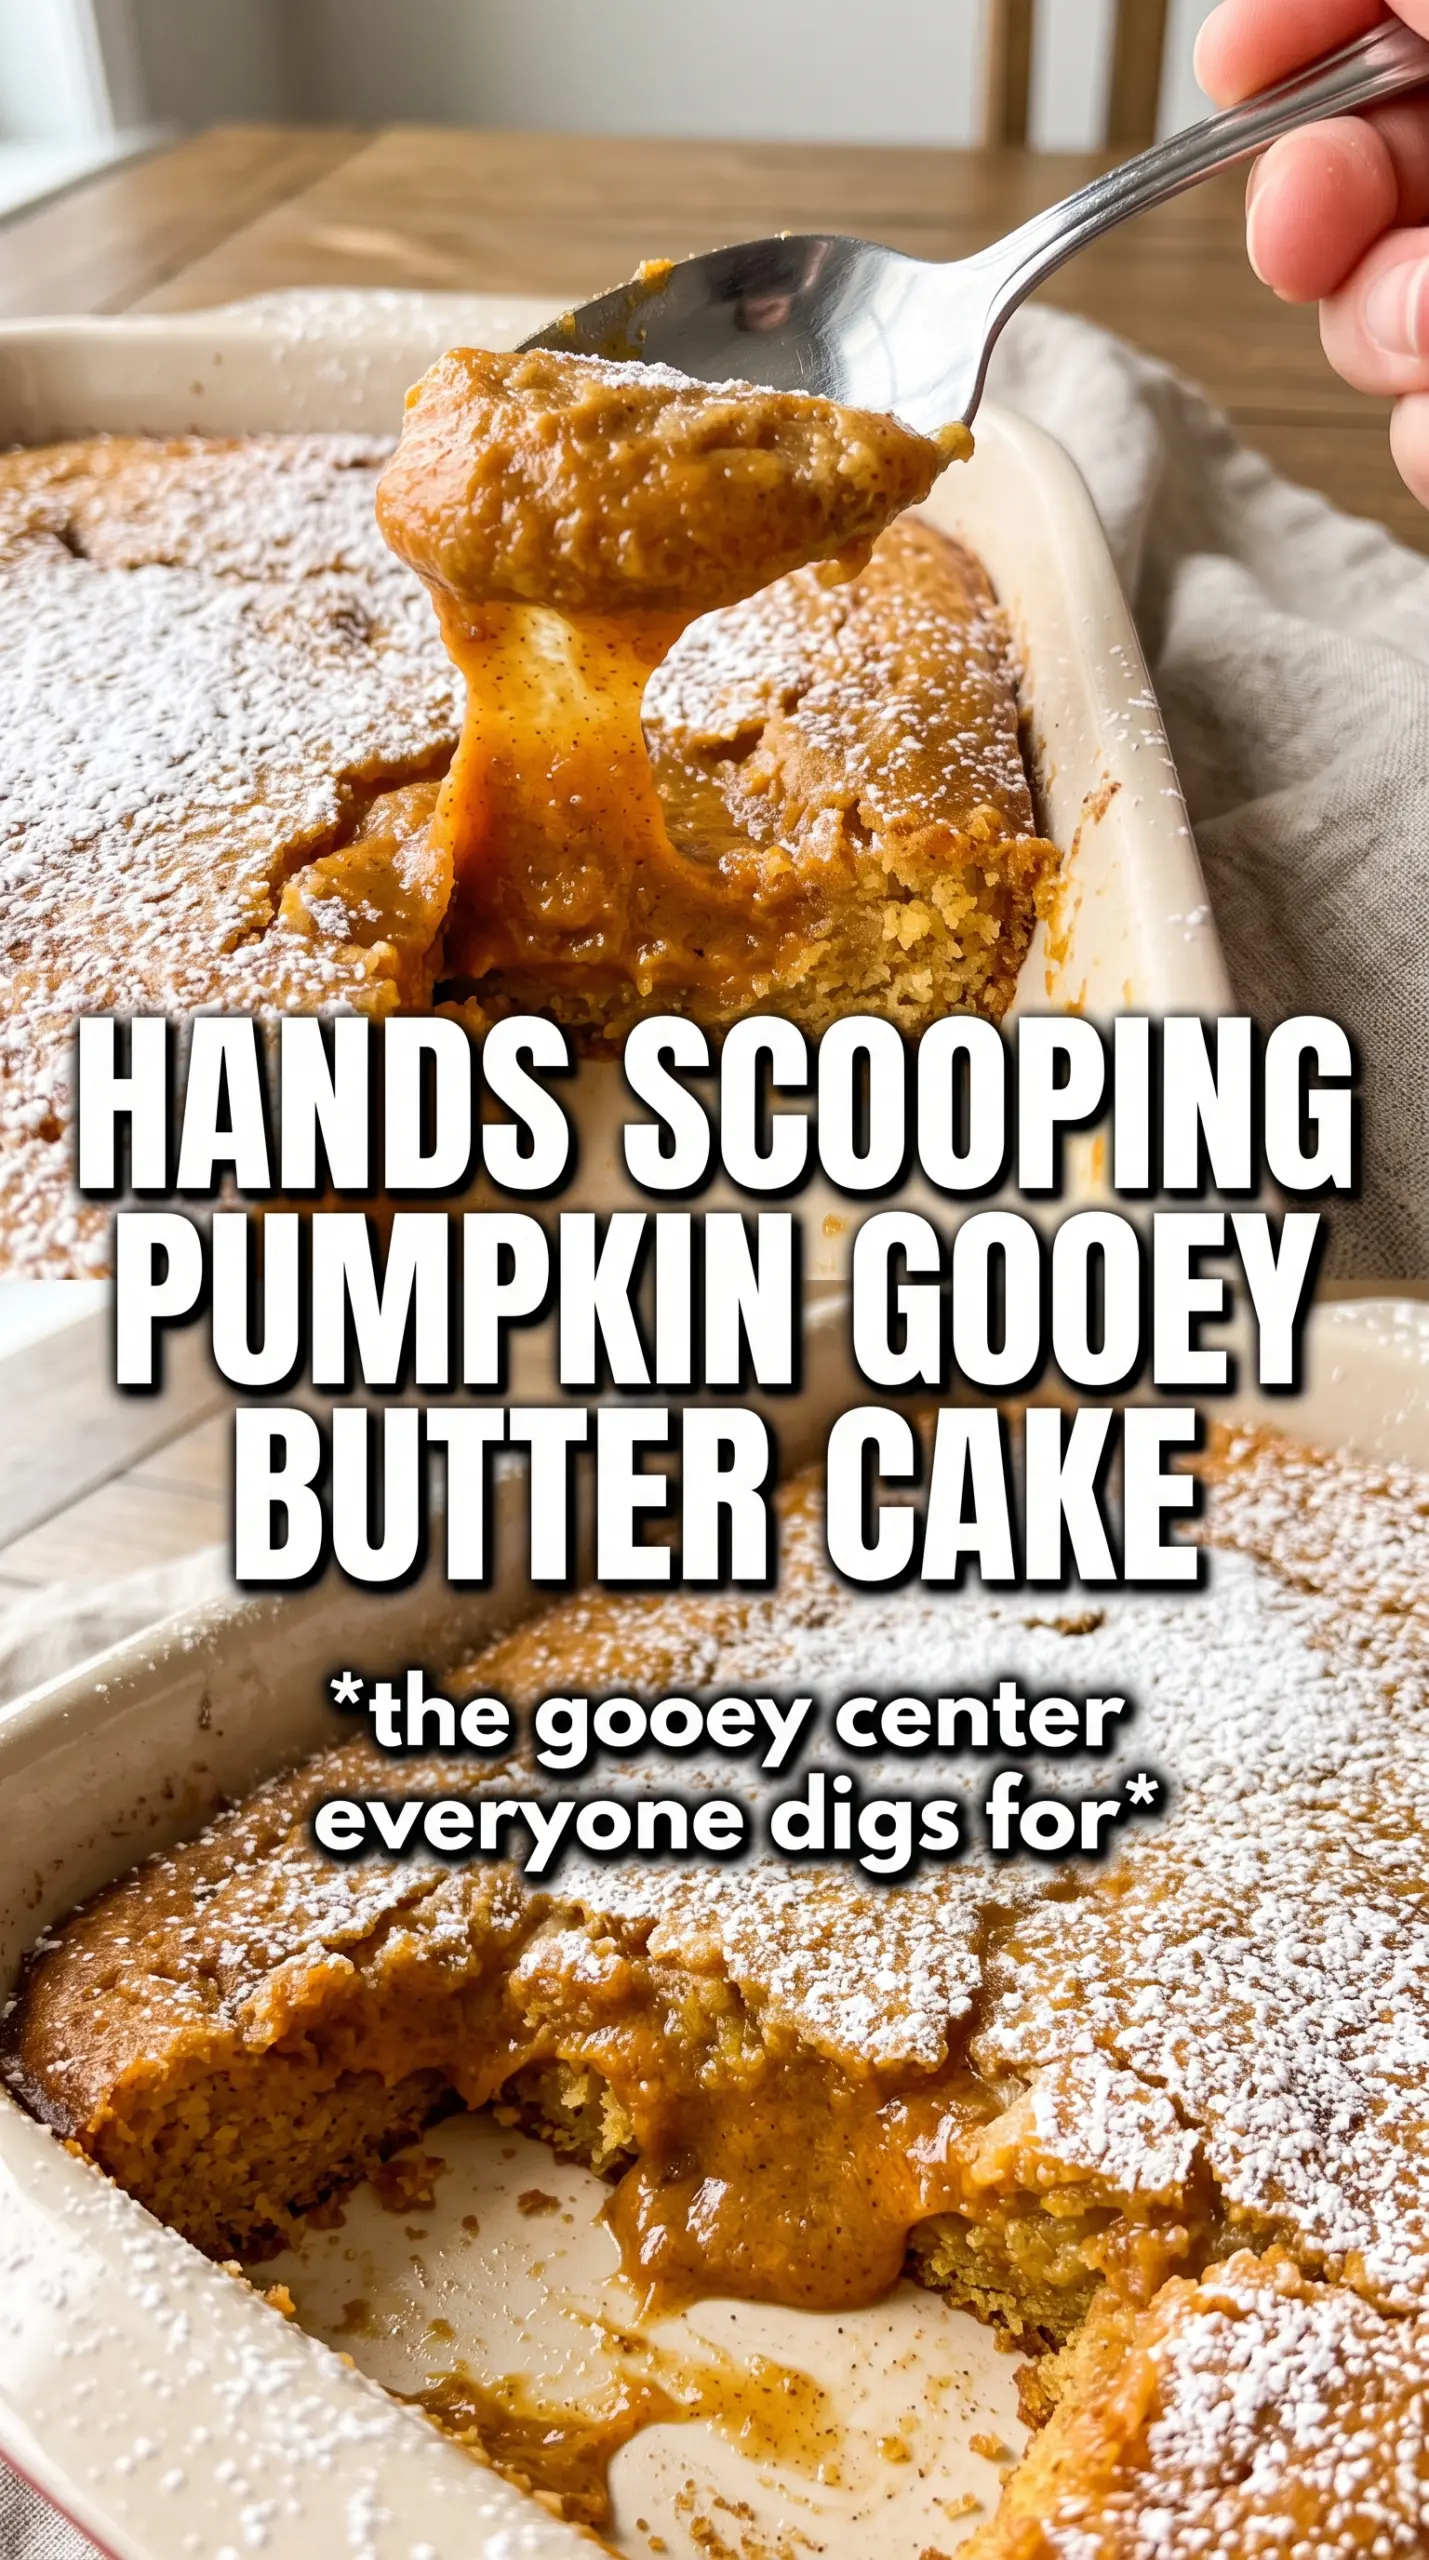
Pumpkin gooey butter cake lands in that sweet spot between a bar cookie and a proper dessert: a sturdy yellow cake base on the bottom, a thick pumpkin cream cheese layer on top, and a powdery finish that makes every square look like it came from a bakery tray. The center stays soft and custardy instead of turning into a dry pumpkin bar, which is exactly why this one disappears fast once it hits the table.
The trick is in the balance. The crust needs to be pressed firmly enough to hold up under the filling, and the filling itself has to be mixed in the right order so the cream cheese turns smooth before the pumpkin and sugar go in. That keeps the top layer rich and gooey instead of grainy or clumpy. Baking it just until the edges are set and the middle still has a little wobble is what gives you that classic gooey butter texture.
Below, I’ve included the spots where people usually go wrong, plus a few smart swaps and storage notes so you can make this ahead without losing that soft center.
The filling set up with that perfect gooey middle, and the crust stayed firm enough to cut clean squares even after chilling. My kitchen smelled like pumpkin spice for hours.
Save this Pumpkin Gooey Butter Cake for the kind of dessert that bakes up with a soft pumpkin center and a powdered sugar finish.
The Part That Keeps the Center Gooey Instead of Dry
Gooey butter cake fails when it’s baked like a standard bar. The top layer looks set before the middle actually is, and if you wait for the center to look fully firm in the oven, it comes out dense and cakey after cooling. This version works because the filling is intentionally rich and loose, then pulled from the oven when the edges are set and the center still has a soft wobble.
The other place people get tripped up is the crust. A loose, crumbly base can’t support the filling, especially after chilling and slicing. Press it firmly and evenly into the pan so it bakes into a thin, sturdy layer that cuts cleanly under the gooey top.
- Yellow cake mix — This gives you the classic buttery, slightly vanilla-forward base without extra measuring. Any standard boxed yellow cake mix works here; just don’t swap in a super-moist-style mix or the crust can bake up too soft.
- Cream cheese — Full-fat cream cheese is the ingredient that gives the filling its tang and body. Softer cream cheese blends smooth fastest, which matters because a lumpy filling never bakes out smooth later.
- Pumpkin puree — Use plain pumpkin puree, not pumpkin pie filling. Pie filling already has sugar and spices mixed in, and that throws off the balance and can make the center too sweet and loose.
- Pumpkin pie spice and cinnamon — These give the filling its warm backbone, but they work best when they support the pumpkin instead of taking over. If you only have pumpkin pie spice, use it and skip the extra cinnamon, though the flavor will be a little less layered.
What Each Ingredient Is Actually Doing in This Recipe
- Primary ingredient (the star) — Quality matters most. Choose the best you can find.
- Cooking medium (oil, butter, or broth) — This carries flavors and prevents dryness.
- Seasonings (salt, pepper, spices, herbs) — Layer flavors so nothing overpowers. Build depth gradually.
- Aromatics (garlic, onion, herbs) — Cook with fat to bloom flavors. Become the foundation.
- Supporting ingredients — Complement the main ingredient without overpowering it.
- Sauce or liquid (if applicable) — Brings flavors together. Balance richness with acid.
- Acid (lemon, vinegar, wine, or other) — Brightens and prevents flat-tasting results.
- Final finish (garnish, glaze, or sauce) — Prevents one-dimensional taste and adds visual appeal.
Building the Filling Without Clumps or Curdling
Pressing the crust first
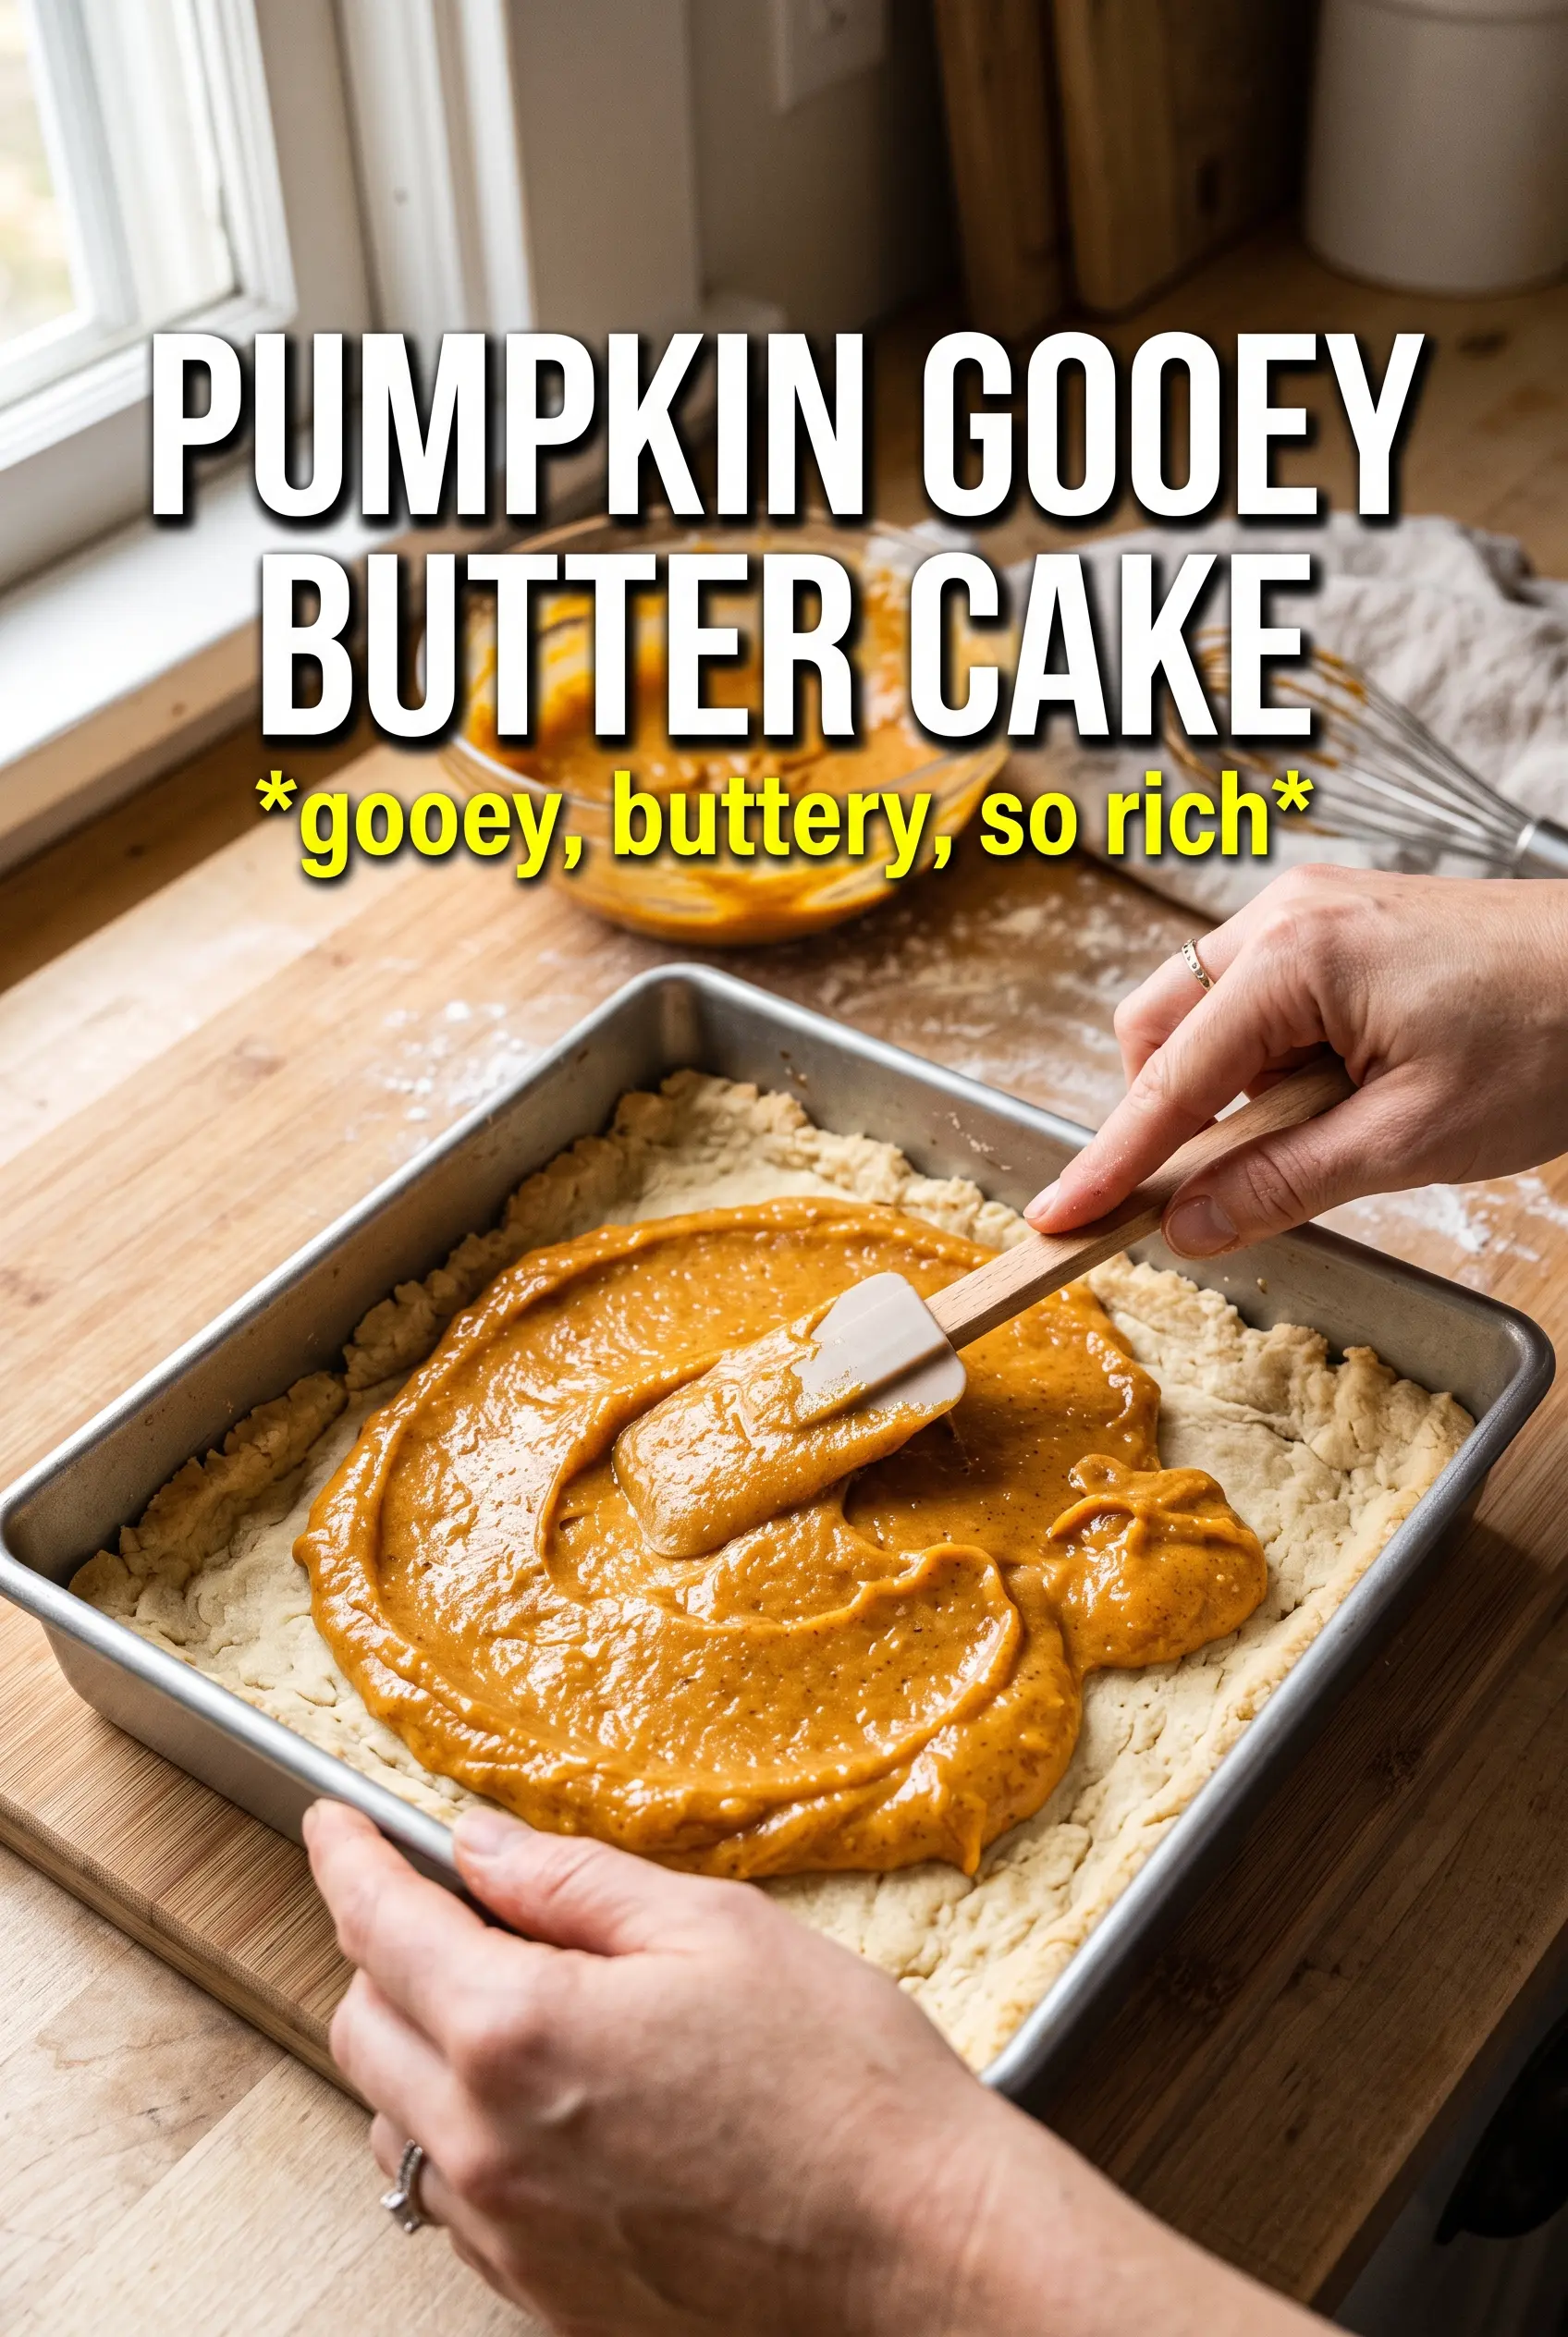
Mix the cake mix, melted butter, and egg until the dough looks sandy and thick, then press it firmly into the pan. An even layer matters more than a thick one here, because the filling needs a flat, stable base to sit on. If the crust is patchy, the filling can seep through and bake unevenly around the edges.
Getting the cream cheese smooth before anything else
Beat the cream cheese until it looks completely smooth and fluffy before you add the pumpkin. That first minute is the difference between a silky top layer and little cream cheese bits that never disappear. Once the cream cheese is smooth, add the pumpkin, eggs, and vanilla and beat again until the mixture looks uniform.
Bringing in the sugar slowly
Beat in the melted butter, then add the powdered sugar gradually instead of dumping it all in at once. Powdered sugar clouds the bowl fast, but adding it in stages keeps the filling smoother and helps it thicken without getting grainy. The finished batter should be thick, pourable, and glossy, not airy like cake batter.
Knowing when to pull the pan
Bake until the edges are set and the middle still has a slight jiggle when you move the pan. The center will finish setting as it cools, and that resting time is what gives you the signature gooey texture. If the top starts looking dry and the middle no longer moves, you’ve gone too far.
Three Ways to Adjust It Without Losing the Texture
Gluten-free version
Use a gluten-free yellow cake mix for the crust and keep everything else the same. The texture will be a little more delicate when warm, so let the bars cool completely before slicing if you want clean squares.
Less sweet, more spice-forward
Cut the powdered sugar in the filling by 1/2 cup and increase the pumpkin pie spice slightly if you want the pumpkin flavor to come through more. The bars will still be rich, but the finish will taste less like frosting and more like spiced pumpkin custard.
Dairy-free swap
Use plant-based cream cheese and a dairy-free butter substitute in both the crust and filling. The bars will still bake up soft, but the flavor will be a little less rich and the top layer may set slightly firmer, so don’t overbake it trying to compensate.
How to make it ahead
Bake the cake a day ahead and chill it overnight before dusting with powdered sugar. The flavor settles in nicely, and the bars slice cleaner after a full chill, though the center will feel slightly firmer straight from the fridge.
Storage and Reheating
- Refrigerator: Store covered for up to 5 days. The center firms up as it chills, which makes the bars easier to slice.
- Freezer: Freeze cut bars tightly wrapped for up to 2 months. Thaw in the refrigerator so the filling doesn’t weep.
- Reheating: Warm a bar for 10 to 15 seconds in the microwave if you want the filling soft again. Heat it too long and the texture shifts from gooey to oily, so go slowly.
Answers to the Questions Worth Asking
Pumpkin Gooey Butter Cake
Ingredients
Equipment
Method
- Preheat the oven to 350F and grease a 9x13 pan for easy release.
- Set up the pan and ingredients so the crust can be pressed and the filling can be beaten without delays.
- Combine the yellow cake mix, melted unsalted butter, and egg, then mix until evenly moistened.
- Press the crust firmly into the greased 9x13 pan to form an even base.
- Beat the cream cheese smooth until there are no lumps.
- Add the pumpkin puree, eggs, and vanilla, then beat until the mixture looks uniform.
- Beat in the melted unsalted butter, then gradually add the powdered sugar while mixing.
- Mix in the pumpkin pie spice and cinnamon until streak-free and thick.
- Pour the gooey pumpkin filling over the pressed crust and spread it gently if needed to cover evenly.
- Bake for 40-45 minutes at 350F, keeping an eye on the center so it stays gooey—do not overbake.
- Cool the cake completely so the center sets to a thick gooey texture.
- Dust very generously with extra powdered sugar right before slicing and serving.