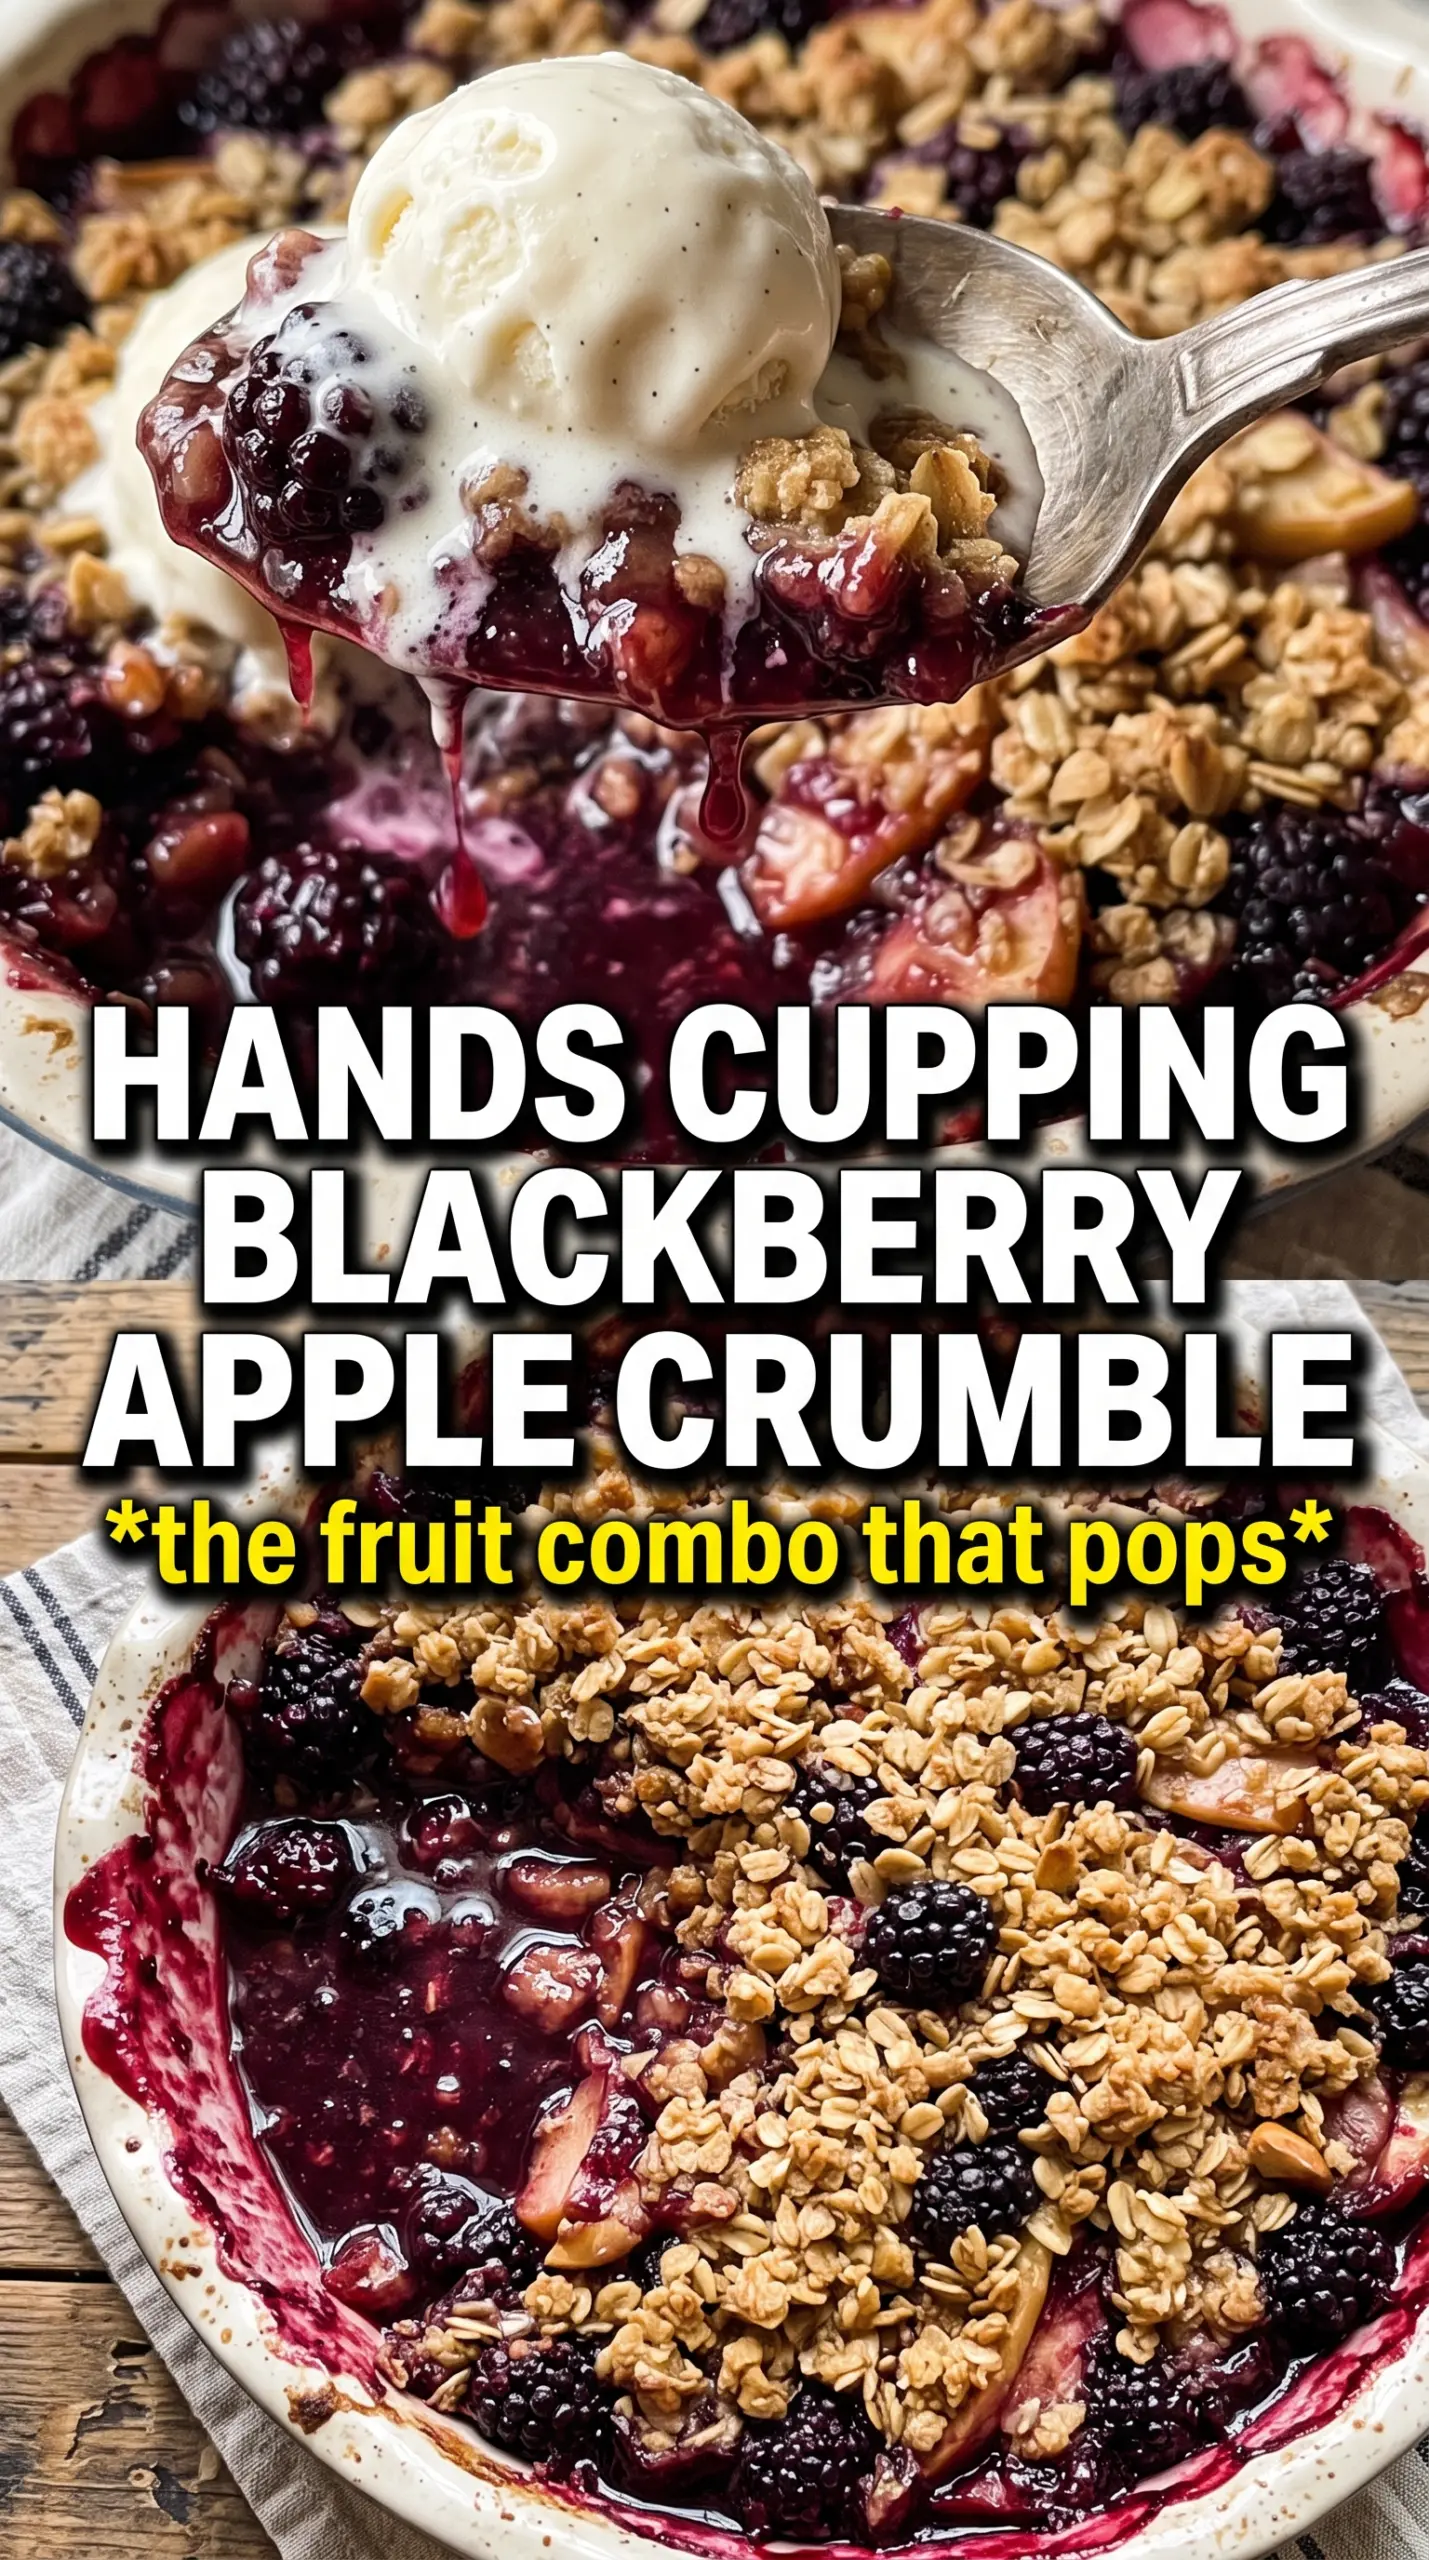
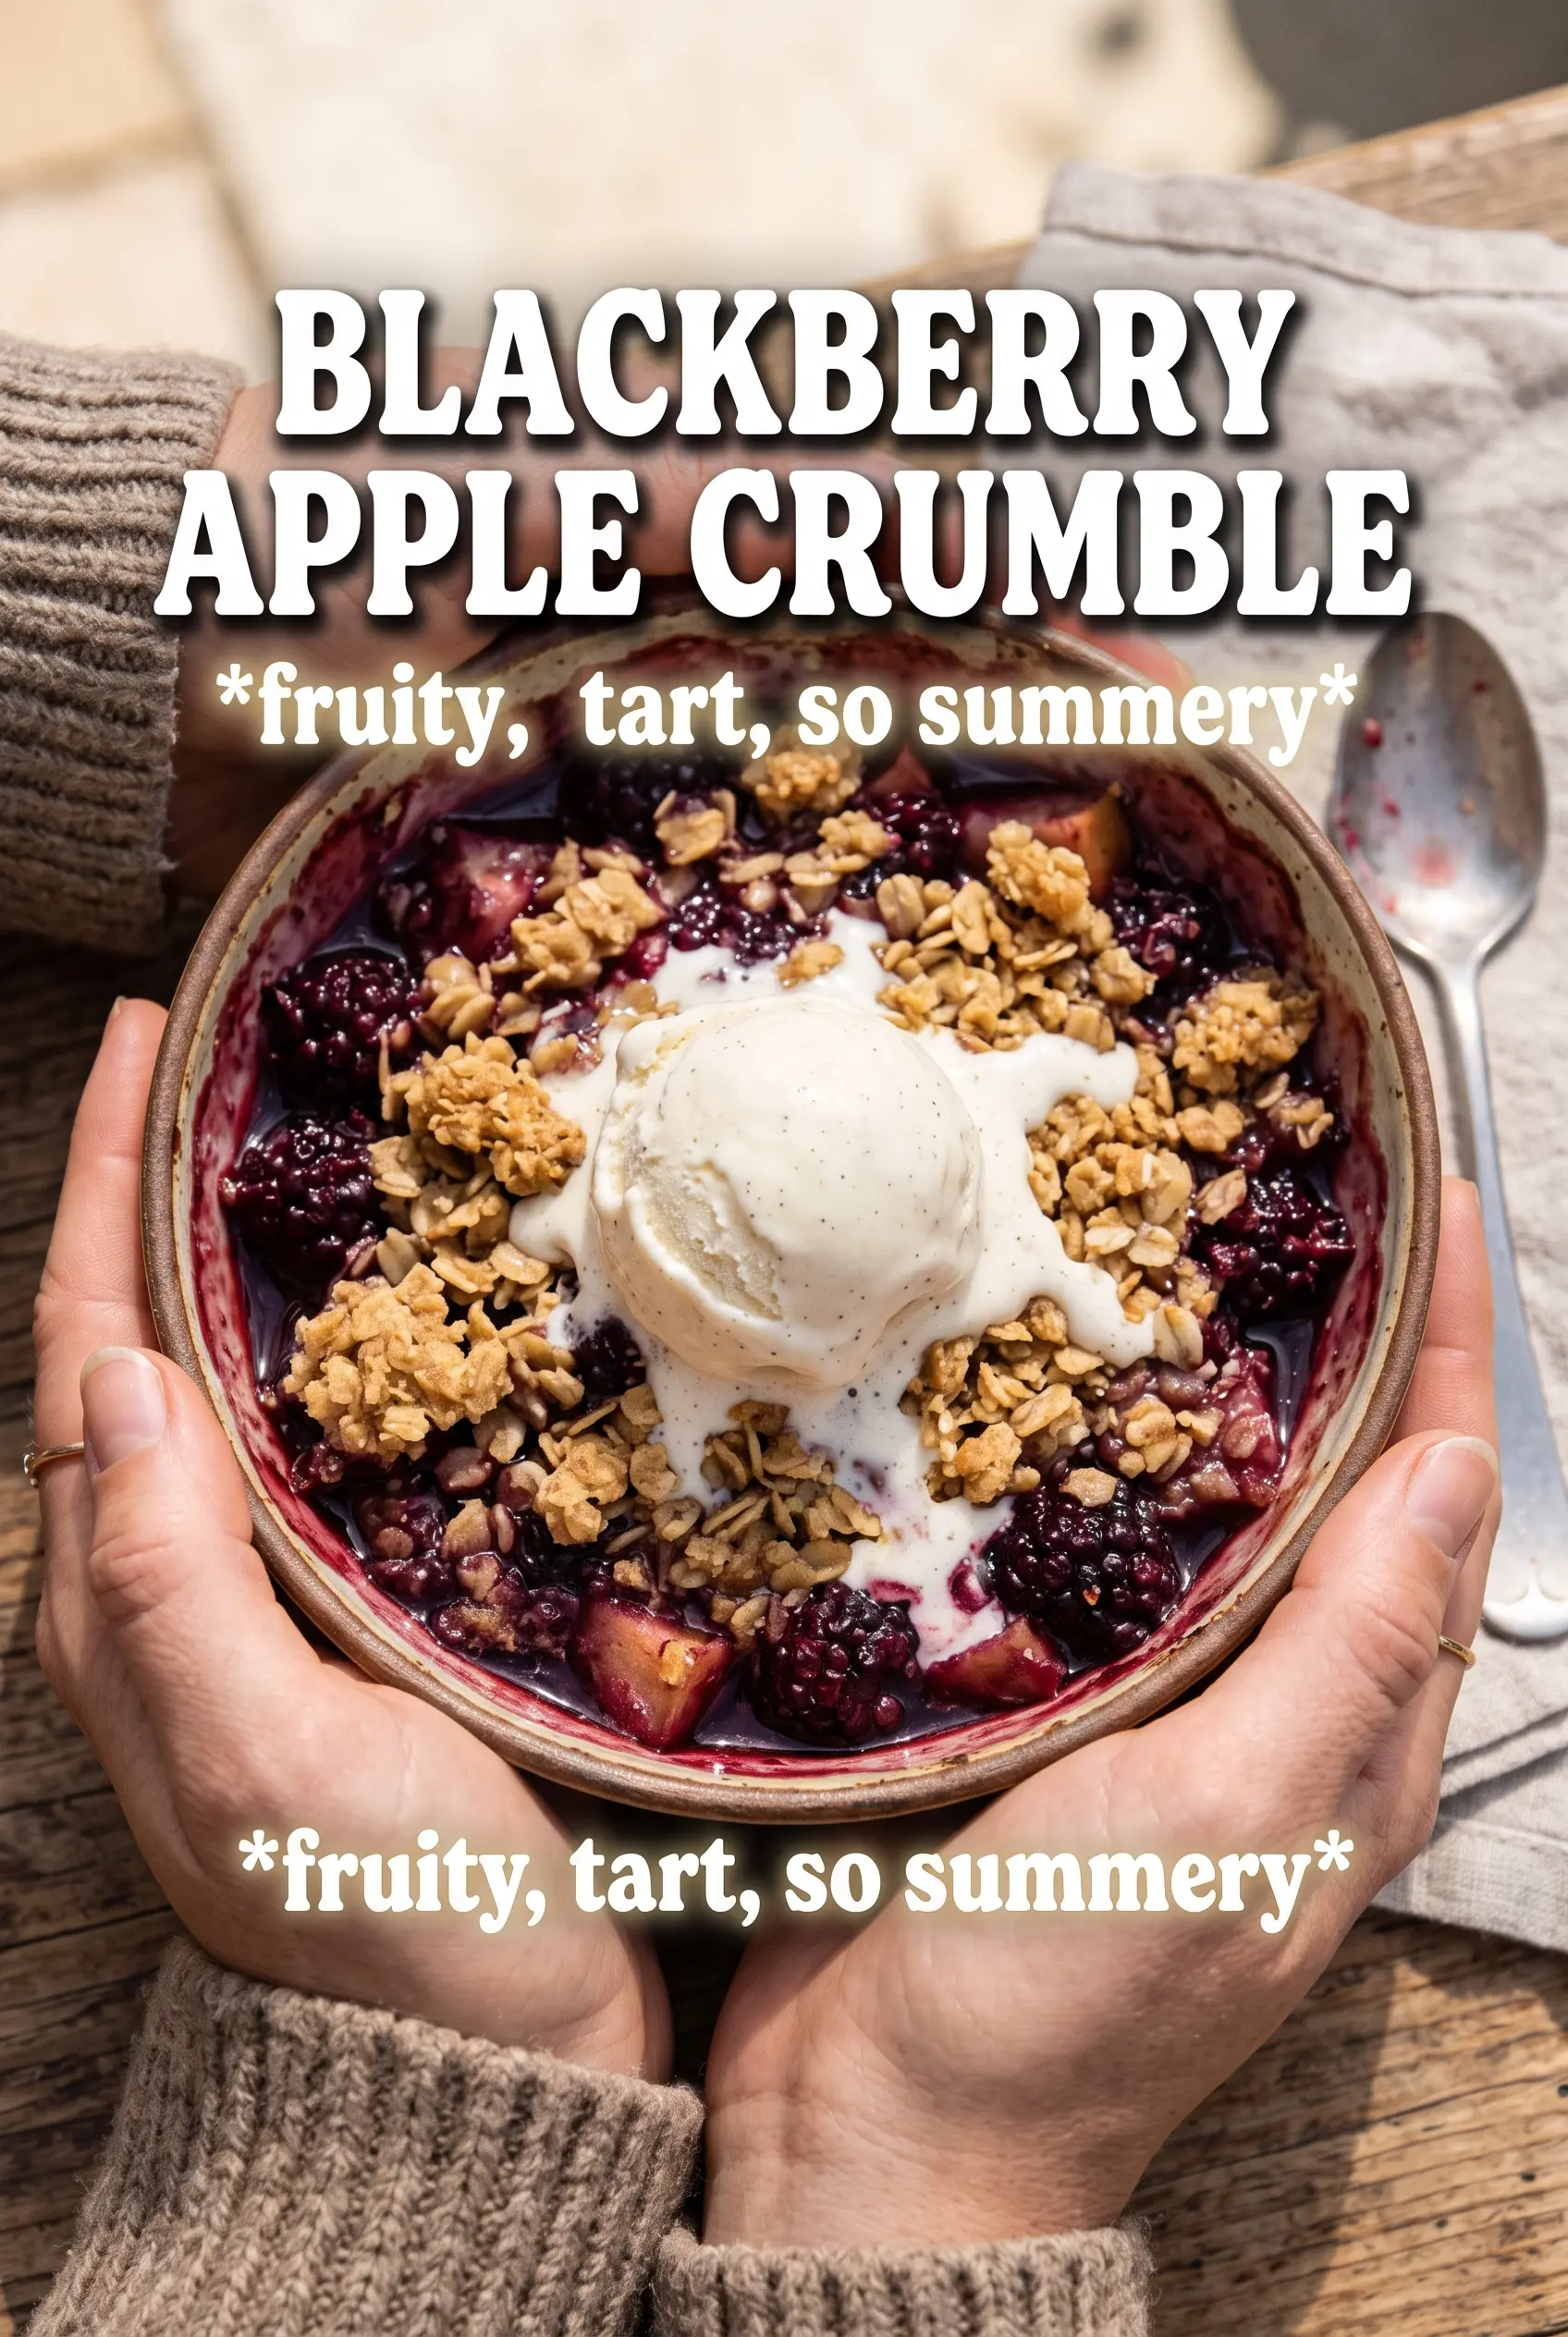
Blackberry apple crumble lands with that contrast people keep coming back for: soft, jammy fruit underneath, a nubby oat topping on top, and just enough tartness to keep the whole pan from tasting flat. The blackberries turn the filling a deep purple-red as they bake, while the apples hold enough structure to keep each spoonful from turning mushy. It’s the kind of dessert that looks humble until the first crack of the spoon breaks through the topping.
The key is treating the fruit and topping like two separate jobs. Cornstarch thickens the juices as the apples release liquid, so you get a glossy filling instead of a watery puddle. Cold butter matters in the crumble because it melts later in the oven, leaving those crisp pockets and sandy bits that make a crumble worth making in the first place.
Below you’ll find the small details that keep the topping crisp and the filling balanced, plus a few useful swaps if your apples are extra sweet or your blackberries are frozen solid.
The filling bubbled up thick around the edges and the topping stayed crisp even after we served it with cream. I used frozen blackberries and it still set beautifully after that 10-minute rest.
Save this blackberry apple crumble for the nights when you want bubbling fruit and a crisp oat topping with almost no fuss.
The Trick to Keeping the Fruit Thick, Not Soupy
Most crumble problems start under the topping. Apples and blackberries both give off juice as they bake, and if there’s no thickener in the filling, that juice turns into a loose, runny pool. Cornstarch handles that job here because it thickens as the fruit heats, then settles into a glossy sauce once the crumble comes out of the oven.
The other thing that matters is the ratio of fruit to topping. There’s enough crumble here to cover the whole dish without burying the filling so deeply that steam gets trapped. That top layer needs air pockets and rough edges so it can brown instead of steaming soft.
What Each Ingredient Is Actually Doing in This Crumble
- Apples — Use a firm baking apple if you can. It holds its shape long enough to give the filling texture instead of collapsing into applesauce. If all you have are softer apples, slice them a little thicker so they don’t disappear in the bake.
- Blackberries — Fresh or frozen both work, but frozen berries need no thawing. If you thaw them first, they’ll leak more juice and make the filling looser. Straight from the freezer is the cleaner move.
- Cornstarch — This is what turns the fruit juices into a spoonable filling. Flour won’t give you the same clear, glossy thickness. If you cut the sugar back, keep the cornstarch in place or the filling can get watery.
- Cold butter — The topping stays crumbly because the butter starts cold and melts in the oven. Soft butter blends too smoothly and gives you a paste instead of a crumble. Cube it, then work fast with your fingers or a pastry cutter.
- Oats — They add the rough, crisp texture that keeps the topping from feeling sandy. Old-fashioned rolled oats give the best bite. Quick oats can work in a pinch, but the crumble will be finer and less textured.
Building the Crumble So It Bakes Crisp and Not Damp
Coating the Fruit First
Toss the sliced apples and blackberries with sugar, cornstarch, lemon juice, and cinnamon until everything looks lightly coated. The fruit should glisten, not sit in a wet puddle at the bottom of the bowl. Spread it in the baking dish right away so the cornstarch starts working where it needs to be. If you leave the mixture sitting too long, the berries will give up juice before they hit the oven.
Cutting in the Butter
Combine the flour, oats, brown sugar, cinnamon, and salt, then cut in the cold butter until you get clumps ranging from pea-sized to small gravel. Those uneven bits are what bake into a crisp, craggy top. If the mixture looks sandy and uniform, the butter was too warm or overmixed. Stop as soon as the flour is coated and the mixture holds together when squeezed.
Baking Until the Center Bubbles
Scatter the crumble evenly over the fruit and bake at 375°F until the top is golden and you can see the filling bubbling around the edges. That bubbling matters more than the clock because it tells you the cornstarch has actually thickened the juices. Pulling it too early leaves the center loose. Let it rest for 10 minutes before serving so the juices settle instead of spilling across the plate.
How to Adapt This for Different Kitchens and Different Eaters
Make It Gluten-Free
Swap the all-purpose flour for a good 1:1 gluten-free baking blend and keep the oats certified gluten-free. The topping will still bake up crisp, though it may look a little more rustic and crumbly than the wheat version. Don’t swap in almond flour alone, or the topping turns greasy instead of crisp.
Use Frozen Blackberries Without Extra Fuss
Frozen blackberries go straight into the filling with no thawing. That keeps the fruit from bleeding too much juice before baking. Expect a slightly longer bake if the fruit is very cold, and watch for the same cue: a bubbling edge and a golden top.
Dial the Sweetness Up or Down
If your apples are very sweet, cut the granulated sugar in the filling by a couple of tablespoons. If they’re tart, keep the sugar as written and serve with cream or ice cream to round everything out. The crumble itself stays balanced because the brown sugar adds depth, not just sweetness.
Storage and Reheating
- Refrigerator: Store covered for up to 4 days. The topping will soften a little as it sits, but the flavor stays good.
- Freezer: Freeze baked crumble in a tightly wrapped dish or airtight container for up to 2 months. Thaw overnight in the refrigerator before reheating, or the center can stay icy while the top burns.
- Reheating: Warm in a 325°F oven until heated through and the topping crisps again, usually 15-20 minutes for a smaller portion. The microwave works for speed, but it turns the crumble topping soft fast.
Answers to the Questions Worth Asking
Blackberry Apple Crumble
Ingredients
Equipment
Method
- Preheat the oven to 375°F, then grease a 9x13 baking dish. You want the oven fully hot before the fruit goes in.
- Toss apple slices and blackberries with granulated sugar, cornstarch, lemon juice, and cinnamon, then spread them evenly in the greased dish. Mix thoroughly so the cornstarch coats the fruit.
- Combine flour, rolled oats, brown sugar, cinnamon, and salt in a bowl, then cut in the cold cubed butter until clumpy. Stop when you see sandy crumbs with bigger butter-and-crumb clusters.
- Scatter the crumble topping evenly over the fruit. Make sure the fruit is covered so the topping crisps as it bakes.
- Bake for 35–40 minutes at 375°F until the topping is golden and the fruit is bubbling at the edges. The bubbling indicates the filling has thickened.
- Rest the crumble for 10 minutes before serving. This short rest helps the filling set slightly for cleaner scoops.
- Serve warm with double cream or vanilla ice cream. Add cream drizzle right before serving for the best contrast with the crisp topping.