Cool, fluffy pumpkin bars with a buttery graham crust and a whipped topping finish disappear fast because they hit that sweet spot between pie and cheesecake without asking for oven time. The crust stays firm enough to slice cleanly, while the pumpkin layer sets into a soft, mousse-like filling that tastes rich without feeling heavy.
The key is beating the cream cheese until it’s completely smooth before anything else goes in. If the cream cheese stays lumpy, those bits never fully disappear once the pumpkin and powdered sugar are added. Folding in most of the whipped topping at the end keeps the filling light, and the long chill gives the bars the structure they need so the squares hold their shape instead of sliding apart.
Below, I’ve included the small details that keep the crust from crumbling and the topping from turning messy, plus a few swaps if you need to work with what’s already in your kitchen.
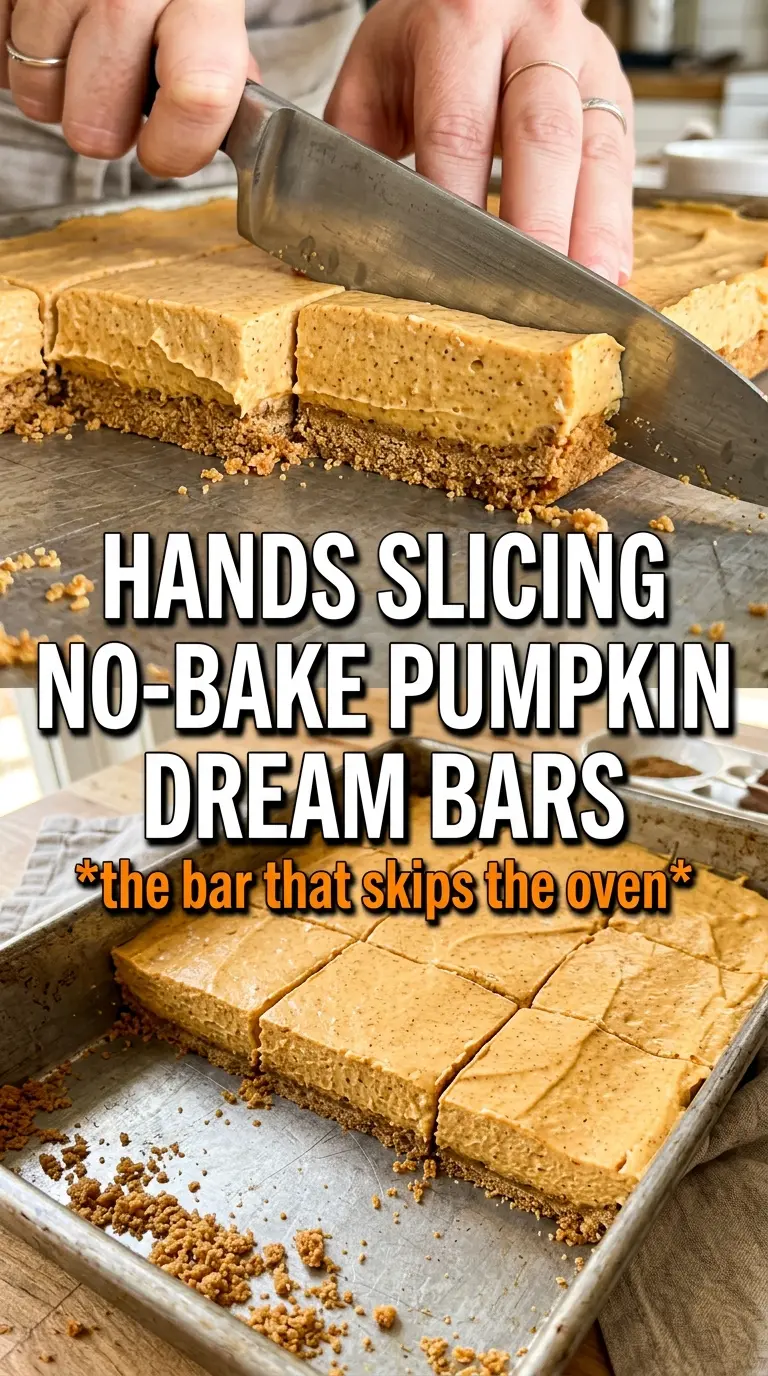
The pumpkin layer set up beautifully after chilling overnight, and the gingersnap crumbs on top gave each bite a little crunch. Mine sliced cleanly into neat bars instead of turning into a puddle.
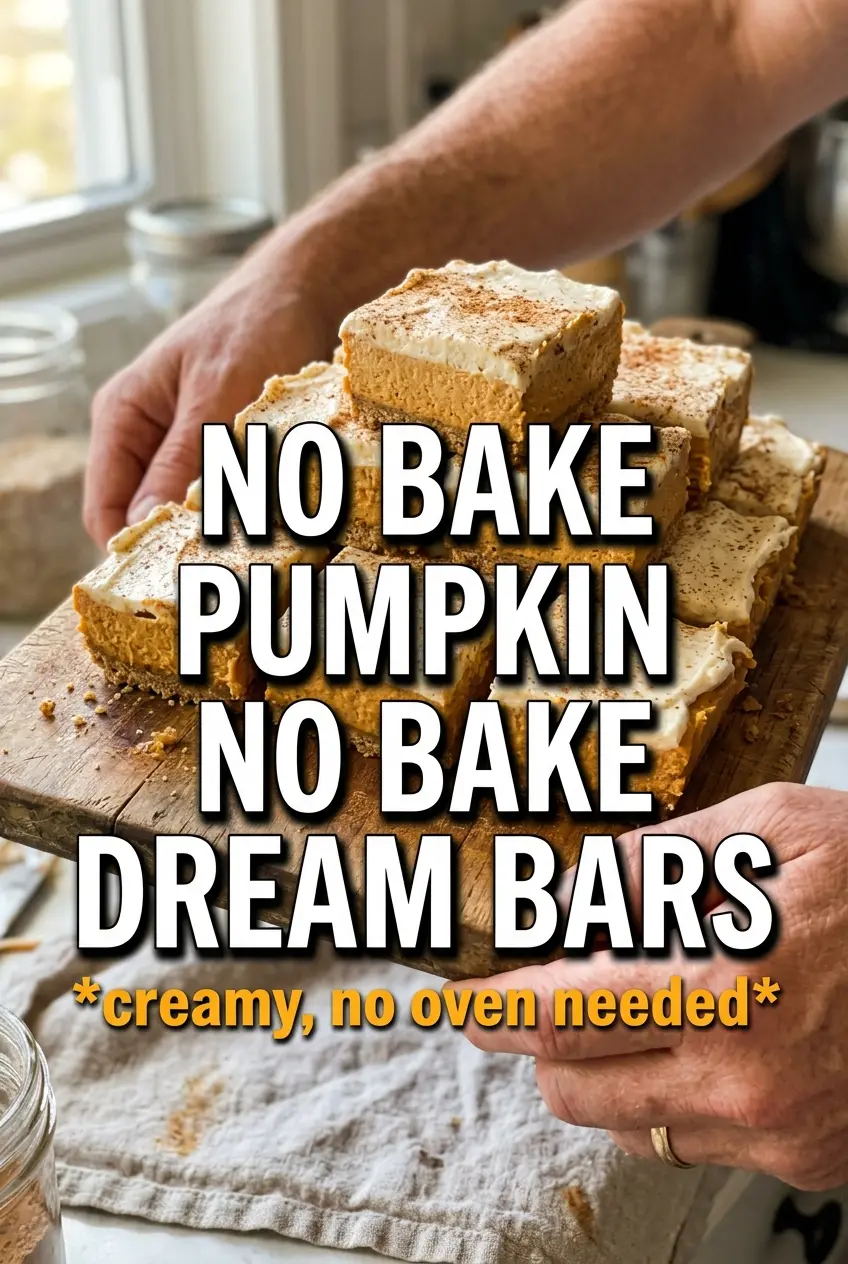
Save these no-bake pumpkin dream bars for when you want a creamy pumpkin dessert with a graham crust and cinnamon-gingersnap finish.
The Chill Time Is What Gives These Bars Their Clean Slices
The biggest mistake with no-bake bars is cutting them before they’ve had enough time to set. The filling will look thick enough when it’s spread, but it only turns sliceable after the whipped topping and cream cheese have firmed up together in the fridge. Four hours is the minimum; overnight gives you the neatest edges and the least drag on the knife.
The crust matters here too. Press it firmly into the pan and chill it before the filling goes on, or the crumbs will shift when you spread the pumpkin layer. A loose crust turns into a messy base, and once that happens, no amount of chilling fixes the slicing problem.
What Each Ingredient Is Actually Doing in This Recipe
- Primary ingredient (the star) — Quality matters most. Choose the best you can find.
- Cooking medium (oil, butter, or broth) — This carries flavors and prevents dryness.
- Seasonings (salt, pepper, spices, herbs) — Layer flavors so nothing overpowers. Build depth gradually.
- Aromatics (garlic, onion, herbs) — Cook with fat to bloom flavors. Become the foundation.
- Supporting ingredients — Complement the main ingredient without overpowering it.
- Sauce or liquid (if applicable) — Brings flavors together. Balance richness with acid.
- Acid (lemon, vinegar, wine, or other) — Brightens and prevents flat-tasting results.
- Final finish (garnish, glaze, or sauce) — Prevents one-dimensional taste and adds visual appeal.
What Each Ingredient Is Actually Doing In This Dessert
- Graham cracker crumbs — These give the bars their classic pie-like base. Pre-crushed crumbs are fine, but the texture should be fine and even so the crust packs tightly. If you use a food processor, pulse just until the crumbs look sandy, not pasty.
- Melted butter — Butter binds the crumbs and helps the crust firm up in the fridge. Margarine won’t set with the same clean snap, so this is one place where the real thing matters.
- Cream cheese — This is what gives the filling body and tang. Soften it fully before mixing; cold cream cheese leaves little white flecks that never smooth out.
- Pumpkin puree — Use plain pumpkin puree, not pumpkin pie filling. Pie filling already has sugar and spices mixed in, which throws off the balance and can make the bars too soft.
- Whipped topping — This keeps the filling airy and helps it hold without baking. Cool Whip works best here because it stays stable in the fridge; homemade whipped cream is lighter but won’t hold as long.
- Gingersnap crumbs and cinnamon — These are the finishing touch that wakes up the whole pan. The gingersnaps add crunch and a deeper spice note that plays nicely against the smooth filling.
Building The Layers Without Smearing The Filling
Pressing and Chilling the Crust
Mix the graham crumbs, sugar, and melted butter until every crumb looks evenly moistened, then pack it into the pan with the bottom of a measuring cup or your hands. You want a tight, even layer with no loose patches around the edges. Refrigerating the crust for 20 minutes gives the butter time to firm up, which keeps the crust from crumbling when the filling goes on.
Whipping the Pumpkin Filling Smooth
Beat the cream cheese first until it’s completely smooth and fluffy, then add the pumpkin, powdered sugar, spice, cinnamon, and vanilla. If you dump everything in at once, the cream cheese can stay stubbornly lumpy. Once the mixture is uniform, fold in two-thirds of the whipped topping with a spatula so you keep the filling airy instead of knocking out the volume.
Layering and Finishing the Pan
Spread the pumpkin layer over the chilled crust in gentle sweeps, starting in the center and working outward so you don’t pull crumbs up into the filling. Add the remaining whipped topping in an even layer, then finish with cinnamon and crushed gingersnaps. The top should look soft and snowy, with a little texture from the crumbs instead of a thick blanket that hides the layers underneath.
The Final Chill Before Slicing
Refrigerate the pan until the bars feel firm all the way through, not just set on top. Overnight is best if you want sharp squares. Use a long knife wiped clean between cuts, especially if you’re serving these on a platter and want the layers to stay distinct.
How To Adapt These Bars For Different Kitchens And Crowds
Gluten-Free Graham Cracker Crust
Use gluten-free graham-style crumbs in the same amount. The bars still set the same way, but you’ll want to press the crust a little more firmly because gluten-free crumbs can be looser. The filling stays exactly the same.
Dairy-Free Version
Swap in dairy-free cream cheese and a stable dairy-free whipped topping. The texture will be a little softer and slightly less tangy, but the bars still chill into neat slices if you give them the full setting time.
Extra-Spiced Pumpkin Bars
Add another 1/2 teaspoon of cinnamon or a pinch of cloves if you want the pumpkin to read more boldly. Don’t overdo it, because too much spice can flatten the cream cheese flavor and make the bars taste one-note.
Storage and Reheating
- Refrigerator: Store covered for up to 4 days. The crust stays firm, though the topping softens a little after the first day.
- Freezer: These freeze well. Cut into bars, wrap individually, and freeze in a single layer before moving them to a container. Thaw in the fridge so the filling doesn’t get watery.
- Reheating: No reheating needed. Serve them cold straight from the fridge. If they sit out too long, the whipped layers loosen and the squares lose their shape.
Questions I Get Asked About This Recipe
No Bake Pumpkin Dream Bars
Ingredients
Equipment
Method
- Press the graham cracker crumbs mixed with sugar and melted butter into a 9x13 pan, making an even layer. Refrigerate for 20 minutes to set, until firm.
- Beat the softened cream cheese until smooth, with no lumps. Add pumpkin puree, powdered sugar, pumpkin pie spice, cinnamon, and vanilla, then beat until fully combined.
- Fold in 2/3 of the thawed whipped topping until the mixture is light and evenly streak-free. This should look fluffy and cohesive.
- Spread the pumpkin cream cheese layer over the chilled crust in an even layer. Smooth the top so it reaches the edges.
- Spread the remaining whipped topping over the pumpkin layer to cover it completely. Smooth it to a uniform thickness.
- Dust the top with cinnamon and scatter crushed gingersnap cookies across the surface. Use a gentle, even hand so every slice gets topping.
- Refrigerate for 4 hours or overnight until firm enough to slice clean. The bars should hold their shape when lifted.
- Cut into bars and serve chilled. Wipe the knife between cuts for neat edges.