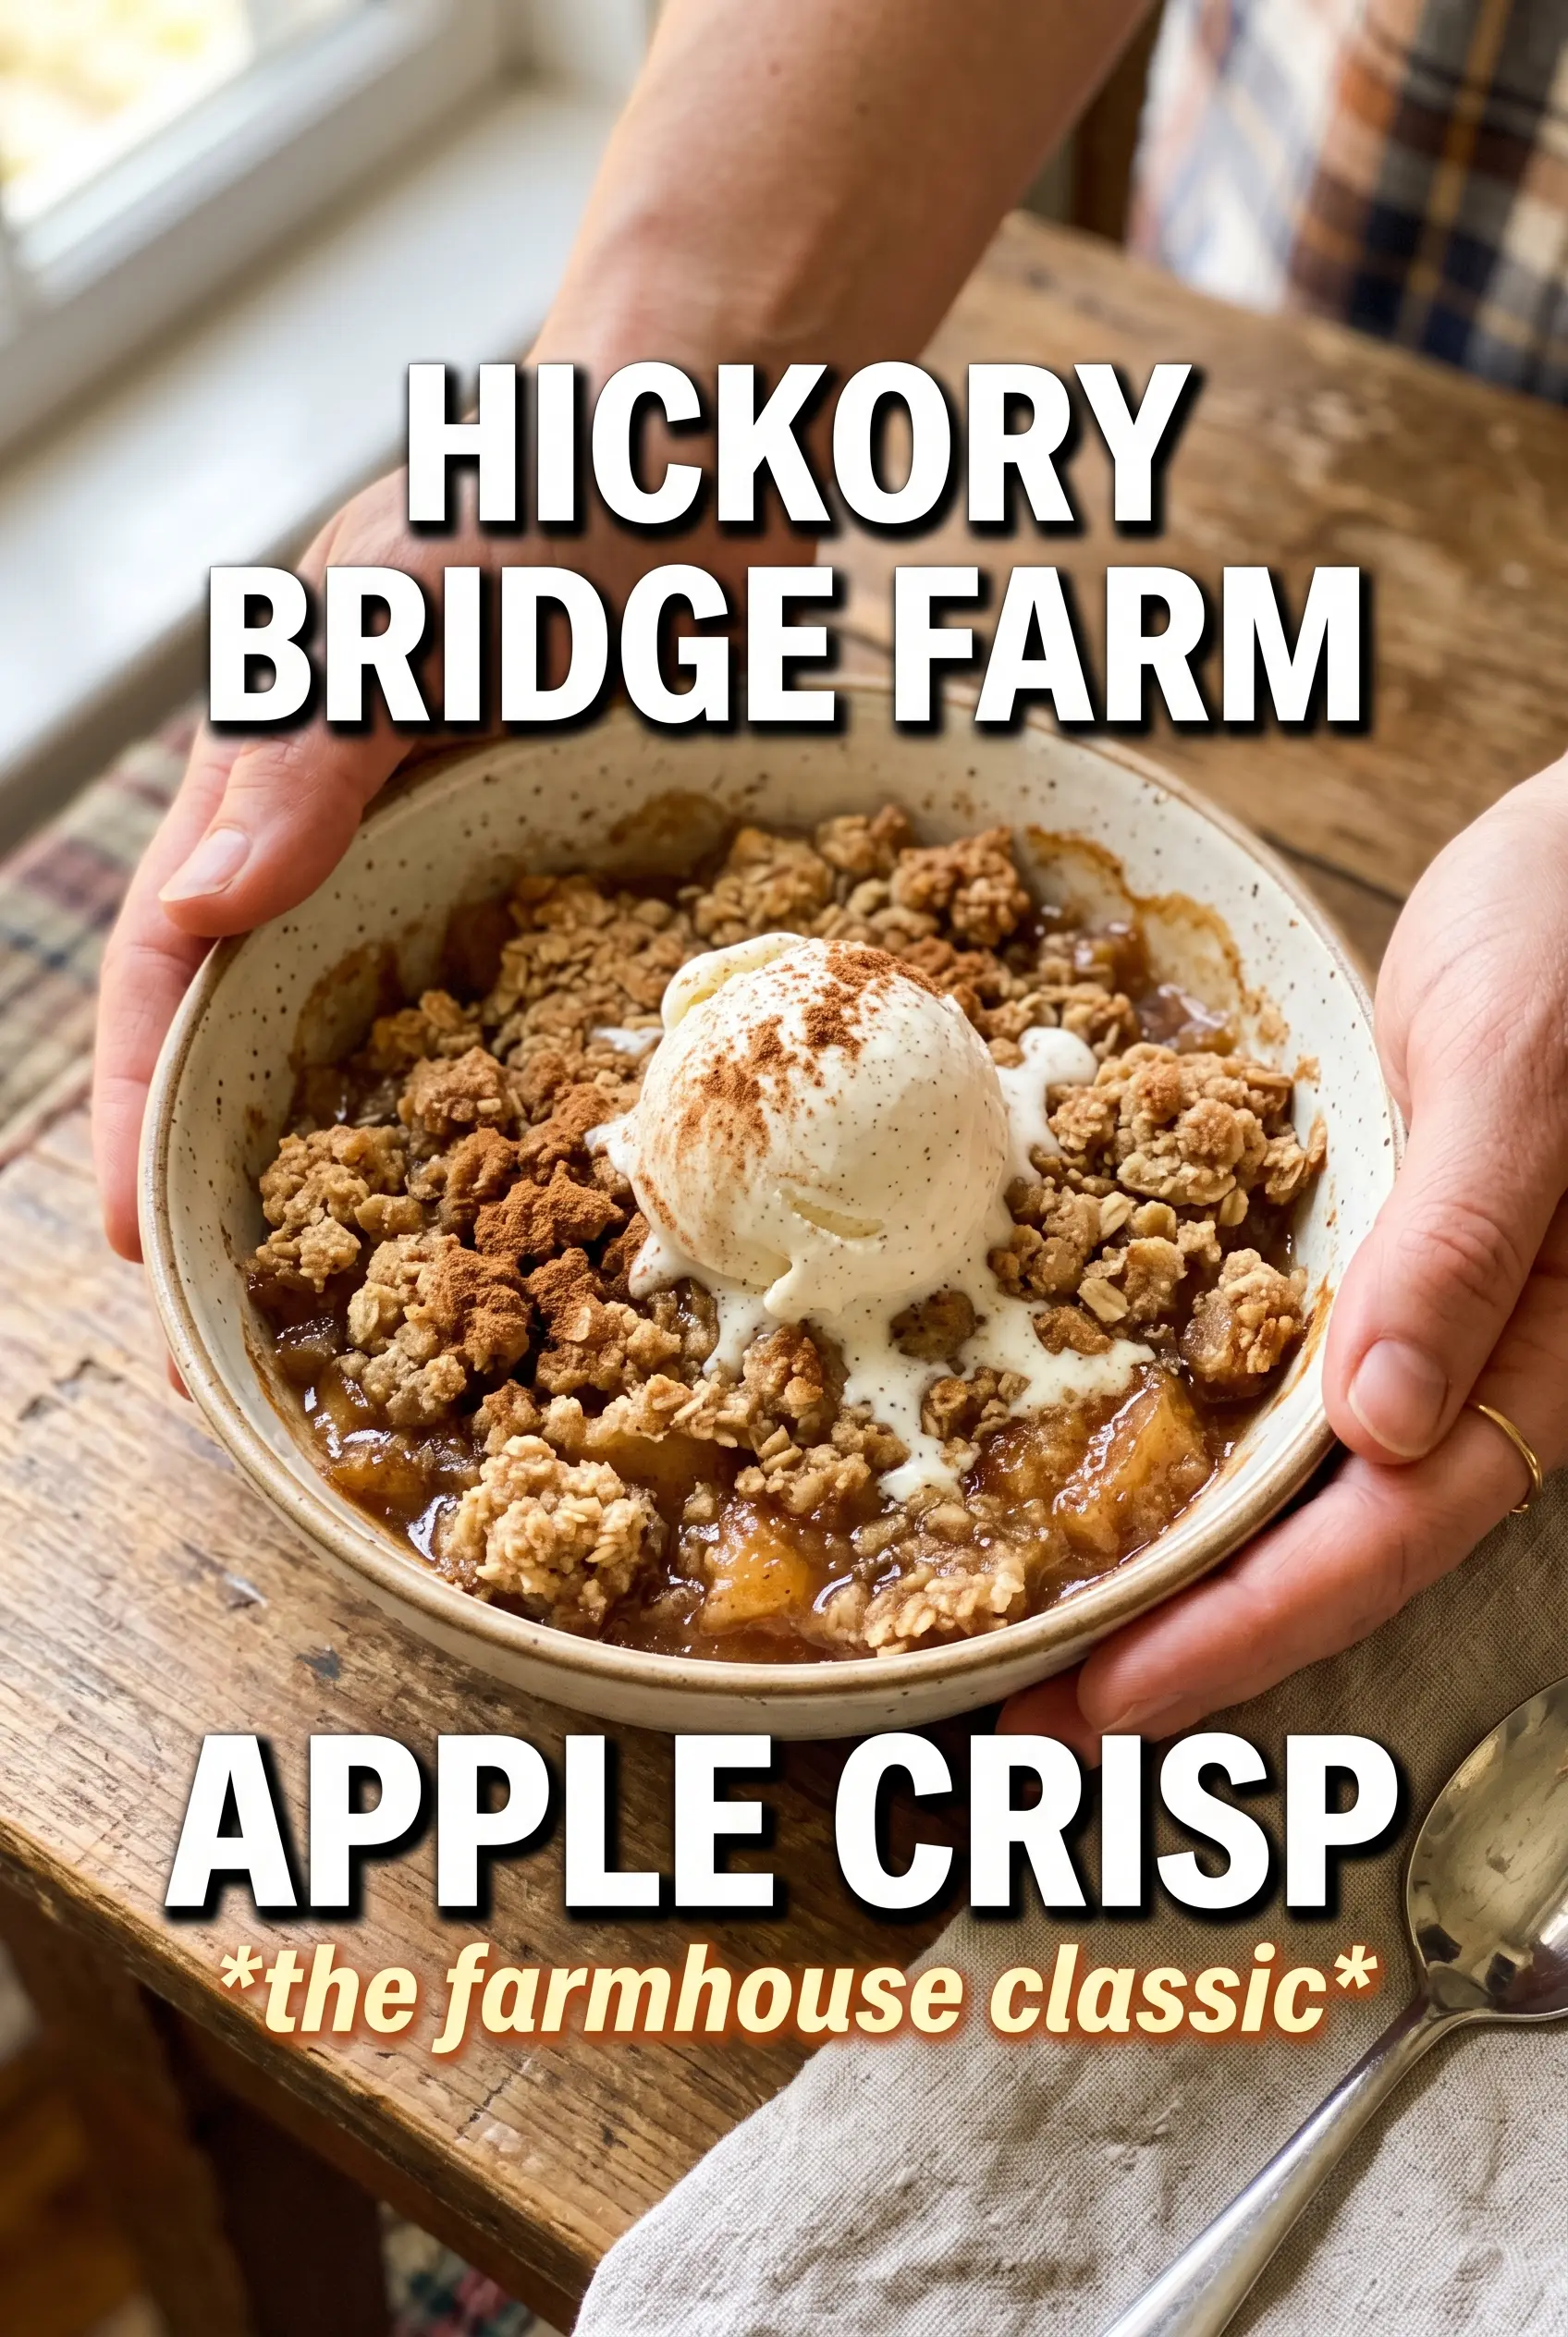
Hickory Bridge Farm Apple Crisp bakes up with a thick, buttery oat crumble and a soft apple filling that bubbles up around the edges just enough to let you know it’s ready. The topping turns deeply golden and stays craggy instead of sandy, while the fruit underneath cooks down into spoonable layers that hold their shape instead of turning to applesauce.
What makes this version work is the balance: enough cornstarch to thicken the juices without turning gummy, enough lemon juice to keep the filling bright, and a heavy hand with the crumble so every scoop gets both tender fruit and a real crunchy top. Using cold butter matters here. If it melts into the dry ingredients too fast, the topping bakes up dense instead of forming those big, bakery-style clumps.
Below, I’ve included the little details that keep the apples from going watery and the topping from baking off too fast. If you’ve ever had an apple crisp with a soggy middle or a dry lid of crumbs, this version fixes both problems.
The topping baked into those big buttery clumps I always hope for, and the apple layer thickened up perfectly instead of running all over the plate. I served it warm with vanilla ice cream and there wasn’t a crumb left.
Love that thick buttery crumble and spiced apple filling? Save this Hickory Bridge Farm Apple Crisp for your next dessert night.
The Trick Is Keeping the Crumble Clumpy, Not Sandy
The biggest mistake with apple crisp is overworking the topping until it behaves like pie dough. You want cold butter rubbed into the oats, flour, sugar, and cinnamon just until you get uneven clumps with visible streaks of butter. Those pockets of butter are what melt into crisp, craggy bits in the oven. If the mixture looks uniform before it goes in, it usually bakes up dry and flat.
The other thing that matters is the fruit layer underneath. Apples release a lot of juice as they bake, and cornstarch needs that liquid to activate. Spread the filling in an even layer so the heat reaches it at the same pace across the dish. If the apples are piled too high in the center, the middle stays watery while the edges overcook.
- Cold butter — This is what gives the topping its rough, rustic texture. If the butter starts melting in your hands, chill the bowl for a few minutes before baking.
- Cornstarch — It thickens the juices from the apples into a glossy filling instead of a puddle. Flour won’t set it as cleanly here.
- Lemon juice — It keeps the apple flavor bright and helps slow browning while you toss the filling together.
- Brown sugar — It brings molasses depth to both the fruit and the crumble, which makes this taste more farmhouse-style than plain sweet.
What Each Layer Is Doing Before It Hits the Oven
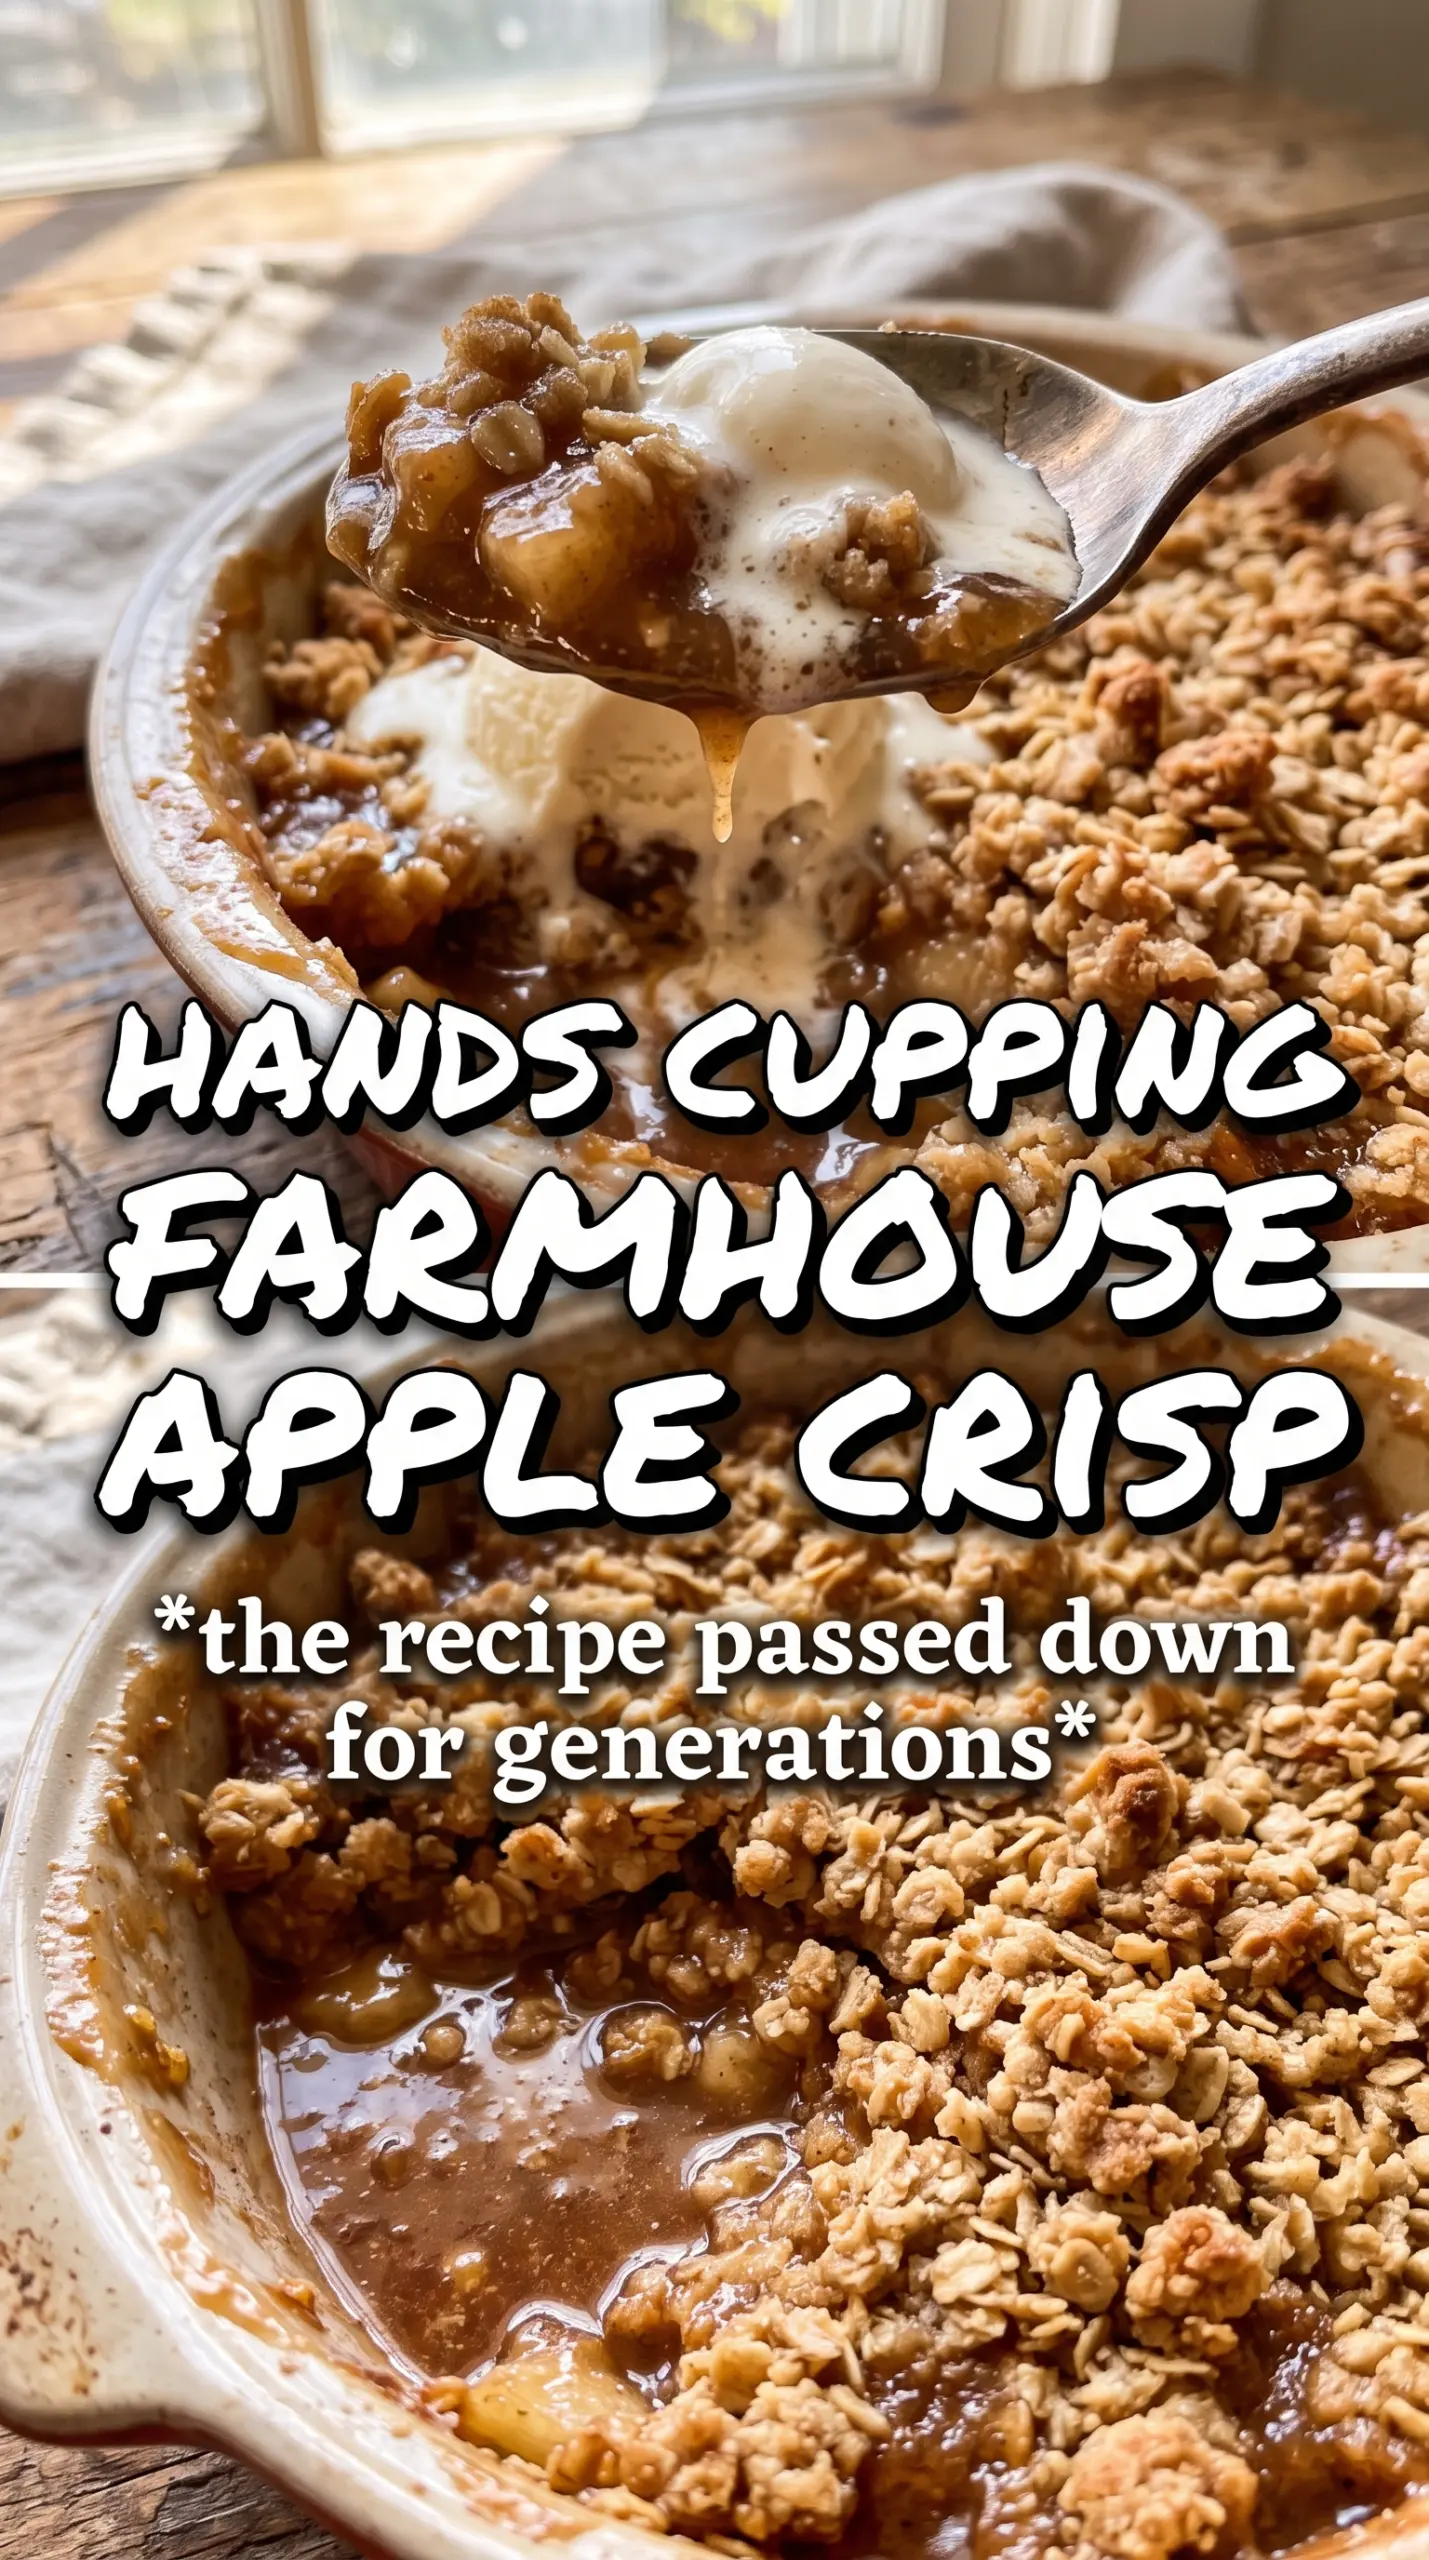
- Apples — Peel and slice them evenly so they soften at the same rate. A mix of tart and sweet apples works best if you have it, but any firm baking apple will hold up.
- Rolled oats — They give the topping its chewy crunch. Quick oats can work in a pinch, but the texture will be finer and less rustic.
- Flour — This helps the topping hold together in clumps instead of disappearing into the butter. All-purpose flour is the right choice here.
- Spices — Cinnamon, nutmeg, and allspice give the filling that old-fashioned bakery smell. Don’t skip the allspice; it’s subtle, but it rounds out the fruit.
From Butter Clumps to Bubbly Edges
Building the Apple Filling
Toss the sliced apples with the sugars, spices, cornstarch, and lemon juice until every piece looks lightly coated. The mixture should look a little wet and glossy, not soupy. Spread it into the prepared dish in a thick, even layer. If you see a lot of liquid pooling in the bowl before baking, the apples were very juicy, and that’s fine — the cornstarch needs that moisture to thicken properly in the oven.
Making the Crumble by Hand
Combine the oats, flour, brown sugar, cinnamon, and salt first so the dry ingredients are evenly mixed. Add the cold butter cubes and work them in with your hands until the mixture forms big clumps with some dry bits still clinging to the edges. Those uneven pieces are what bake into a crisp top. If the mixture turns into a paste, the butter got too warm, and the topping will bake up dense.
Finishing the Bake
Pile the crumble generously over the apples and press it down only lightly so it stays airy. Bake until the top is deeply golden and the filling bubbles all the way around the edges of the dish; those bubbles are the sign the cornstarch has fully thickened. Let it rest for 15 minutes before scooping so the juices settle. If you cut in too soon, the filling will run across the plate.
How to Adjust This Crisp for Different Kitchens and Crowds
Make It Gluten-Free
Swap the all-purpose flour for a good 1:1 gluten-free baking blend. The topping will still clump and crisp, but it may be a little more delicate when you scoop it. Keep the oats, since they’re what give this crisp its signature texture.
Use All Tart Apples for a Brighter Filling
If you like a sharper, less sweet dessert, use tart apples like Granny Smith for all of the fruit. The filling will taste cleaner and more apple-forward, but you may want to lean toward the full amount of brown sugar in the topping to keep the dessert balanced.
Add Chopped Pecans
Fold 1 cup of chopped pecans into the crumble if you want more crunch and a deeper toasted flavor. The topping will brown a little faster, so start checking it a few minutes early.
Storage and Reheating
- Refrigerator: Store covered for up to 4 days. The topping softens a little, but the flavor stays excellent.
- Freezer: It freezes well after baking. Cool completely, wrap tightly, and freeze for up to 2 months. Thaw overnight in the refrigerator before reheating.
- Reheating: Warm in a 325°F oven until heated through and the topping crisps back up. The microwave will make the crumble soft, so use it only if you don’t care about the texture.