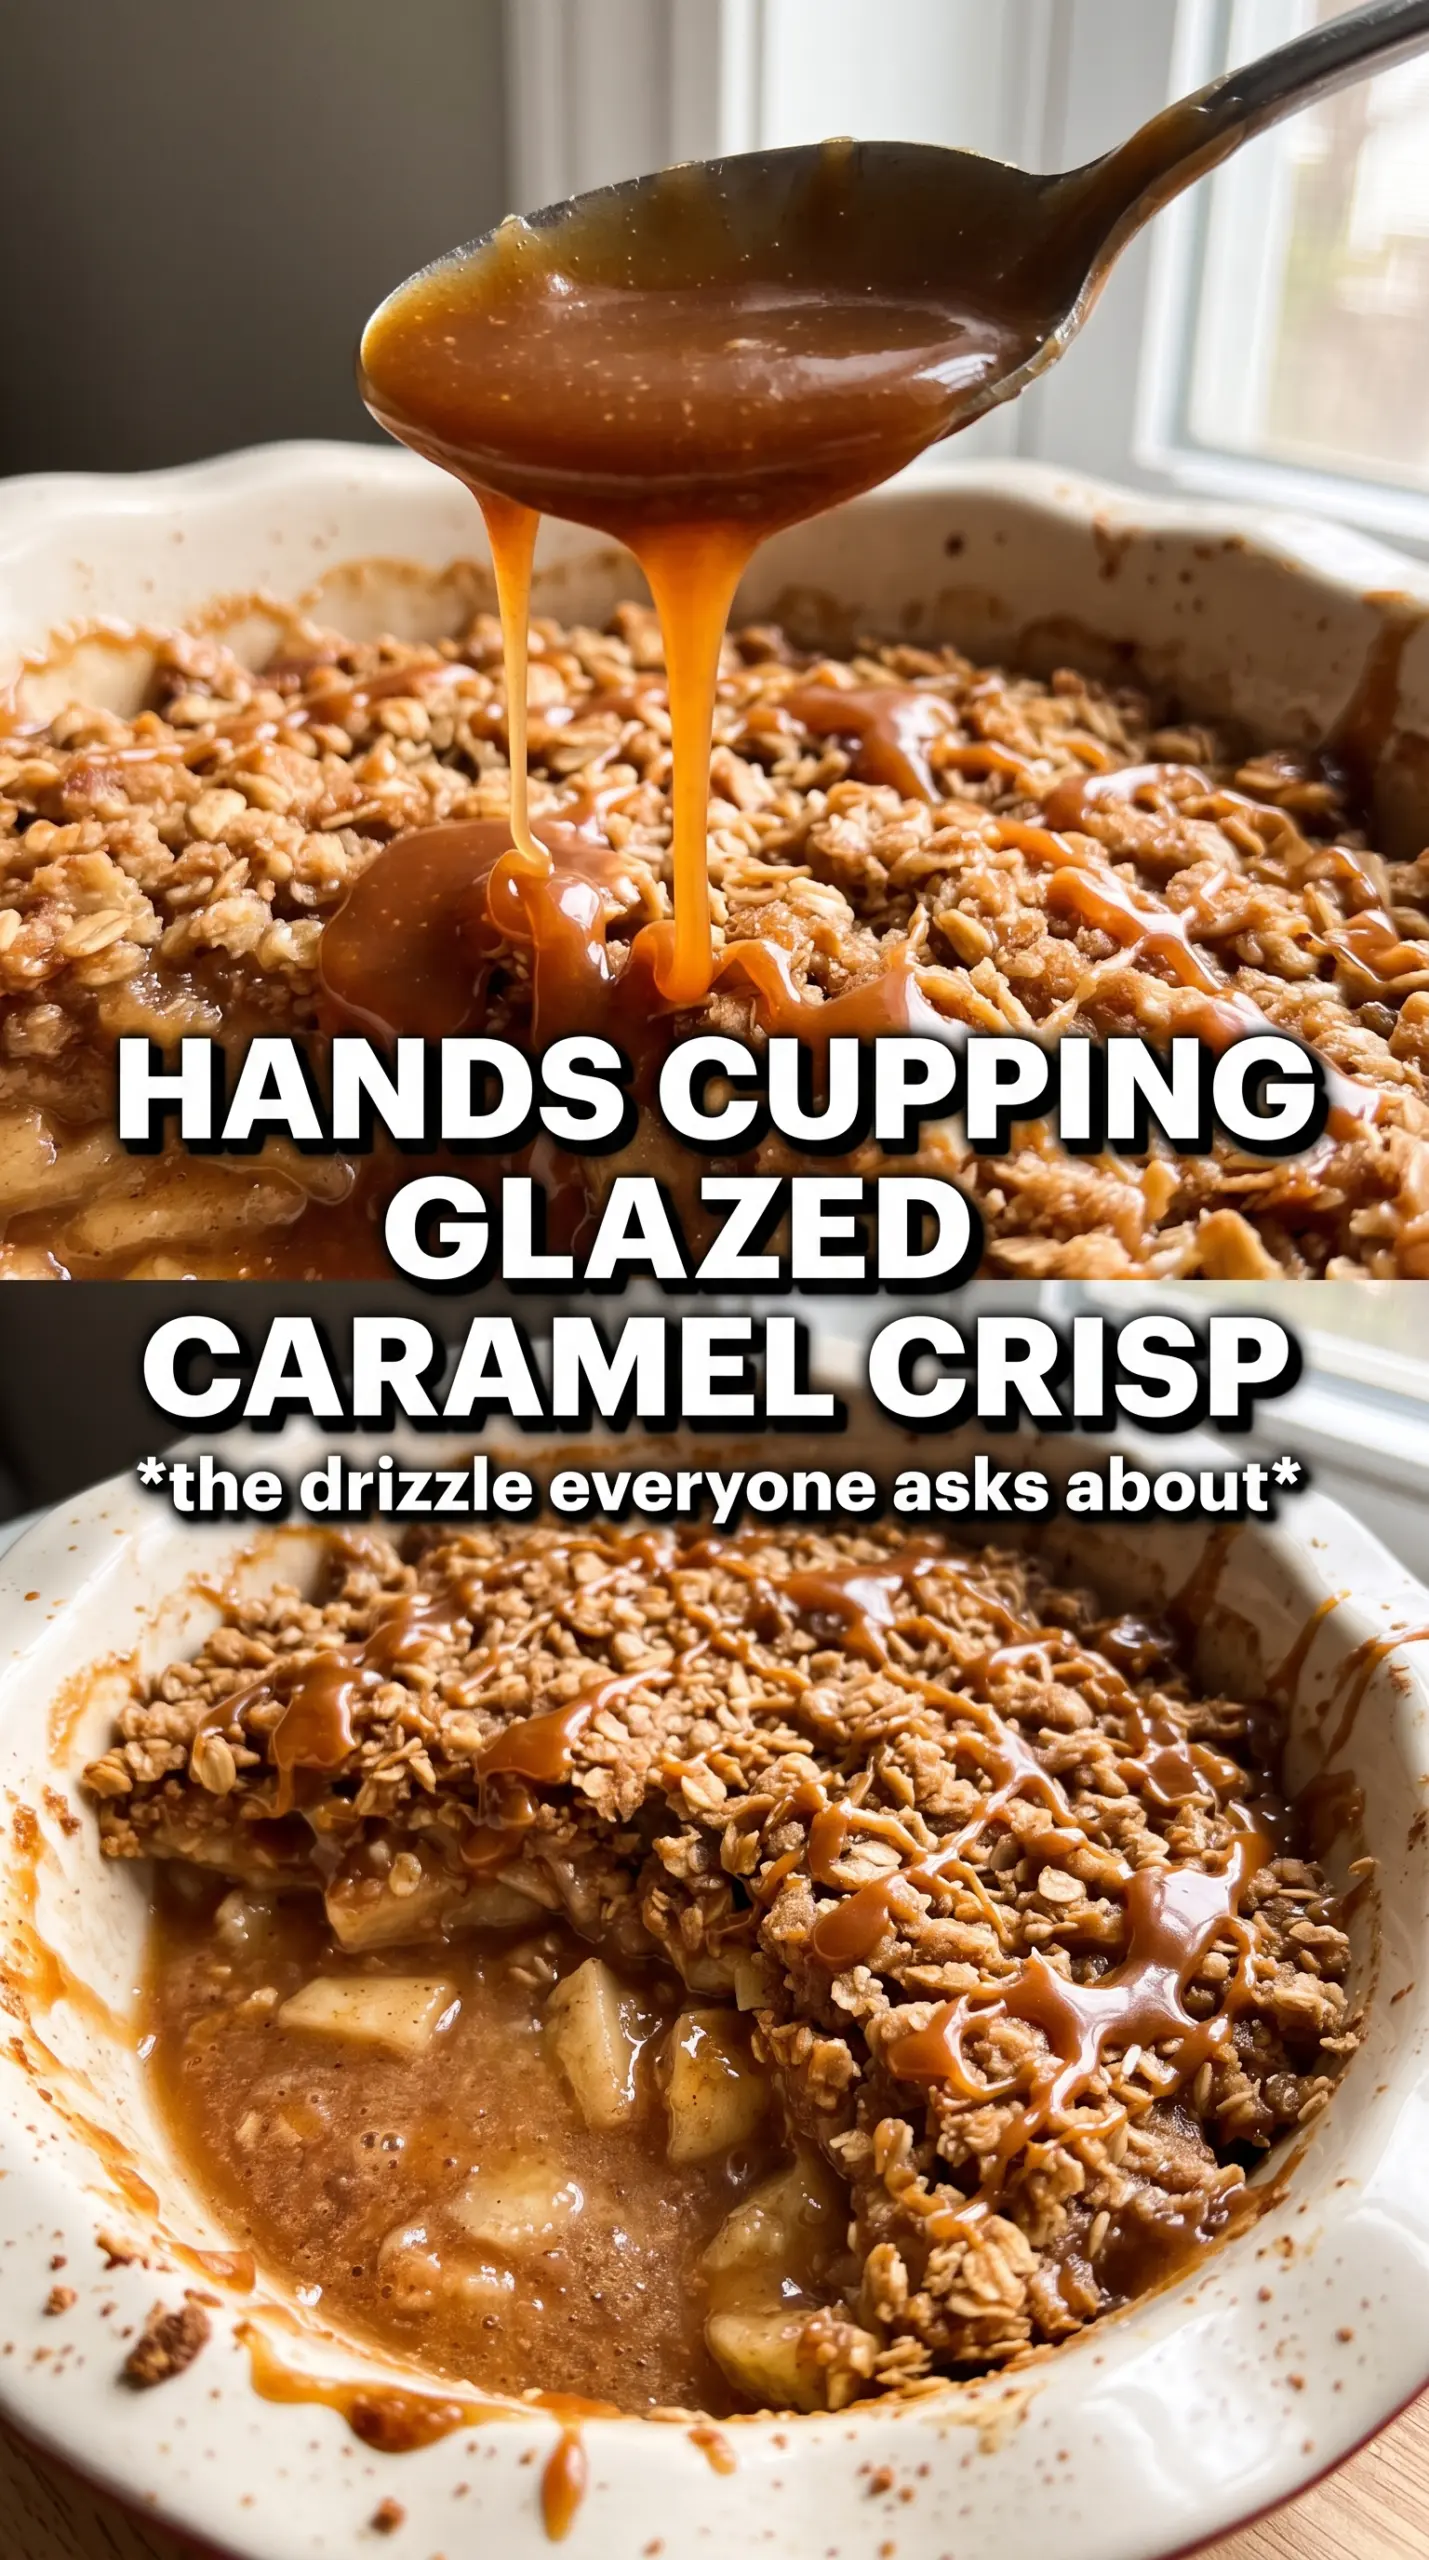
Caramel apple crisp lands with that rare kind of payoff that makes people hover near the oven. The apples turn soft but not mushy, the topping bakes into chunky golden crumbles, and the caramel threads through both layers so every spoonful tastes like baked apples that got dressed up for dessert. It’s the kind of pan that disappears fast, especially when the ice cream starts melting into the hot edges.
The trick here is balancing moisture and texture. Cornstarch thickens the apple juices before they can turn watery, while a little caramel sauce in the filling gives the fruit a deeper, almost toffee-like sweetness without making the topping soggy. Cold butter matters in the crumble because it creates those uneven, crisp clumps instead of a sandy layer that bakes flat.
Below you’ll find the exact visual cues I use for knowing when the crisp is done, plus a few swaps that still keep the topping sturdy and the apples bubbling underneath.
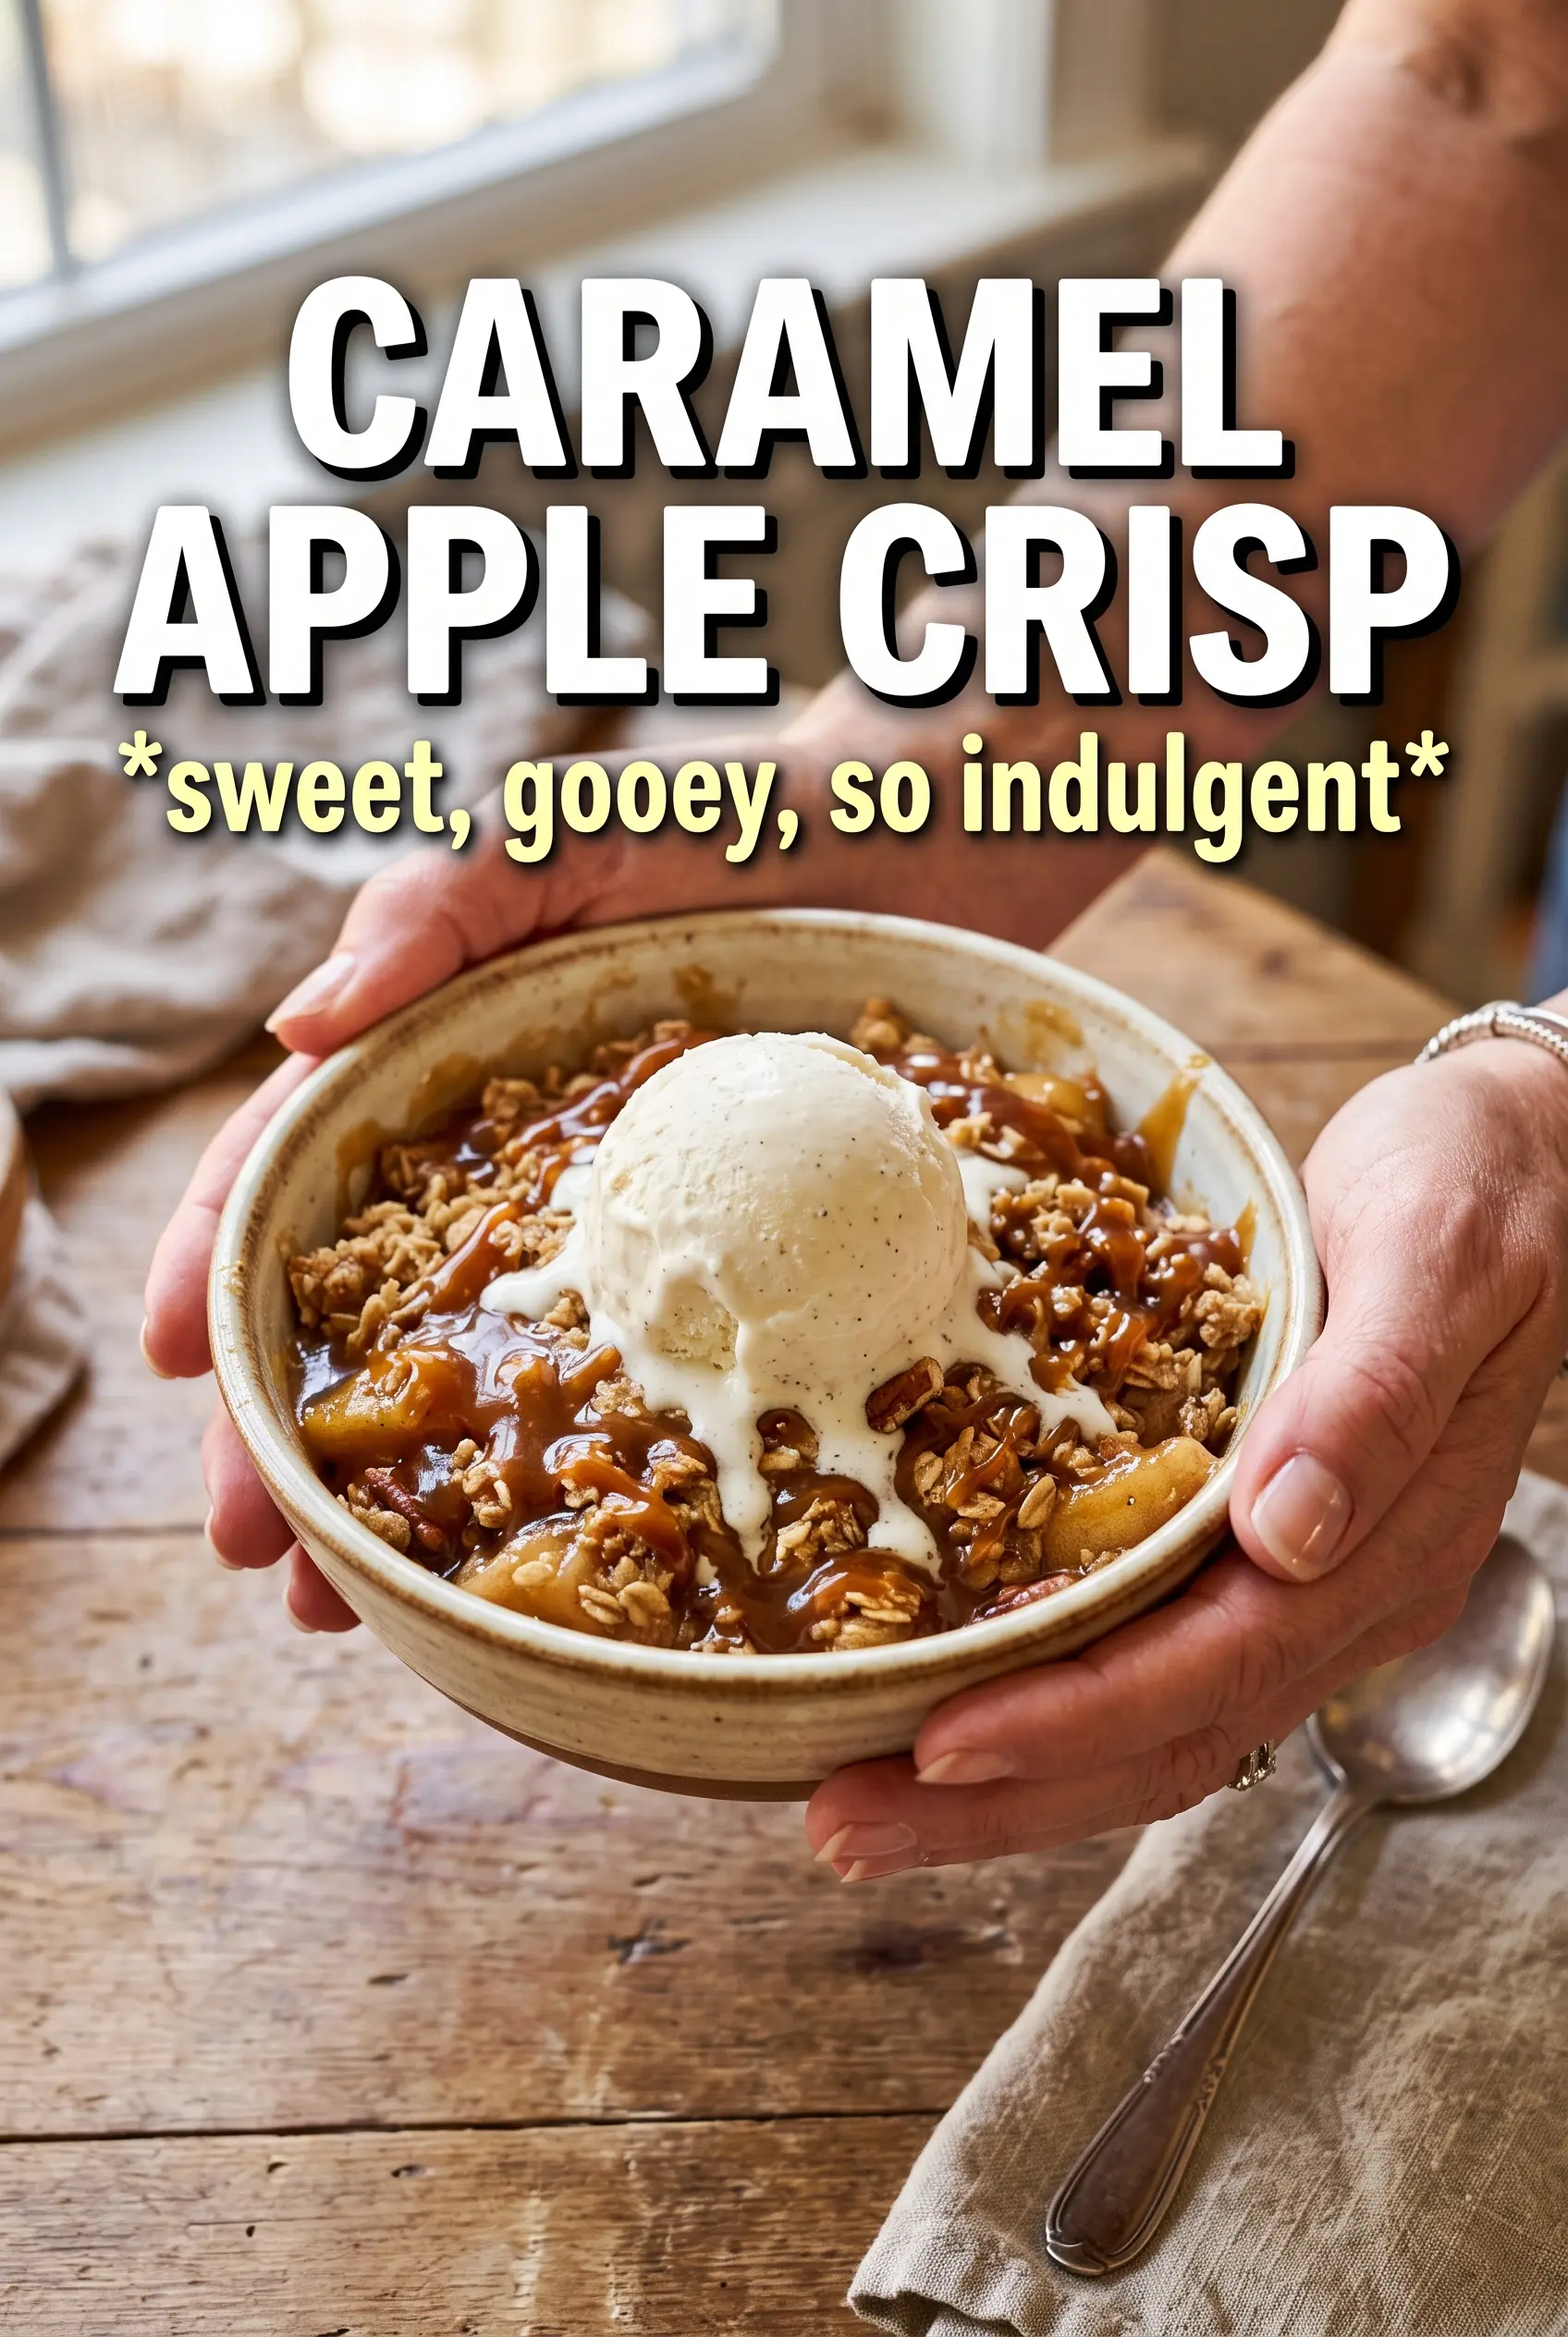
The filling bubbled up thick instead of watery, and the oat topping stayed crisp even under the caramel. I served it with vanilla ice cream and there wasn’t a spoonful left.
Caramel Apple Crisp with that bubbling fruit layer and golden oat topping is the dessert to keep for fall baking and easy entertaining.
The Mistake That Makes Apple Crisp Watery
A good apple crisp should bubble at the edges and spoon up with thick, glossy juices, not a puddle at the bottom of the dish. The difference comes down to how the apples are coated before they go into the oven. Cornstarch needs the apple juices, sugar, and caramel together to start thickening as the fruit bakes, and the lemon juice keeps the flavor bright instead of cloying. If you skip that balance, the apples release liquid faster than the topping can handle.
The other place people run into trouble is the crumble. A topping made with soft butter turns into a paste before it even reaches the oven. Cold butter, cut into the dry ingredients until you have uneven clumps, gives you crisp ridges and tender pockets that brown instead of steaming. That texture contrast is what makes the whole dessert feel finished.
- Apples — Use a firm baking apple that holds its shape, like Granny Smith, Honeycrisp, or a mix. Soft apples collapse before the topping browns.
- Caramel sauce — This adds depth and a sticky, almost candy-like note to the filling. A thick store-bought sauce works fine here; save the thinner ice-cream topping for drizzling after baking.
- Cornstarch — It thickens the fruit juices as the crisp bakes. Arrowroot can work in a pinch, but use a little less because it thickens more aggressively.
- Cold butter — This is what creates the craggy topping. If the butter softens too much while mixing, chill the crumble for 10 minutes before baking.
What Each Ingredient Is Actually Doing in This Recipe
- Primary ingredient (the star) — Quality matters most. Choose the best you can find.
- Cooking medium (oil, butter, or broth) — This carries flavors and prevents dryness.
- Seasonings (salt, pepper, spices, herbs) — Layer flavors so nothing overpowers. Build depth gradually.
- Aromatics (garlic, onion, herbs) — Cook with fat to bloom flavors. Become the foundation.
- Supporting ingredients — Complement the main ingredient without overpowering it.
- Sauce or liquid (if applicable) — Brings flavors together. Balance richness with acid.
- Acid (lemon, vinegar, wine, or other) — Brightens and prevents flat-tasting results.
- Final finish (garnish, glaze, or sauce) — Prevents one-dimensional taste and adds visual appeal.
Building the Filling and Topping in the Right Order
Coating the Apples Evenly
Toss the sliced apples with the sugar, caramel, spices, cornstarch, lemon juice, and salt until every piece looks lightly slicked. You want the cornstarch distributed before the apples sit in the dish, because dry pockets of starch can bake into little chalky spots. Spread the filling in an even layer so the topping can brown at the same rate across the pan.
Making a Crumble That Stays Chunky
Combine the oats, flour, brown sugar, cinnamon, and salt, then cut in the butter until the mixture holds together in rough clumps when squeezed. Stop before it turns into a uniform dough. If the topping looks dusty and loose, it won’t crisp; if it looks pasty, it will bake into a dense lid instead of a crisp shell.
Watching for the Bubble
Bake until the top is deeply golden and the fruit juices are bubbling all around the edges and peeking through the center. That bubbling matters more than the clock because it tells you the cornstarch has cooked through and thickened the filling. If the top is browning too fast before the filling bubbles, lay a loose piece of foil over the dish for the last stretch of baking.
The Last-Minute Caramel Finish
Drizzle on extra caramel during the last 5 minutes of baking so it melts into the topping without disappearing completely into the filling. That gives you glossy patches on top instead of all the caramel sinking to the bottom. Serve it warm, when the apples are tender and the ice cream has just started to soften around the edges.
Bourbon Caramel Apple Crisp
Add 1 to 2 tablespoons of bourbon to the caramel sauce before tossing it with the apples. It deepens the caramel flavor and gives the filling a grown-up edge without changing the texture. Keep the amount modest or the filling can taste thin instead of rich.
Gluten-Free Crisp
Swap the all-purpose flour for a 1:1 gluten-free baking blend. The topping will still bake up crisp as long as the blend contains a binder, but it may brown a little faster, so keep an eye on the last 10 minutes in the oven.
Dairy-Free Version
Use a vegan butter stick in place of the unsalted butter and serve with dairy-free vanilla ice cream. The topping won’t taste exactly the same, but it still bakes into crisp, golden clumps with a buttery-style finish.
Make-Ahead Assembly
You can assemble the filling and crumble separately up to 1 day ahead. Keep the filling covered in the fridge and the topping chilled in a separate container, then layer and bake just before serving. If the apples sit too long under the sugar and salt, they’ll release extra liquid and the crisp will need more time in the oven.
Storage and Reheating
- Refrigerator: Store covered for up to 4 days. The topping softens a bit in the fridge, but the flavor holds up well.
- Freezer: It freezes best after baking. Cool completely, wrap tightly, and freeze for up to 2 months. Thaw overnight in the refrigerator before reheating.
- Reheating: Warm uncovered in a 325F oven until the center is hot and the topping crisps again. Microwaving will heat the apples, but it turns the crumble soft.
Questions I Get Asked About This Recipe
Caramel Apple Crisp
Ingredients
Equipment
Method
- Preheat the oven to 375F and grease a 9x13 baking dish with a thin coat of fat so the crisp releases easily.
- In a large bowl, toss the apple slices with granulated sugar, caramel sauce, cinnamon, nutmeg, cornstarch, lemon juice, and sea salt, then spread the coated apples evenly in the prepared dish.
- In the same bowl, combine rolled oats, all-purpose flour, brown sugar, cinnamon, and salt, then cut in the cold cubed unsalted butter until chunky clumps form.
- Scatter the crumble evenly over the caramel apples to cover most of the surface so it bakes up crisp.
- Bake for 40-45 minutes at 375F until the topping is deeply golden and the filling is bubbling at the edges.
- Drizzle extra caramel sauce over the top during the last 5 minutes of baking so it melts and turns glossy.
- Let the crisp cool briefly, then serve warm with vanilla ice cream and more caramel sauce.