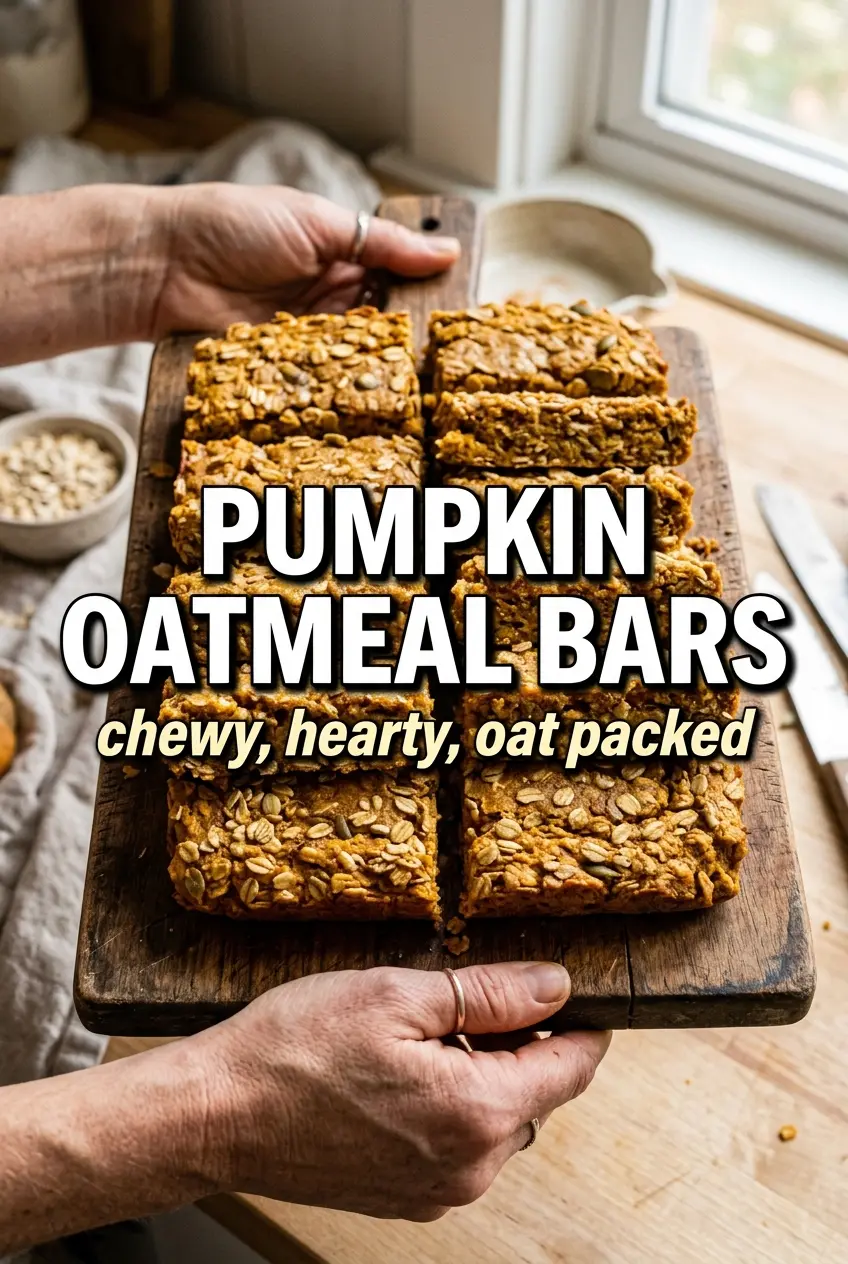
Pumpkin oatmeal bars bake up soft and chewy in the middle with golden edges and just enough structure to slice cleanly once they cool. The oats give them a hearty bite, the pumpkin keeps the crumb tender, and the maple drizzle on top finishes them with the kind of sweetness that makes breakfast feel like a treat without turning it into dessert.
What makes this version work is the balance between moisture and restraint. Pumpkin puree adds body, but it doesn’t carry much sweetness on its own, so maple syrup or honey does the heavy lifting while the eggs and oats keep everything from collapsing into a soggy pan. I also like the mix of baking soda and baking powder here: the bars rise just enough to feel light, but they stay dense enough to hold up under a glaze.
Below you’ll find the little details that matter most, including how to tell when the center is set, when to add chocolate chips or raisins, and how to keep the bars from crumbling the second you cut them.
The bars set up beautifully after cooling, and the maple glaze soaked into the top just enough without making them sticky. I added raisins, and they stayed soft instead of drying out.
Love the chewy oats and maple glaze on these pumpkin oatmeal bars? Save them to Pinterest for an easy breakfast bar you can slice, pack, and drizzle later.
The Edge That Keeps Pumpkin Bars from Turning Dense
Pumpkin bars go wrong when the batter gets overmixed or the pan is pulled too early. Once the flour hits the wet ingredients, stir only until the dry streaks disappear. If you work it hard, the oats lose their tenderness and the bars bake up tight instead of softly chewy.
The other trap is judging doneness by the center looking fully set in the oven. These bars finish as they cool. Pull them when the edges are set and the center has just a slight give; if you wait until the middle looks completely dry, they’ll overbake and lose that pleasant, moist crumb.
What Each Ingredient Is Actually Doing in These Bars
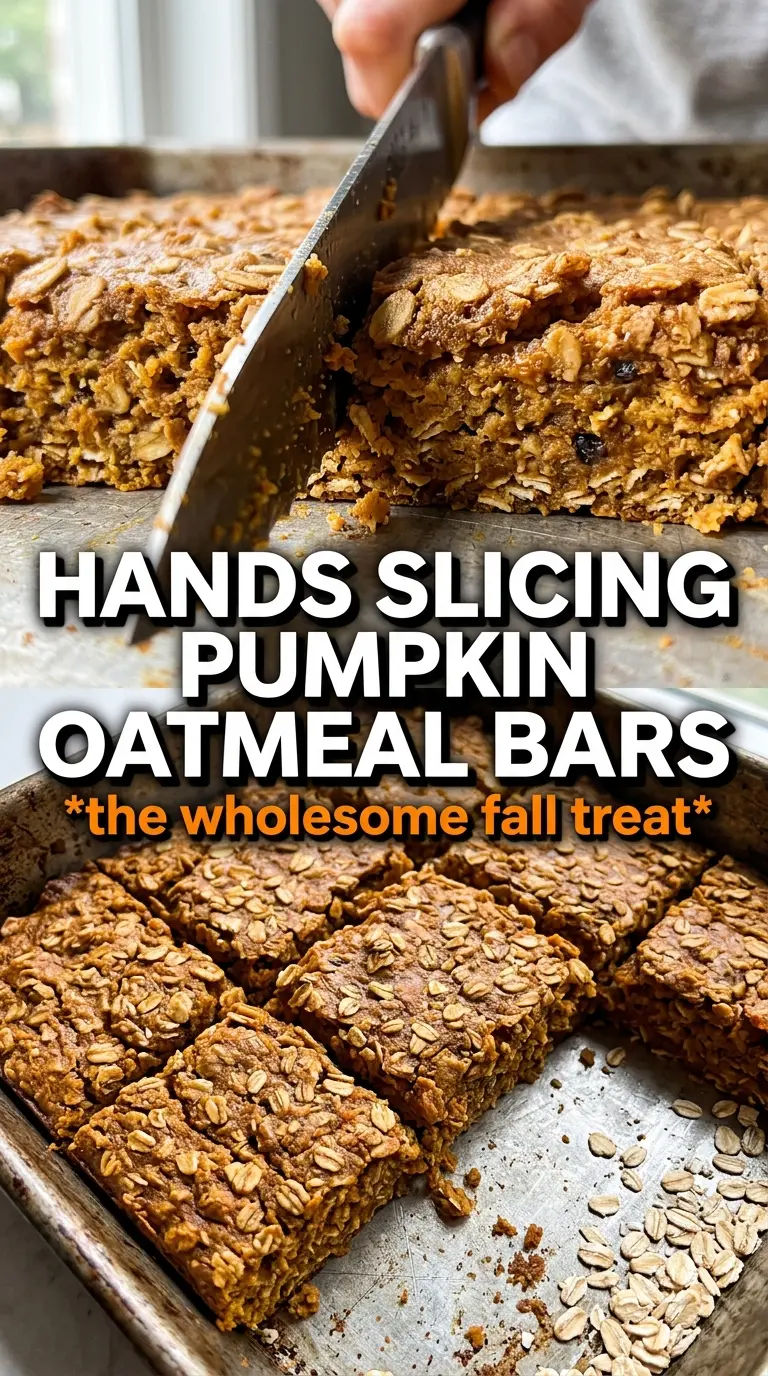
- Rolled oats — These give the bars their hearty chew and rustic texture. Quick oats will make the bars softer and a little pastier, so use rolled oats if you want distinct oat texture and cleaner slices.
- Pumpkin puree — This brings moisture, color, and that gentle pumpkin backbone. Use plain pumpkin puree, not pumpkin pie filling, or the bars will come out overly sweet and spiced before you’ve even added the glaze.
- Maple syrup or honey — Either sweetener works, but maple syrup leans into the pumpkin flavor while honey makes the bars a touch denser and more floral. Maple is my first choice if you want the glaze and bars to taste like they belong together.
- Coconut oil or butter — Melted fat keeps the crumb tender and helps the bars stay moist after baking. Butter gives a richer, bakery-style flavor; coconut oil works well if you want a dairy-free version.
- Pumpkin pie spice and cinnamon — This combo does the warming work, but cinnamon alone won’t taste as rounded. If you don’t have pumpkin pie spice, use extra cinnamon plus a pinch of ginger and nutmeg.
- Chocolate chips or raisins — These are optional, but they add pockets of sweetness that keep the bars from reading too plain. Raisins blend in more softly; chocolate chips make the bars feel more like a treat.
Building the Batter So the Bars Bake Up Chewy, Not Wet
Mix the dry ingredients first
Whisk the oats, flour, baking soda, baking powder, spices, and salt until everything looks evenly distributed. That step keeps the leavening from clumping in one spot, which is how you end up with a bitter bite or an uneven rise.
Combine the wet ingredients until smooth
Stir the pumpkin, maple syrup, melted coconut oil or butter, eggs, and vanilla together until the mixture looks glossy and uniform. If the fat is too hot, it can scramble the eggs at the edges, so let it cool a minute after melting before you add it in.
Fold, don’t beat
Add the dry ingredients to the wet and stir just until no flour streaks remain, then fold in chocolate chips or raisins if you’re using them. The batter should look thick and spoonable, not pourable. If it seems loose, the likely problem is too much liquid or overmeasured pumpkin, and the bars will need the full bake time to set.
Watch for the set edges
Spread the batter evenly into the greased pan and bake until the edges look firm and the center is just set with a tiny bit of spring. The top should look matte rather than wet. Cool the pan completely before adding the glaze, or the drizzle will melt straight into the bars instead of sitting on top.
Make Them Dairy-Free Without Losing the Tender Crumb
Use coconut oil in the batter and swap the milk in the glaze for almond milk, oat milk, or another neutral non-dairy milk. The bars stay soft and cohesive, though the flavor will be a little lighter and less buttery than the version made with butter.
Use Honey for a Softer, Less Maple-Forward Sweetness
Honey works well if that’s what you have, and it gives the bars a rounder sweetness with a slightly denser finish. The flavor shifts away from maple, so the glaze tastes better if you keep it maple-based for contrast.
Make Them Gluten-Free With a 1:1 Baking Blend
Swap the all-purpose flour for a cup-for-cup gluten-free blend and use certified gluten-free oats. The texture will be a little more delicate, so let the bars cool completely before cutting or they can crumble at the edges.
Storage and Reheating
- Refrigerator: Store in an airtight container for up to 5 days. The bars firm up a little in the fridge, but they stay pleasantly chewy.
- Freezer: These freeze well. Wrap individual bars tightly and freeze for up to 2 months, then thaw in the fridge or at room temperature.
- Reheating: Warm a bar for 10 to 15 seconds in the microwave if you want the glaze to soften and the center to taste fresh-baked again. Don’t overheat it or the oats will dry out and the edges turn tough.