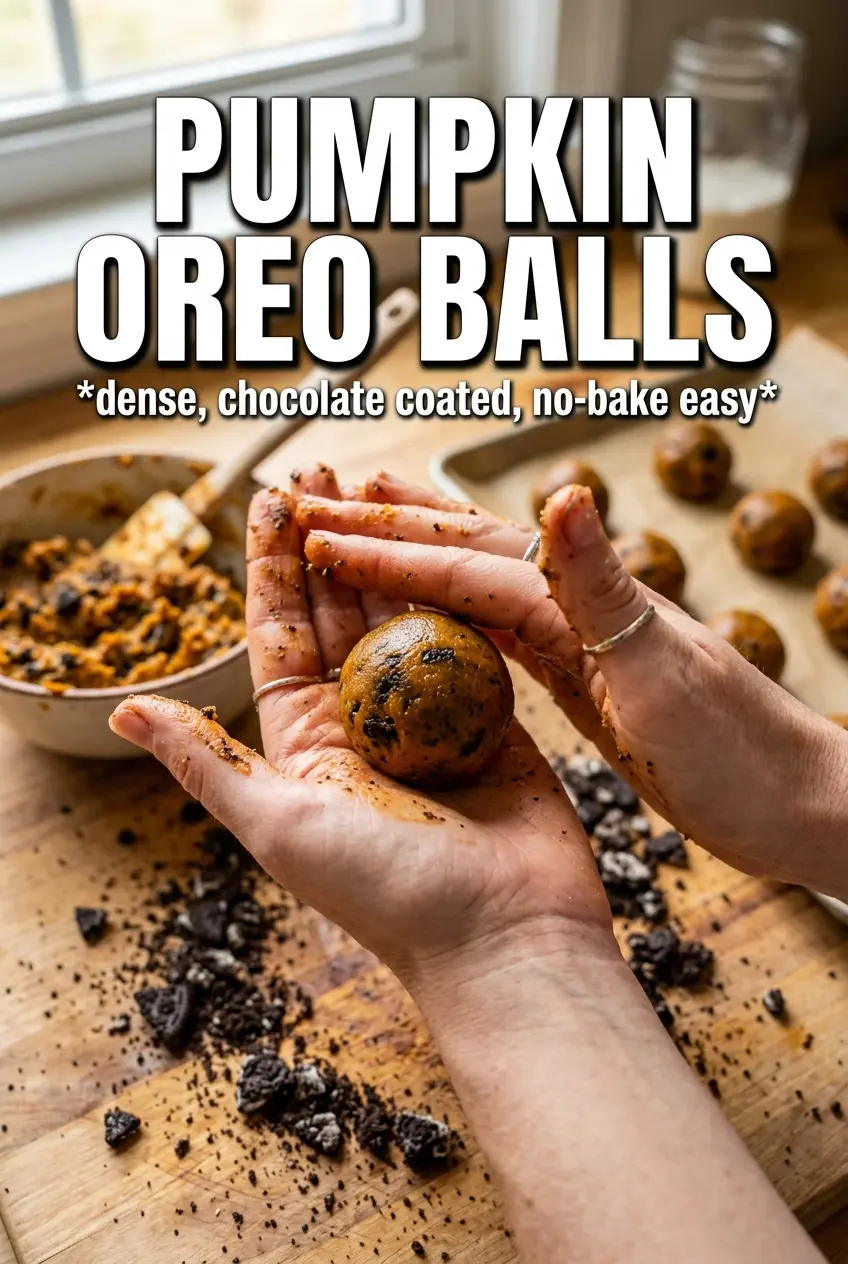
Pumpkin Oreo Balls come out with that sweet spot everyone wants in a no-bake dessert: soft, truffle-like centers wrapped in a snappy chocolate shell, with just enough pumpkin spice to taste like fall without turning soggy or heavy. The Oreo crumbs keep the filling dense and cookie-forward, while the cream cheese gives it that cool, fudgy bite that makes people grab a second one before they’ve finished the first.
The part that matters most is controlling moisture. Pumpkin puree brings great flavor, but it also brings water, and too much moisture is what turns these into sticky little messes that won’t roll cleanly. Blotting the pumpkin before it goes into the bowl keeps the filling firm enough to scoop, chill, and dip without fighting you at every step. A short freeze before coating helps too, because a colder center holds its shape when it hits the warm chocolate.
Below, I’ll walk through the one prep step that saves the whole batch, the best way to dip them without making a mess, and a few smart swaps if you want to use regular Oreos, candy melts, or a dairy-free version.
The pumpkin was subtle, the Oreo flavor still came through, and chilling the balls before dipping kept the centers from softening. Mine set up with that perfect truffle texture.
Save these Pumpkin Oreo Balls for the dessert tray when you want a chilled truffle with a creamy center and a clean white chocolate shell.
The Moisture Trap That Makes Pumpkin Truffles Fall Apart
Most no-bake pumpkin treats go wrong before they ever hit the fridge. The problem isn’t the chocolate coating or even the cream cheese. It’s the pumpkin puree, which adds enough water to turn a thick, rollable mixture into something soft and stubborn. Blotting the pumpkin first keeps the filling dense, which means the Oreo crumbs can do their job instead of getting drowned out.
The other place people get into trouble is rushing the chill time. If the mixture is still warm or sticky when you scoop it, the balls flatten in your hands and smear into the coating later. A good rest in the fridge, followed by a short freeze, gives you a center that stays neat when dipped and sets up with that classic truffle bite.
- Blotted pumpkin puree — This is the difference between a firm filling and a paste. Press it between paper towels until it stops weeping moisture.
- Fine Oreo crumbs — Crush the cookies all the way down. Bigger chunks break the texture and make the balls harder to roll smoothly.
- Cold filling — Chilling firms the cream cheese and butter-free mixture enough to handle. If it feels soft, give it more time instead of adding more crumbs.
What Each Ingredient Is Actually Doing in These Pumpkin Oreo Balls
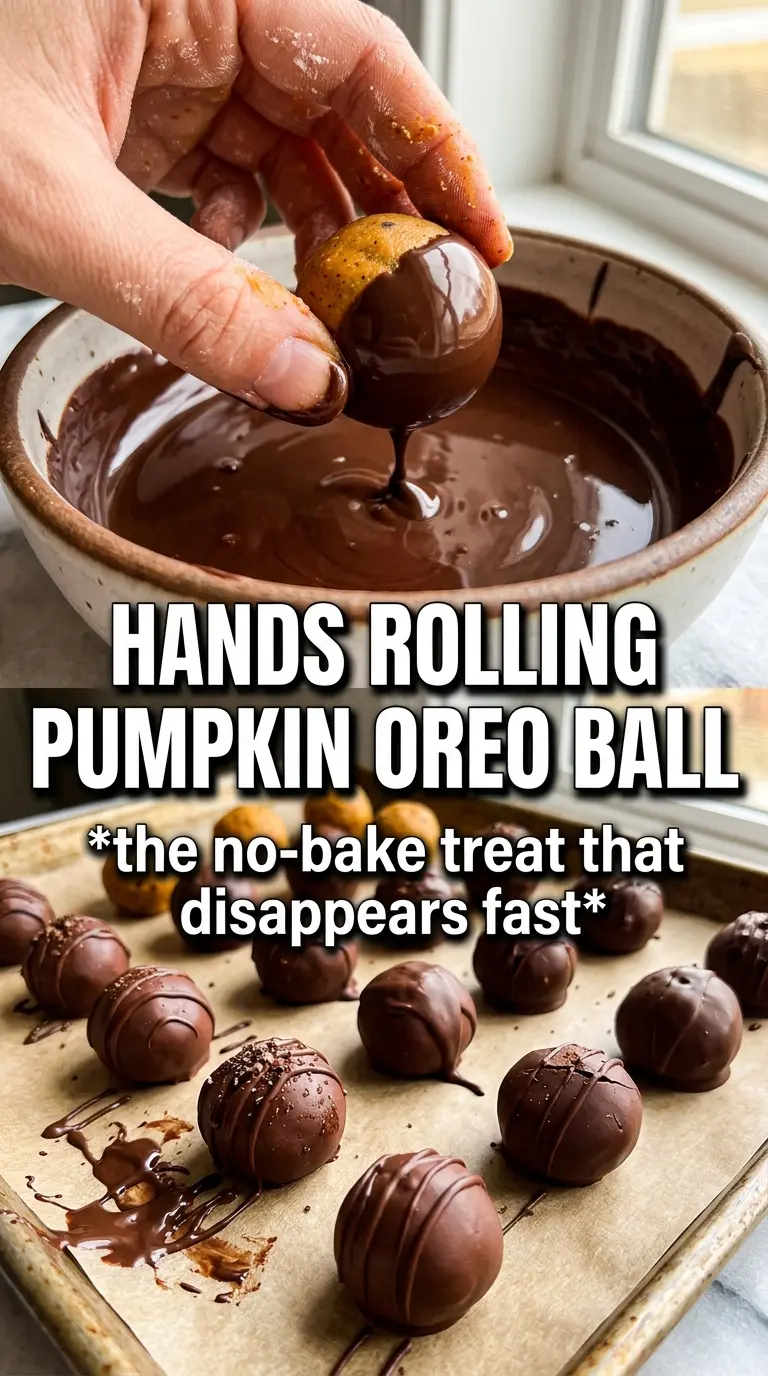
- Pumpkin spice Oreos — These bring the pumpkin spice flavor and the cookie structure in one package. Regular Oreos work fine if that’s what you have, but you’ll lose the warm spice note unless you add the cinnamon and pumpkin pie spice.
- Cream cheese — This is what makes the filling taste like a truffle instead of dry cookie crumbs. Use full-fat cream cheese for the smoothest texture; low-fat versions tend to be looser and a little tangier.
- Blotted pumpkin puree — The pumpkin gives the flavor you want, but only after the excess water is removed. If you skip blotting, the mixture usually needs too much chilling and can still be soft after dipping.
- White chocolate or orange candy melts — White chocolate tastes richer and sets with a nicer snap, while candy melts are easier if you want that bright orange look and a faster set. If you use white chocolate, melt it gently so it stays fluid; overheated chocolate gets thick and clumpy.
- Crushed Oreos for topping — Sprinkle these on immediately after dipping. Once the coating starts to set, the crumbs won’t stick cleanly.
The Chill-and-Dip Window That Keeps the Centers Neat
Build the Filling Until It Holds Its Shape
Beat the cream cheese until it’s completely smooth before anything else goes in. That gets rid of the little lumps that never disappear once the crumbs are added. Stir in the blotted pumpkin, spice, and cinnamon, then fold in the cookie crumbs until the mixture looks thick and uniform. If it looks loose or glossy, it needs a few more minutes in the fridge before you try to roll it.
Scoop, Roll, and Freeze Before Coating
Portion the mixture into 1-inch balls and roll them between your palms until they’re compact. The goal is a smooth surface, not a perfect sphere; rough edges make the coating harder to spread evenly. Freeze them for about 20 minutes so they’re firm but not rock solid. If they sit too long in the freezer, condensation can form when they warm up and make the chocolate seize on contact.
Dip Fast and Finish Before the Shell Sets
Melt the white chocolate slowly until it’s fluid enough to coat without a thick drag. Work with a few chilled balls at a time and let the excess drip off before setting each one down. Add the crushed Oreos right away, while the coating is still wet. If the chocolate starts thickening in the bowl, stop and warm it in short bursts; overheated coating gets grainy and hard to work with.
Make Them Without Pumpkin Spice Oreos
Regular Oreos work well here. Add the pumpkin pie spice and cinnamon as written so you still get that warm pumpkin dessert note. The filling tastes a little less spiced and a little more cookie-forward, which some people actually prefer.
Dairy-Free Version
Use a dairy-free cream cheese and dairy-free white chocolate or candy coating. The texture stays close to the original, though the filling may need a slightly longer chill because plant-based cream cheese can be softer.
Skip the Food Coloring
Orange food coloring is only for looks. Leave it out if you want a cleaner white chocolate coating, or use just a tiny amount if you want a pumpkin-orange shell without thinning the chocolate.
Storage and Reheating
- Refrigerator: Store in an airtight container for up to 5 days. The coating stays firm, though the cookie center softens a touch after day two.
- Freezer: Freeze in a single layer, then transfer to a container with parchment between layers for up to 2 months. Thaw in the fridge so the chocolate doesn’t sweat.
- Reheating: No reheating needed. Let chilled balls sit at room temperature for 10 to 15 minutes before serving so the center tastes creamy instead of overly firm.