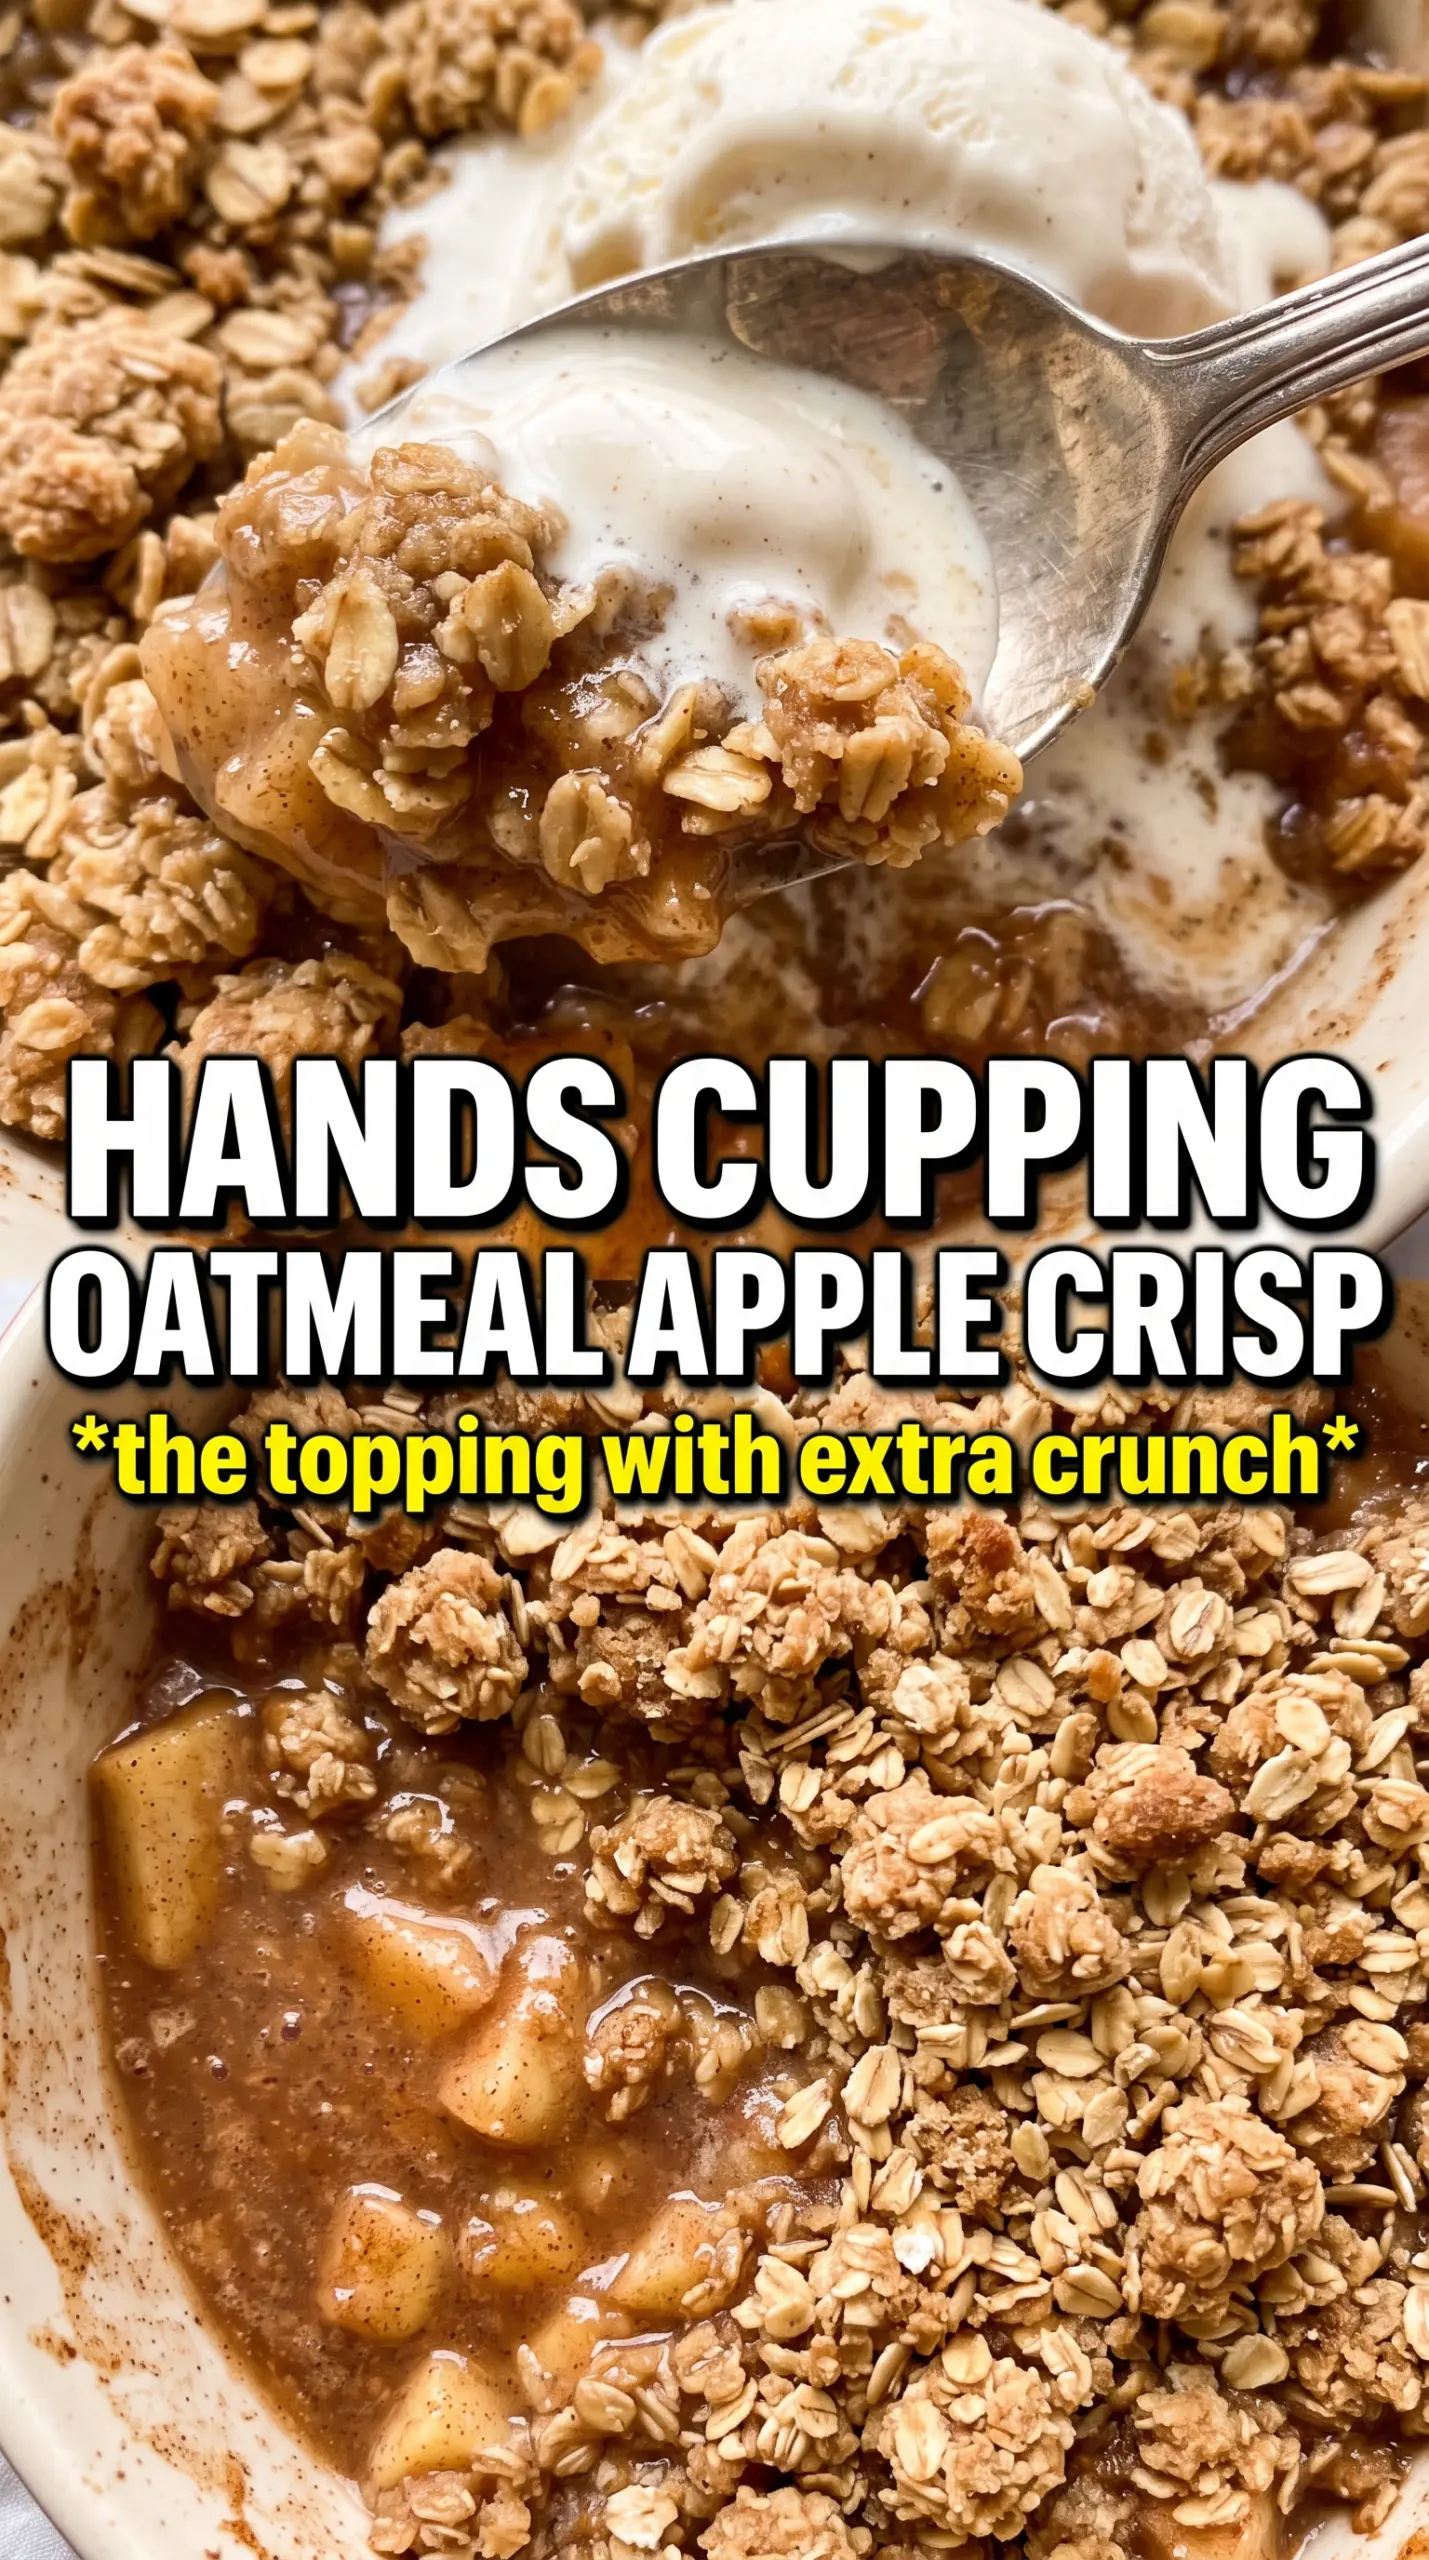
Apple crisp with oatmeal earns its place when the topping turns deeply golden and shatters under a spoon, while the apples underneath soften into a bubbling, cinnamon-scented filling. The best versions give you contrast in every bite: tender fruit, thick juices, and a crumble that stays crisp instead of fading into soggy oats.
This version leans on old-fashioned rolled oats for that chunky, nubby texture you want on top, and the butter stays cold so the crumble bakes up in clumps instead of turning sandy. A little cornstarch in the apple filling keeps the juices from running thin, which matters more than people think once the crisp rests and the ice cream starts melting into it.
Below, I’m walking through the small details that keep the topping crisp and the filling thick. If your apple desserts usually come out loose or dusty on top, those are the two spots to pay attention to.
The oats stayed crunchy all the way to the last serving, and the apple filling thickened up instead of pooling at the bottom. I used Granny Smith and Honeycrisp like suggested, and it baked into the perfect sweet-tart balance.
Save this apple crisp with oatmeal for the nights when you want a bubbling fruit dessert with a thick, golden oat topping.
The Trick to Keeping the Oat Topping Crisp Instead of Soggy
The topping in a crisp fails when the butter melts too fast or the apples dump out too much liquid before the oat mixture has a chance to set. Cold butter is the insurance here. When it bakes in little pockets, those pockets melt and leave behind craggy ridges that crisp up instead of smoothing into paste.
The other half of the problem is the fruit. If the apples are sliced too thin, they collapse into mush; if they’re too thick, the filling stays undercooked in the center. A medium slice gives you soft fruit with enough structure to hold the topping and enough surface area for the cornstarch to do its job.
- Rolled oats — Old-fashioned oats give the crumble its chewy, rugged texture. Quick oats turn softer and can make the topping feel dense.
- Cornstarch — This thickens the apple juices as they bubble. Flour can work in a pinch, but it doesn’t set as cleanly or stay as clear in the filling.
- Cold butter — Straight from the fridge, cubed, and worked in just until clumps form. If the butter softens before it hits the oven, you lose the crumbly texture and the topping bakes flatter.
What Each Ingredient Is Doing in the Filling and Crumble
- Apples — Use firm baking apples so the slices stay intact through the full bake. Granny Smith, Honeycrisp, or a mix of tart and sweet apples gives the best balance.
- Brown sugar — In both the filling and the crumble, it brings a deeper caramel note than white sugar alone. That molasses edge is what makes the topping taste baked, not just sweet.
- Lemon juice — It keeps the apples from tasting flat and helps the fruit hold its brightness after baking. Don’t skip it unless your apples are already very tart.
- Flour — It gives the crumble enough body to hold together in chunks. If you use only oats, the topping can fall apart and bake up patchy.
- Unsalted butter — Unsalted butter lets you control the salt level in the crumble. If salted butter is all you have, reduce or omit the added salt.
Building the Layers So Everything Bakes at the Same Pace
Coating the Apples Evenly
Toss the sliced apples with the sugars, spices, cornstarch, and lemon juice until every piece looks lightly coated, then spread them in the baking dish in an even layer. The cornstarch needs to be distributed across the fruit, not sitting in clumps at the bottom, or you’ll get pockets of gummy filling. If the apples are very juicy, give them a minute after tossing so the sugar can start drawing out the liquid before they go into the dish.
Making a Chunky Crumble
Combine the oats, flour, brown sugar, cinnamon, and salt, then cut in the butter with your fingertips or a pastry cutter until the mixture forms large, irregular clumps. You want pieces that look like pebbles and damp sand mixed together, not a smooth dough. If the butter disappears completely, the topping bakes dry and dusty instead of crisp and craggy.
Baking Until the Center Bubbles
Scatter the crumble evenly over the apples so the fruit is covered from edge to edge, then bake until the top is deeply golden and the filling bubbles at the corners. That bubbling matters more than the clock because it tells you the cornstarch has activated and the juice has thickened. Pull it too early and the filling will look done but pour out when you serve it.
Letting It Rest Before Serving
Give the crisp about 10 minutes on the counter before you scoop into it. The filling settles as it rests, which helps it spoon cleanly instead of running all over the plate. It’ll still be warm, and that’s the sweet spot for vanilla ice cream.
How to Adapt This Apple Crisp for Different Pans and Diets
Gluten-Free Version
Swap the all-purpose flour for a 1:1 gluten-free baking blend that contains xanthan gum. The texture stays close to the original, though the topping may be a touch more delicate when you serve it.
Dairy-Free Crisp
Use a firm dairy-free butter substitute that bakes well, not a soft spread from a tub. You still want cold cubes and chunky crumbs, or the topping will melt into the apples instead of crisping.
Baking It in an 8×8 or 9×9 Pan
A smaller pan gives you a thicker layer of apples and a more dramatic topping, but you may need a few extra minutes in the oven. Watch for bubbling at the edges and a deep golden top rather than relying only on time.
Making It Ahead
You can assemble the apple layer and crumble separately a few hours ahead, then keep them chilled until baking time. Don’t let the topping sit on the apples too long before baking or the oats will start to soften before they hit the oven.
Storage and Reheating
- Refrigerator: Store covered for up to 4 days. The topping softens a little, but the flavor holds well.
- Freezer: Freeze baked crisp in a tightly wrapped dish for up to 2 months. Thaw overnight in the refrigerator before reheating.
- Reheating: Warm in a 325F oven until the center is heated through and the top crisps back up. The microwave works in a pinch, but it turns the topping soft instead of crunchy.
Questions I Get Asked About This Recipe
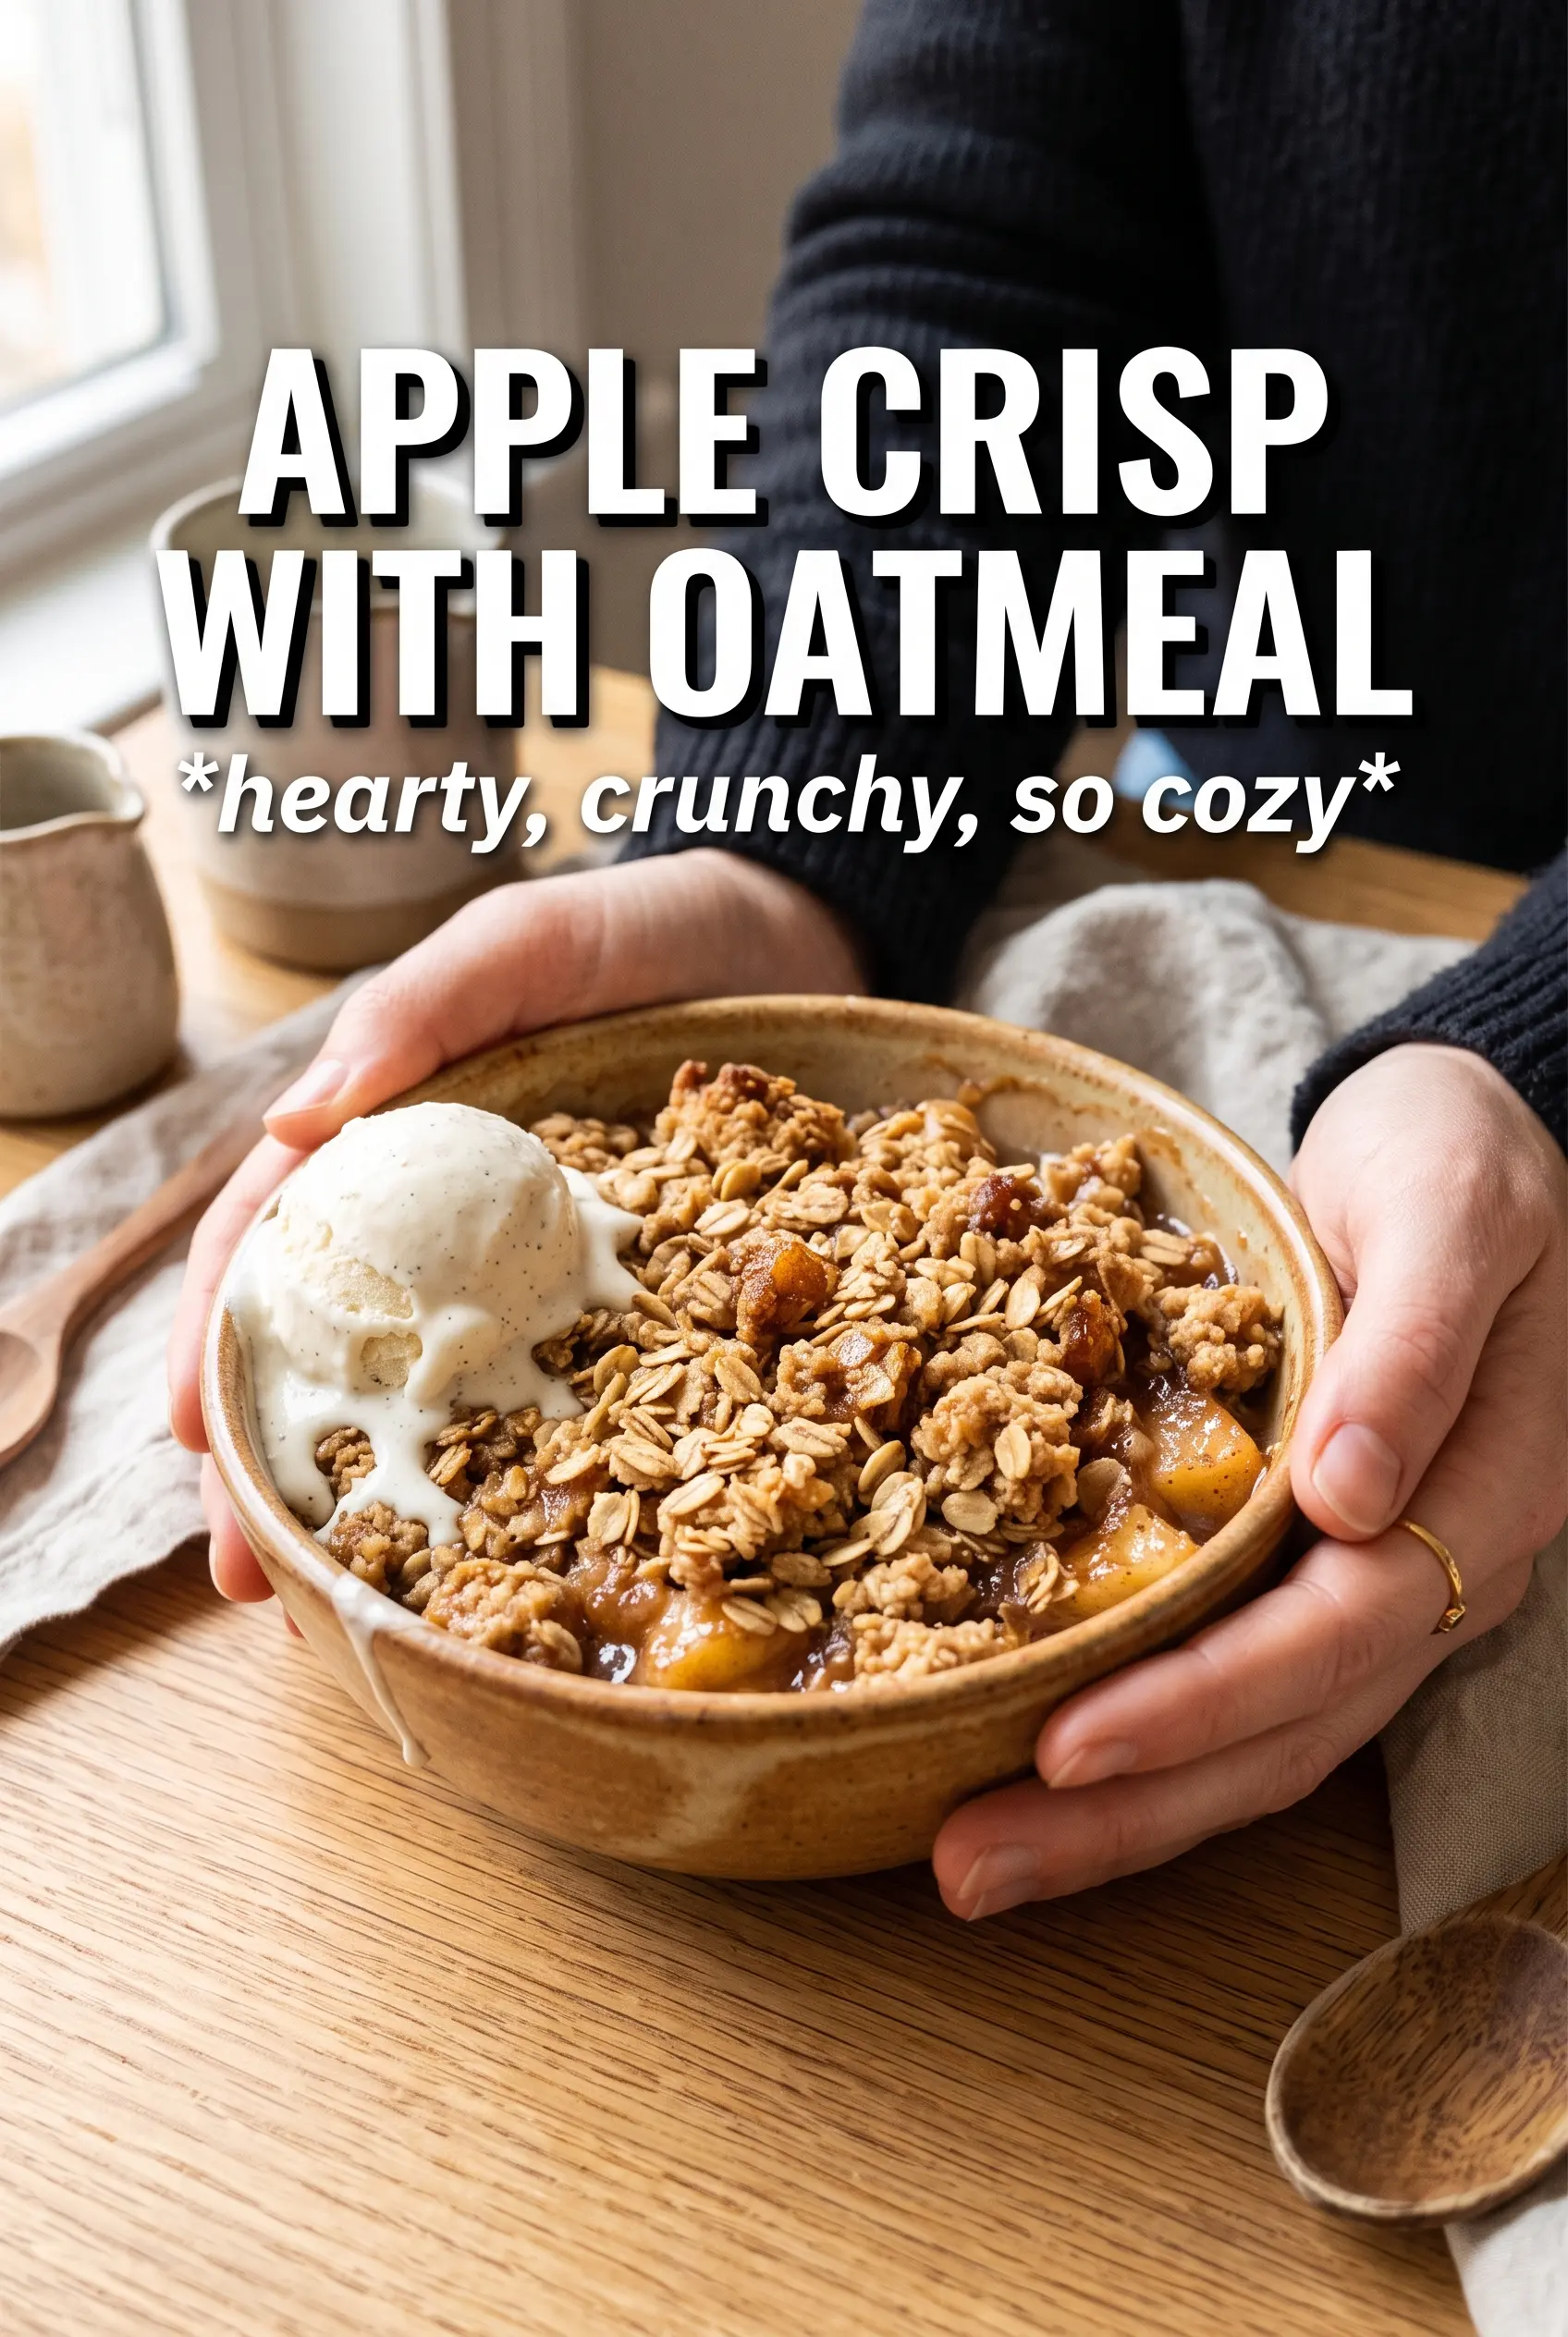
Apple Crisp With Oatmeal
Ingredients
Equipment
Method
- Preheat oven to 375F, then grease a 9x13 baking dish. Keep a steady middle-oven rack for even browning.
- Toss apple slices with granulated sugar, brown sugar, cinnamon, nutmeg, cornstarch, and lemon juice. Spread the coated apples in the prepared dish so the layer is even.
- Combine old-fashioned rolled oats, all-purpose flour, packed brown sugar, cinnamon, and salt. Cut in the cold unsalted butter with your fingertips or a pastry cutter until large, chunky clumps form.
- Scatter the oatmeal crumble generously over the apples, covering every inch. Lightly press so the topping adheres and bakes into a thick layer.
- Bake for 40-45 minutes at 375F until the topping is deeply golden and the apple filling bubbles at the corners. Look for active bubbling around the edges, not just set fruit.
- Rest for 10 minutes, then serve warm. The filling will thicken as it cools slightly, making cleaner slices.
- Spoon the crisp into bowls and top with vanilla ice cream. The ice cream should begin to melt on the hot crumble.