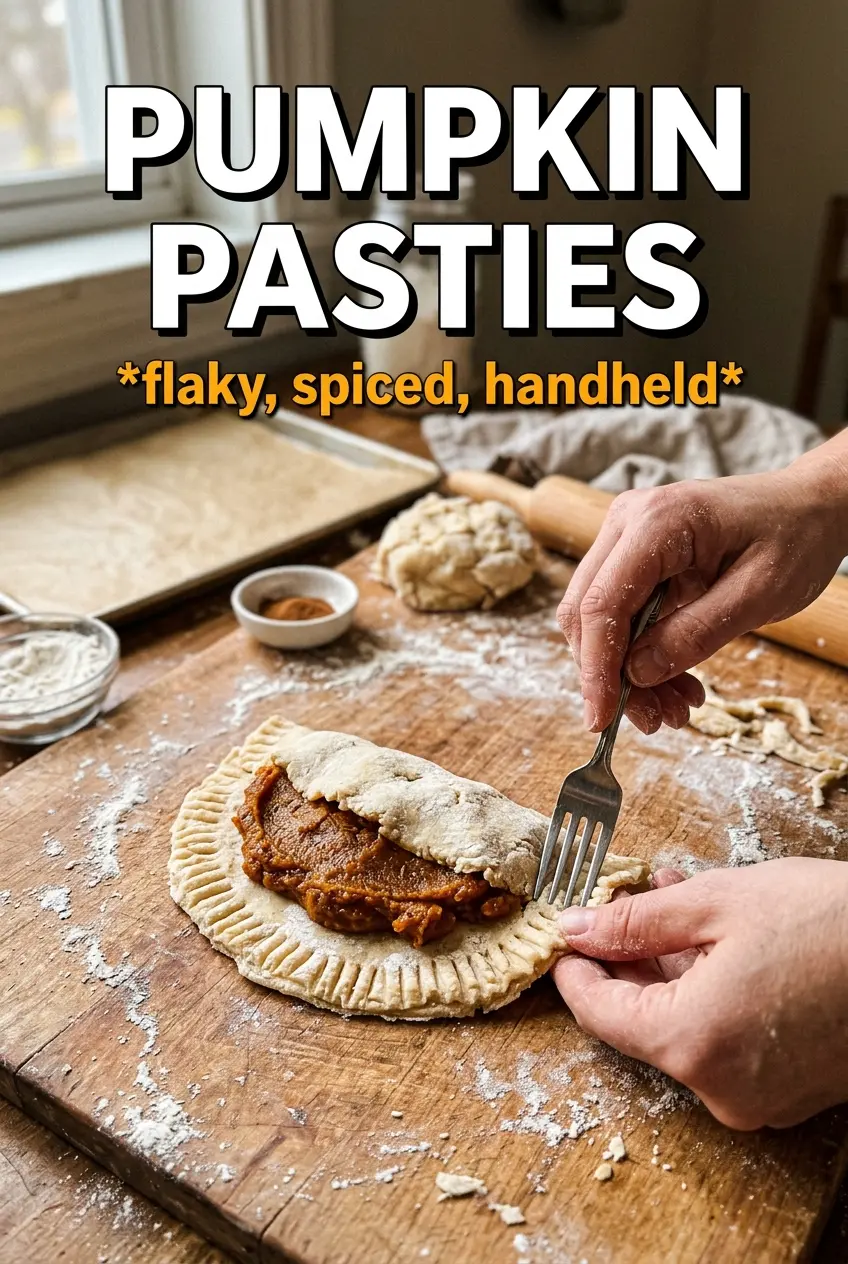
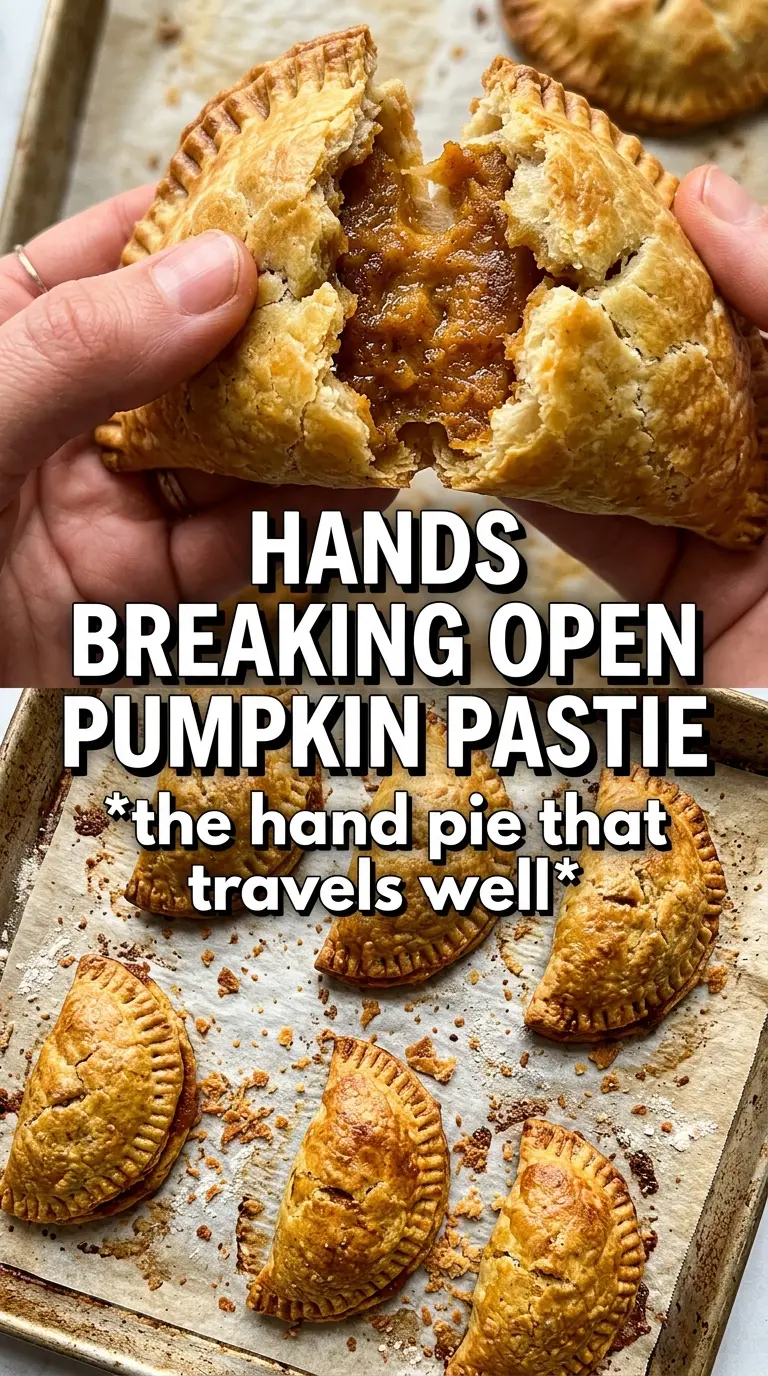
Golden, flaky pumpkin pasties are the kind of hand pie that disappear faster than you expect. The pastry bakes up crisp and tender at the same time, and the spiced pumpkin filling stays smooth and just sweet enough to taste like a proper dessert instead of a pumpkin-scented afterthought. The best ones have a clean crimp, a little sugar sparkle on top, and enough structure that you can pick one up without the filling leaking out the side.
This version leans on a classic pie dough, which matters here. Cold butter and a short chill time keep the pastry layered and sturdy, while cornstarch and egg yolk help the filling set instead of turning loose or watery in the oven. Pumpkin puree can be tricky because it carries more moisture than people realize, so the filling needs a little support before it ever hits the dough.
Below, I’ve included the small things that make these pasties bake up neatly: how to keep the filling from bursting out, what the dough should look like before rolling, and a few swaps if you need to work around what’s in the pantry.
The filling set up beautifully and stayed inside the crust, even after baking. I chilled the dough like you said and the edges crimped cleanly without shrinking back.
Save these pumpkin pasties for when you want flaky pastry and a spiced pumpkin center that bakes up neatly every time.
The Trick to Keeping the Filling Inside the Crust
The filling isn’t hard to make, but it does need to be the right texture before you start assembling. If it’s too loose, it will spread toward the edge, seep through the crimp, and turn the bottoms soggy. The cornstarch and egg yolk are doing the work here: one thickens, the other gives the pumpkin body so the pasties cut cleanly after baking.
The other place people get into trouble is overfilling. A tablespoon sounds tiny, but it’s enough for a 4-inch round when you’re folding the dough over and sealing it. The pasty should look plump, not stuffed. If the filling reaches the edge before you crimp, it’ll fight the seal and leak out in the oven.
- Chilled pastry — Cold dough resists stretching, which helps the half-moons hold their shape and keeps the butter from melting before the oven gets to it.
- Thick pumpkin filling — The mixture should hold a soft mound on the spoon. If it runs, cook off a little moisture by stirring it briefly in a pan over low heat before filling the dough.
- Cinnamon sugar finish — This adds a little crunch and a bakery-style top, but it works best after the egg wash so it sticks instead of sliding off.
What Each Ingredient Is Actually Doing in These Pumpkin Pasties
- All-purpose flour — This gives the pastry enough strength to roll thin without tearing. Pastry flour works too, but all-purpose is easier to find and still bakes up tender when you don’t overwork it.
- Cold unsalted butter — This is what creates flaky layers. If the butter softens before baking, the crust turns more mealy than crisp, so cube it and keep it cold right up until you cut it in.
- Ice water — You only need enough to bring the dough together. Too much water makes the pastry tougher, so add it slowly and stop as soon as the dough clumps when pressed.
- Pumpkin puree — Use plain pumpkin puree, not pumpkin pie filling. The pie filling already contains sugar and spices, which throws off the balance and can make the center too sweet and loose.
- Brown sugar and warm spices — Brown sugar gives the filling a deeper sweetness than white sugar, and the cinnamon, ginger, nutmeg, and pumpkin pie spice layer in a rounded, bakery-style flavor instead of one flat spice note.
- Cornstarch and egg yolk — These are the insurance policy. They help the filling thicken as it heats so the pasties slice and bite neatly instead of collapsing into a soft puddle.
Rolling, Filling, and Baking Without Leaks
Mixing a Dough That Rests Cleanly
Cut the cold butter into the flour mixture until the pieces look like coarse crumbs with a few pea-size bits still visible. Those larger pieces are what give you flakes. Once the water goes in, stop as soon as the dough holds together when squeezed; if you knead it smooth, the crust gets tough and loses its layered texture. Wrap it up and chill it for the full 30 minutes so the gluten relaxes and the butter firms back up.
Filling and Shaping the Half-Moons
Roll the dough to about 1/8-inch thick and cut clean 4-inch circles. If the dough springs back, let it rest a few minutes before rolling again; that means the gluten still needs time to relax. Spoon the filling onto one side of each round, leaving a border wide enough to crimp without smearing pumpkin into the seal. A fork crimp is perfect here because it locks the edges and gives the pasties that classic hand-pie look.
Finishing for Color and Crunch
Brush the tops with egg wash before the cinnamon sugar goes on, or the sugar will fall off during baking. Cut a small vent in each pasty so steam can escape; without it, the filling presses against the seam and can burst the sides open. Bake until the crust is deeply golden and the bottoms look set, not pale. If the tops brown too fast, your oven may run hot, so start checking a few minutes early.
Make Them Dairy-Free
Use a solid plant-based butter stick instead of regular butter. You’ll still get a flaky crust as long as it stays cold, though the flavor will be a little less rich and more neutral. Choose one that bakes well, not a tub spread, because the softer fats can melt out before the pastry sets.
Gluten-Free Pasties
A 1:1 gluten-free baking blend can work for the pastry, but the dough usually needs gentler handling and a little extra chilling because it’s more fragile than wheat dough. Roll it between parchment sheets to keep it from tearing. The finished crust will be a bit more delicate and less stretchy, but the flavor still holds up well.
Extra-Spiced Filling
If you want a sharper spice note, add a pinch of cloves or a little extra ginger. Don’t overdo it, because pumpkin pasties are best when the filling tastes warm and balanced instead of aggressively spiced. A small change makes a noticeable difference once the filling bakes inside the pastry.
Storage and Reheating
- Refrigerator: Store cooled pasties in an airtight container for up to 4 days. The crust softens a little in the fridge, but the flavor stays excellent.
- Freezer: These freeze well baked or unbaked. Freeze them on a tray first, then pack them tightly; bake unbaked pasties straight from frozen, adding a few extra minutes.
- Reheating: Warm them in a 325°F oven until the crust crisps back up, about 10 to 15 minutes. The microwave will make the pastry chewy, which is the fastest way to lose the texture you worked for.