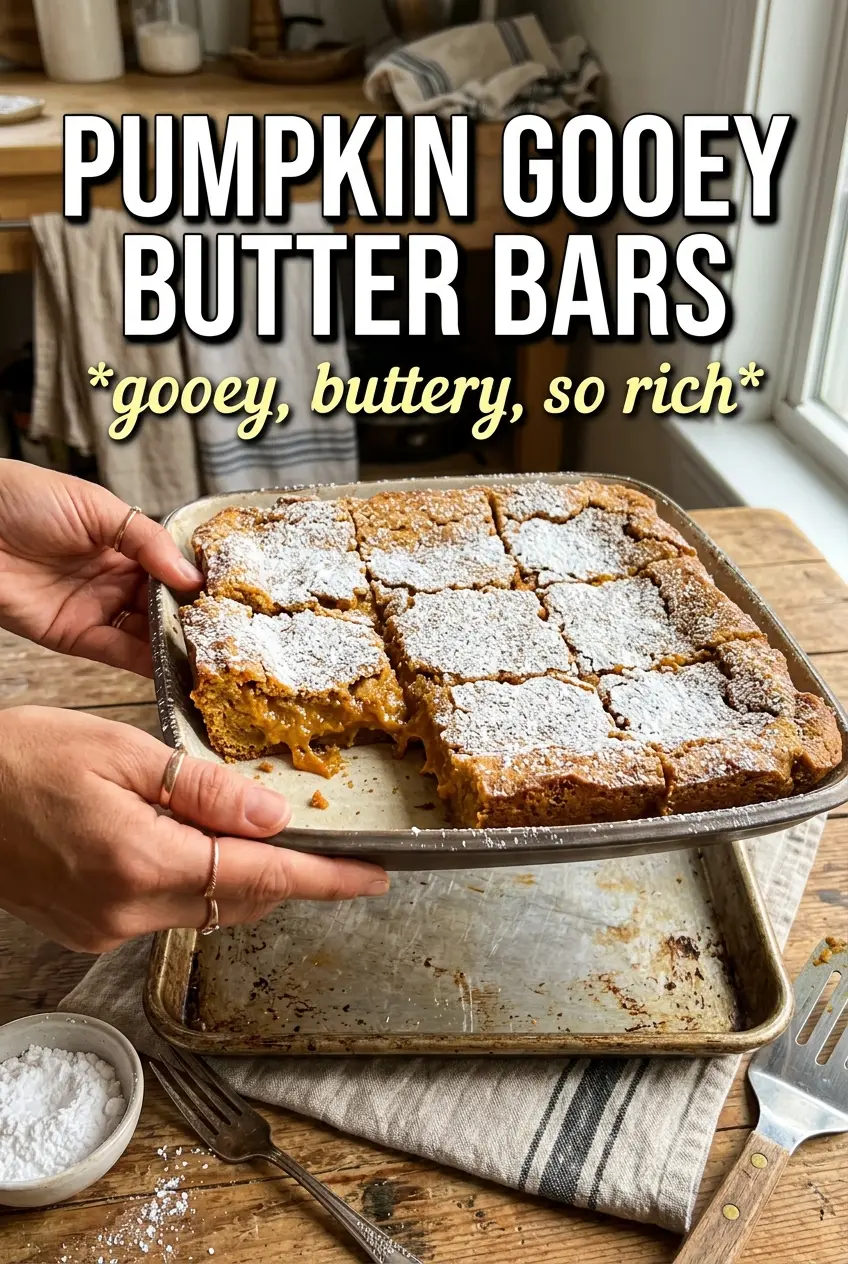
Pumpkin gooey butter bars land right in that sweet spot between pie and blondie: a sturdy, buttery crust on the bottom and a soft, custardy pumpkin layer on top that bakes up with a gentle wobble in the center. They slice clean once cooled, but the middle stays rich and creamy enough that every bite feels a little indulgent. A heavy dusting of powdered sugar finishes the top and gives each square that classic bakery look.
What makes these bars work is the contrast. The yellow cake mix crust presses into place fast and bakes up tender without getting crumbly, while the filling leans on cream cheese for body and pumpkin puree for that smooth, earthy texture. The key is not overbaking; the bars finish setting as they cool, and pulling them when the center still jiggles is what keeps them gooey instead of dry.
Below, I’ve included the one visual cue that matters most in the oven, plus a few swaps and storage notes that help if you’re baking ahead for a party or want to change up the spice level.
The filling baked up silky and set just enough after cooling. I pulled it when the center still had a little wobble like you said, and the bars cut into perfect squares without leaking everywhere.
Pumpkin Gooey Butter Bars bake into the softest center, so save this for the days when you want a chewy crust and that thick, powdered-sugar finish.
The Secret to Keeping the Center Gooey Instead of Dry
The biggest mistake with gooey butter bars is baking them until the middle looks fully set in the oven. That’s how you end up with a cake-like bar instead of the soft, custardy texture people expect. Pull the pan when the edges are set and the center still has a noticeable jiggle; it should look a little underdone in the middle, because carryover heat finishes the job as it cools.
The other thing that matters is the filling ratio. This recipe uses a thick crust and a generous layer of pumpkin filling, which gives you distinct layers instead of a muddy, overly soft slab. If you’ve ever had bars that collapsed when cut, they were probably undercooled or overmixed after the eggs went in.
- The crust needs to be pressed firmly into the pan so it bakes into one even layer instead of breaking apart under the filling.
- The filling should look smooth and glossy before it goes in the oven. Lumps of cream cheese won’t disappear later.
- Cooling completely is part of the recipe, not an optional extra. Warm bars will slump and smear when you cut them.
What Each Ingredient Is Actually Doing in These Bars
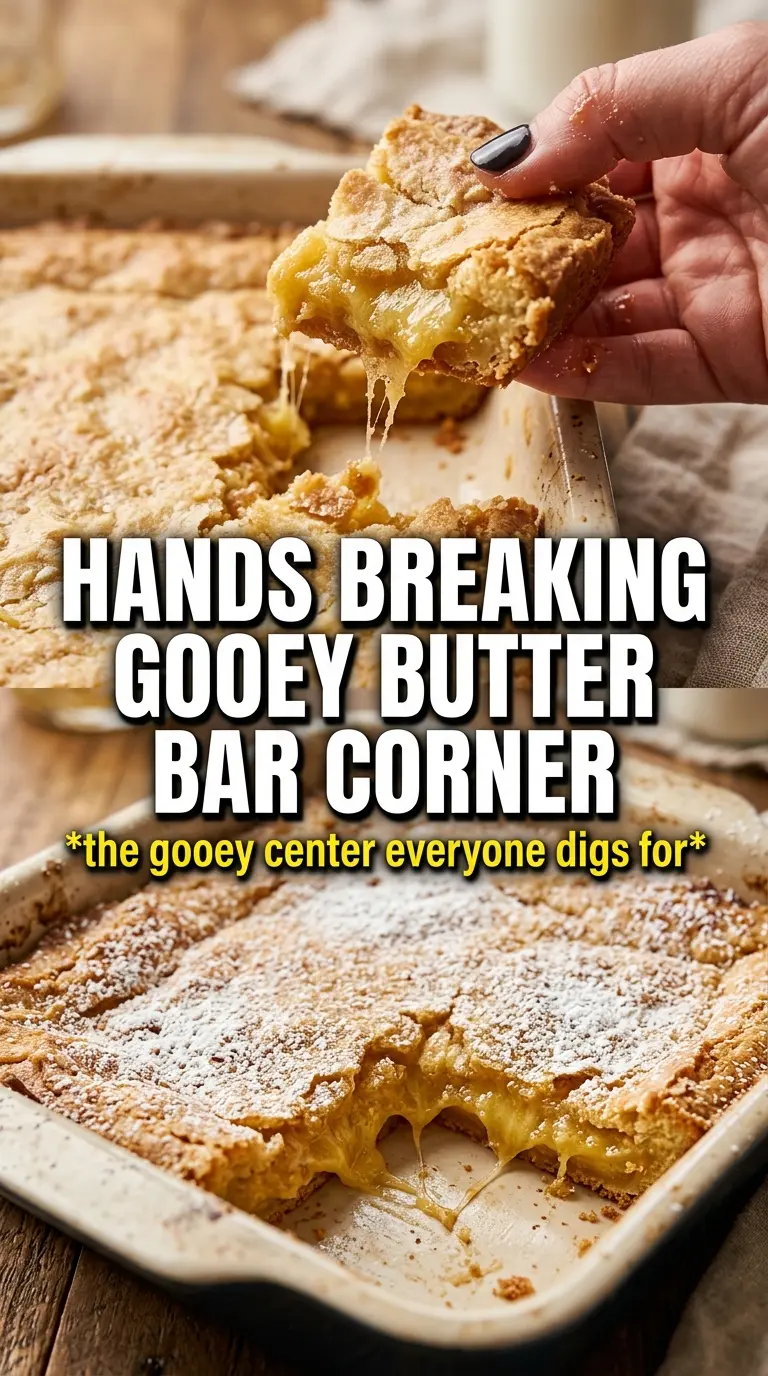
- Yellow cake mix — This gives the crust its tender, slightly sweet base without making you mix a dough from scratch. A vanilla or white cake mix also works, but yellow cake mix brings a little more buttery flavor that suits the pumpkin filling.
- Cream cheese — This is what gives the filling its body and that faint tang that keeps the bars from tasting flat. Use full-fat cream cheese if you can; low-fat versions tend to loosen the filling and bake up less rich.
- Pumpkin puree — Use plain pumpkin puree, not pumpkin pie filling. Pie filling already has sugar and spice added, and it throws off both the texture and the sweetness here.
- Powdered sugar — It dissolves into the filling quickly and helps create that smooth, gooey texture. Granulated sugar won’t melt in the same way and can leave the filling gritty.
- Butter — Melted butter goes into both layers, which is why the bars taste rich from the first bite. If you only have salted butter, use it and skip adding extra salt elsewhere.
Building the Layers Without Smearing the Crust
Pressing the Cake Mix Base
Mix the cake mix, melted butter, and egg until a thick dough forms, then press it into the pan in an even layer. The easiest mistake here is leaving gaps or packing it unevenly, which makes the bars bake in patches and cut poorly later. Use your fingertips or the bottom of a measuring cup to get it level, and don’t expect it to look like a traditional cookie dough; it should feel dense and a little sticky.
Whipping the Pumpkin Filling Smooth
Beat the cream cheese first until it’s completely smooth before adding the pumpkin, eggs, and vanilla. If the cream cheese is still cold, you’ll get little lumps that stay visible after baking. Once the melted butter, powdered sugar, pumpkin pie spice, and cinnamon go in, beat just until smooth and combined; overbeating after the eggs are in can add too much air and make the top puff and crack more than it should.
Baking to the Jiggle Point
Pour the filling over the crust and smooth it gently to the corners. Bake at 350°F for 40 to 45 minutes, but start checking early, because ovens vary and a few extra minutes can change the texture a lot. The bars are done when the edges look set and the center still quivers slightly when you tap the pan. A fully firm center means you’ve gone too far.
Cooling and Finishing with Sugar
Let the pan cool completely before dusting with powdered sugar. If you cut while warm, the filling will ooze and the crust will tear. For the cleanest squares, chill the bars for an hour after cooling, then dust generously and slice with a sharp knife wiped clean between cuts.
How to Adapt These Bars for Different Tables and Pantries
Dairy-Free Version
Use dairy-free butter and a dairy-free cream cheese that bakes well. The texture will still be creamy, but it may set a touch softer, so give it the full cool-down time before slicing.
Spice It Up More
Add an extra 1/2 teaspoon of cinnamon or a pinch of cloves if you want the pumpkin to read warmer and more pie-like. Don’t add too much extra spice, though, or it will start to cover the cream cheese tang that makes these bars taste balanced.
Gluten-Free Shortcut
Swap in a gluten-free yellow cake mix and press it in the same way. Some gluten-free mixes bake a little more fragile, so let the bars cool fully before moving them out of the pan.
Make Them Cleaner to Slice
Chill the cooled bars before cutting if you want sharp, bakery-style squares. This firms the filling enough that the powdered sugar stays neat and the layers hold their shape.
Storage and Reheating
- Refrigerator: Store in an airtight container for up to 5 days. The filling firms up in the fridge, which makes the bars even easier to slice.
- Freezer: These freeze well. Wrap individual bars tightly and freeze for up to 2 months, then thaw in the refrigerator overnight.
- Reheating: Serve chilled or let them sit at room temperature for 20 to 30 minutes. Don’t microwave them too long, or the filling can turn loose and the crust loses its best texture.