Pumpkin dump cake comes out with the best kind of contrast: a silky pumpkin layer on the bottom, a crisp buttery cake topping on top, and those caramelized edges that crack under a spoon. It tastes like pumpkin pie met a spice cake and decided to skip the fussy parts. That’s exactly why it stays in the dessert rotation. It feeds a crowd, it bakes in one pan, and it never needs a mixer or a crust.
The trick is keeping the layers separate. The pumpkin mixture goes in first, the dry cake mix stays dry, and the butter gets laid across the top in thin slices so it can melt evenly and soak the cake mix as it bakes. If the butter doesn’t cover enough surface area, you’ll end up with dry patches of powdery mix, so take a minute to arrange it well. The pumpkin base also needs to be whisked until smooth before it goes into the pan; any streaks of egg or sugar will show up after baking.
Below, I’ll walk through the small details that keep the topping crisp instead of dusty, plus the swaps that still work when you’re short on an ingredient.
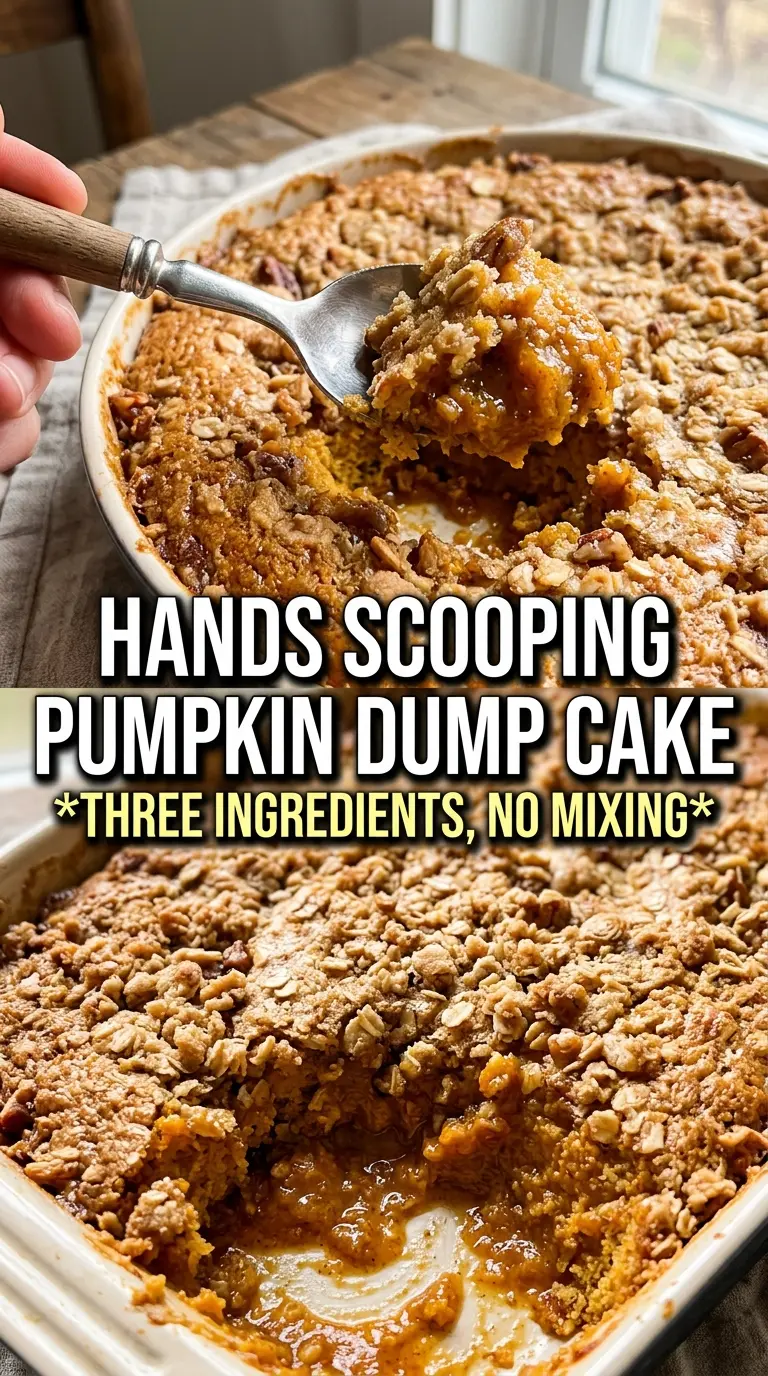
The pumpkin layer set up perfectly and the cake topping turned crisp instead of soggy. I used spice cake mix, and the edges came out almost like a cobbler crust after 50 minutes.
Love that buttery pumpkin layer and crispy spice cake topping? Save this Pumpkin Dump Cake for the nights when you want an easy dessert with warm spice and a scoop of melting vanilla ice cream.
The Secret to a Crisp Topping Instead of a Dry Dusting
The most common failure in dump cake is the same one every time: dry cake mix hiding under butter gaps. The top has to be covered evenly enough that the butter can melt through the whole layer, not just the center. If you leave pockets of dry mix, they bake up chalky and never turn into that golden crumbly topping people expect.
The other thing that matters is the pumpkin filling. It needs to be smooth and pourable before it hits the pan so the cake mix can sit on top without sinking into the base. A thick or lumpy filling can make the layers uneven, which means some bites are all topping and others are too dense. Even distribution is the whole game here.
- Thin butter slices melt more evenly than big chunks, which helps the dry mix absorb enough fat to bake into a crust.
- Spice cake mix gives the strongest pumpkin-pie flavor, but yellow cake mix works if you want the pumpkin to lead.
- Evaporated milk gives the filling a richer, smoother set than regular milk. It’s worth using here.
- Pecans add crunch, but they’re optional. Leave them off if you want a softer, more pie-like top.
What Each Ingredient Is Actually Doing in This Dessert
- Pumpkin puree builds the custardy base. Use pure pumpkin, not pumpkin pie filling, or the sweetness and spices will throw off the balance.
- Evaporated milk makes the filling smooth and plush. Regular milk will work in a pinch, but the texture won’t be as rich.
- Eggs help the pumpkin layer set like a soft custard instead of staying loose under the topping.
- Spice cake mix brings the quickest route to a warm, bakery-style top. Yellow cake mix is the best swap if that’s what you have.
- Butter is the part that turns dry mix into a crisp, golden crust. Slice it thin so the surface gets covered from edge to edge.
- Pecans are there for texture and a toasted nut note. If you skip them, nothing else in the recipe needs to change.
Getting the Layers Set Before the Oven Does the Work
Whisking the Pumpkin Base
Start by whisking the pumpkin puree, evaporated milk, eggs, sugar, spices, and salt until the mixture looks completely even and loose. You want a smooth batter, not a streaky one, because the eggs need to be distributed before baking or the custard can set unevenly. Pour it into a greased 9×13 dish and level it gently. If the layer is lopsided now, the topping will bake unevenly later.
Spreading the Dry Cake Mix
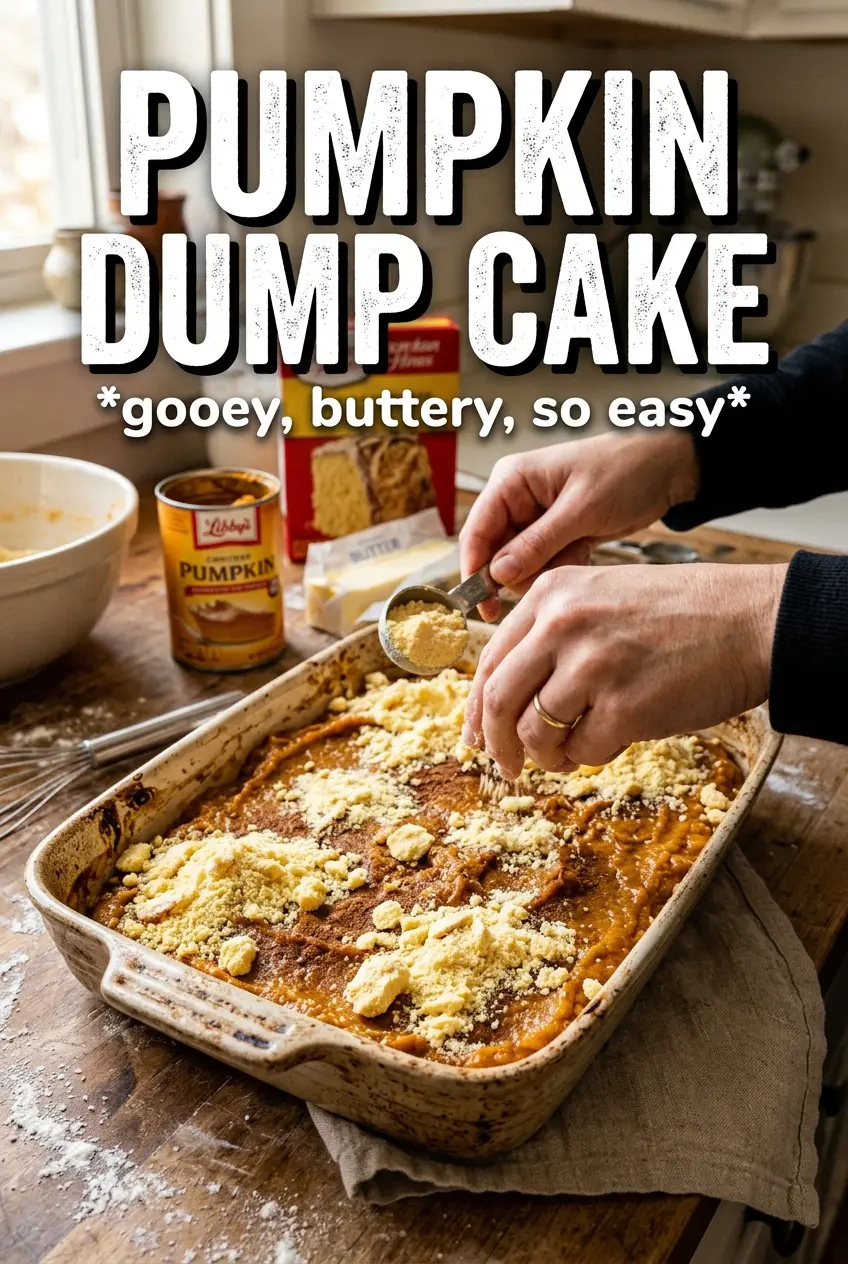
Dump the dry cake mix over the pumpkin layer and spread it into an even blanket without stirring. That untouched layer is what makes the recipe work; once you mix it in, you lose the contrast between the creamy base and the crisp top. Cover the surface all the way to the corners so no pumpkin peeks through. Small gaps are fine, but big bare spots can stay powdery.
Blanketing With Butter
Lay the butter slices over the entire surface in a single layer, overlapping slightly if needed. The goal is to cover as much of the dry mix as possible so the butter can melt down and saturate it while the oven heat finishes the job. If the butter is too thick in the center and sparse around the edges, the middle may turn greasy while the corners stay dry. Add a few extra thin slices where you see bare patches.
Baking Until the Top Cracks and Turns Deep Gold
Bake until the top is deeply golden, the edges are crisp, and the pumpkin layer no longer jiggles in the center when you nudge the pan. If the top is browning too fast before the filling sets, tent it loosely with foil for the last few minutes. The cake is done when the surface looks craggy and toasted, not pale and sandy. Let it rest a little before serving so the pumpkin layer can firm up enough to scoop cleanly.
How to Adapt This Pumpkin Dump Cake Without Losing the Good Part
Make It Gluten-Free
Use a gluten-free cake mix with the same amount of butter. The texture will still be crisp on top, though the crumb may be a little more delicate than a standard boxed mix. Check the ingredient label on the cake mix, since some blends behave better than others in dump desserts.
Go Dairy-Free
Swap the evaporated milk for full-fat canned coconut milk and use a plant-based butter that melts well. The filling will taste a little more coconut-forward, but the texture stays rich and custardy. Avoid thin dairy-free milks, which don’t give the same body.
Skip the Pecans for a Smoother Finish
Leave the pecans off if you want a softer topping that leans more toward cobbler than coffee cake. You won’t lose structure, just the toasted crunch on top. This is the move if you’re serving kids or anyone who prefers a cleaner spoonful.
Storage and Reheating
- Refrigerator: Store covered for up to 4 days. The topping softens as it sits, but the flavor stays good.
- Freezer: Freeze in tightly wrapped portions for up to 2 months. Thaw overnight in the refrigerator for the best texture.
- Reheating: Warm slices in a 300F oven until heated through. The oven brings back some of the crisp top; the microwave works in a pinch, but it softens the crust fast.
Answers to the Questions Worth Asking
Pumpkin Dump Cake
Ingredients
Equipment
Method
- Preheat oven to 350F and grease a 9x13 baking dish. Make sure the dish is well coated so the cake releases cleanly.
- Whisk pumpkin puree, evaporated milk, eggs, granulated sugar, pumpkin pie spice, cinnamon, and salt until smooth. Stop when the mixture looks uniform with no visible egg streaks.
- Pour the pumpkin mixture into the bottom of the dish. Spread it evenly so it forms a continuous layer.
- Dump the dry cake mix evenly over the pumpkin layer and do not stir. Cover the surface so the top bakes into a crisp crumble.
- Arrange butter slices in a single layer over the entire surface of the cake mix, covering every inch. You should see butter between the dry mix patches.
- Scatter pecans on top if using. Spread them out so they toast in spots across the surface.
- Bake for 45-50 minutes until the top is deeply golden and crispy and the pumpkin layer is set. Look for caramel-brown edges and a filling that no longer jiggles in the center.
- Serve warm with vanilla ice cream. Add it right before eating so it starts melting over the crisp topping.