These pumpkin waffles bake up with crisp edges, a tender center, and deep little pockets that hold maple syrup instead of letting it run right off the plate. The pumpkin gives them a soft, custardy richness, but the beaten egg whites lift the batter enough that they never turn heavy or dense.
The trick is keeping the batter light and the heat steady. Pumpkin puree adds moisture, so the batter needs enough structure from the flour and enough lift from the baking powder, baking soda, and whipped whites to still crisp properly in the waffle iron. I also like the mix of brown sugar and cinnamon because it rounds out the pumpkin without making the waffles taste like cake.
Below, you’ll find the technique that keeps the batter from getting gummy and the small details that help the waffles come out golden instead of pale. There’s also a storage note for making a batch ahead, because these freeze better than most breakfast waffles.
The egg whites made these waffles turn out super crisp on the outside and fluffy inside, and they stayed that way even after I added syrup. The pumpkin flavor came through without being too sweet.
Save these pumpkin waffles for mornings when you want crispy edges, fluffy centers, and that warm cinnamon-pumpkin flavor.
The Secret to Pumpkin Waffles That Stay Crisp, Not Soggy
Pumpkin waffles go wrong when the batter gets stirred like pancake batter and the waffles are pulled too soon. Pumpkin puree brings moisture and thickness, which is great for flavor but easy to overwork. Once the flour goes in, stir only until the dry streaks disappear, then stop. A few small lumps are fine. They relax in the iron, but overmixing tightens the gluten and gives you a waffle that eats dense instead of airy.
The other thing that matters is steam control. If your iron isn’t fully preheated, the outside sets slowly and the inside has time to steam itself soft before it can brown. A properly hot waffle iron gives you that first instant of sizzle and a crisp shell that holds up when syrup hits it. The whipped egg whites help too, but only if you fold them in at the very end and keep the batter from deflating.
- Whipped egg whites — This is the difference between light waffles and heavy ones. Beat them to stiff peaks and fold them in gently; if you stir them hard, you lose the lift before the batter even reaches the iron.
- Buttermilk — It adds tang and reacts with the baking soda for extra rise. Regular milk works in a pinch, but the waffles won’t brown as deeply or taste as balanced.
- Pumpkin puree — Use plain pumpkin puree, not pumpkin pie filling. Pie filling already contains sugar and spice, which throws off the batter and makes the waffles too sweet.
- Melted butter — It gives the waffles a richer crumb and helps the edges crisp. Let it cool slightly before whisking it in so it doesn’t scramble the yolks.
What Each Ingredient Is Doing in the Batter
- All-purpose flour — This gives the waffles their structure. Don’t swap in a heavy whole-grain flour unless you want a denser result.
- Brown sugar and granulated sugar — Granulated sugar helps with browning, while brown sugar adds a deeper, molasses note that plays well with pumpkin. You need both for the right balance.
- Baking powder and baking soda — The baking powder gives lift in the iron, and the baking soda reacts with the buttermilk for extra rise and better color. If either is stale, the waffles come out flat.
- Pumpkin pie spice and cinnamon — This combination keeps the flavor warm and layered. If you only have pumpkin pie spice, use it and skip the extra cinnamon; if you only have cinnamon, the waffles will still taste good, just less spiced.
- Egg yolks and whites — The yolks enrich the batter, while the whipped whites add volume. Separating them is worth the extra bowl.
Building the Batter and Cooking It All the Way Through
Mix the dry ingredients first
Whisk the flour, sugars, baking powder, baking soda, spices, and salt together until the mixture looks even. That step matters more than it seems, because the leaveners need to be distributed well or you’ll get patchy rise and uneven browning. If you see little clumps of brown sugar, break them up now before they turn into pockets in the finished waffles.
Whisk the pumpkin mixture separately
In another bowl, whisk the pumpkin puree, buttermilk, egg yolks, melted butter, and vanilla until smooth. This keeps the wet ingredients fully combined before they hit the flour, which makes the batter easier to fold together without overworking it. If the butter is too hot, it can seize into little bits or cook the yolks, so let it cool for a minute after melting.
Fold in the whites with a light hand
Beat the egg whites to stiff peaks, then fold them into the batter after the wet and dry ingredients are just combined. The batter should look thick and a little uneven, not silky and smooth. If you keep folding until it looks perfect, you’ve usually gone too far and knocked out the air that gives these waffles their lift.
Cook until the steam drops off
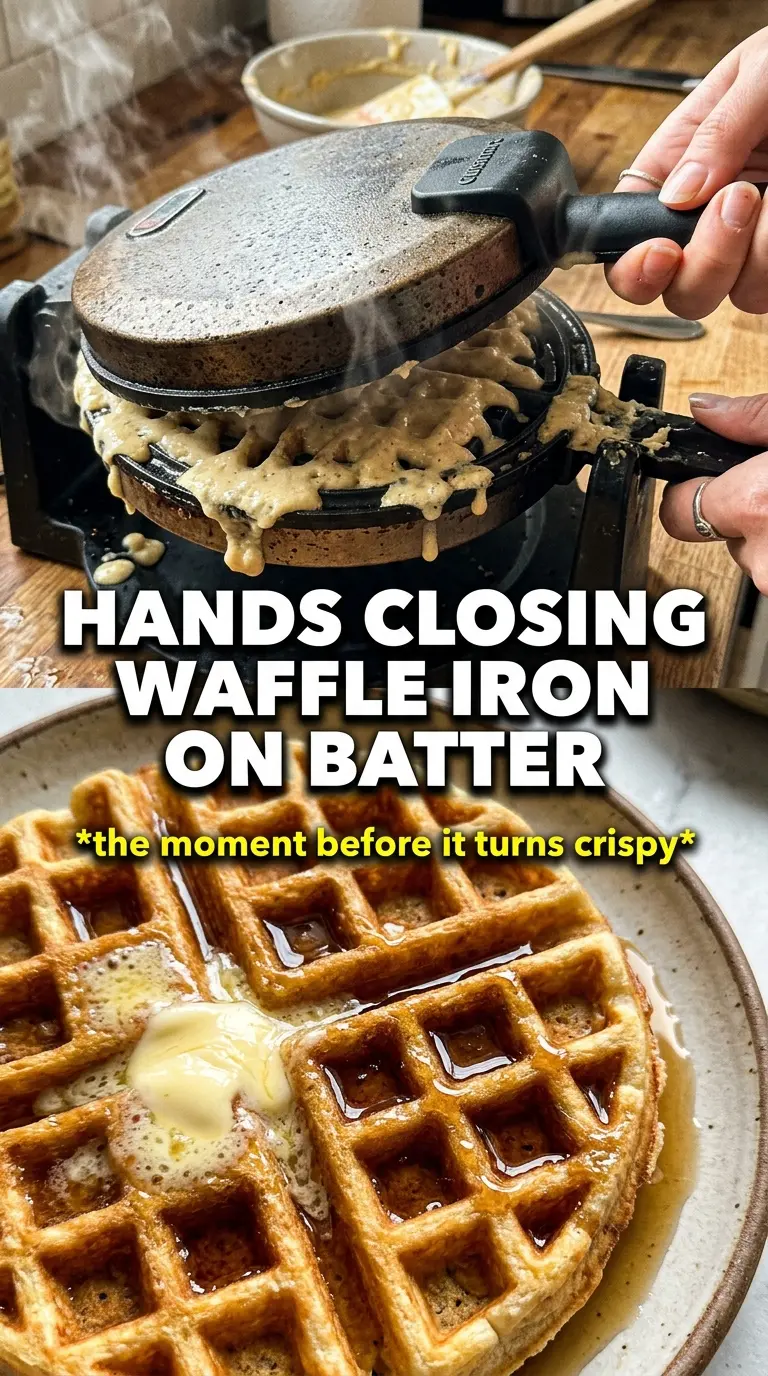
Grease the waffle iron, add the batter, and cook until the waffles are deep golden and crisp, about 4 to 5 minutes depending on your iron. The best cue is steam: when it slows down a lot, the waffle is usually close. Lift it too early and the center will cling to the iron; leave it in until the steam almost stops and the outside releases cleanly.
How to Tweak These for a Different Morning
Dairy-Free Pumpkin Waffles
Use a plain, unsweetened non-dairy milk with a teaspoon of lemon juice or vinegar stirred in for the buttermilk effect, and swap the butter for melted vegan butter or neutral oil. You’ll lose a little richness, but the waffles will still brown well if the iron is hot.
Gluten-Free Version
Use a 1:1 gluten-free baking blend that already contains xanthan gum. The batter may look slightly thicker, and that’s normal; don’t thin it unless it won’t spread at all, or the waffles can turn fragile and soft in the center.
Make the Flavor More Dessert-Like
Add a handful of mini chocolate chips or chopped toasted pecans after the batter is mixed. Chocolate makes the waffles sweeter and softer, while pecans add crunch and a deeper nutty finish.
Storage and Reheating
- Refrigerator: Store cooled waffles in an airtight container for up to 3 days. They soften a little in the fridge, which is normal.
- Freezer: These freeze well. Lay them in a single layer until solid, then transfer to a freezer bag with parchment between layers.
- Reheating: Reheat in a toaster or 375°F oven until hot and crisp again. Don’t microwave them unless you want a soft, steamy waffle.
Questions I Get Asked About This Recipe
Pumpkin Waffles
Ingredients
Equipment
Method
- Preheat a waffle iron to medium-high. Wait until it’s hot enough to sizzle the first drop of batter.
- Whisk all-purpose flour, granulated sugar, brown sugar, baking powder, baking soda, pumpkin pie spice, cinnamon, and salt in a bowl until evenly combined. Make sure there are no visible sugar or spice clumps.
- Whisk pumpkin puree, buttermilk, egg yolks, melted unsalted butter, and vanilla extract in a separate bowl until smooth. The mixture should look cohesive and slightly thick.
- In a separate bowl, beat egg whites to stiff peaks. Lift the beaters and the peaks should stand straight up without drooping.
- Fold the wet mixture into the dry ingredients until just combined. Then gently fold in the whipped egg whites so the batter stays airy.
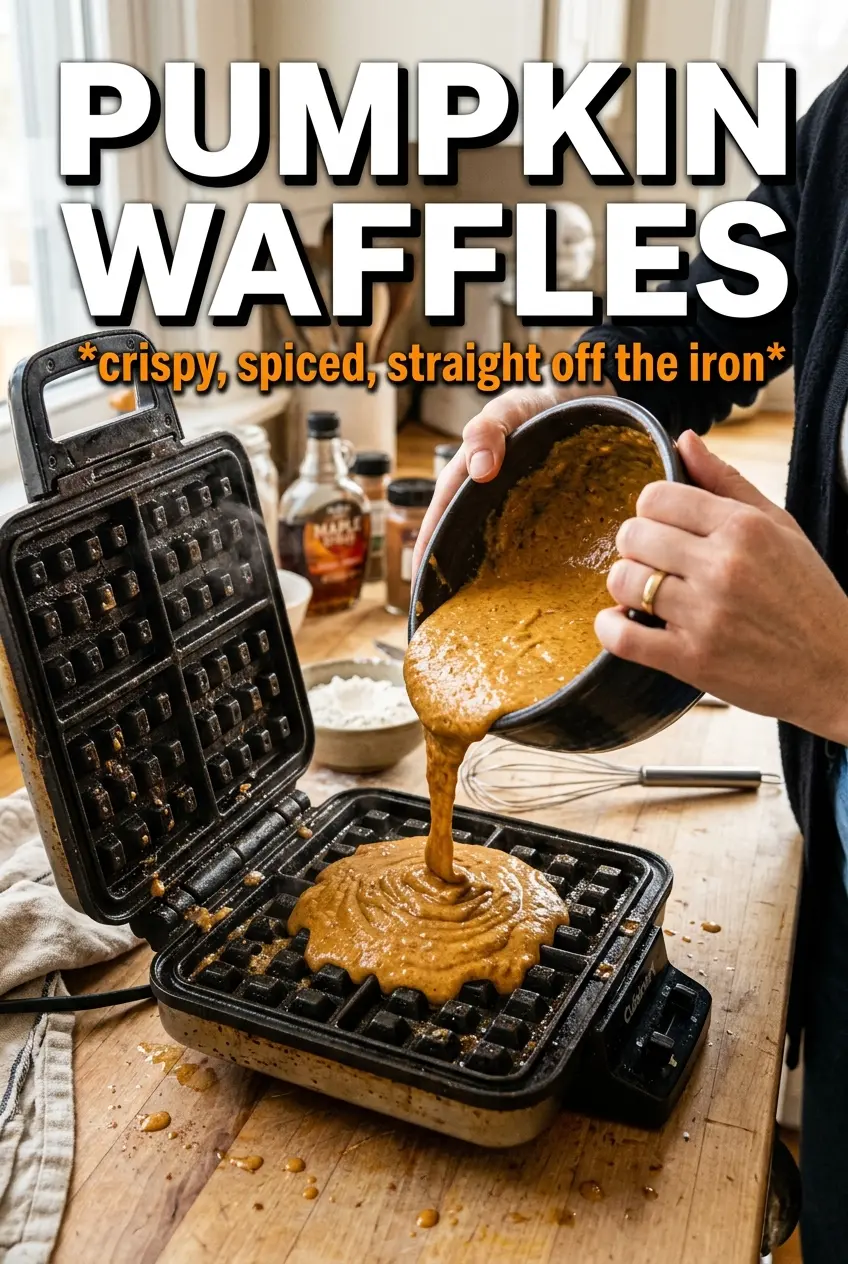
- Grease the waffle iron, then pour in batter and close the lid. Cook until golden and crispy, about 4-5 minutes, and remove when the steam subsides.
- Serve the waffles immediately with maple syrup and whipped cream. Add any desired butter on top at serving time.