Golden, crisp-edged gluten-free pumpkin waffles with a soft, tender center are the kind of breakfast that disappear fast. The pumpkin gives them a warm color and mellow sweetness, while the whipped egg whites keep the texture light instead of dense or gummy. They cook up with real crunch at the edges, which matters even more when you’re working with a gluten-free batter.
The trick here is balance. Pumpkin puree adds moisture and body, so the batter needs enough structure from the flour blend and enough lift from both baking powder and beaten egg whites. If you skip the egg separation, the waffles still taste good, but they won’t have that airy bite that makes them worth the extra bowl. The other thing that matters is heat: gluten-free waffles need a fully preheated iron and a little more time than you might expect.
Below, I’ll walk through the one step that keeps these from turning heavy, plus a few smart swaps if you need to use oat milk or want to make the batch dairy-free.
The egg whites made these waffles so light, and the edges got crisp instead of soggy even after I added extra maple syrup. I used oat milk and they still cooked up beautifully in about 6 minutes per batch.
Save these gluten-free pumpkin waffles for mornings when you want crisp edges, a fluffy middle, and that cozy pumpkin spice flavor.
The Step That Keeps Gluten-Free Waffles Crisp, Not Dense
Gluten-free waffle batter behaves differently from regular batter. It needs enough structure to hold steam long enough to lift, but it also needs enough fat and moisture to stay tender instead of turning dry and sandy. The egg whites do a lot of the work here because they add air without thinning the batter the way extra milk would.
The other common failure is a waffle iron that isn’t hot enough. If the iron is only warm, the batter starts setting before the outside has a chance to brown, and you end up with pale waffles that stick. Let the iron fully preheat, grease it generously, and give the waffles the full 5 to 6 minutes so the crust can set and release cleanly.
- Gluten-free all-purpose flour blend with xanthan gum — This gives the waffles their structure. A blend without xanthan gum usually needs a binder added separately, or the waffles can crumble when you lift them from the iron.
- Pumpkin puree — Use plain pumpkin puree, not pumpkin pie filling. The puree brings moisture, color, and a soft texture, but too much of it can make the batter heavy, which is why the egg whites matter so much.
- Buttermilk or oat milk — Buttermilk adds a little tang and helps the baking soda do its job. Oat milk works well if you need dairy-free waffles, though the flavor will be slightly milder and less tangy.
- Coconut oil or butter — Either one works. Butter gives a richer flavor, while coconut oil keeps the waffles dairy-free and still helps the edges crisp up.
- Maple syrup in the batter — This doesn’t just sweeten the waffles; it also helps the surface brown. Don’t skip it unless you’re cutting sweetness on purpose.
What Each Ingredient Is Actually Doing in This Recipe
- Primary ingredient (the star) — Quality matters most. Choose the best you can find.
- Cooking medium (oil, butter, or broth) — This carries flavors and prevents dryness.
- Seasonings (salt, pepper, spices, herbs) — Layer flavors so nothing overpowers. Build depth gradually.
- Aromatics (garlic, onion, herbs) — Cook with fat to bloom flavors. Become the foundation.
- Supporting ingredients — Complement the main ingredient without overpowering it.
- Sauce or liquid (if applicable) — Brings flavors together. Balance richness with acid.
- Acid (lemon, vinegar, wine, or other) — Brightens and prevents flat-tasting results.
- Final finish (garnish, glaze, or sauce) — Prevents one-dimensional taste and adds visual appeal.
Getting the Batter Light Enough for the Iron
Whipping the Egg Whites
Separate the eggs while they’re cold, then let them sit long enough to lose the chill if you can. Beat the whites until they hold stiff peaks; they should stand up on the whisk without drooping. If the whites are soft and glossy but still slump over, they won’t give you the lift this batter needs. Fold them in gently at the end so you don’t knock out the air you just built.
Mixing the Pumpkin Base
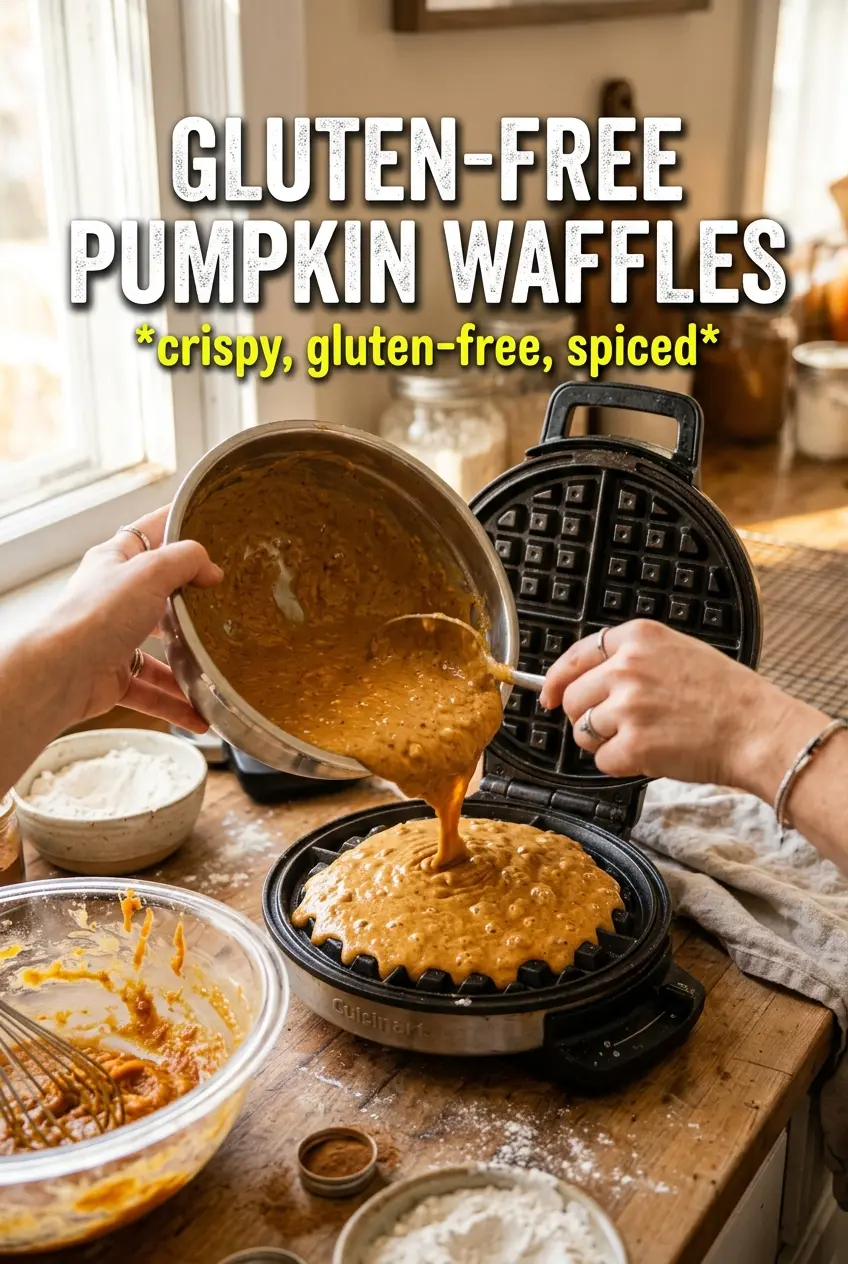
Whisk the pumpkin puree, buttermilk, egg yolks, melted coconut oil or butter, maple syrup, and vanilla until smooth and evenly orange. This is the point where any streaks of fat or yolk should disappear. If the melted coconut oil starts to firm up when it hits cold ingredients, warm the bowl slightly and keep whisking until it loosens again. A smooth base helps the dry ingredients absorb evenly.
Cooking Until the Outside Releases Cleanly
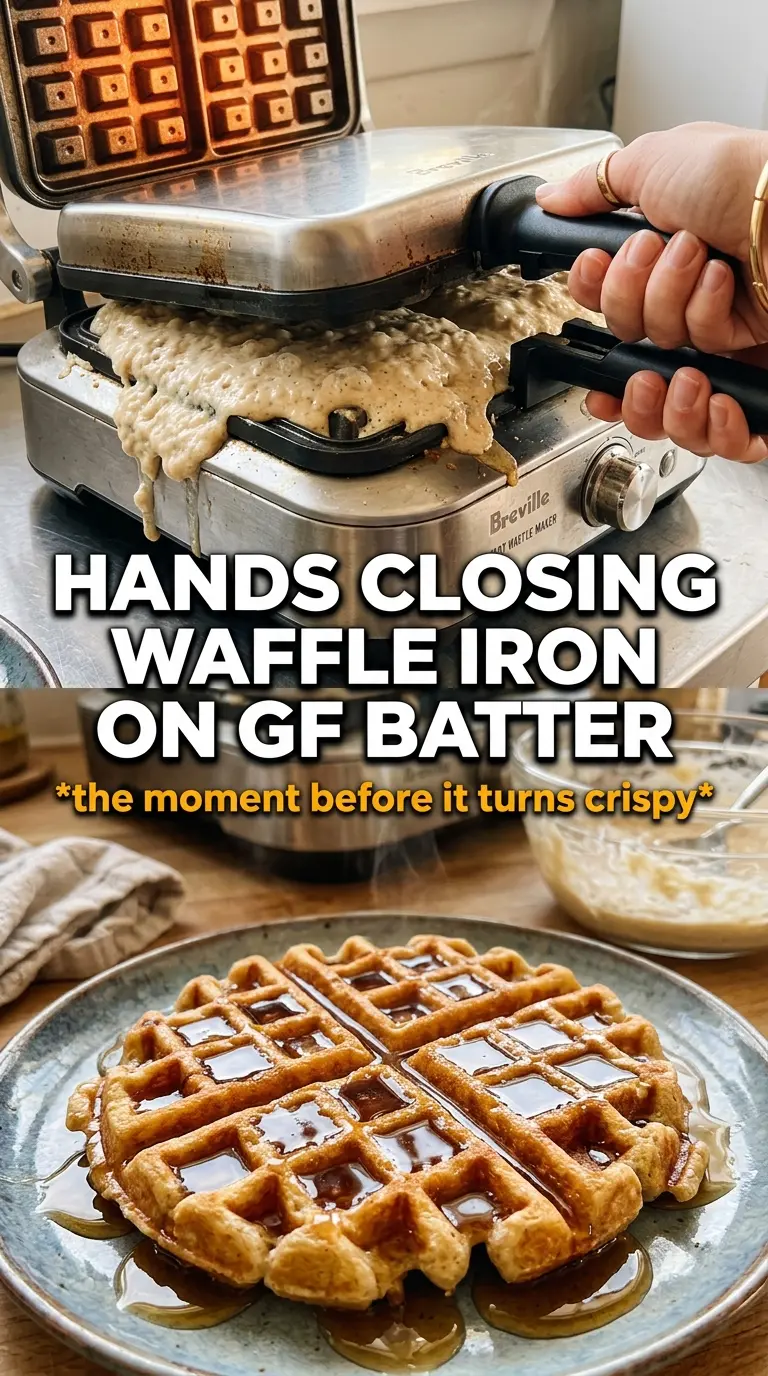
Pour the batter into a fully heated, well-greased waffle iron and close it without pressing down. Gluten-free batter often looks a little softer going in, so resist the urge to open the lid early. Wait until the steam slows down and the waffle lifts cleanly with a deep golden crust. If it sticks, the iron needed more grease or a little more time.
Dairy-Free Pumpkin Waffles
Use oat milk and coconut oil, and the waffles stay tender with a lightly sweet, pumpkin-forward finish. You lose the subtle tang of buttermilk, but you keep the same crisp edges and fluffy interior if the iron is hot enough.
Extra-Crisp Waffles
Replace the maple syrup in the batter with 1 tablespoon if you want a drier, crisper finish, then serve the rest on top. A little less sugar means the waffle browns a touch slower, but it stays crisp longer after it comes off the iron.
Making Them Ahead
Cook the waffles, cool them on a rack, then freeze them in a single layer before moving them to a bag. This keeps them from turning soggy, which happens when warm waffles get stacked and trapped with steam.
Storage and Reheating
- Refrigerator: Store leftovers in an airtight container for up to 3 days. They soften a little, but a toaster brings the edges back.
- Freezer: Freeze in a single layer, then transfer to a freezer bag for up to 2 months. This is the best way to keep gluten-free waffles from sticking together and getting soggy.
- Reheating: Toast straight from frozen until hot and crisp. The oven works too, but the toaster gives the best texture because it dries the surface again instead of steaming it.
Questions I Get Asked About This Recipe
Gluten-Free Pumpkin Waffles
Ingredients
Equipment
Method
- Preheat the waffle iron and grease very well because gluten-free batter tends to stick.
- Separate the eggs and beat the whites to stiff peaks for extra lift.
- Whisk together the gluten-free flour blend, sugar, baking powder, baking soda, pumpkin pie spice, cinnamon, and salt.
- Whisk the pumpkin puree, buttermilk (or oat milk), egg yolks, melted coconut oil (or butter), maple syrup, and vanilla.
- Fold the wet mixture into the dry mixture gently, then fold in the stiff egg whites until just combined.
- Pour batter into the waffle iron and cook for 5-6 minutes until golden and crispy, noting gluten-free waffles need longer to set.
- Serve the waffles with maple syrup and pecans.