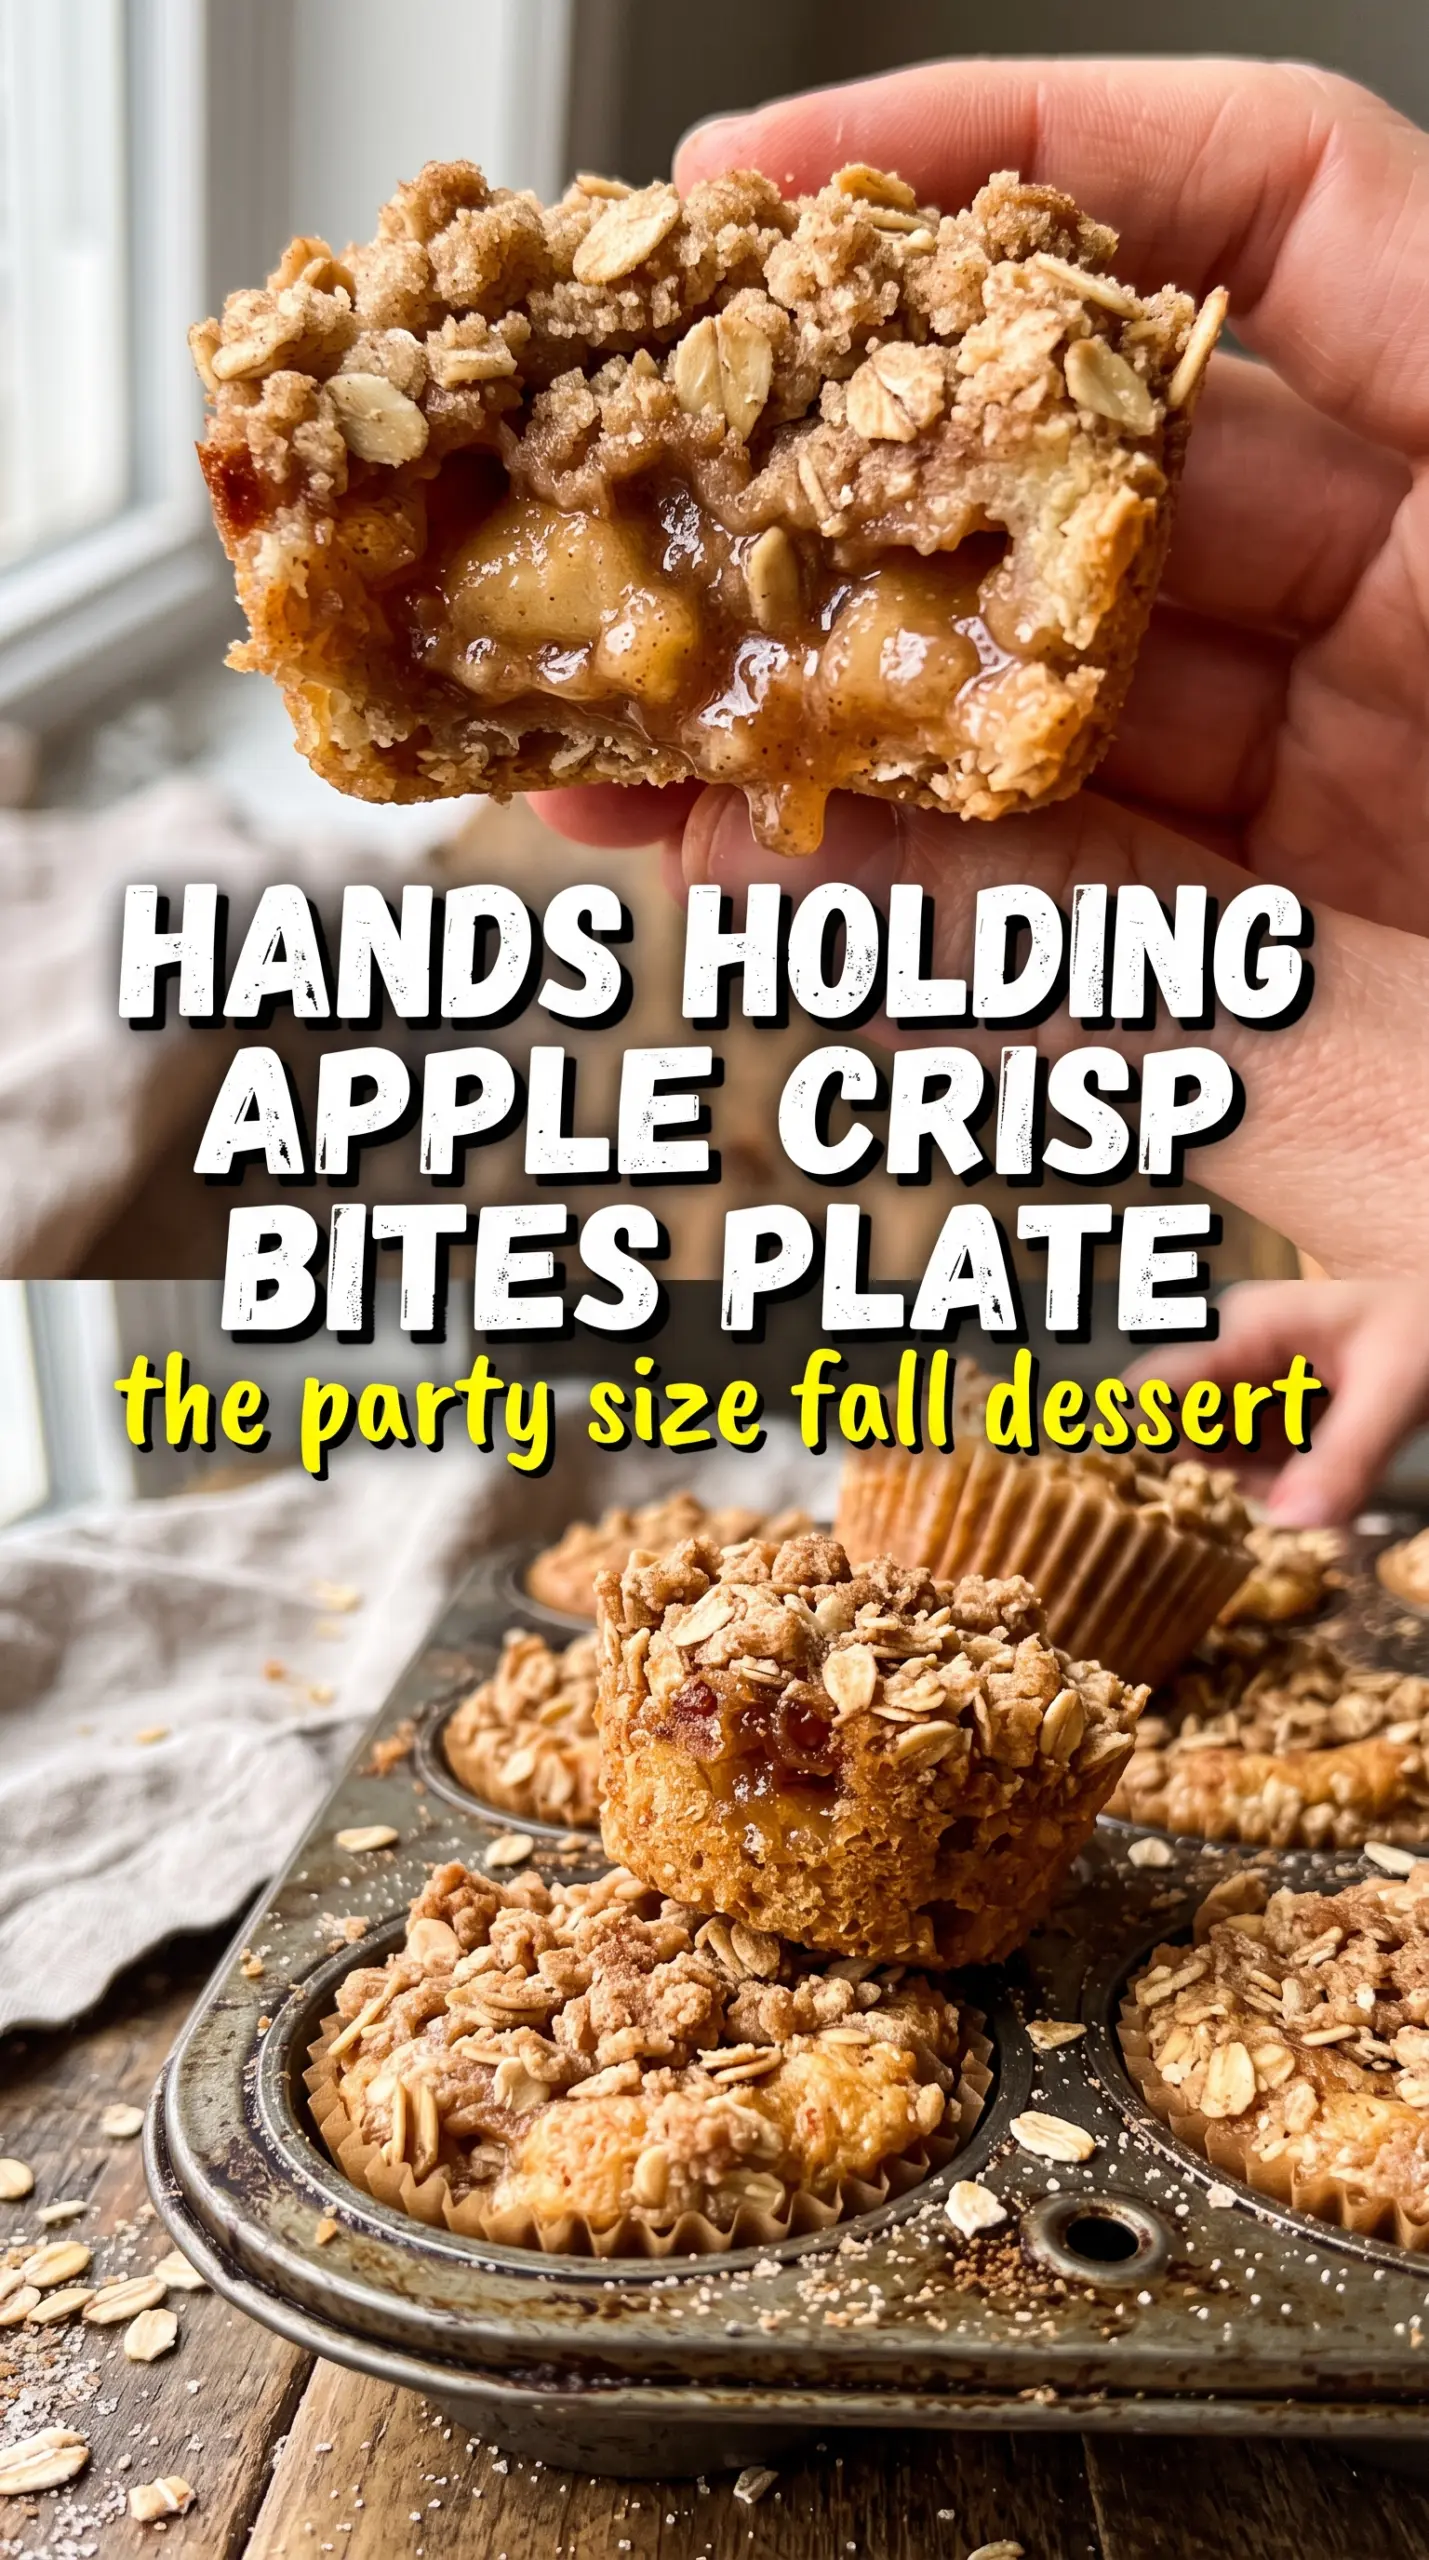
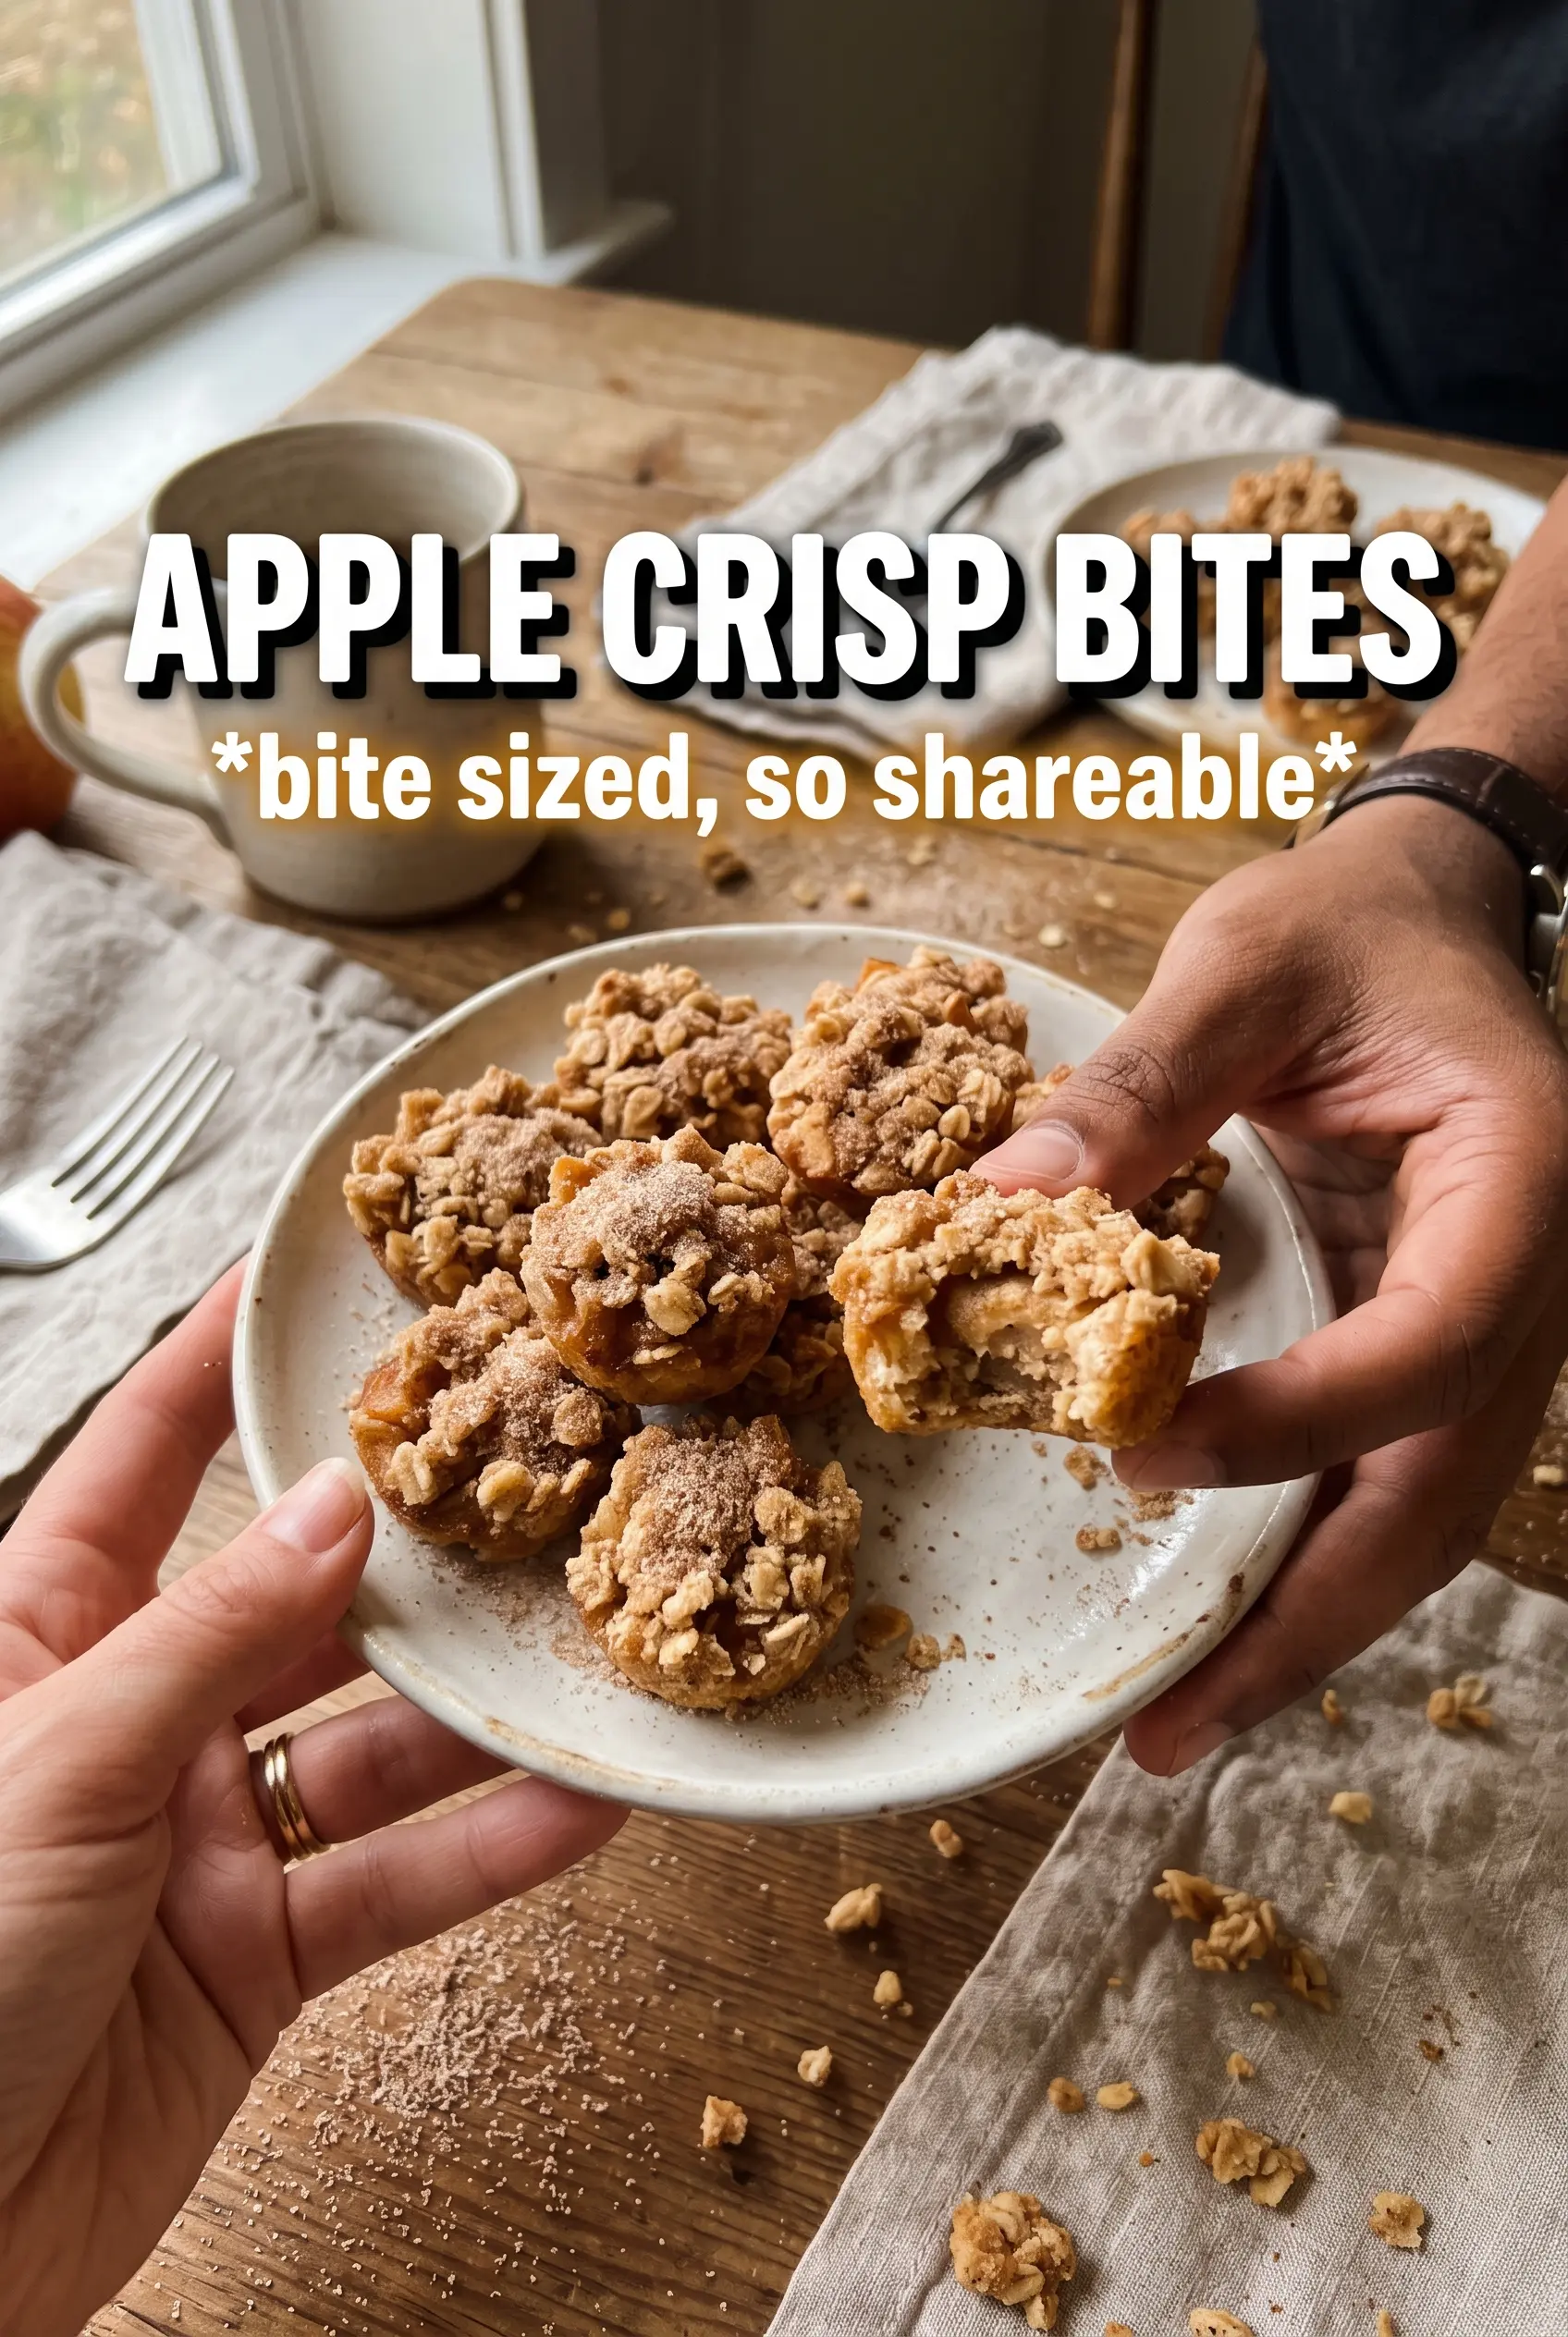
Apple Crisp Bites bake up with everything people love about apple crisp, just packed into a neat little two-bite dessert. The shortbread shell stays tender and buttery, the apple center turns thick and jammy, and the oat crumble on top gives you that sandy, crisp finish that cracks under your teeth. They look like the kind of dessert you brought from a bakery case, but they’re built from simple pantry ingredients and a mini muffin tin.
The trick is treating each layer like its own job. The dough for the cups needs cold butter so it bakes up short, not tough. The apples need a quick cook on the stove so the filling thickens before it goes into the oven, which keeps the bottoms from turning soggy. And the topping works best when the butter stays in small cold bits, because that’s what gives you those crunchy little clusters instead of a paste.
Below, I’ve included the small details that matter most, plus a few swaps and storage notes so you can make these ahead without losing that crisp texture.
The filling set up perfectly and the oat topping stayed crunchy even after I drizzled on caramel. I used Honeycrisp apples and the bites came out with that soft center and buttery crust everyone kept reaching for.
Save these Apple Crisp Bites for a make-ahead dessert with buttery shortbread cups, jammy apples, and a crisp oat topping.
The Step That Keeps the Bottoms from Going Soft
Mini desserts like this fail when the filling goes in too wet. If the apples are added raw, they release juice in the oven and the shortbread cups end up steamy instead of crisp. Cooking the filling first fixes that problem before it starts, and the cornstarch has a chance to thicken the juices into something spoonable.
The other thing worth paying attention to is the shell. Press the dough into the cups firmly enough to hold its shape, but don’t pack it so tightly that it bakes up dense. You want a thin, even layer that browns at the edges and releases cleanly from the tin after a brief cool-down.
- Cold butter in the crust — This is what gives the shortbread cups their tender, sandy bite. If the butter softens too much, the dough turns sticky and the baked cups lose that crisp edge.
- Apples diced finely — Small pieces cook evenly and sit neatly in the mini cups. Bigger chunks take longer to soften and can make the bites awkward to eat.
- Rolled oats — They give the topping its craggy texture. Quick oats work in a pinch, but the crumb won’t be as distinct.
- Cornstarch — It thickens the apple juices so the filling stays put. Flour can work, but it gives a slightly cloudier, heavier finish.
What Each Layer Is Doing in These Bites
- All-purpose flour — It forms the structure for both the shortbread cups and the crumble. There isn’t a great substitute if you want the same balance of tenderness and hold.
- Powdered sugar — It makes the crust fine and delicate instead of grainy. Granulated sugar will give you more crunch and a less melt-in-your-mouth texture.
- Brown sugar — This deepens the apple filling and the topping with a light caramel note. Light or dark brown sugar both work; dark brown gives you a little more molasses flavor.
- Butter for the filling — It helps the apples soften evenly and gives the filling a glossy finish. You only need a tablespoon, but it matters for the final mouthfeel.
- Caramel sauce — This is a finish, not a fix. Drizzle it after the bites cool so it stays visible and doesn’t soak into the crumble.
Press, Fill, and Bake Without Losing the Crumble
Building the Shortbread Shells
Start by cutting the cold butter into the flour, powdered sugar, and salt until the mixture looks like coarse crumbs with a few pea-sized bits left. Those little butter pieces are what keep the crust tender. Add just enough ice water for the dough to hold together when you squeeze it. If it gets wet and sticky, the shells will shrink and turn tough in the oven.
Press the dough into the mini muffin cups with your fingers or the back of a small spoon. Keep the layer even from the bottom up the sides so the cups bake at the same rate. Thin spots brown too fast; thick spots stay pale and doughy.
Cooking the Apple Filling
Cook the diced apples with butter, brown sugar, cinnamon, nutmeg, and cornstarch until the fruit softens and the pan juices turn glossy and thick. You’re looking for tender apples with a spoonable filling, not a loose pile of warm fruit. Pull the pan off the heat once it tightens; it will continue to thicken as it cools. If the filling looks runny going into the cups, it will leak and soften the shells.
Making the Oat Crumble
Work the cold butter into the oats, flour, brown sugar, and cinnamon until clumps form, then stop. The topping should look uneven and shaggy, not smooth. Those irregular bits bake into the crisp little crumbles that make the bites taste like apple crisp instead of apple pie. If the butter melts into the dry ingredients before baking, you’ll lose the texture entirely.
Finishing in the Oven
Fill each shell with the cooled apple mixture, then scatter the crumble over the top and bake until the edges are golden and the topping looks toasted. Let the bites cool in the pan before lifting them out. That short rest helps the crust firm up so the bottoms don’t break when you remove them. Drizzle with caramel after they’ve cooled enough to hold their shape.
How to Adapt These Bites for Different Kitchens and Crowds
Make Them Gluten-Free
Use a good 1:1 gluten-free baking flour in both the crust and the crumble. The texture will be a little more delicate and less buttery-slick than the original, but the bites still hold together well if you press the shells evenly and let them cool before removing them from the tin.
Skip the Caramel for a Less-Sweet Version
The bites are still rich and complete without the drizzle. If you want more of the baked apple and oat flavor to come through, dust the tops with a little powdered sugar instead. That keeps them neat for serving and cuts the sweetness a notch.
Swap the Apples Based on Texture
Honeycrisp, Granny Smith, and Gala all work, but they give different results. Granny Smith stays firmer and gives you a brighter, tarter bite; Honeycrisp softens into a juicier filling with more natural sweetness. Avoid very soft apples that turn to applesauce before the crust has time to bake.
Storage and Reheating
- Refrigerator: Store in an airtight container for up to 4 days. The topping will soften a bit, but the flavor stays good.
- Freezer: Freeze the baked bites without caramel for up to 2 months. Wrap them well and thaw in the fridge before reheating so the crust doesn’t get soggy.
- Reheating: Warm in a 325°F oven for 8 to 10 minutes to bring back the crumble. The microwave makes the topping soft, so skip it if you want any crunch left.
Answers to the Questions Worth Asking
Apple Crisp Bites
Ingredients
Equipment
Method
- Preheat your oven to 375°F and grease a 24-cup mini muffin tin.
- Grease thoroughly so the shortbread shells release cleanly after baking.
- Combine all-purpose flour, powdered sugar, and salt, then cut in cold cubed butter until the mixture looks like fine crumbs.
- Add ice water one tablespoon at a time and press the dough into each mini muffin cup to form a shell, keeping the edges even.
- Sauté diced apples with butter, brown sugar, cinnamon, nutmeg, and cornstarch for 5-7 minutes, stirring until thickened and glossy.
- Cool the apple filling completely before filling the shortbread cups so the cups stay crisp.
- Combine rolled oats, flour, brown sugar, and cinnamon, then cut in cold cubed butter until the mixture forms clumpy crumbs that hold together when squeezed.
- Fill each shortbread cup with apple filling and top with oat crumble.
- Bake for 18-20 minutes at 375°F until the tops are golden and the shortbread looks set around the edges.
- Drizzle caramel sauce over the warm apple crisp bites and serve once the caramel looks slightly set.