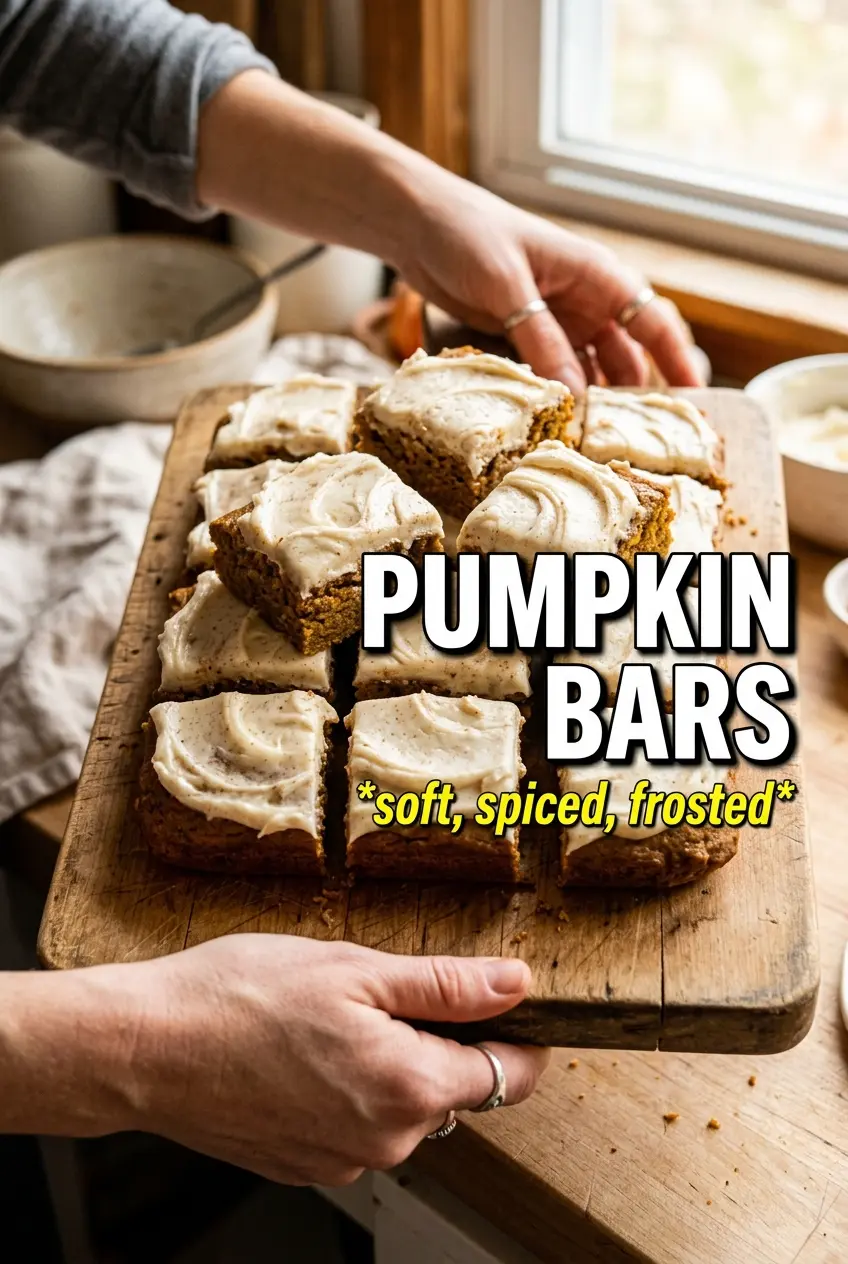
Pumpkin bars bake up soft, moist, and neatly sliceable, with just enough structure to hold a thick swipe of cream cheese frosting. The crumb stays tender without turning dense, and the spice level lands in that sweet spot where the pumpkin still tastes like pumpkin instead of getting buried under cinnamon.
What makes this version work is the balance of oil, pumpkin puree, and eggs. Oil keeps the bars plush for days, while the eggs give them enough lift to cut cleanly instead of collapsing under the frosting. The batter also comes together fast, which matters here because overmixing once the flour goes in is the quickest way to lose that light texture.
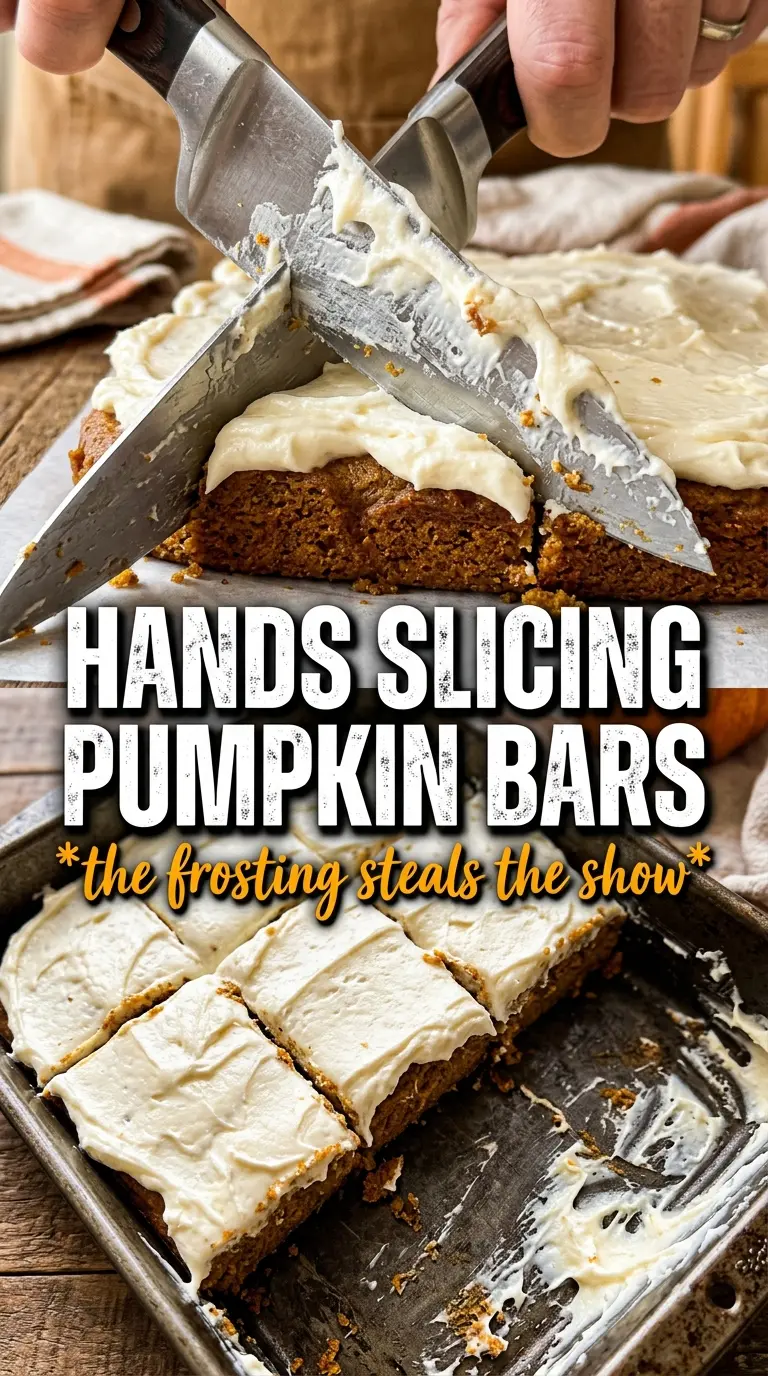
Below, I’ve noted the one pan detail that keeps the edges from overbaking and the frosting trick that makes cutting these bars much cleaner. If you’ve ever had pumpkin cake bars that tasted great but sliced like a mess, these notes will help.
The bars stayed unbelievably moist, and the cream cheese frosting spread on like a dream. I chilled them for 30 minutes before cutting, and the squares came out clean and neat instead of smearing everywhere.
Love the moist crumb and cinnamon cream cheese frosting on these pumpkin bars? Save this one for the times you want a make-ahead dessert that cuts into perfect squares.
The Pan Size That Keeps Pumpkin Bars From Baking Up Dry
The 15×10-inch jelly roll pan matters here. It gives the batter enough surface area to bake evenly without turning the center gummy before the edges are done, which is the most common problem with pumpkin bar recipes. If you use a pan that’s too small, the bars rise too thick and need longer in the oven, and that’s when the sides dry out before the middle sets.
The other thing that matters is pulling them when the edges start to release and a toothpick comes out clean. Pumpkin bars keep cooking from carryover heat, so waiting for them to look fully firm in the oven usually means they’re overbaked by the time they cool. A little tenderness in the center is what gives you that soft, cake-like bite later.
- Eggs — Four eggs give the bars lift and structure. They hold the batter together without making it heavy, which is why these slice cleanly after cooling.
- Pumpkin puree — Use plain pumpkin puree, not pumpkin pie filling. The filling already contains sugar and spices, and it throws off both the texture and the balance of the batter.
- Vegetable oil — Oil is what keeps these bars moist for days. Melted butter can work in a pinch, but the texture won’t stay quite as soft the next day.
- Cream cheese — Full-fat cream cheese gives the frosting enough body to spread thickly without turning runny. Low-fat versions tend to soften too much and taste flatter.
What Each Ingredient Is Actually Doing in This Recipe
- Primary ingredient (the star) — Quality matters most. Choose the best you can find.
- Cooking medium (oil, butter, or broth) — This carries flavors and prevents dryness.
- Seasonings (salt, pepper, spices, herbs) — Layer flavors so nothing overpowers. Build depth gradually.
- Aromatics (garlic, onion, herbs) — Cook with fat to bloom flavors. Become the foundation.
- Supporting ingredients — Complement the main ingredient without overpowering it.
- Sauce or liquid (if applicable) — Brings flavors together. Balance richness with acid.
- Acid (lemon, vinegar, wine, or other) — Brightens and prevents flat-tasting results.
- Final finish (garnish, glaze, or sauce) — Prevents one-dimensional taste and adds visual appeal.
Getting the Batter Smooth Without Toughening the Crumb
Mix the Wet Ingredients First
Beat the eggs, sugar, oil, pumpkin puree, and vanilla until the mixture looks smooth and glossy. The sugar won’t fully dissolve, and that’s fine; you’re just looking for a uniform batter with no streaks of egg white. This is the stage where the bars get their even texture, so stop as soon as everything looks combined.
Fold in the Dry Ingredients Gently
Add the flour mixture and stir only until the dry spots disappear. If you keep mixing after that point, the gluten tightens up and the bars turn chewy instead of tender. The batter will be thick, but it should still spread easily in the pan with a spatula.
Bake Until the Edges Pull Away
Spread the batter into the prepared pan and bake until a toothpick comes out clean and the edges start to pull from the sides. The center should spring back when touched, but it doesn’t need to feel dry or hard. If the top browns too quickly before the middle is done, your oven is running hot, so start checking a few minutes early next time.
Cool Completely Before Frosting
This is the part that saves the whole pan. Warm bars melt cream cheese frosting into a slick layer instead of a clean topping, and then slicing gets messy. Let the pan cool all the way down before you frost it, then chill the finished bars for 30 minutes so the frosting sets enough to cut neat rectangles.
Dairy-Free Pumpkin Bars With Whipped Coconut Frosting
The bars themselves are already dairy-free, so the only swap you need is the frosting. Use a dairy-free cream cheese and butter alternative, but chill the frosting before spreading because some plant-based versions stay softer than the original. The flavor is a little less tangy, but the texture on the bars still works well.
Gluten-Free Pumpkin Bars
A good 1:1 gluten-free baking flour will replace the all-purpose flour without changing the method. Don’t use almond flour here; it makes the bars too delicate to hold the frosting cleanly. Let the baked bars cool fully before slicing, since gluten-free cakes often set a little more as they rest.
Less Sweet Frosting
If you want a frosting that tastes a little sharper and less sugary, drop the powdered sugar to 2 1/2 cups and add an extra ounce of cream cheese. The frosting will spread more thinly, but the tang from the cream cheese comes forward and balances the spice better.
Storage and Reheating
- Refrigerator: Store covered for up to 5 days. The bars stay moist, and the frosting holds its shape well.
- Freezer: Freeze unfrosted bars for best results, tightly wrapped and stored in a freezer bag for up to 2 months. Frost after thawing for the cleanest texture.
- Reheating: These are best served chilled or at cool room temperature, not warmed. If you want to take the chill off, let a slice sit out for 15 to 20 minutes so the frosting softens without melting.