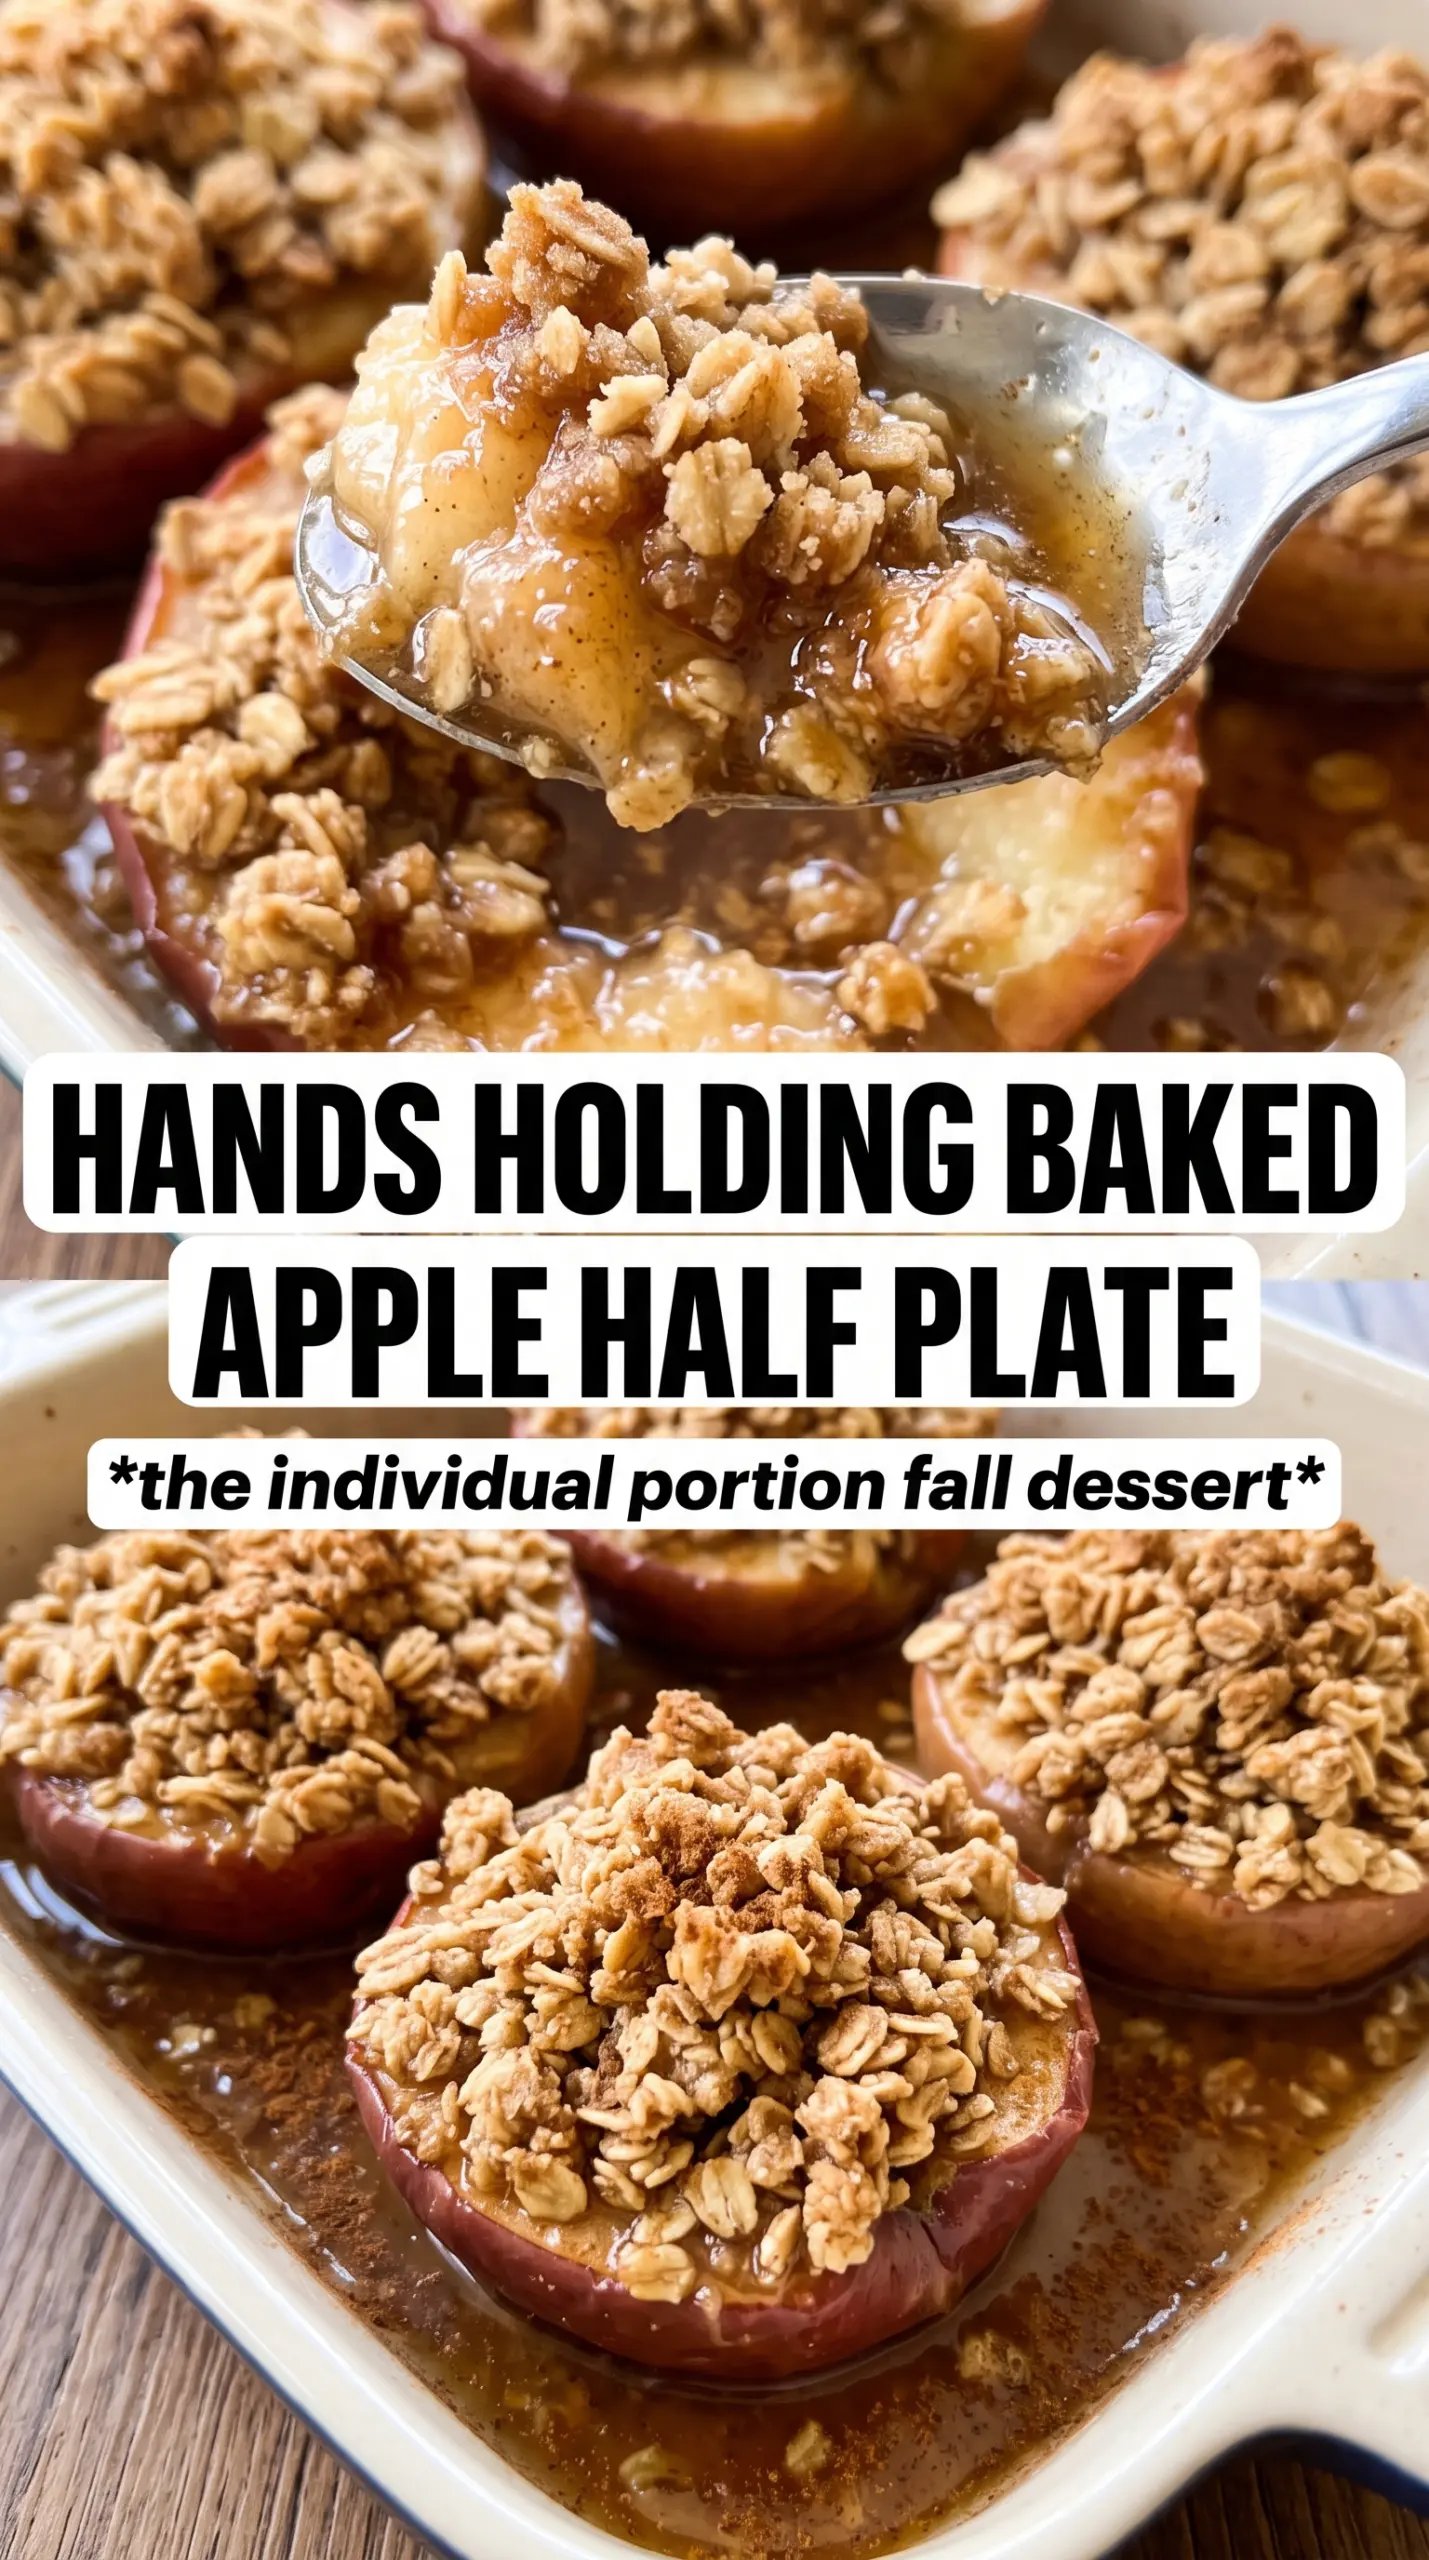
Apple Crisp Baked Apples bake into something that feels part dessert, part centerpiece: tender whole apples, a cinnamon-sweet center, and a buttery oat crumble that turns crisp on top while the fruit underneath softens into its own sauce. The best part is the contrast. You get a spoonful that breaks through the golden topping, then hits warm, fragrant apple before it melts into vanilla ice cream.
This version works because the apples stay intact instead of turning into loose slices. That gives the fruit time to soften without collapsing, and it keeps the filling tucked right where you want it. The oat crumble is built with cold butter, which matters here; warm butter makes a paste, while cold butter leaves little pockets that bake up into actual crunch. A splash of apple cider in the pan keeps the bottoms from drying out and catches the drips from the filling as everything bakes.
Below, I’ve included the small details that keep the apples from tipping over, the crumble from going sandy, and the centers from baking before the fruit is tender. Those are the differences between a good baked apple and one you’d make again without changing a thing.
The apples held their shape and the oat topping stayed crisp instead of sinking in. I baked them just under 40 minutes and the centers were soft with a little bite left, which was perfect with the ice cream.
Apple Crisp Baked Apples are the kind of dessert that comes out with a crisp top, tender center, and melted ice cream in the cracks.
Why the Apple Needs a Deep Cavity, Not a Thin Slice
The biggest mistake with baked apples is shaving off too much flesh while coring them. That leaves a fragile shell that collapses before the topping has time to brown. A deep, even cavity gives the filling room to melt and bubble while the apple stays sturdy enough to hold its shape through the full bake.
Leave the bottom intact. If the core opens all the way through, the filling leaks out into the pan and you lose the contrast between the soft fruit and the crisp topping. Honeycrisp and Braeburn both hold up well because they soften without turning mealy, which matters when the apples are baked whole instead of sliced.
- Honeycrisp: Juicy and firm, with enough structure to stay intact and enough sweetness to keep the filling balanced.
- Braeburn: A little firmer and more tart, which gives the dessert a brighter edge under the brown sugar and cinnamon.
- Core carefully: Use a paring knife or apple corer, then a spoon to widen the cavity only at the top. The walls should stay thick enough to support the crumble.
What the Butter, Oats, and Cider Are Each Doing Here
Rolled oats give the topping its nubby texture and keep it from baking into a sandy layer. Quick oats can work in a pinch, but they make a tighter, softer crust. Rolled oats hold their shape long enough to crisp at the edges.
Cold butter is what creates the crumble instead of a paste. When the butter stays in small bits, it melts in the oven and leaves pockets of steam that turn into flaky, crisp crumbs. If the butter warms up too much while you mix, the topping turns dense.
Apple cider or water in the bottom of the dish does more than prevent scorching. It creates a little steam around the apples so they cook through before the topping overbrowns. Cider adds a faint apple note that makes the whole dessert taste rounder, but water still does the job if that’s what you have.
- Brown sugar in the cavities: This melts into the apples from the inside, so every bite has a soft, caramel-like center instead of just sweetness on top.
- Cinnamon and nutmeg: Cinnamon gives the familiar crisp flavor, while nutmeg adds a quieter warmth that keeps the topping from tasting flat.
- All-purpose flour: It binds the oat mixture just enough to form clumps. Almond flour won’t give the same crumbly structure here.
Building the Crisp So the Apples Finish at the Same Time
Prep the pan and the apples first
Pour the cider into the baking dish before you do anything else so the apples land in a ready pan and don’t dry out on the bottom. Core the apples from the top and stop before you punch through the base. If one apple sits crooked, shave a tiny slice off the bottom so it stands upright instead of leaning and spilling its filling.
Fill the centers before the topping goes on
Mix the brown sugar and cinnamon, then drop a pinch into each cavity with a small piece of butter. That little center of melted sugar helps season the fruit from the inside while the crumble browns on top. Don’t pack the filling too tightly or it won’t melt evenly and can leave a dry pocket in the middle.
Cut the butter into the oat mixture until it clumps
Work the cold butter into the oats, flour, sugar, and spices until you get uneven crumbs and a few bigger clusters. You’re not looking for a smooth dough. If the mixture looks sandy, keep going for a few more turns with your fingers or a pastry cutter until it starts to hold together in damp clumps.
Bake until the fruit gives and the top turns deep gold
Pack the crumble into and over the apples, then bake until the apples feel tender when pierced and the topping is a rich golden brown. The fruit should yield without collapsing. If the topping browns too fast before the apples soften, lay a loose piece of foil over the dish for the last part of baking.
How to Adapt These Baked Apples for Different Tables
Make Them Dairy-Free
Swap the butter in both the filling and topping for a plant-based butter that stays firm when cold. You’ll still get a crisp crumble, though the flavor will be a little less rich than with dairy butter. Choose one that bakes well, not a tub-style spread, or the topping can soften instead of clumping.
Make Them Gluten-Free
Use a 1:1 gluten-free flour blend in place of the all-purpose flour and check that your oats are certified gluten-free. The topping still browns and crisps, but it may be a touch more delicate when you scoop it. Let the apples rest for 5 minutes after baking so the crumble settles before serving.
Use a Different Apple Variety
Granny Smith gives a sharper, tarter dessert and holds its shape well, but it won’t taste as naturally sweet, so the filling feels more dessert-like and less candy-like. Fuji and Gala work too, though they soften faster and can go a little mushy if your apples are very small. Stick with medium fruit so the bake time matches the topping.
Storage and Reheating
- Refrigerator: Store leftovers covered for up to 4 days. The topping will soften, but the flavor holds well.
- Freezer: Freeze baked apples individually wrapped, then placed in a freezer-safe container for up to 2 months. The texture gets softer after thawing, so I like them best for quick reheated desserts rather than serving to guests.
- Reheating: Warm in a 325F oven until heated through, about 15 to 20 minutes. The microwave works, but it makes the topping limp and the apple can burst if heated too fast.
Questions I Get Asked About This Recipe
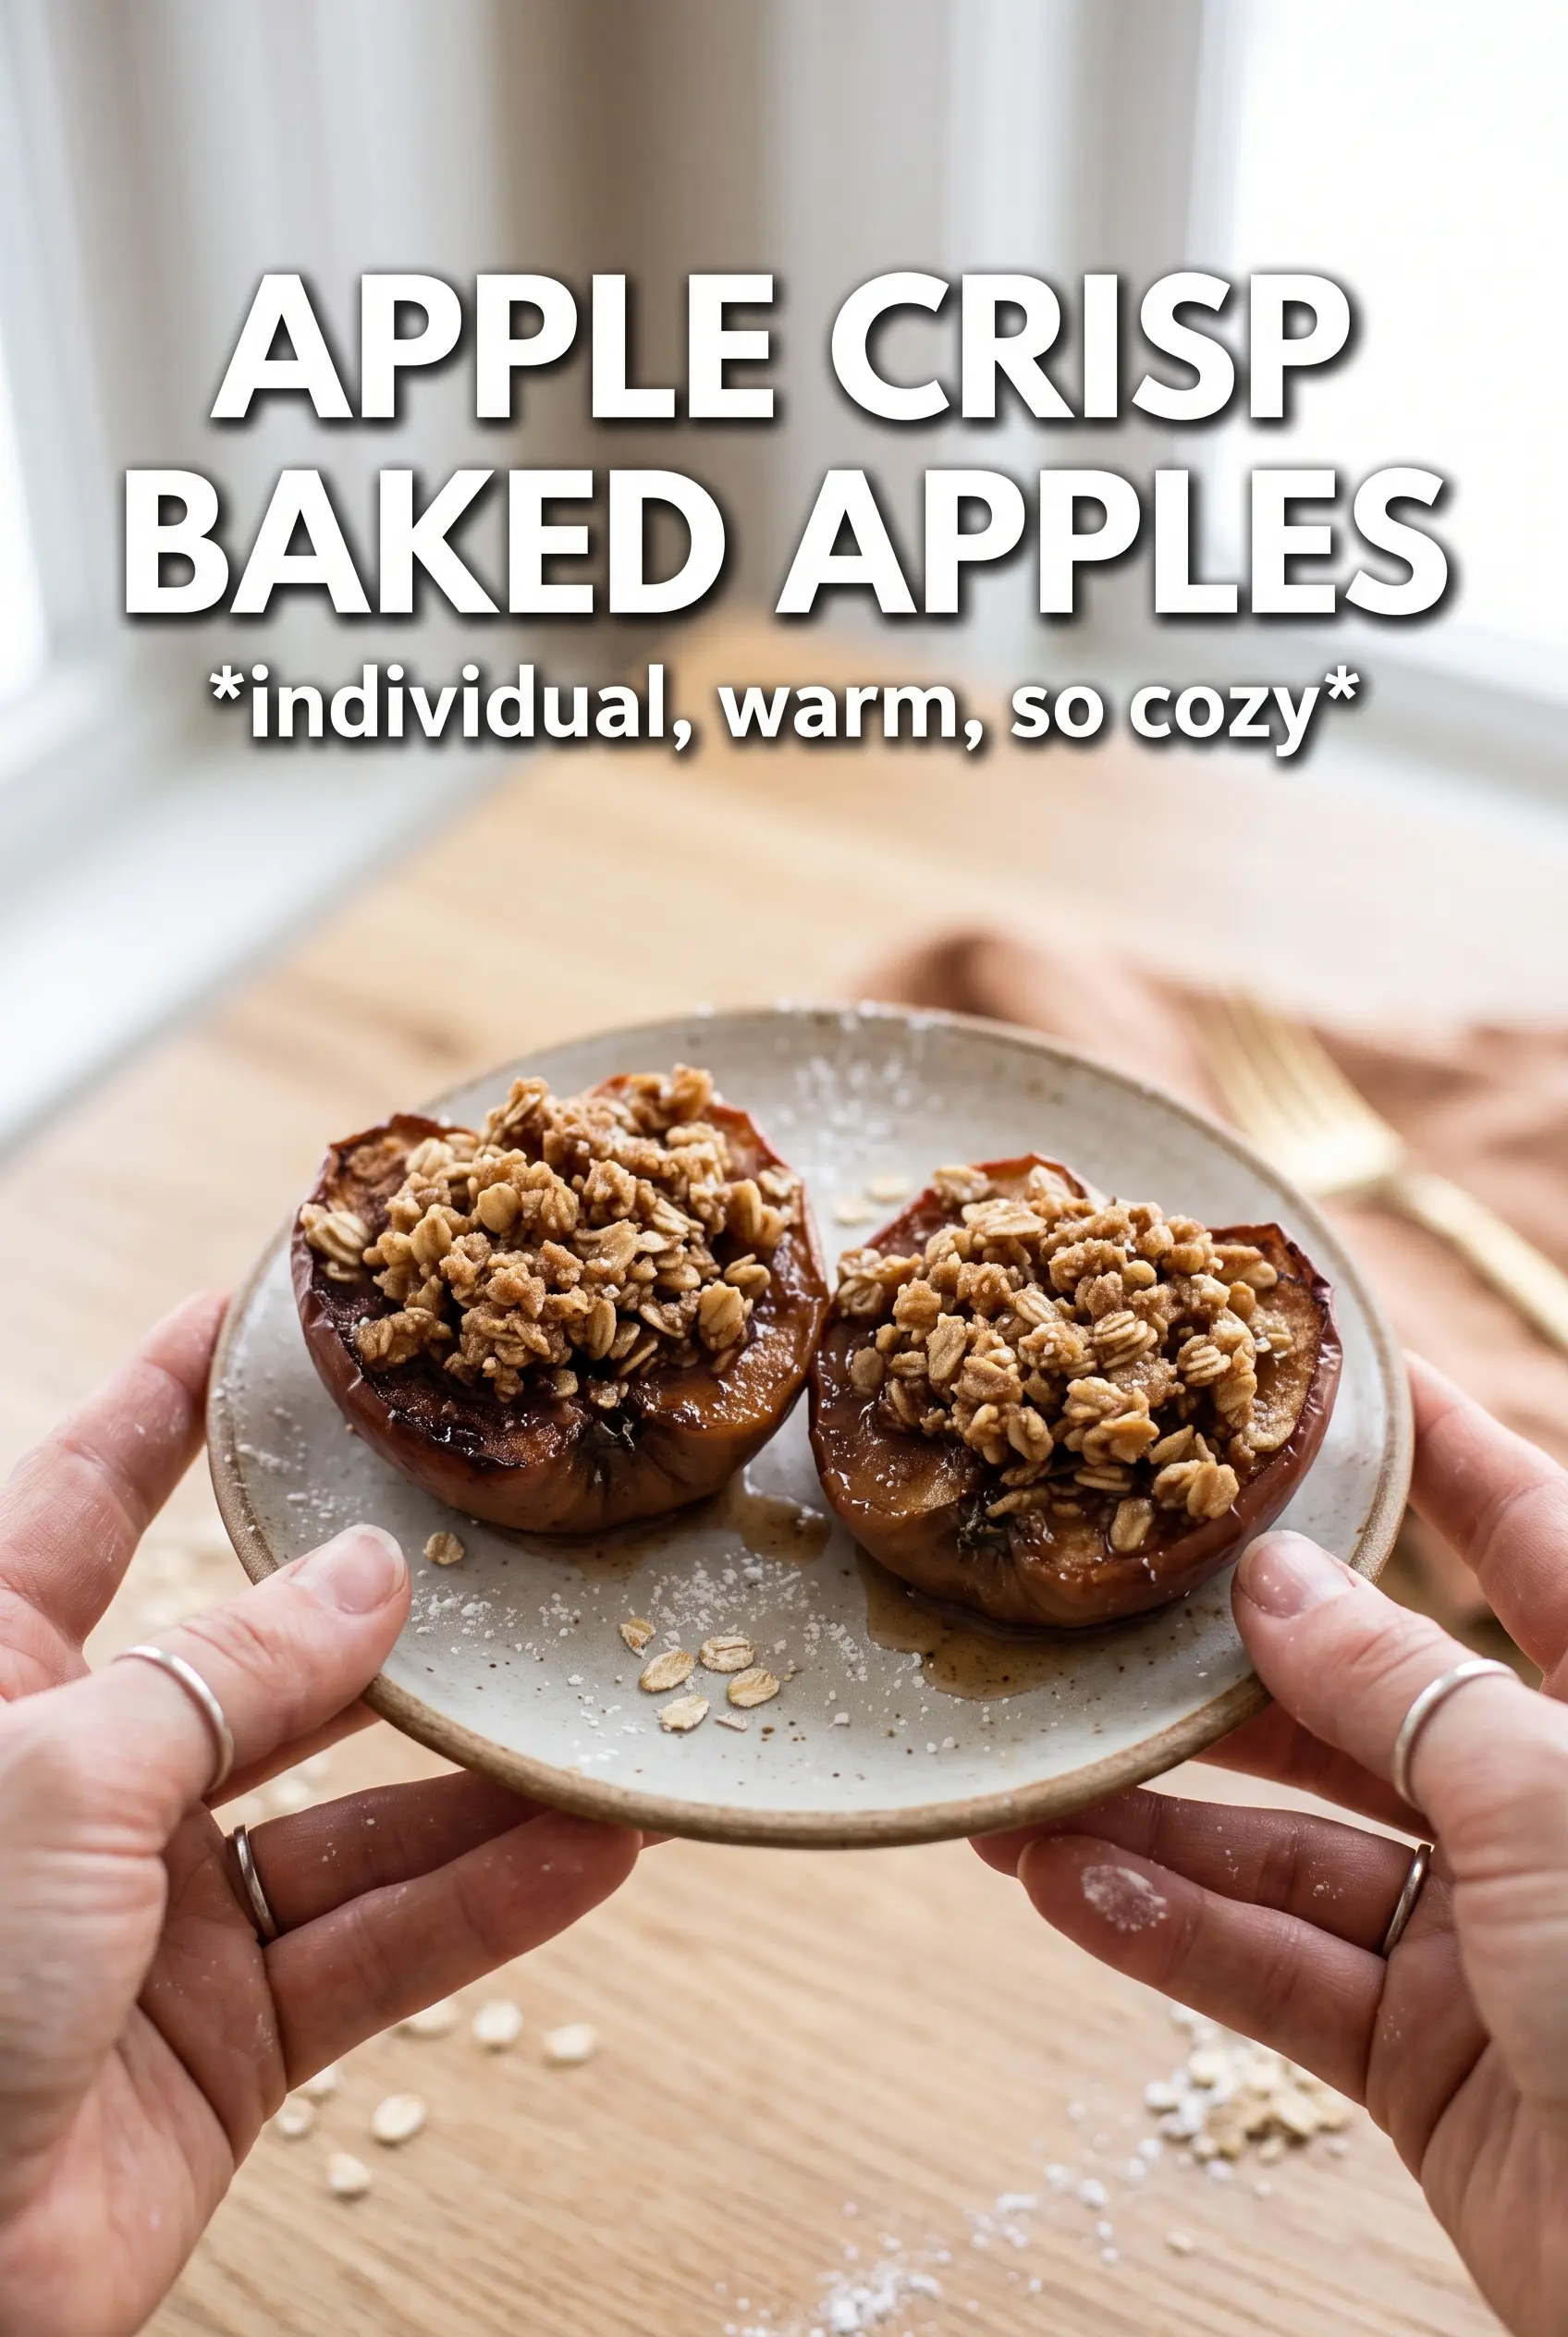
Apple Crisp Baked Apples
Ingredients
Equipment
Method
- Preheat oven to 375F, then pour the apple cider into the bottom of a baking dish to coat the base. This helps steam the apples as they bake.
- Core the apples from the top, leaving the bottom intact, and create a cavity about 1-1/2 inches wide. Keep the walls thick so the apples don’t split.
- Mix the brown sugar and cinnamon for the cavity filling, then place a pinch into each apple cavity followed by one butter piece. Distribute evenly so each apple bakes the same.
- Make oat crumble by combining rolled oats, flour, packed brown sugar, cinnamon, nutmeg, and salt, then cut in the cold butter until clumpy. Stop mixing once you see moist, crumbly clusters.
- Pack the crumble into and over the top of each apple, pressing lightly to keep it in place. Leave a few apple edges visible so the filling caramelizes.
- Bake for 35-40 minutes at 375F until the apples are tender and the crumble is golden. Look for caramelized apple skin and a crisp, browned topping.
- Serve immediately with vanilla ice cream and caramel sauce. The heat should melt the ice cream slightly for a saucy finish.