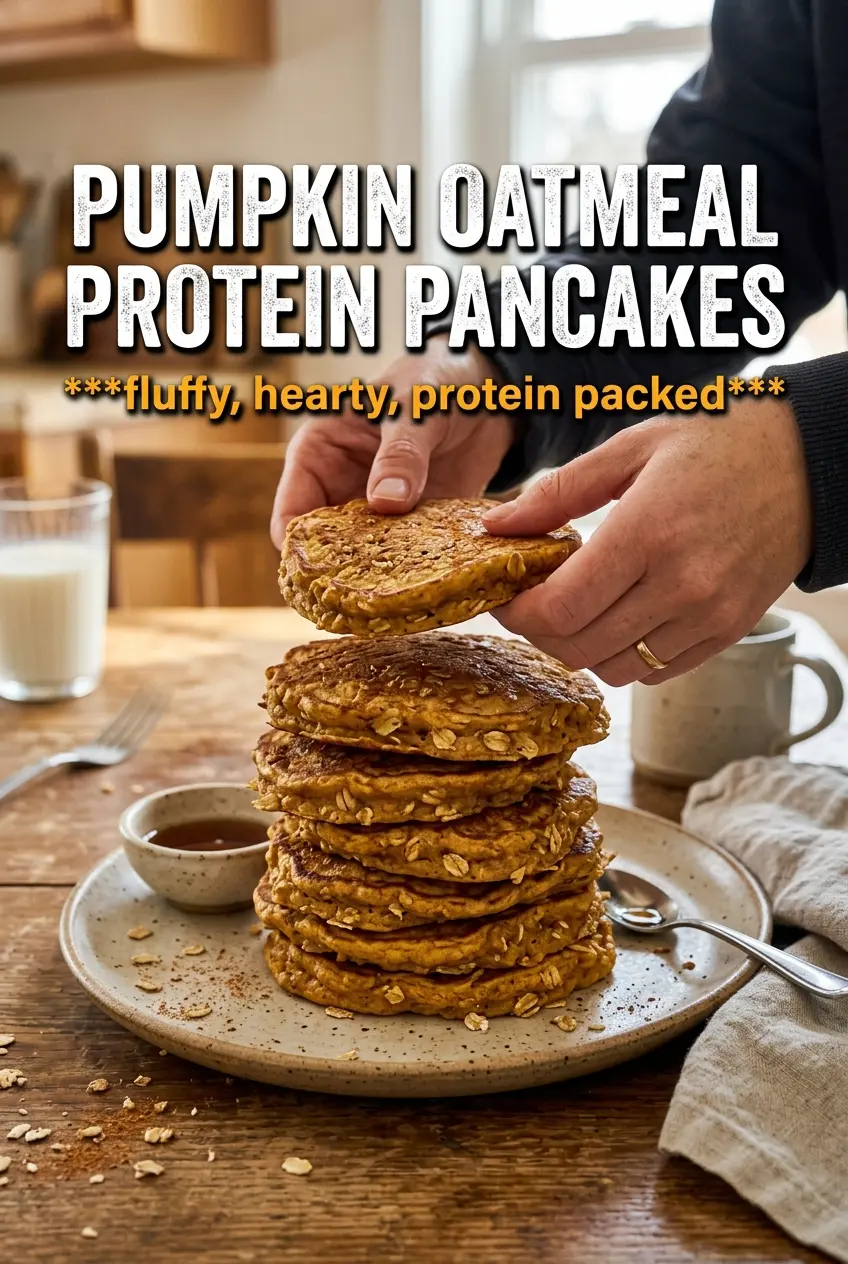
Pumpkin oatmeal protein pancakes land on the plate thick, tender, and just sturdy enough to hold up to a spoonful of Greek yogurt without turning heavy. The oats give them a rustic, hearty crumb, while the pumpkin keeps the center soft and moist instead of chalky the way protein pancakes often can. They taste like a proper breakfast, not a compromise.
The trick is in the balance. Oat flour adds structure, but protein powder can dry batter out fast, so the pumpkin puree, Greek yogurt, and eggs all have a job to do. I also keep the skillet at medium-low, because protein pancakes go from pale to scorched faster than regular batter. A little patience here gives you pancakes that are cooked through, golden, and still fluffy.
Below, I’ll show you the small timing cue that keeps the centers from staying gummy, plus a few swaps that still keep the batter thick and scoopable. If you’ve ever had protein pancakes come out rubbery, this version fixes that.
The batter was thick but still easy to scoop, and the pancakes cooked up fluffy instead of dense. I loved that the pumpkin flavor came through without being overpowering, and the edges got just crisp enough in the pan.
Love these pumpkin oatmeal protein pancakes? Save them to Pinterest for a thick, fluffy breakfast with plenty of pumpkin spice and no rubbery texture.
The Batter Needs to Stay Thick, Not Pourable
Most pancake batter is loose enough to spread on the griddle. This one should look almost stubborn. That thickness is what lets the oats and protein powder absorb moisture without collapsing into a wet center, and it keeps the pancakes from spreading into thin, fragile rounds.
If the batter looks dry after mixing, let it sit for 2 to 3 minutes before adding anything else. Oat flour keeps hydrating after it’s mixed, and the batter usually loosens just enough on its own. If it still looks too stiff to scoop, add milk 1 tablespoon at a time. Too much liquid turns these from fluffy breakfast pancakes into soft cakes that never brown properly.
- Rolled oats — Blending them into flour gives you the best texture here: hearty, slightly nutty, and still light enough to cook through. Quick oats work in a pinch, but the pancakes can turn pasty faster.
- Protein powder — Vanilla adds a little sweetness, while unflavored keeps the pumpkin spice front and center. Different brands absorb liquid differently, so if yours is especially dry, you may need a splash more milk.
- Pumpkin puree — This is the moisture source that keeps the pancakes soft. Use plain pumpkin puree, not pumpkin pie filling, or the batter will come out overly sweet and spiced in the wrong way.
- Greek yogurt — It adds tang, moisture, and a little extra body. Full-fat Greek yogurt makes the most tender pancakes, but low-fat works well too.
- Eggs — They hold the batter together and help the pancakes set before the outside overcooks. I wouldn’t swap them for flax eggs in this recipe unless you’re okay with a denser result.
What Each Ingredient Is Actually Doing in This Recipe
- Primary ingredient (the star) — Quality matters most. Choose the best you can find.
- Cooking medium (oil, butter, or broth) — This carries flavors and prevents dryness.
- Seasonings (salt, pepper, spices, herbs) — Layer flavors so nothing overpowers. Build depth gradually.
- Aromatics (garlic, onion, herbs) — Cook with fat to bloom flavors. Become the foundation.
- Supporting ingredients — Complement the main ingredient without overpowering it.
- Sauce or liquid (if applicable) — Brings flavors together. Balance richness with acid.
- Acid (lemon, vinegar, wine, or other) — Brightens and prevents flat-tasting results.
- Final finish (garnish, glaze, or sauce) — Prevents one-dimensional taste and adds visual appeal.
Cooking Them Low and Slow Keeps the Centers Tender
Mix the Dry Ingredients First
Stir the oat flour, protein powder, baking powder, pumpkin pie spice, cinnamon, and salt together before anything wet goes in. That keeps the leavener and spices evenly distributed, which matters more here than in a standard batter because the mixture is thick and doesn’t self-blend once it hits the pan. If you see clumps of protein powder, break them up now or they’ll show up as dry pockets later.
Whisk the Wet Ingredients Until Smooth
Combine the pumpkin puree, eggs, Greek yogurt, milk, honey, and vanilla until the mixture looks creamy and uniform. The batter should smell strongly of pumpkin spice at this stage, and the yogurt should be fully blended in so there are no streaks. If you leave the yolks partially unmixed, the batter cooks unevenly and the pancakes can turn custardy in the middle.
Let the Batter Rest Before It Hits the Pan
Fold the wet ingredients into the dry just until combined, then let the bowl sit for a couple of minutes. This short rest gives the oats time to hydrate and turns a loose, grainy mixture into a scoopable batter. Don’t chase perfect smoothness here; overmixing makes the pancakes tougher, and a few small lumps are better than a beaten-up batter.
Cook on Medium-Low and Wait for the Edges
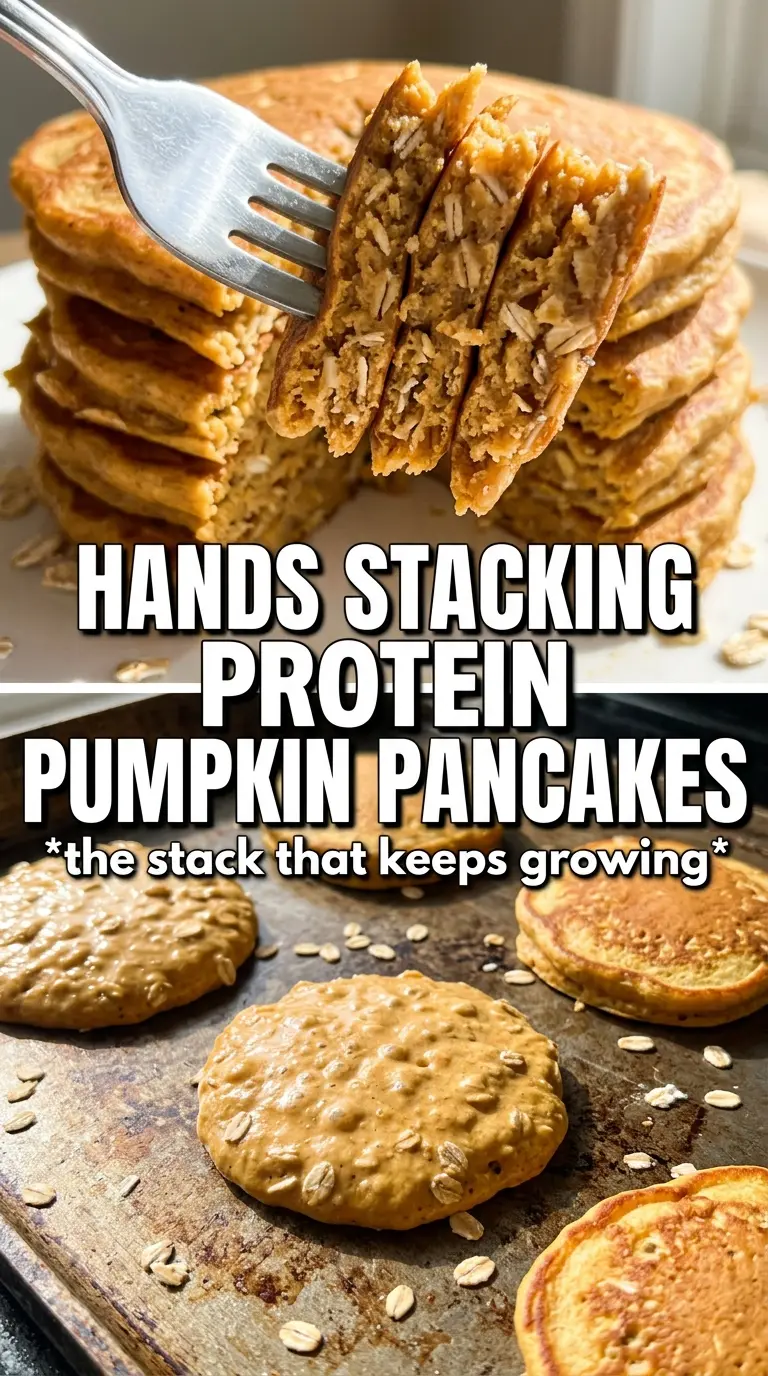
Grease the skillet lightly and keep the heat at medium-low. Protein pancakes burn fast on high heat because the outside sets before the center has a chance to cook through. Drop about 1/4 cup of batter for each pancake, then wait for bubbles to form and the edges to look set and matte before flipping. If the bottoms are browning too quickly, lower the heat right away and give the pan another minute to settle.
Finish the Flip Gently
Slide a thin spatula fully under each pancake and turn it once. The second side usually needs less time than the first, about 2 minutes, and it should feel springy when you press the center lightly. If the pancake smears when you flip it, it wasn’t ready yet. Give it another 30 to 45 seconds before trying again.
How to Change These Pancakes Without Losing the Texture
Dairy-Free Version
Use a plain dairy-free Greek-style yogurt or a thick unsweetened coconut yogurt. The batter will be a little less tangy, but it should still hold its shape as long as the yogurt is thick. If the substitute is loose, cut back the milk a bit so the batter stays scoopable.
Gluten-Free and Oat-Focused
Use certified gluten-free oats if you need to keep these fully gluten-free. The texture stays the same, since oats are already doing the heavy lifting here. Don’t swap in almond flour one-for-one; it won’t absorb the liquid the same way and the pancakes will spread too much.
Make Them Sweeter for a Brunch Plate
Add another teaspoon of honey or maple syrup to the batter if you want a more dessert-like pancake. That pushes the flavor toward sweeter pumpkin bread territory, but keep it modest or the pancakes brown too quickly. The toppings will also stand out more against the base.
Storage and Reheating
- Refrigerator: Store cooked pancakes in an airtight container for up to 4 days. They soften a little as they sit, but the flavor stays great.
- Freezer: Freeze in a single layer, then move to a freezer bag with parchment between layers. They freeze well for up to 2 months.
- Reheating: Warm in a toaster oven, skillet, or microwave just until heated through. Don’t blast them on high heat for too long or they’ll dry out before the center warms.