Pumpkin no bake cookies set up with a soft, fudgy center and a lightly chewy oat finish, and that pumpkin spice aroma hits before the tray even firms up. The trick is getting the boil right: long enough for the sugar mixture to thicken and hold the cookies together, but not so long that they turn dry or crumbly. When they cool properly, they land somewhere between a cookie and a pumpkin-spiced candy, which is exactly why they disappear fast.
This version leans on pumpkin puree for flavor and color, but it also keeps the texture in check with old-fashioned oats and nut butter. The pumpkin adds moisture, so the one-minute boil matters even more here than it does in a standard no-bake cookie. Once the pan comes off the heat, everything needs to move quickly; if the mixture cools too much before you portion it, the cookies start setting in the bowl instead of on the sheet.
Below, I’ve included the small timing details that matter, plus a few swaps for making these dairy-free or changing the nut butter. If your no-bakes have ever turned grainy, sticky, or too soft to hold their shape, the notes here will help you avoid that.
The cookies set up with the perfect soft-chewy texture, and the pumpkin spice came through without making them too wet. I loved that they were firm enough to pick up after 30 minutes but still had that fudgy no-bake center.
Save these pumpkin no bake cookies for the days when you want a fast set-and-chill dessert with warm spice and a chewy oat bite.
The One-Minute Boil That Keeps These Cookies From Sticking
Pumpkin no bake cookies fail for one main reason: the sugar mixture never reaches the point where it can set into a firm cookie. With pumpkin puree in the bowl, you’ve got extra moisture to account for, so the boil has to be real and it has to last the full minute. A lazy simmer leaves you with soft mounds that never firm up; an overlong boil can push them toward dry, sandy cookies.
Watch the boil, not the clock alone. Once the mixture hits a rolling boil, keep it there while stirring constantly so nothing scorches on the bottom of the pan. The mixture should look glossy and slightly thickened before you add the oats. If it looks watery, it’s too early. If it looks like caramel and starts pulling away from the sides, you’ve gone too far.
- Boil at a true rolling boil — Small bubbles won’t cut it here. You need the kind of boil that keeps moving even while you stir.
- Stir constantly during the minute — That keeps the sugar from burning and helps the pumpkin distribute evenly.
- Work fast after the heat is off — The mixture starts setting as soon as it cools, so have your pans lined and ready.
What Each Ingredient Is Actually Doing in These Cookies
- Pumpkin puree — This brings the pumpkin flavor and that soft orange color, but it also adds moisture. Use plain pumpkin puree, not pumpkin pie filling, or the cookies will be overly sweet and seasoned before you start.
- Old-fashioned rolled oats — These give the cookies their chew and structure. Quick oats can work in a pinch, but they make the texture softer and less defined.
- Almond butter or peanut butter — This helps the cookies set and adds body without needing a long cook time. Peanut butter gives a stronger, saltier flavor; almond butter tastes milder and a little cleaner.
- White chocolate chips — Optional, but they add a sweet creamy note that plays well with pumpkin spice. Stir them in off the heat so they soften without fully melting into the mixture.
- Butter and milk — These carry the sugar mixture through the boil and help create that classic no-bake texture. I wouldn’t swap both at once unless you’re already used to working with the recipe.
The Fast Part Is What Makes the Texture Work
Getting the Base to a Real Boil
Combine the sugar, milk, butter, and pumpkin in a saucepan and bring it to a rolling boil over medium heat. Keep stirring as it heats so the butter melts evenly and the sugar doesn’t stick in a layer on the bottom. The mixture will look loose at first, then glossy, then more unified as it starts to bubble hard. If you rush this over high heat, the outside can scorch before the center reaches the right stage.
Holding the Boil for Exactly One Minute
Once the boil is full and active, start timing and keep stirring constantly for the full minute. That’s the point where enough moisture cooks off for the cookies to set later. One minute under and they stay sticky; one minute over and they turn dry and grainy. Pull the pan from the heat the second the timer ends.
Stirring in the Oats and Mix-Ins
Add the pumpkin pie spice, cinnamon, salt, vanilla, oats, almond butter or peanut butter, and white chocolate chips right away. Stir until the oats are fully coated and the mixture starts to look thicker and more matte. Don’t linger here. If you overmix while the pan is still hot, the cookies can turn pasty and lose that nice oat texture.
Dropping and Setting the Cookies
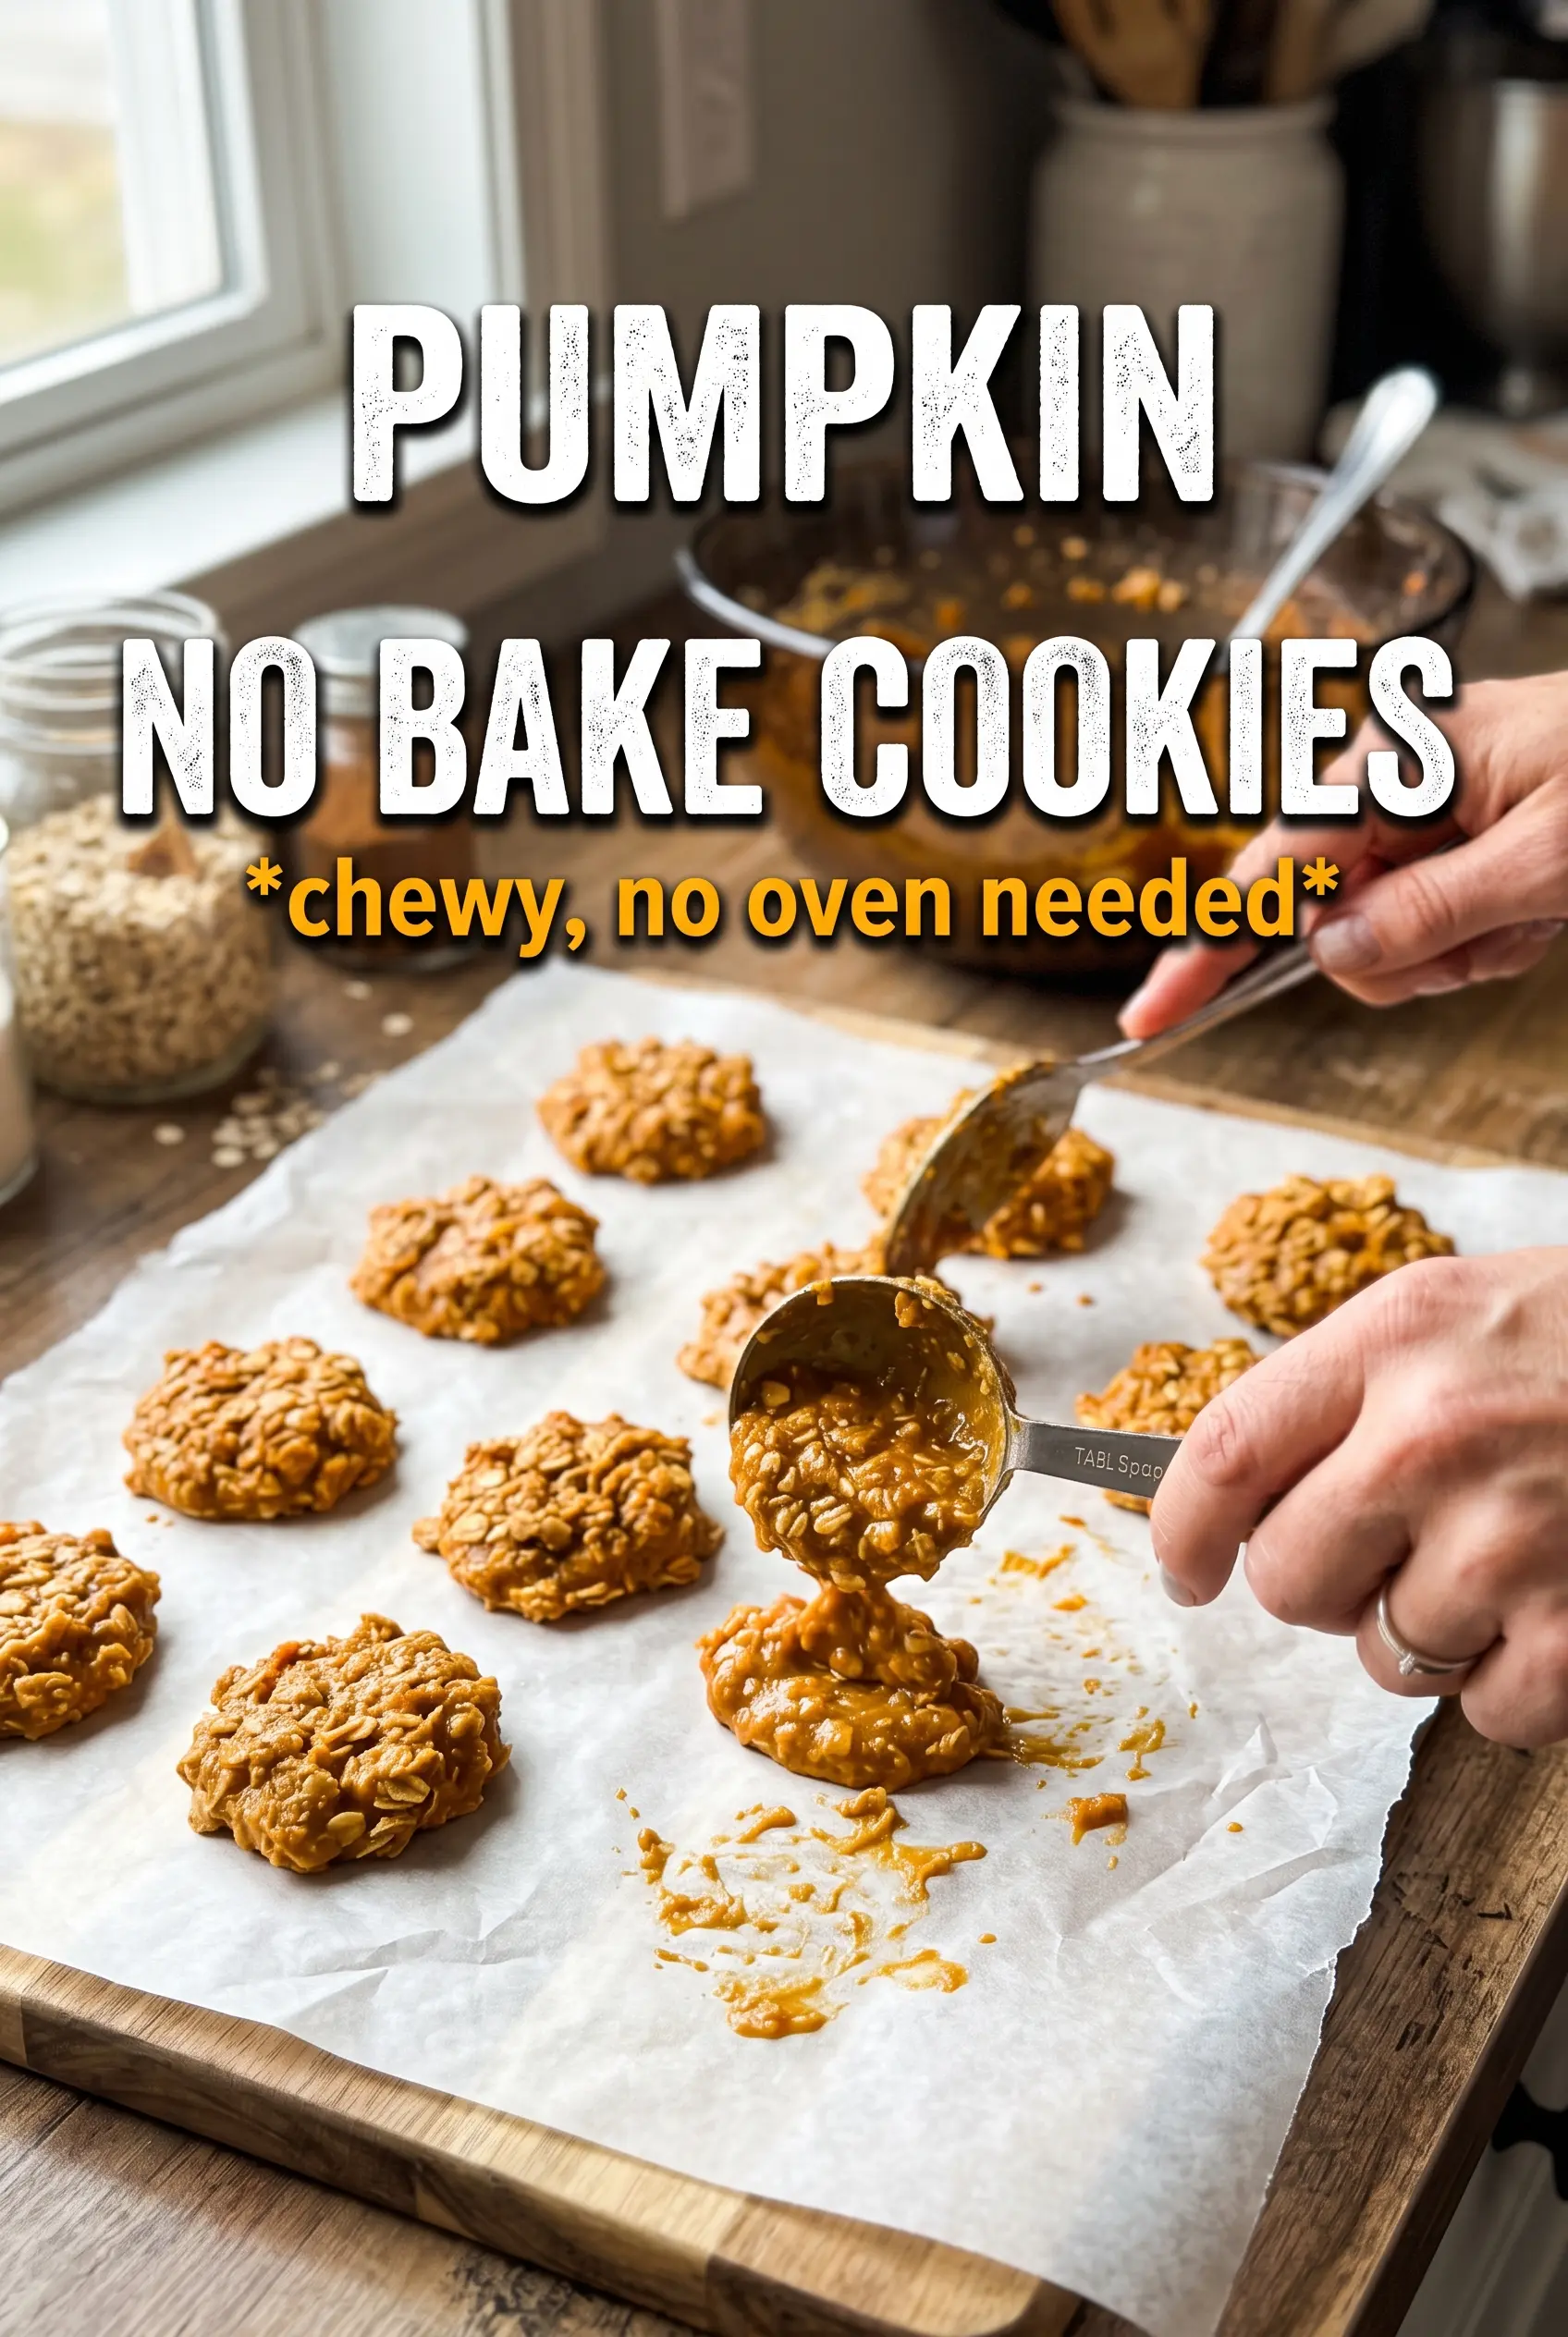
Spoon the mixture onto parchment or silicone-lined sheets in tablespoon portions. Work in a steady rhythm so the first cookies don’t set before the last ones are scooped. They’ll look soft and a little rough at first, which is exactly right. Let them rest for about 30 minutes until firm before moving them, or they can smear and lose their shape.
How to Adapt These for Different Kitchens and Different Cravings
Dairy-Free Version
Use plant-based butter and a creamy non-dairy milk with some body, like oat milk. The texture will still set, but it may be a touch softer, so let the cookies rest the full 30 minutes before moving them.
Peanut Butter Swap
Peanut butter gives the strongest classic no-bake flavor and a slightly firmer bite. If you use it, the pumpkin spice takes a back seat in the best way, and the cookies taste richer and more familiar.
Extra Chewy Oat Cookies
Keep the oats at the full amount and don’t chop them. Whole rolled oats give the cookies more texture and a heartier bite, while quick oats make them denser and softer.
Storage and Reheating
- Refrigerator: Store in an airtight container for up to 5 days. They’ll firm up a little more in the fridge, which makes them even chewier.
- Freezer: These freeze well. Layer with parchment in a sealed container and freeze for up to 2 months.
- Reheating: No reheating needed. Let frozen cookies sit at room temperature for 15 to 20 minutes before serving so the texture softens back up.
Questions I Get Asked About This Recipe
Pumpkin No Bake Cookies
Ingredients
Equipment
Method
- Line baking sheets with parchment paper or silicone baking mats so the cookies release easily after setting.
- Combine the granulated sugar, whole milk, unsalted butter, and pumpkin puree in a saucepan and place over medium heat.
- Bring to a rolling boil and keep stirring constantly to prevent scorching.
- Boil exactly 1 minute while stirring constantly; the mixture should look glossy and thick, and timing matters for proper setting.
- Remove the saucepan from the heat, then stir in pumpkin pie spice, cinnamon, salt, vanilla, rolled oats, almond butter, and white chocolate chips (if using) until the mixture is thick and fully combined.
- Work quickly and drop the mixture by tablespoonfuls onto the prepared sheets, forming neat rounds.
- Let the cookies cool for 30 minutes until firm; you should be able to lift them without smearing.