Libby’s Pumpkin Cookies bake up soft, cakey, and warmly spiced with that familiar pumpkin flavor that tastes like the version people remember from the back of the can. The edges set just enough to hold their shape, while the centers stay tender instead of turning dry or bready. Once the vanilla icing goes on, each cookie gets that classic finish that makes them feel a little nostalgic and a lot more tempting.
What makes this batch work is the balance: enough flour to keep the cookies scoopable, but enough pumpkin to keep them moist; enough spice to taste cozy, but not so much that the pumpkin disappears. The butter and sugar get beaten first for a lighter texture, and the pumpkin goes in with the egg so the batter stays smooth before the dry ingredients are folded in. That keeps the cookies soft without making them heavy.
If you’ve ever had pumpkin cookies spread too much or bake up dull and dry, the timing and mixing order here matter. Below, I’ve included the small details that keep the texture right, plus a few simple swaps if you need them.
These baked up soft in the middle with just enough lift, and the vanilla icing set nicely without soaking into the cookies. I sprinkled a little cinnamon on top and my kids kept grabbing them before they even cooled.
Save these soft Libby’s Pumpkin Cookies for the kind of batch that stays tender under the vanilla icing and tastes even better with a little cinnamon on top.
The Reason These Pumpkin Cookies Stay Soft Instead of Dry
Pumpkin cookies can go from tender to cakey in a way that feels disappointing if the batter is handled like a standard drop cookie. The pumpkin adds moisture, but it also adds weight, and that means the structure has to be just firm enough to hold the scoop without baking into a dense little muffin top. The goal here is a soft, set cookie that still feels like a cookie when you bite into it.
Beating the butter and sugar first gives the dough a little lift before the pumpkin goes in. After that, the dry ingredients only need to be folded in until the flour disappears. If you keep stirring once the flour is hydrated, the cookies tighten up and lose that delicate middle. Also, don’t pull them too early. They should look set at the edges and slightly puffed in the center, not glossy or wet.
- Libby’s 100% Pure Pumpkin — This is the ingredient that gives the cookies their signature texture and color. Canned pumpkin puree works best here because it’s consistent and not watery. Don’t use pumpkin pie filling; it brings added sugar and spices that throw off the balance.
- Butter — Softened butter helps create a smoother, lighter batter at the start. If it’s melted, the cookies spread more and bake up flatter. The butter should press easily with a finger but still hold its shape.
- The spice blend — Cinnamon, nutmeg, cloves, and allspice give the cookies their warm pumpkin taste. Fresh spices matter more than expensive ones here; stale spices taste flat and muddy. If you need to simplify, keep cinnamon and nutmeg, then reduce the cloves and allspice rather than dropping the pumpkin-forward flavor entirely.
- Flour — The flour amount is what keeps the cookies scoopable and prevents them from collapsing into puddles. Spoon and level it if you can, because packed flour makes these thicker and drier than intended.
What Each Ingredient Is Actually Doing in This Recipe
- Primary ingredient (the star) — Quality matters most. Choose the best you can find.
- Cooking medium (oil, butter, or broth) — This carries flavors and prevents dryness.
- Seasonings (salt, pepper, spices, herbs) — Layer flavors so nothing overpowers. Build depth gradually.
- Aromatics (garlic, onion, herbs) — Cook with fat to bloom flavors. Become the foundation.
- Supporting ingredients — Complement the main ingredient without overpowering it.
- Sauce or liquid (if applicable) — Brings flavors together. Balance richness with acid.
- Acid (lemon, vinegar, wine, or other) — Brightens and prevents flat-tasting results.
- Final finish (garnish, glaze, or sauce) — Prevents one-dimensional taste and adds visual appeal.
Building the Batter So the Cookies Don’t Spread Too Much
Whipping the Butter and Sugar First
Beat the butter and sugar until the mixture looks pale and a little fluffy, not greasy and dense. This step gives the cookies a softer bite and helps the sugar distribute before the pumpkin gets involved. If the butter is too cold, it won’t cream properly; if it’s melted, the batter loses structure and the cookies spread.
Adding the Pumpkin Without Breaking the Texture
Mix in the pumpkin, egg, and vanilla until the batter looks smooth and evenly orange. The mixture will look looser at this stage, and that’s normal. What matters is that everything is fully combined before the flour goes in, because uneven mixing at this point leaves streaks of dry flour that are hard to fix later.
Folding in the Dry Ingredients Just Until Combined
Add the flour mixture and stop as soon as the dough comes together. The batter will be thick and soft, more like a dense cake batter than a rollable cookie dough. Overmixing develops gluten and makes the cookies tough, while undermixing leaves pockets of flour that bake up chalky.
Baking Until the Tops Set
Drop the dough by tablespoons onto lined baking sheets and bake until the cookies look set around the edges and just puffed in the middle. They should not look wet on top when you take them out. Let them cool completely before icing, or the frosting will melt right off and slide into the crumb.
Make Them Dairy-Free
Use a plant-based butter that behaves like regular butter in baking, then replace the milk in the icing with unsweetened oat or almond milk. The cookies will still be soft, though the flavor loses a little of the rich dairy note that makes the classic version taste rounder.
Turn Them Into Gluten-Free Pumpkin Cookies
Use a cup-for-cup gluten-free flour blend that includes xanthan gum. The dough should still look thick and scoopable; if it seems looser than the original, let it rest for 10 minutes before baking so the flour can hydrate. Expect a slightly more delicate crumb.
Skip the Icing and Keep Them Simple
These are still good plain, especially if you dust the tops with cinnamon while they’re warm. Without icing, the cookies read a little more like a soft spice cookie and a little less like dessert-bar territory. That’s the version I make when I want them for lunch boxes or an afternoon snack.
Storage and Reheating
- Refrigerator: Store in an airtight container for up to 5 days. The icing stays fine, but the cookies soften a bit more as they sit.
- Freezer: Freeze the unfrosted cookies for up to 2 months. Thaw at room temperature, then ice after they’re fully defrosted so the topping stays smooth.
- Reheating: These don’t need true reheating, but if you want that fresh-baked feel, let them come to room temperature or warm them for just a few seconds after removing the icing. Microwaving iced cookies too long makes the frosting slide and the crumb turn gummy.
Questions I Get Asked About This Recipe
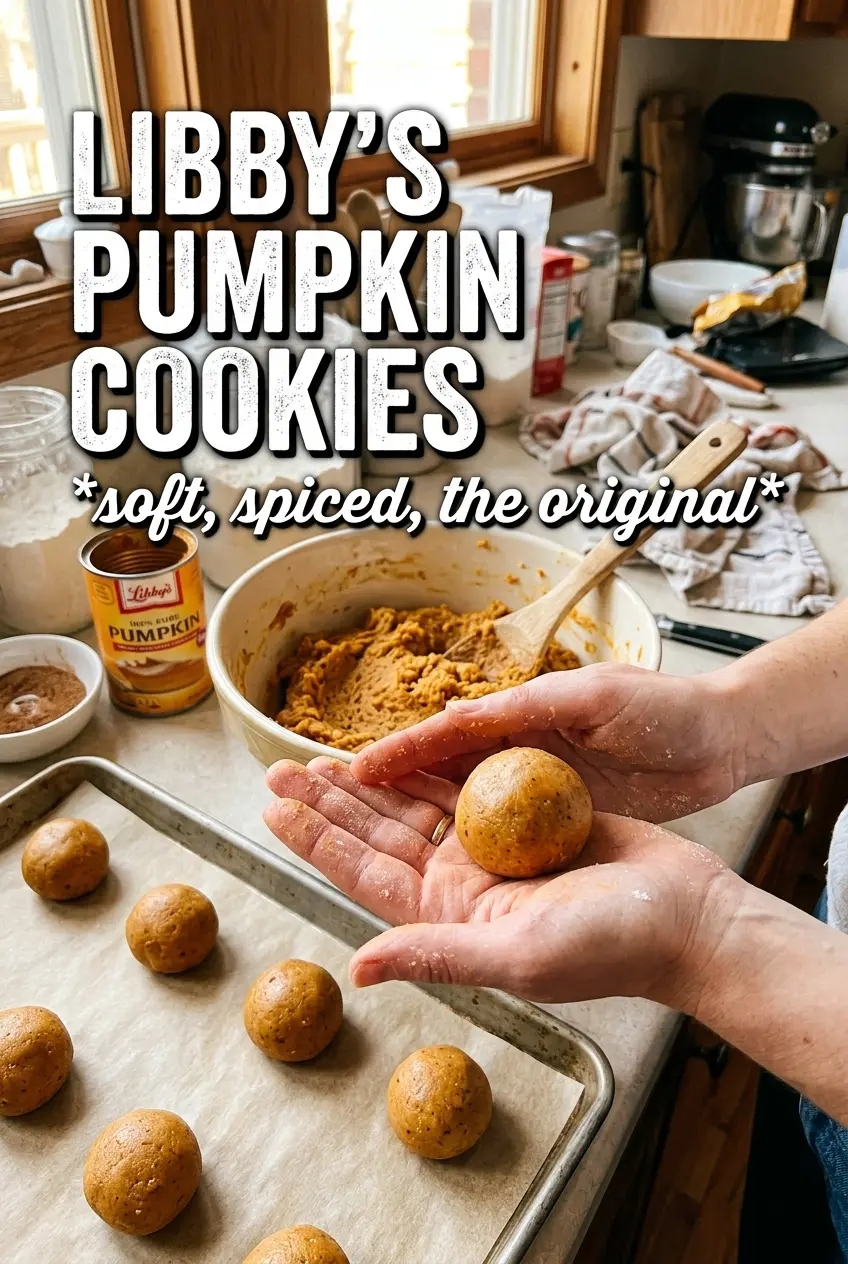
Libby's Pumpkin Cookies
Ingredients
Equipment
Method
- Preheat the oven to 350F and line baking sheets.
- Whisk together all-purpose flour, baking soda, baking powder, cinnamon, nutmeg, cloves, allspice, and salt until evenly combined.
- Beat softened unsalted butter and granulated sugar until fluffy.
- Add Libby's 100% Pure Pumpkin, egg, and vanilla extract, then beat until smooth and combined.
- Fold in the dry ingredients until just combined, with no visible flour streaks.
- Drop the dough by tablespoons onto the lined baking sheets.
- Bake at 350F for 10-12 minutes, until the cookies are set around the edges and look slightly puffed.
- Cool the cookies completely before icing.
- Whisk powdered sugar, milk, melted butter, and vanilla until smooth.
- Drizzle or spread the icing over each cookie, then dust with cinnamon.