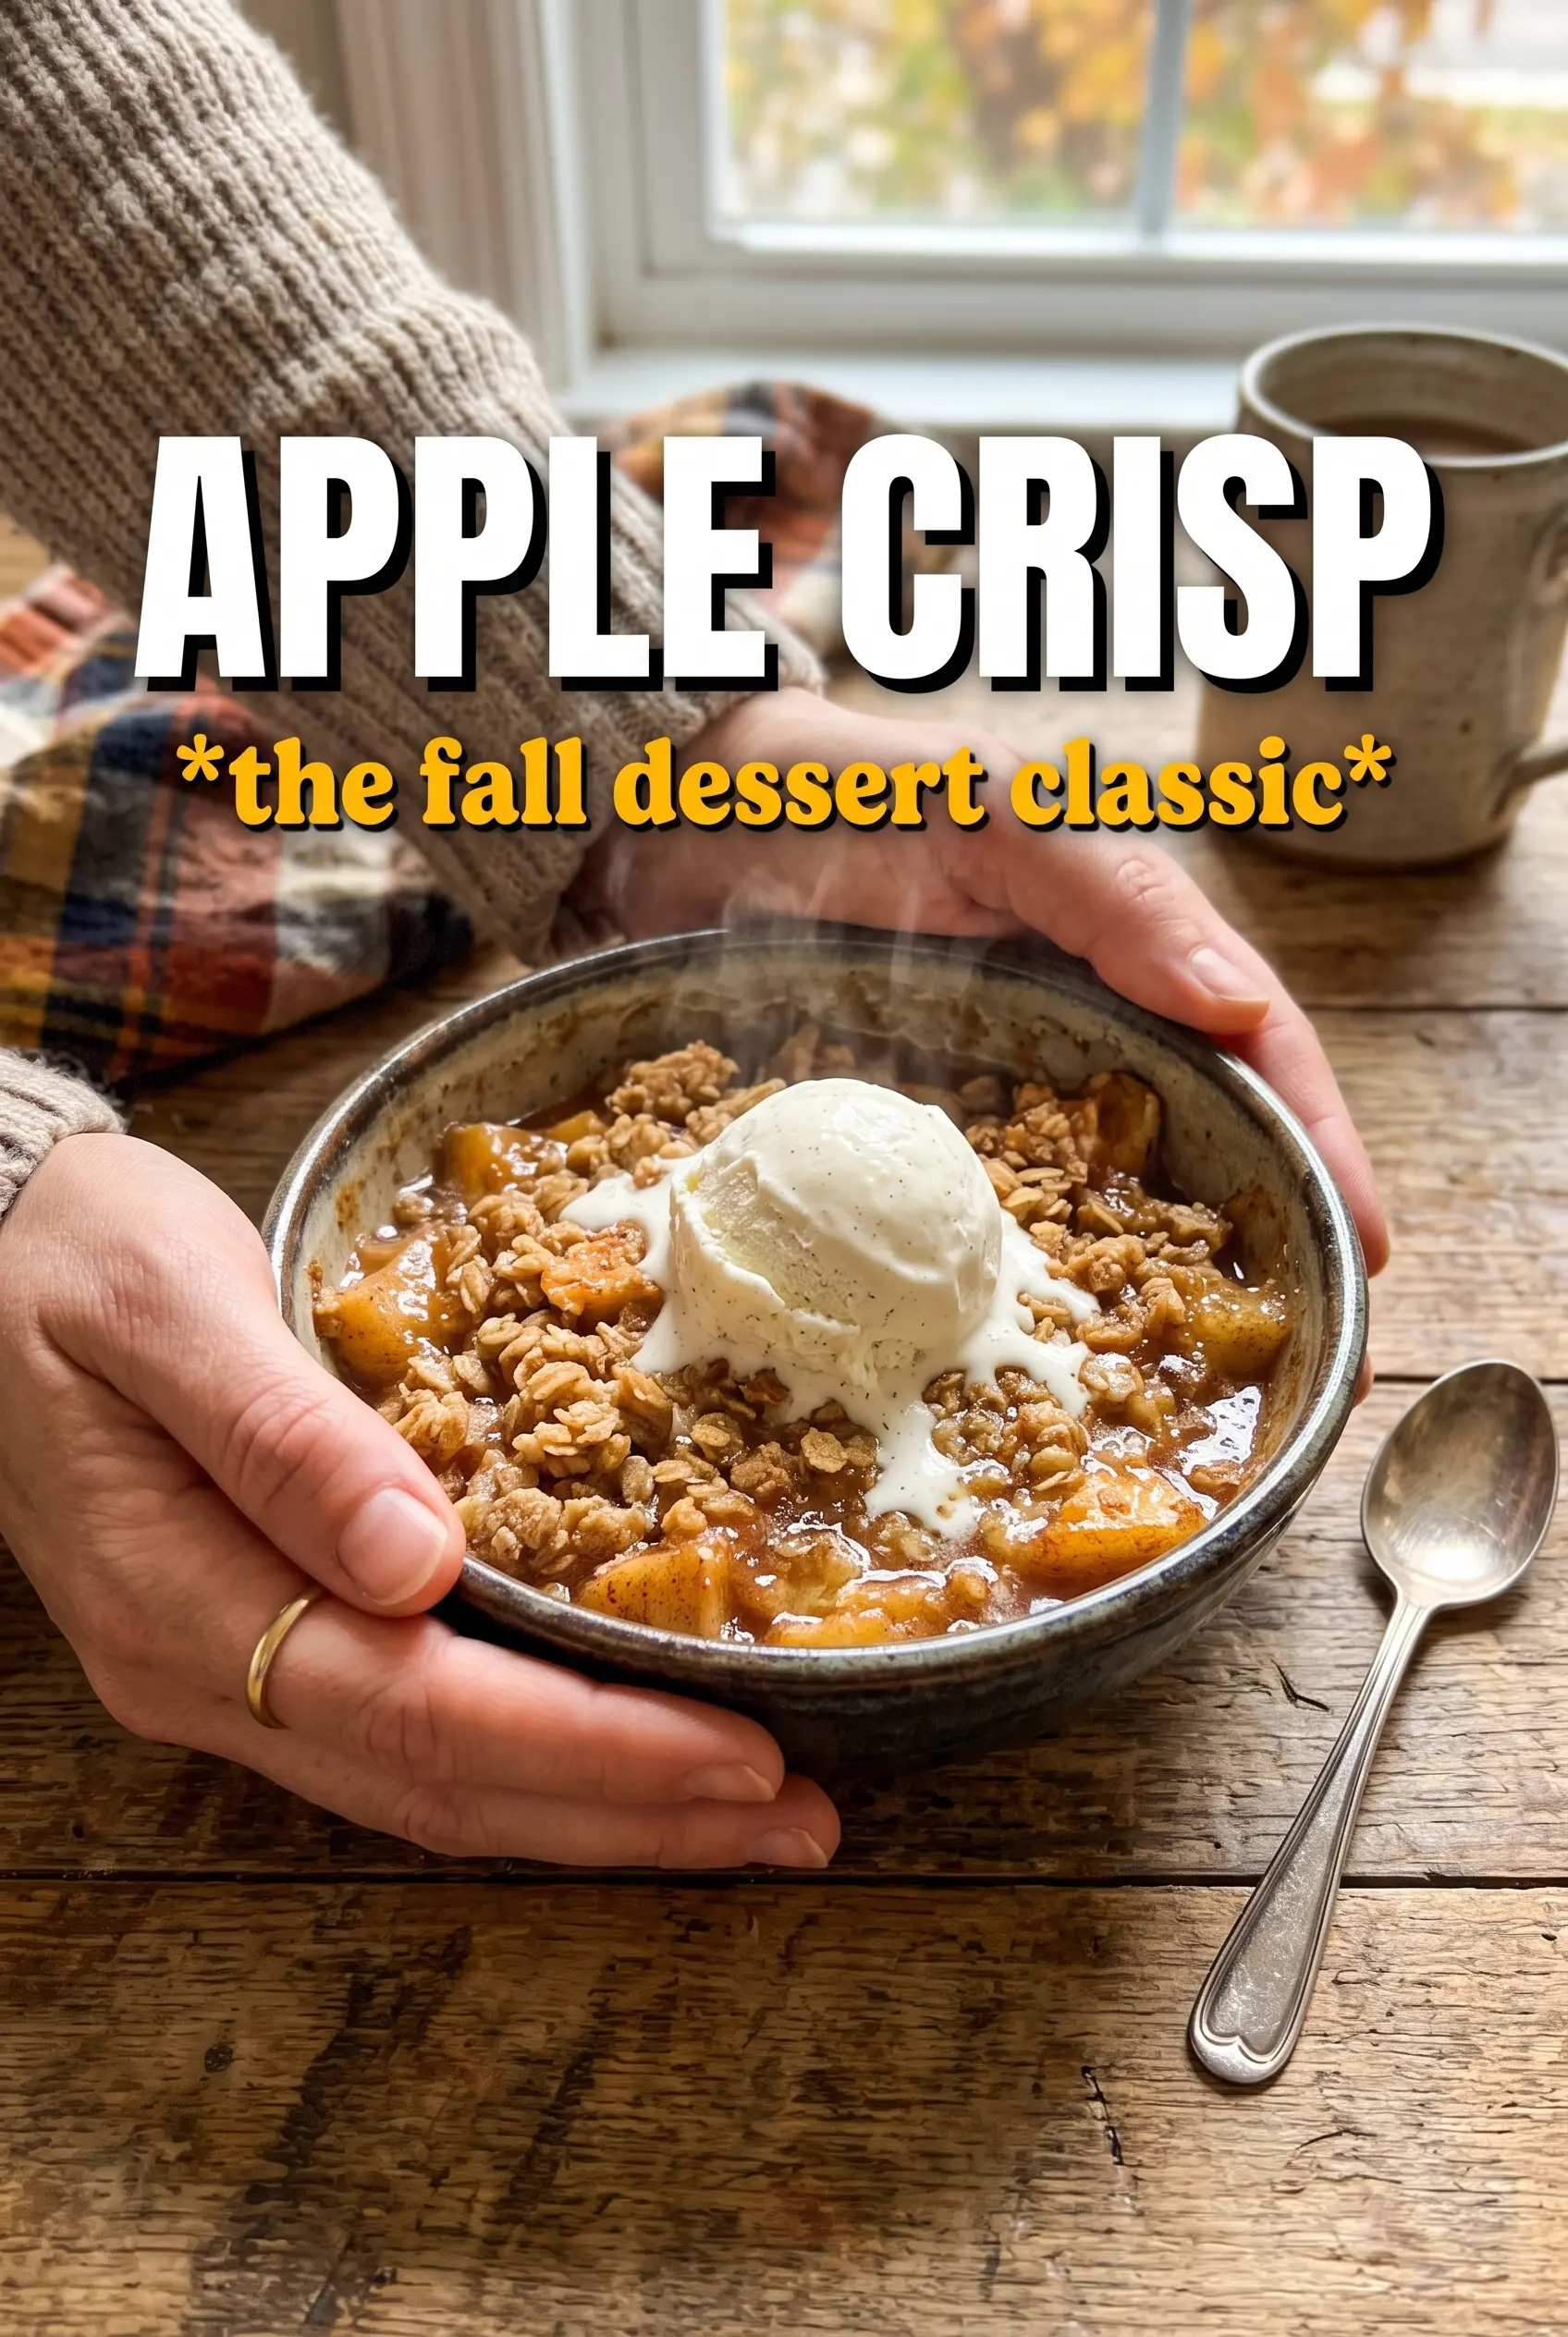
Warm apple crisp lands in the sweet spot between simple and special: tender cinnamon apples bubbling underneath a thick oat crumble with crisp, bronzed edges. The first spoonful gives you soft fruit, a little syrup, and those buttery topping chunks that stay nubbly instead of turning sandy. It’s the kind of dessert that disappears fast because it tastes like effort, even though it comes together without any fussy steps.
What makes this version work is the apple mix and the topping texture. Granny Smith apples keep the filling bright and structured, while Honeycrisp adds juiciness and a softer bite, so the dessert doesn’t taste one-note. Cornstarch thickens the juices as the apples bake, and the butter stays cold in the crumble so it bakes into clumps instead of melting into a flat layer.
Below, I’ll show you how to keep the topping chunky, how to tell when the filling is actually ready, and what to change if you need to work with the apples you already have on the counter.
The topping stayed crisp even after sitting on the counter for a bit, and the filling thickened up instead of running all over the plate. I used the Granny Smith and Honeycrisp combo and it came out balanced, not too sweet.
Save this apple crisp for the nights when you want bubbling cinnamon apples and a chunky oat topping that bakes up crisp at the edges.
The Trick to Keeping Apple Crisp Juicy, Not Watery
The filling needs two things at the same time: enough sugar to draw out the apples’ juices and enough starch to turn that juice into a glossy sauce. If you skip the cornstarch, the fruit can flood the pan and soften the topping from underneath. If you overdo the starch, the filling turns pasty instead of silky, which is why the amount here stays modest and the bake time does the rest.
The other common problem is apples that bake down too fast. A mix of tart, firm apples and sweeter, juicier apples gives you slices that still hold shape under the spoon while the bottom layer turns jammy. That contrast is what makes each bite taste complete.
What the Apples and Oats Are Each Responsible For
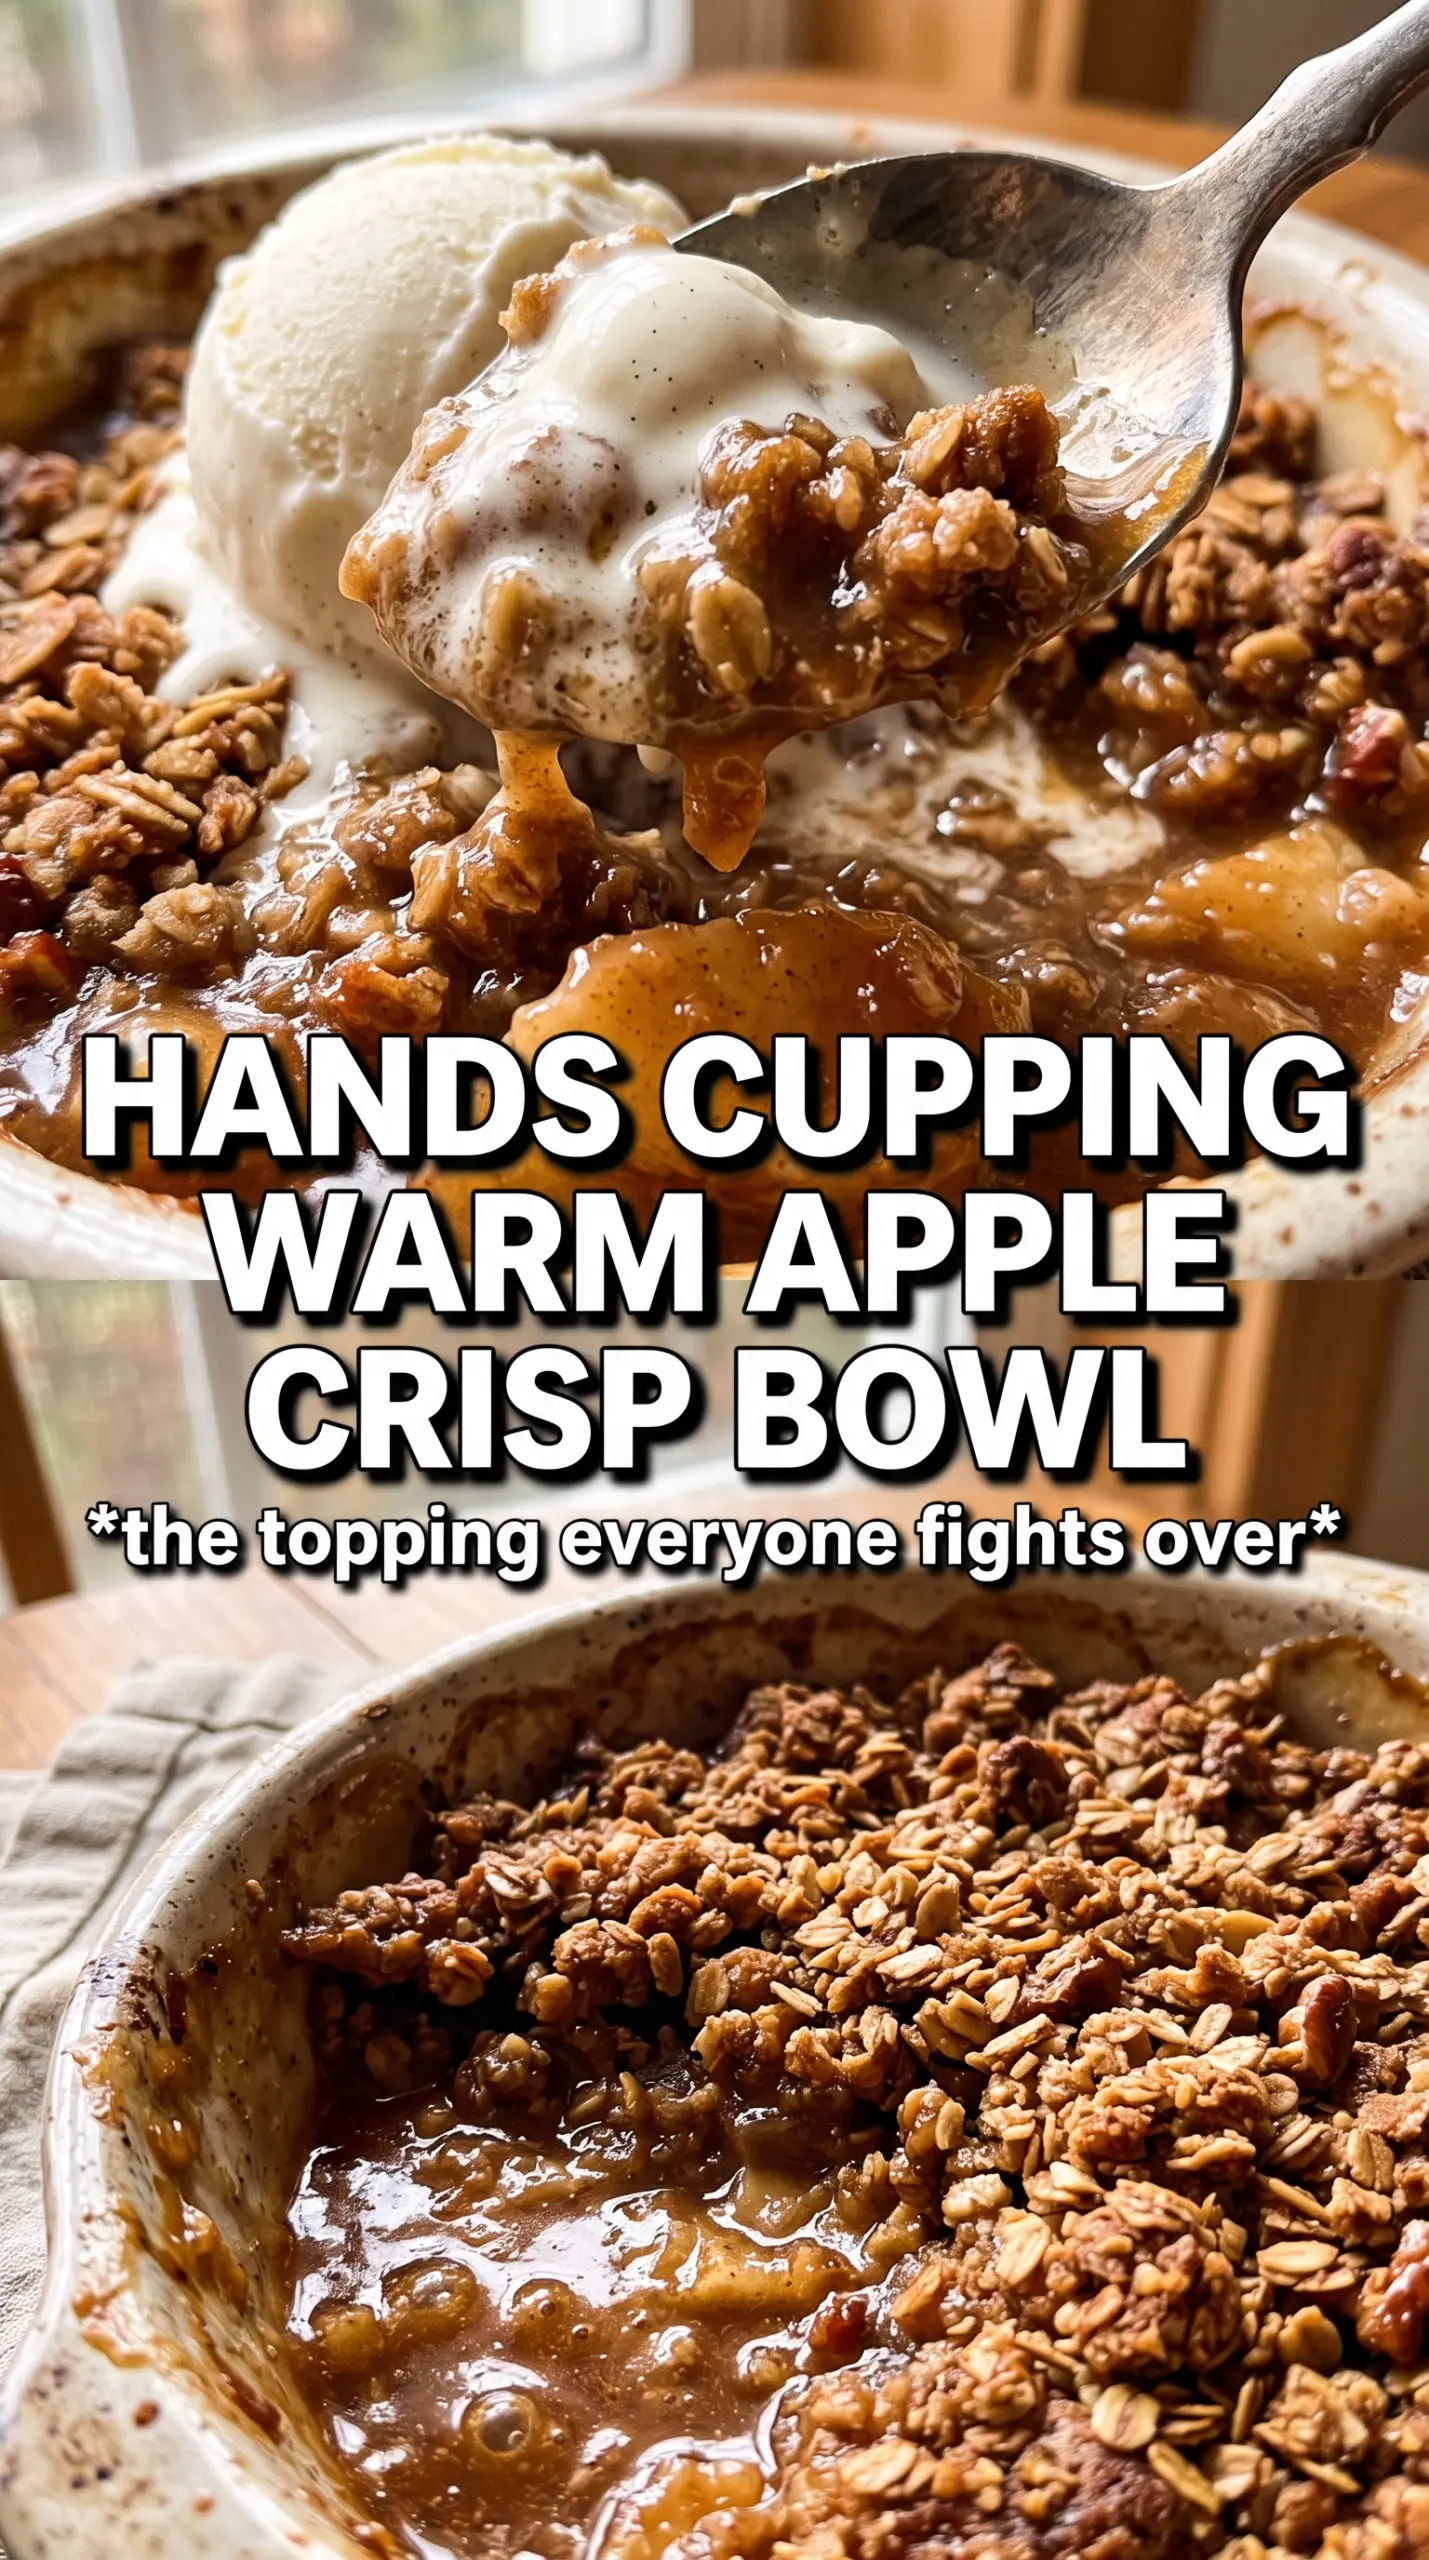
- Granny Smith apples — They stay firm and give the filling some needed sharpness. You can swap in other tart baking apples, but if they’re much softer, the crisp turns mushy instead of spoonable.
- Honeycrisp apples — These bring sweetness and juiciness without collapsing completely. If you only have one apple variety, use an apple that still tastes bright after baking, or the dessert can read flat.
- Cornstarch — This thickens the apple juices as the crisp bakes. Flour can work in a pinch, but it makes the filling a little heavier and less clear.
- Cold butter — Cold butter is what keeps the topping chunky. If it softens before baking, the crumble melts into a paste-like layer instead of forming crisp clumps.
- Rolled oats — They give the topping its nubby texture and that toasted, rustic finish. Quick oats can work, but they make the crumble finer and less crisp.
Building the Crisp So the Topping Stays Chunky
Mix the apples until every slice is coated
Toss the sliced apples with both sugars, cinnamon, nutmeg, cornstarch, and lemon juice until the pieces look evenly slick and lightly dusty at the same time. The cornstarch should cling to the fruit, not sit in dry pockets at the bottom of the bowl. If your apples are cut too thick, they won’t soften in time; too thin, and they collapse before the topping is finished.
Cut the butter in without overworking it
Combine the oats, flour, brown sugar, cinnamon, and salt, then cut in the cold butter until you have clumps the size of peas and small walnuts. Those chunks are what brown into crisp edges. If you rub everything into a fine meal, the topping bakes up sandy and dense instead of craggy.
Bake until the filling is bubbling at the edges
Spread the topping over the apples without pressing it down, then bake until the top is deeply golden and the filling is actively bubbling around the sides of the dish. That bubbling matters because it tells you the starch has thickened and the apples have softened enough. Pull it too early and the center can taste underdone, even if the top looks finished.
Make It With Pears Instead of Half the Apples
Swap in two or three firm pears for some of the apples if that’s what you have. Pears soften faster and bring a honeyed note, so keep the apple count high enough to hold the structure and expect a softer, juicier filling.
Gluten-Free Crisp
Use a good 1:1 gluten-free flour blend in the topping. The texture stays close to the original, though some blends brown a little faster, so start checking the top near the end of the bake time.
Dairy-Free Version
Use a solid dairy-free butter stick, not a tub spread. The stick-style version behaves much more like real butter in the crumble, so you still get those crisp, browned clumps instead of a greasy topping.
Bigger Crowd, Deeper Pan
You can bake this in a deeper casserole dish if you need a thicker dessert, but the bake time stretches a bit and the center will need more time to bubble. Watch the edges and not just the color on top.
Storage and Reheating
- Refrigerator: Store covered for up to 4 days. The topping softens a bit in the fridge, but the flavor stays excellent.
- Freezer: Apple crisp freezes well after baking. Cool completely, wrap tightly, and freeze for up to 2 months; thaw in the fridge before reheating.
- Reheating: Warm in a 325F oven until the filling is hot and the topping crisps back up. The mistake to avoid is the microwave, which softens the crumble and makes the apples loose instead of saucy.