Pumpkin Greek yogurt pancakes come out thick, tender, and lightly spiced, with the kind of fluffy center that still feels substantial on the plate. They’ve got enough pumpkin to taste like more than a plain buttermilk pancake, but the Greek yogurt keeps them from turning heavy or dense.
The trick is balancing moisture with lift. Pumpkin puree brings body, while the yogurt adds tang and protein without thinning the batter too much. The batter looks a little thick at first, and that’s exactly what you want; once it rests for a few minutes, the flour hydrates and the pancakes cook up with rounded tops and soft edges instead of spreading thin.
Below, I’ll show you the small timing detail that keeps these pancakes airy, plus a couple of smart swaps if you need to work with what’s in the fridge.
The batter rested exactly as written and the pancakes puffed up beautifully. They stayed fluffy instead of getting gummy, and the pumpkin flavor came through without tasting too sweet.
Love these fluffy pumpkin Greek yogurt pancakes? Save this stack for a breakfast with extra protein, warm spice, and a honey-drizzled yogurt topping.
The Part That Keeps These Pancakes Fluffy Instead of Heavy
Pumpkin pancakes can turn thick and leaden fast, especially when the batter gets overmixed or the pumpkin ratio gets too high. What keeps this batch light is the combination of Greek yogurt, baking powder, and baking soda working together. The yogurt gives the batter a little acidity, which helps the baking soda do its job, while the pumpkin adds moisture without needing extra liquid. That means you get pancakes that hold their shape on the griddle but still have a soft, tender crumb inside.
The other thing that matters is the rest. A five-minute pause gives the flour time to hydrate, which makes the batter smoother and helps the pancakes cook through before the outside gets too dark. If you skip that rest, the first batch usually spreads more and cooks up a little unevenly in the center.
- Greek yogurt — Use full-fat if you can. It gives these pancakes a creamier batter and a softer texture, and it keeps the tang from getting sharp. Low-fat yogurt works, but the pancakes won’t taste quite as rich.
- Pumpkin puree — Use pure pumpkin, not pumpkin pie filling. Pie filling already has sugar and spice mixed in, which throws off both the flavor and the texture.
- Baking soda + baking powder — You need both here. The baking powder gives lift on its own, and the baking soda reacts with the yogurt for extra rise and a lighter crumb.
- Milk — This loosens the batter just enough to spoon and pour cleanly. If your yogurt is extra thick, start with the lower end of the milk amount and add a splash only if the batter feels pasty.
What Each Ingredient Is Actually Doing in This Recipe
- Primary ingredient (the star) — Quality matters most. Choose the best you can find.
- Cooking medium (oil, butter, or broth) — This carries flavors and prevents dryness.
- Seasonings (salt, pepper, spices, herbs) — Layer flavors so nothing overpowers. Build depth gradually.
- Aromatics (garlic, onion, herbs) — Cook with fat to bloom flavors. Become the foundation.
- Supporting ingredients — Complement the main ingredient without overpowering it.
- Sauce or liquid (if applicable) — Brings flavors together. Balance richness with acid.
- Acid (lemon, vinegar, wine, or other) — Brightens and prevents flat-tasting results.
- Final finish (garnish, glaze, or sauce) — Prevents one-dimensional taste and adds visual appeal.
Building the Batter So the Griddle Does Its Best Work
Whisk the Dry Ingredients First
Stir the flour, baking powder, baking soda, spices, sugar, and salt together until the color looks even. That keeps the leaveners distributed so the pancakes rise evenly instead of puffing in spots. If you see little pockets of cinnamon or baking soda, keep whisking. Dry ingredients that aren’t fully combined can leave bitter streaks or uneven browning.
Mix the Wet Ingredients Until Smooth
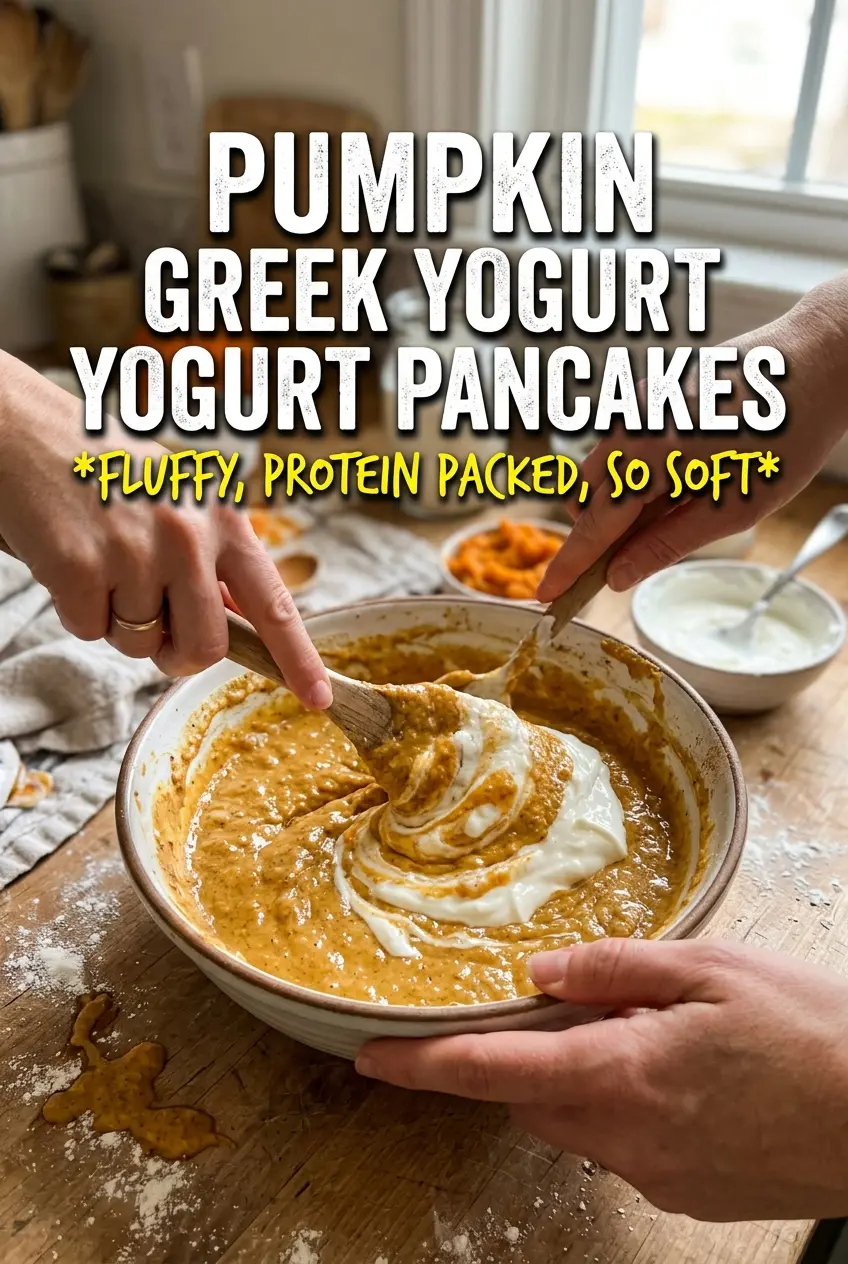
Whisk the pumpkin, Greek yogurt, milk, eggs, melted butter, and vanilla until the mixture looks thick but completely smooth. The butter should be warm, not hot, or it can seize when it hits the yogurt. If your wet mixture looks a little lumpy at this stage, the pumpkin probably wasn’t whisked thoroughly enough, and those lumps can stay visible in the finished pancakes.
Fold, Rest, and Stop Early
Pour the wet mixture into the dry ingredients and fold just until the flour disappears. A few streaks are fine. Overmixing builds gluten and makes pancakes chewy instead of tender, which is the fastest way to ruin a batter like this. Let it sit for 5 minutes; by then it should look slightly fuller and less glossy, which is your cue that it’s ready for the pan.
Cook Over Medium Heat, Not Hotter
Lightly grease a skillet and keep the heat at medium. Scoop about 1/4 cup batter for each pancake and leave enough room to flip easily. You’re looking for bubbles across the surface and edges that look set, not just browned underneath. If the outside is dark before the center firms up, the heat is too high and the pancakes will stay damp in the middle.
Finish With the Right Toppings
Serve the pancakes right away with plain Greek yogurt and a drizzle of honey or maple syrup. The cool yogurt keeps the pumpkin spice from feeling one-note, and the sweetness on top should stay light rather than soaking the whole stack. If you want the pancakes to stay crisp at the edges, don’t cover them while they sit. Steam softens them fast.
How to Adjust These Pancakes Without Losing the Fluffy Texture
Make Them Dairy-Free
Swap the Greek yogurt for a thick unsweetened dairy-free yogurt and use plant milk in place of the milk. The texture will still be tender, though the pancakes lose a little of that tangy richness that makes the original stand out. Choose a yogurt that’s actually thick; thin coconut or almond yogurt can make the batter spread too much.
Use Whole Wheat Flour Without Making Them Dense
Replace up to half of the all-purpose flour with whole wheat flour. That adds a nuttier taste and a little more heft, but too much whole wheat can make the pancakes dry and heavy. If the batter feels thicker after the swap, add a tablespoon or two of milk so it still pours slowly off the spoon.
Turn Them Into a Bigger-Batch Brunch Staple
Double everything and keep the cooked pancakes warm on a rack in a 200°F oven while you finish the batch. A rack matters because it keeps the bottoms from getting soggy. Stack them on a plate and they’ll steam into each other before you ever get to the table.
Storage and Reheating
- Refrigerator: Store leftovers in an airtight container for up to 3 days. They soften a bit as they sit, but the flavor stays good.
- Freezer: Freeze in a single layer, then transfer to a bag or container for up to 2 months. Separate layers with parchment so they don’t stick together.
- Reheating: Warm in a toaster oven, skillet, or microwave. The best texture comes from a dry heat method, because microwaving alone can make the pancakes rubbery and damp.
Questions I Get Asked About This Recipe
Pumpkin Greek Yogurt Pancakes
Ingredients
Equipment
Method
- In a mixing bowl, whisk together all-purpose flour, baking powder, baking soda, pumpkin pie spice, cinnamon, sugar, and salt until evenly combined.
- In a second bowl, whisk pumpkin puree, plain Greek yogurt, milk, eggs, melted butter, and vanilla extract until smooth.
- Fold the wet mixture into the dry mixture just until combined, then let the batter rest for 5 minutes.
- Heat a lightly greased skillet over medium heat until hot.
- Pour about 1/4 cup batter per pancake and cook for 2-3 minutes, until bubbles form on the surface and the edges look set.
- Flip and cook for 2 minutes more, until cooked through and golden.
- Serve the pancakes with a dollop of plain Greek yogurt drizzled with honey, and maple syrup on the side.