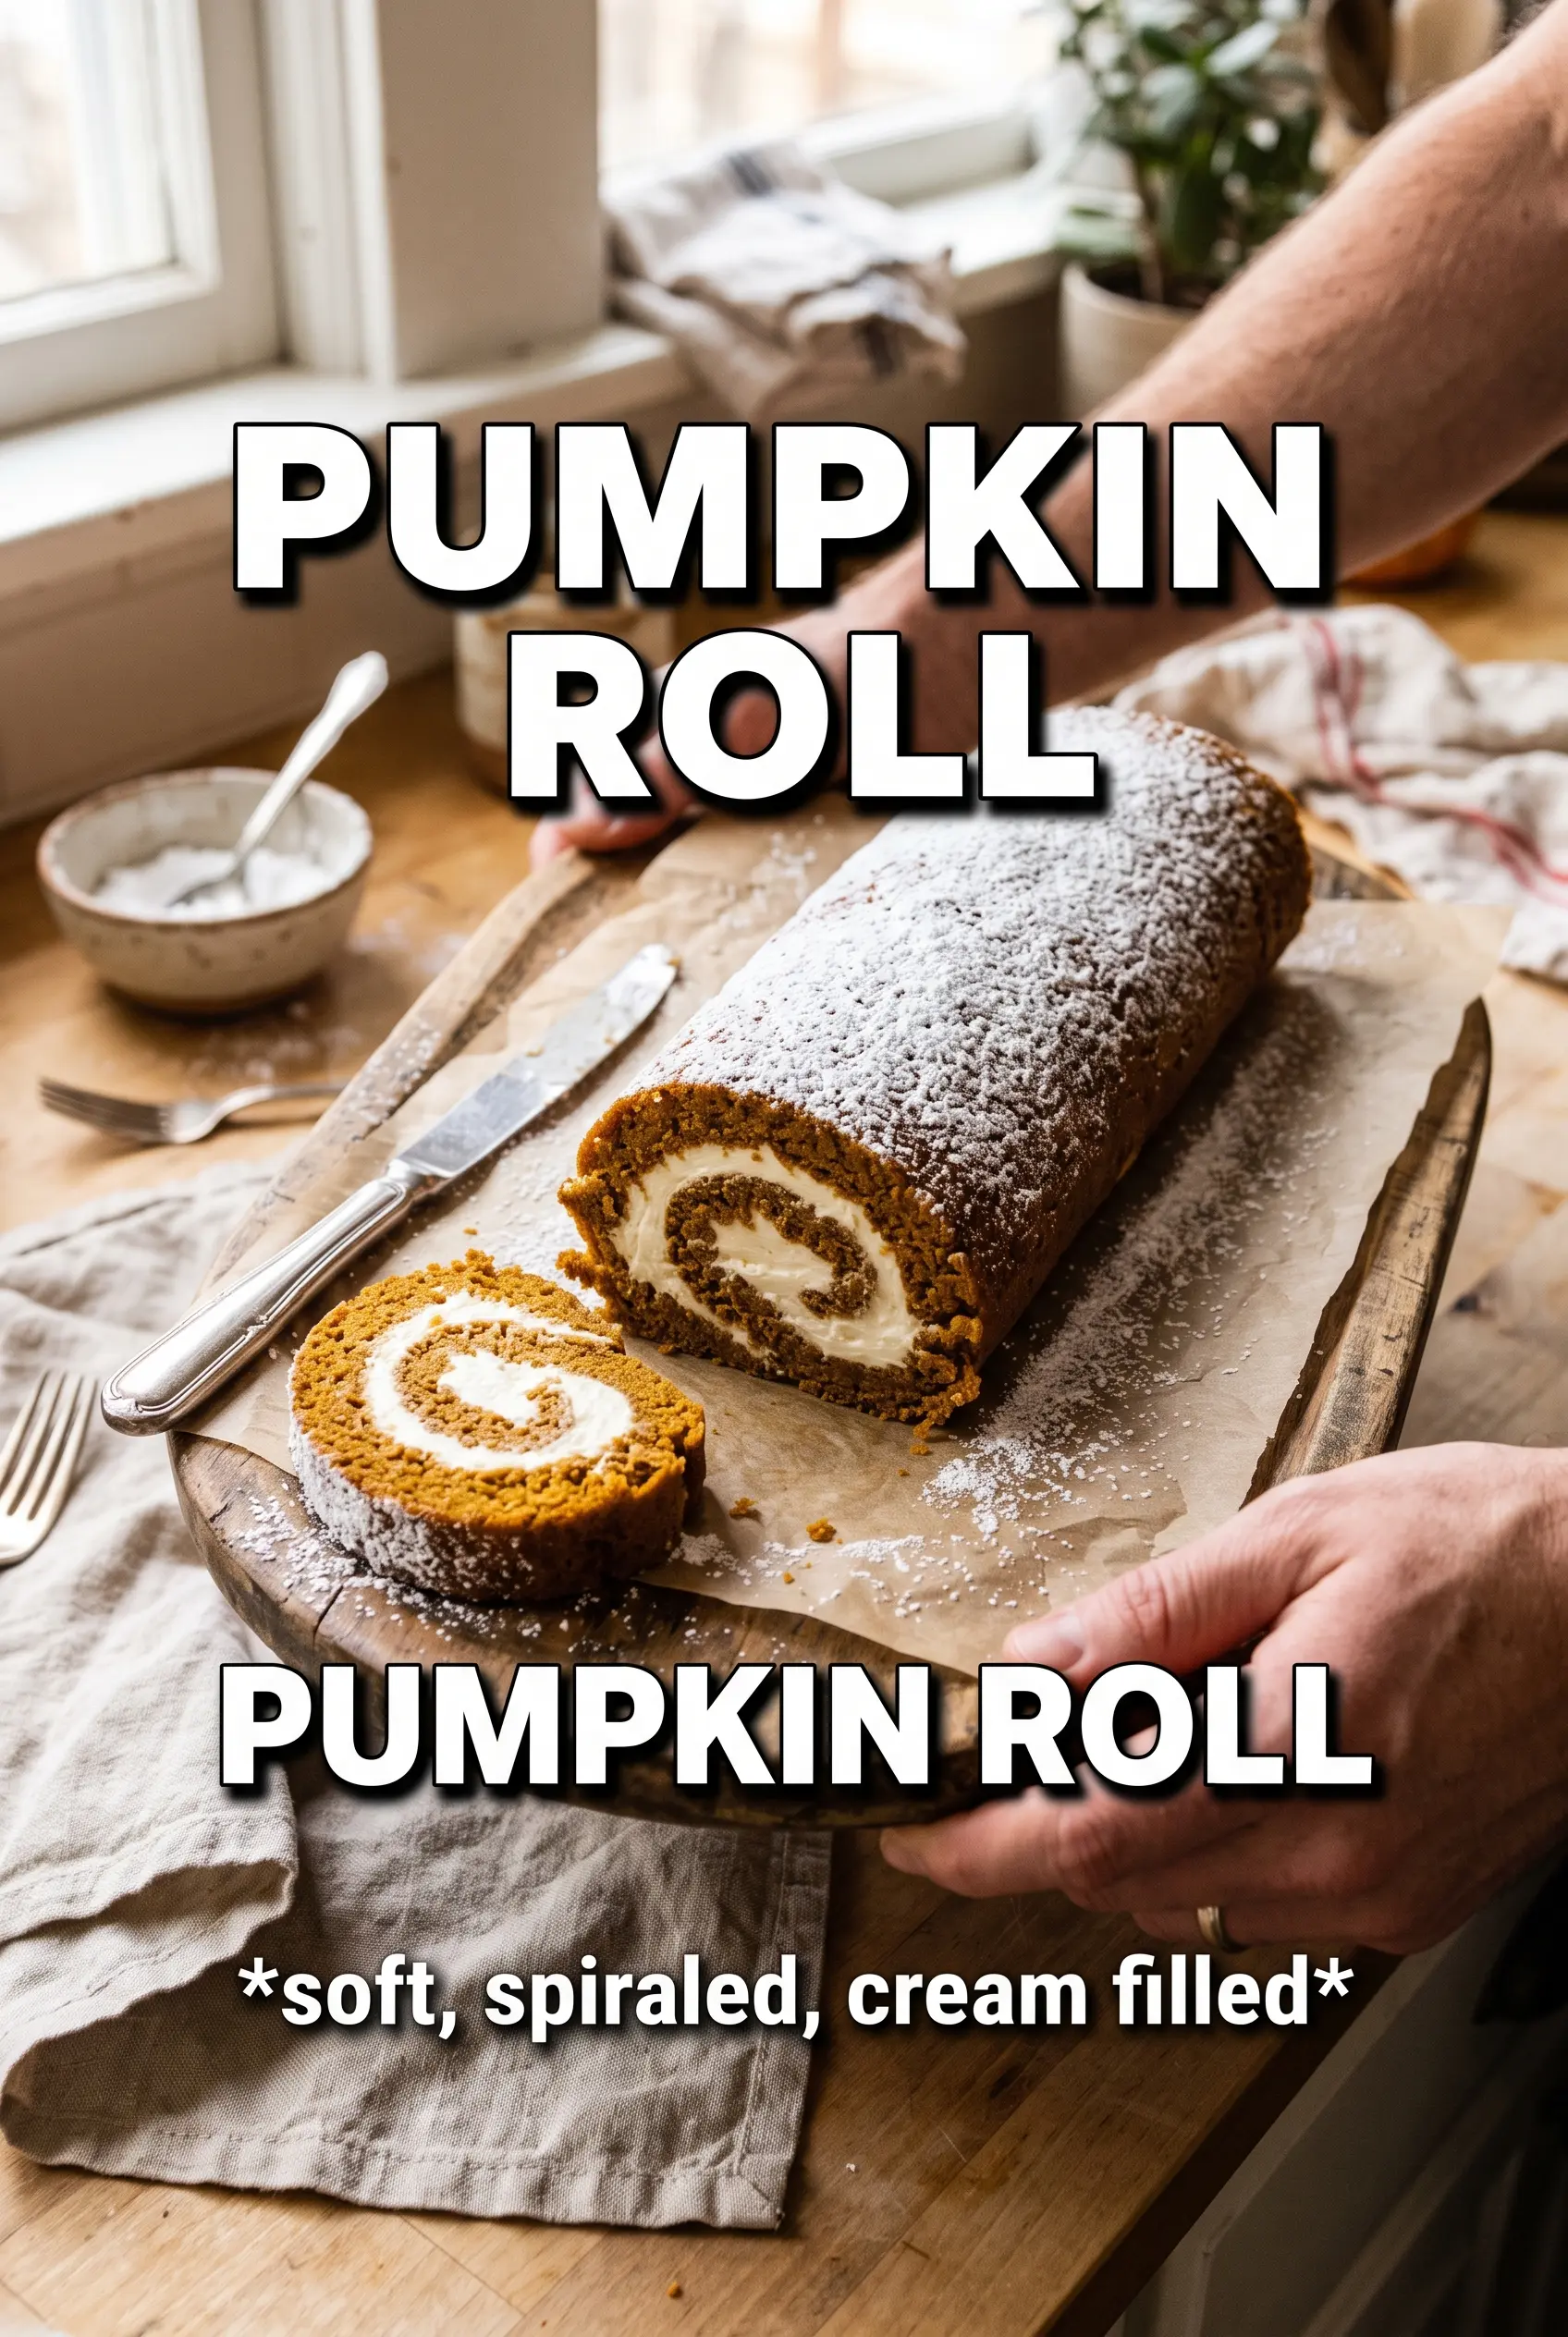
Pumpkin roll slices cleanly when the cake stays soft and the filling sets into a cool, tangy ribbon. The spiral looks bakery-fancy, but what keeps people coming back is the contrast: spiced pumpkin cake that bends instead of cracks, and cream cheese filling that tastes rich without turning heavy. When it’s chilled and dusted with powdered sugar, every slice holds its shape and the edges stay neat.
The part that makes this version work is the quick bake and the fast roll. A jelly roll pan gives you a thin cake that cooks before it dries out, and rolling it in a powdered sugar-dusted towel while it’s still warm teaches the cake its shape before the filling goes in. The filling also needs to be smooth and spreadable, not fluffy or loose, so it stays put when you slice the roll.
Below, I’ve included the part most people skip: how to keep the cake from cracking, plus a few smart swaps and storage notes so you can make it ahead without losing that clean spiral.
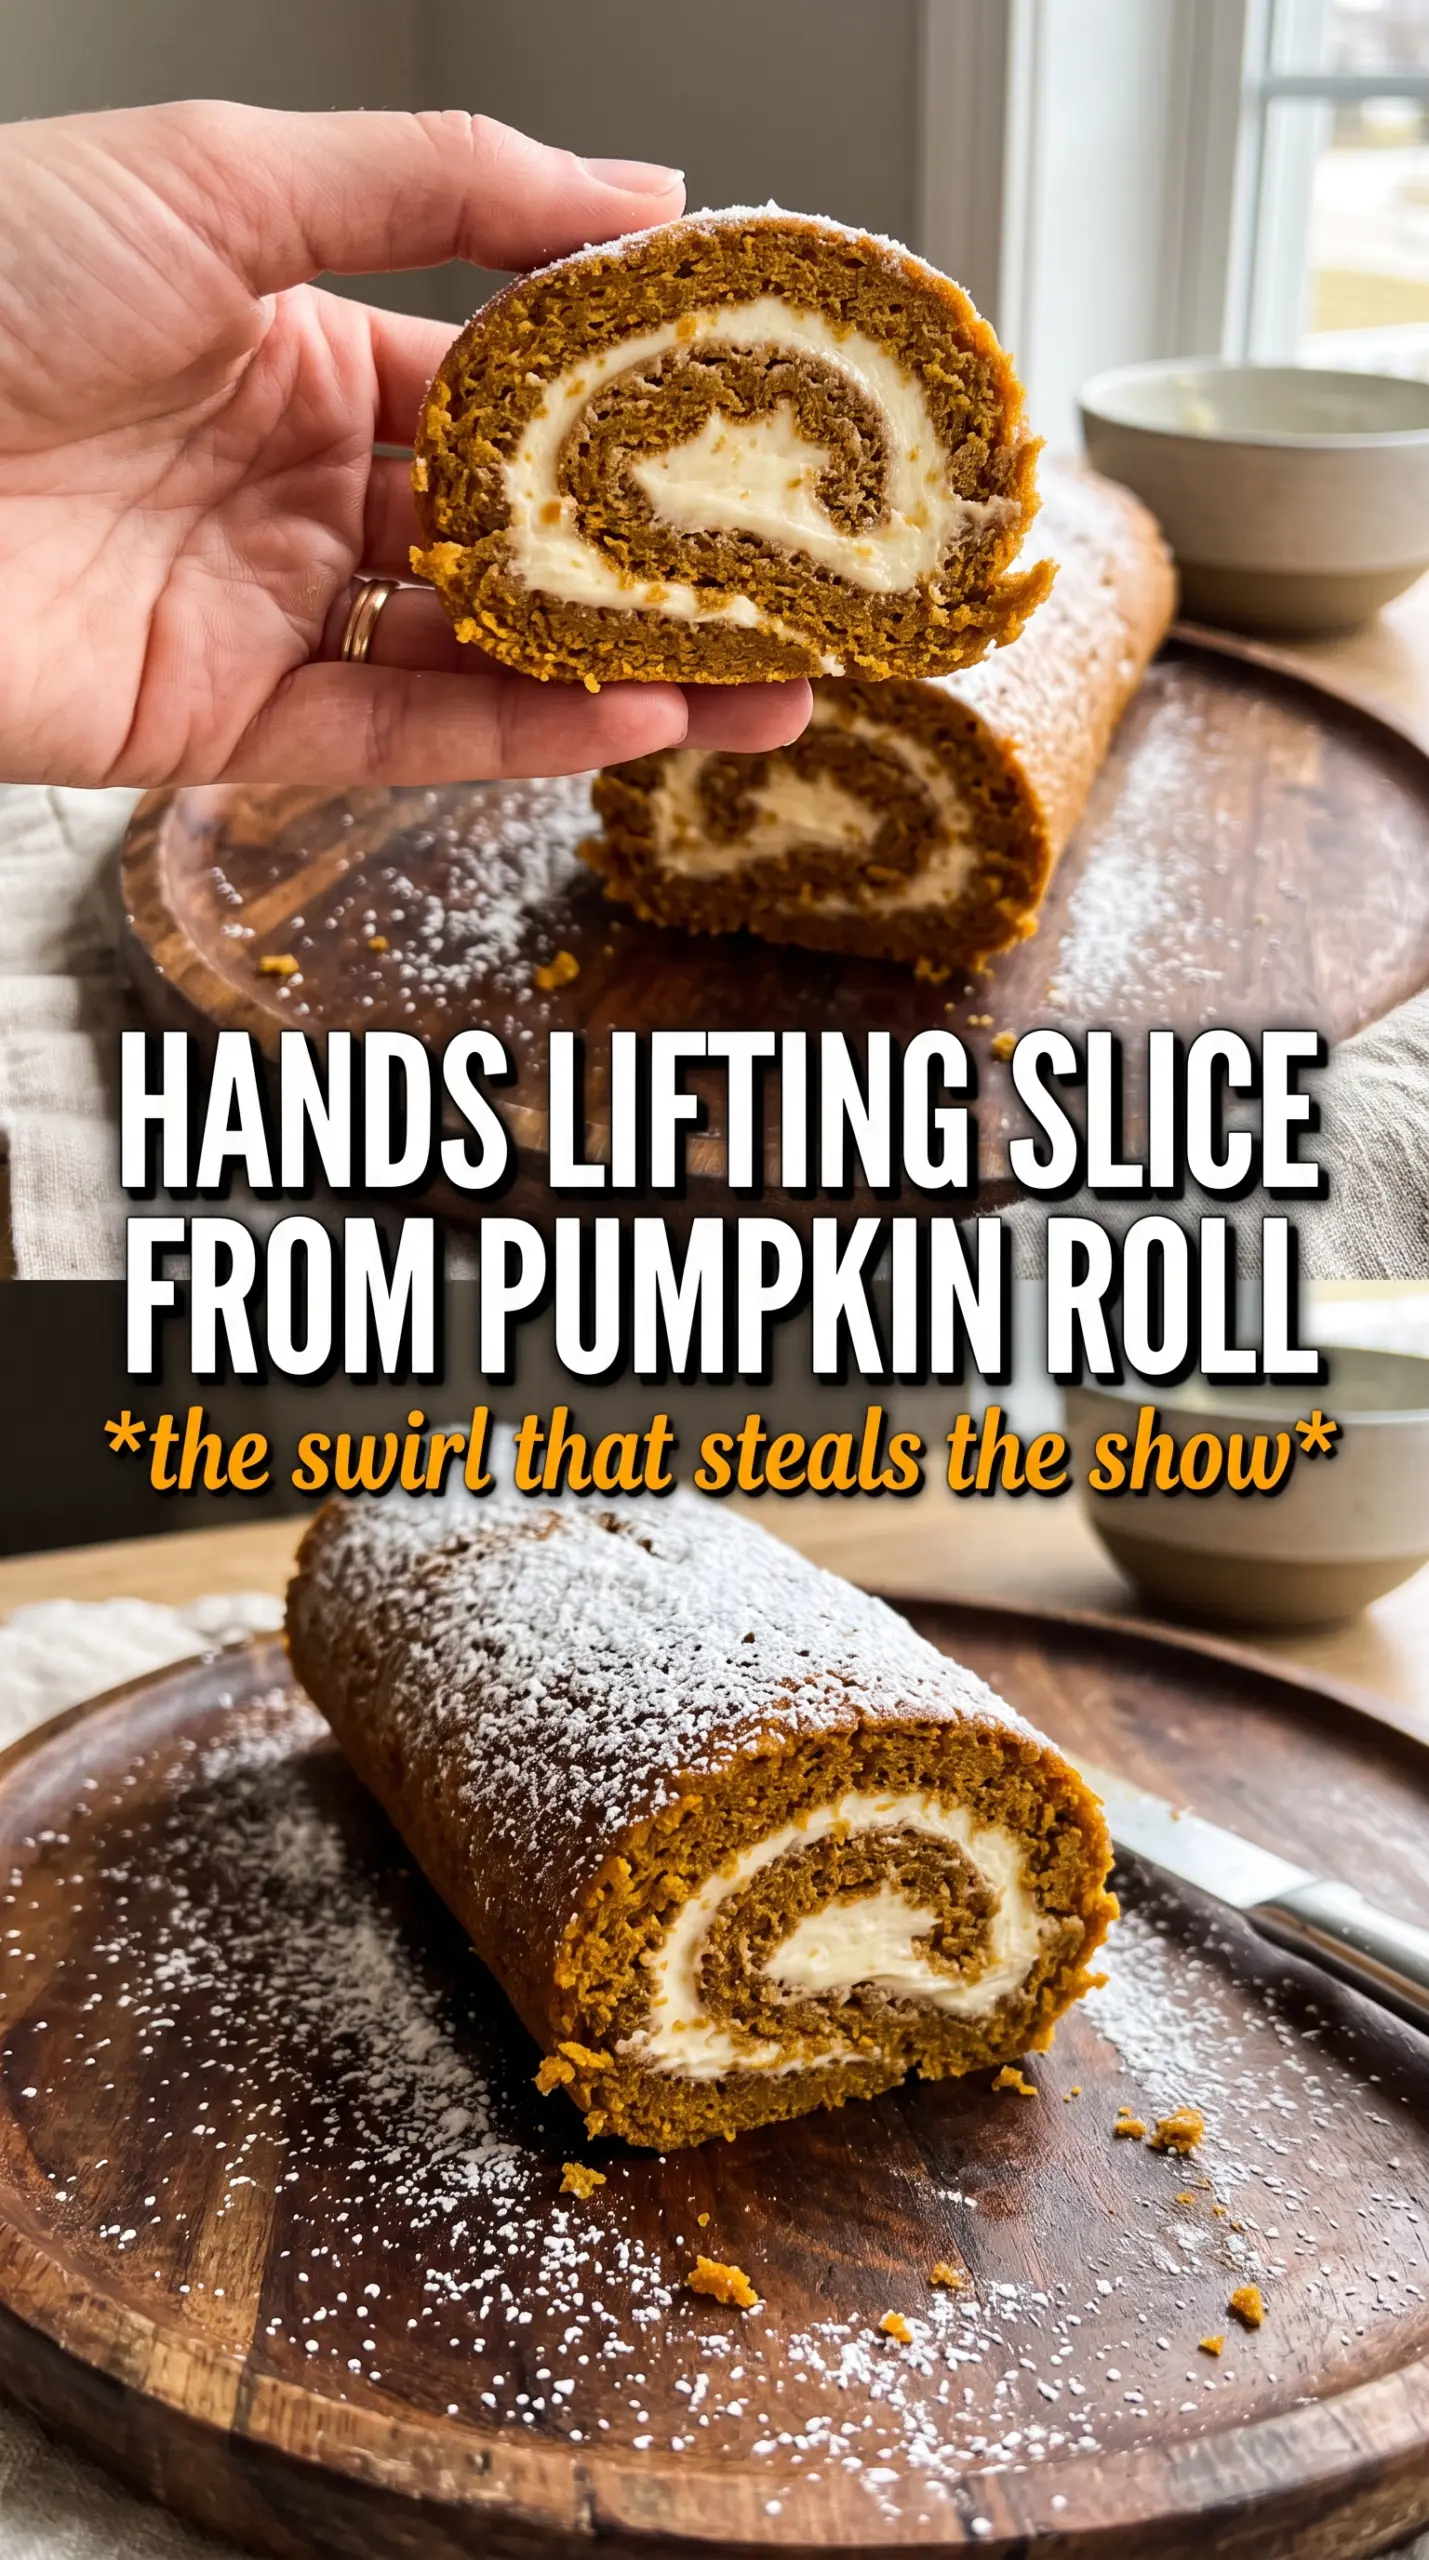
The cake rolled up without a single crack, and the cream cheese filling stayed thick and smooth after chilling. I dusted it right before serving and the slices looked like they came from a bakery.
Save this pumpkin roll for the next time you want a clean swirl, soft sponge cake, and that classic cream cheese filling in one slice.
The Roll That Breaks When the Cake Is Too Dry
Pumpkin roll usually cracks for one of two reasons: the cake bakes a minute too long, or it cools flat before it gets its first shape. That thin sponge has almost no margin for error. It needs to come out when the center springs back and the top loses its wet shine, then go straight onto a powdered sugar towel and get rolled while it’s still warm enough to bend.
The other mistake is overloading the cake with filling. This isn’t a layer cake. A thin, even spread gives you a tight spiral and keeps the ends from squishing out when you slice it. If the cake feels a little fragile when you unroll it later, that’s normal. The towel roll did its job.
- Quick bake, not long bake — The cake should be set in the middle and just pulling away from the pan edges. Overbaking dries the surface and turns a flexible sponge into a brittle one.
- Warm rolling matters — Rolling the cake in the towel while warm trains it to hold the spiral later. If you wait until it’s fully cool, it resists and cracks at the tightest point.
- Thin filling layer — Spread the filling to the edges in a thin, even coat. Too much filling makes the roll bulge and slide instead of slicing cleanly.
What Each Ingredient Is Actually Doing in This Pumpkin Roll
- Pumpkin puree — This brings moisture and that dense pumpkin flavor, but it’s also what keeps the cake soft enough to roll. Use pure pumpkin, not pumpkin pie filling, or the sugar and spice balance will be off.
- Eggs and sugar — Beating these until pale and thick adds the structure that a flour-heavy cake doesn’t need. That extra air helps the sponge stay tender instead of tight.
- Flour, baking powder, and baking soda — The flour gives the cake its body, while both leaveners keep it light enough to roll. Too much flour makes the cake stiff, so measure carefully.
- Cream cheese and butter — This filling needs both. Cream cheese gives the tang and firm set, while butter helps it spread smoothly without tearing the cake. Let both soften first or you’ll end up with lumps.
- Powdered sugar — This does two jobs: it sweetens the filling and helps keep the outside of the cake from sticking to the towel during the first roll. It’s worth dusting generously.
Rolling, Filling, and Chilling Without Losing the Spiral
Building the Cake Base
Start by beating the eggs and sugar until the mixture looks lighter in color and thicker than when it started. That extra volume matters because the cake itself is thin. Fold in the dry ingredients just until no streaks remain, then stop; overmixing knocks out the air and makes the cake tougher. Spread the batter all the way into the corners of the pan so the roll has an even thickness from end to end.
Turning the Cake Into a Roll
As soon as the cake comes out, invert it onto a towel dusted with powdered sugar and peel off the parchment while the cake is still hot. Roll it up from the short end in the towel, not tightly enough to compress it but firmly enough to shape it. If the edges look a little uneven, that’s fine. The main goal is to lock in the curve before the cake cools and stiffens.
Filling and Finishing
Beat the filling until it’s smooth and spreadable, then unroll the cooled cake gently. If a small crack appears, don’t panic; a thin layer of filling can hide minor damage. Spread the filling almost to the edges, leaving just a slim border so it doesn’t squeeze out when you roll it back up. Chill the finished roll for at least an hour before slicing, because the cold filling is what gives you those neat spirals instead of a messy slump.
How to Adapt This Pumpkin Roll Without Ruining the Texture
Gluten-Free Version
Use a 1:1 gluten-free baking flour that includes xanthan gum. The cake will still roll, but it may be a touch more delicate, so don’t overbake it and handle it with the towel roll while it’s warm. A dry gluten-free blend without binders tends to crack more.
Lighter Dairy-Free Filling
Swap in a plant-based cream cheese and dairy-free butter alternative in equal amounts. The filling will be a little softer, so chill it before spreading if your kitchen runs warm. The tang stays, but the texture is slightly less firm when sliced.
Extra-Spiced Pumpkin Roll
Add another 1/2 teaspoon cinnamon or a pinch of cloves to the cake if you want a stronger spice edge. Keep the filling as written so it still balances the cake instead of competing with it. Too much spice in both layers can make the roll taste sharp instead of rounded.
Make-Ahead for a Crowd
Bake and fill the roll the day before serving, then leave it wrapped and chilled overnight. The flavor settles in and the slices cut even cleaner the next day. Dust with powdered sugar right before serving so the top stays fresh-looking instead of damp.
Storage and Reheating
- Refrigerator: Store covered for up to 4 days. The cake stays soft, and the filling firms up enough for clean slices.
- Freezer: Freeze the whole roll or individual slices tightly wrapped for up to 2 months. Thaw in the refrigerator so the filling doesn’t weep.
- Reheating: This dessert is best served chilled or at cool room temperature. Reheating softens the filling too much and can make the spiral collapse, so let slices sit out for 10 to 15 minutes instead.
Questions I Get Asked About This Pumpkin Roll
Pumpkin Roll
Ingredients
Equipment
Method
- Preheat oven to 375°F. Grease a 15x10 jelly roll pan, line with parchment, then grease again.
- Beat the eggs and granulated sugar until light. Mix in pumpkin puree and vanilla until smooth.
- Fold in all-purpose flour, baking powder, baking soda, pumpkin pie spice, cinnamon, and salt. Mix just until no dry streaks remain.
- Spread the batter evenly in the prepared pan. Bake for 11-13 minutes, until the center springs back when lightly touched.
- Invert the cake onto a powdered sugar-dusted towel. Peel off the parchment while the cake is still warm.
- Roll the cake in the towel from the short end. Cool completely while rolled so it holds the spiral shape.
- Beat the cream cheese filling ingredients until smooth: cream cheese, powdered sugar, unsalted butter, vanilla, and cinnamon. Scrape down the bowl to ensure a lump-free filling.
- Unroll the cooled cake and spread the filling evenly. Re-roll without the towel into a tight spiral.
- Refrigerate the pumpkin roll for 1 hour. Dust generously with powdered sugar before slicing and serving.