Pumpkin cheesecake lands in that perfect middle ground between silky and sturdy: rich enough to slice cleanly, soft enough to melt on the tongue, and spiced just enough to taste like fall without drowning the cream cheese. The gingersnap crust matters here. It gives every bite a dark, toasty snap that keeps the filling from feeling too sweet or one-note.
What makes this version work is balance. Pumpkin puree brings flavor and color, but it also adds moisture, so the batter needs the full chill time to set properly. Sour cream keeps the filling tangy and smooth, while the water bath protects the custard from overbaking and cracking. If you’ve had pumpkin cheesecake turn grainy, sink in the center, or weep after chilling, the method below solves those problems.
Below, I’ve broken down the one detail that keeps the texture creamy, what each ingredient is doing in the pan, and the small process cues that tell you when to stop baking before the cheesecake crosses from custard to dry.
The filling baked up smooth and never cracked, and the gingersnap crust stayed crisp even after chilling overnight. I served it with a little cinnamon on top and my brother asked for a second slice before dinner was even over.
Save this pumpkin cheesecake for the next time you want a silky filling, a crisp gingersnap crust, and a clean slice that holds its shape.
The Trick to a Cheesecake That Sets Without Cracking
A pumpkin cheesecake can look done long before it’s actually set. The edges will firm up first, and the center will still wobble a little like soft custard. That’s the cue to stop baking. If you wait until the center is fully firm in the oven, it will overbake as it cools and turn dense instead of creamy.
The water bath does two jobs here. It keeps the heat gentle and even, and it helps the top bake without drying out before the center catches up. The other detail that matters is the oven rest with the door cracked. That slow cooldown keeps the cheesecake from shocking and splitting across the top.
- Softened cream cheese blends into a smooth batter without lumps. Cold cream cheese leaves little bits that never fully disappear.
- Eggs added one at a time give the batter time to emulsify. Dumping them in all at once can make the filling look loose and uneven.
- Pumpkin puree adds body and flavor, but it also brings moisture. That’s why the long chill isn’t optional.
- Gingersnap crust holds up better than a plain graham crust under this filling and gives the slice a stronger spice note.
What Each Ingredient Is Actually Doing in This Pumpkin Cheesecake
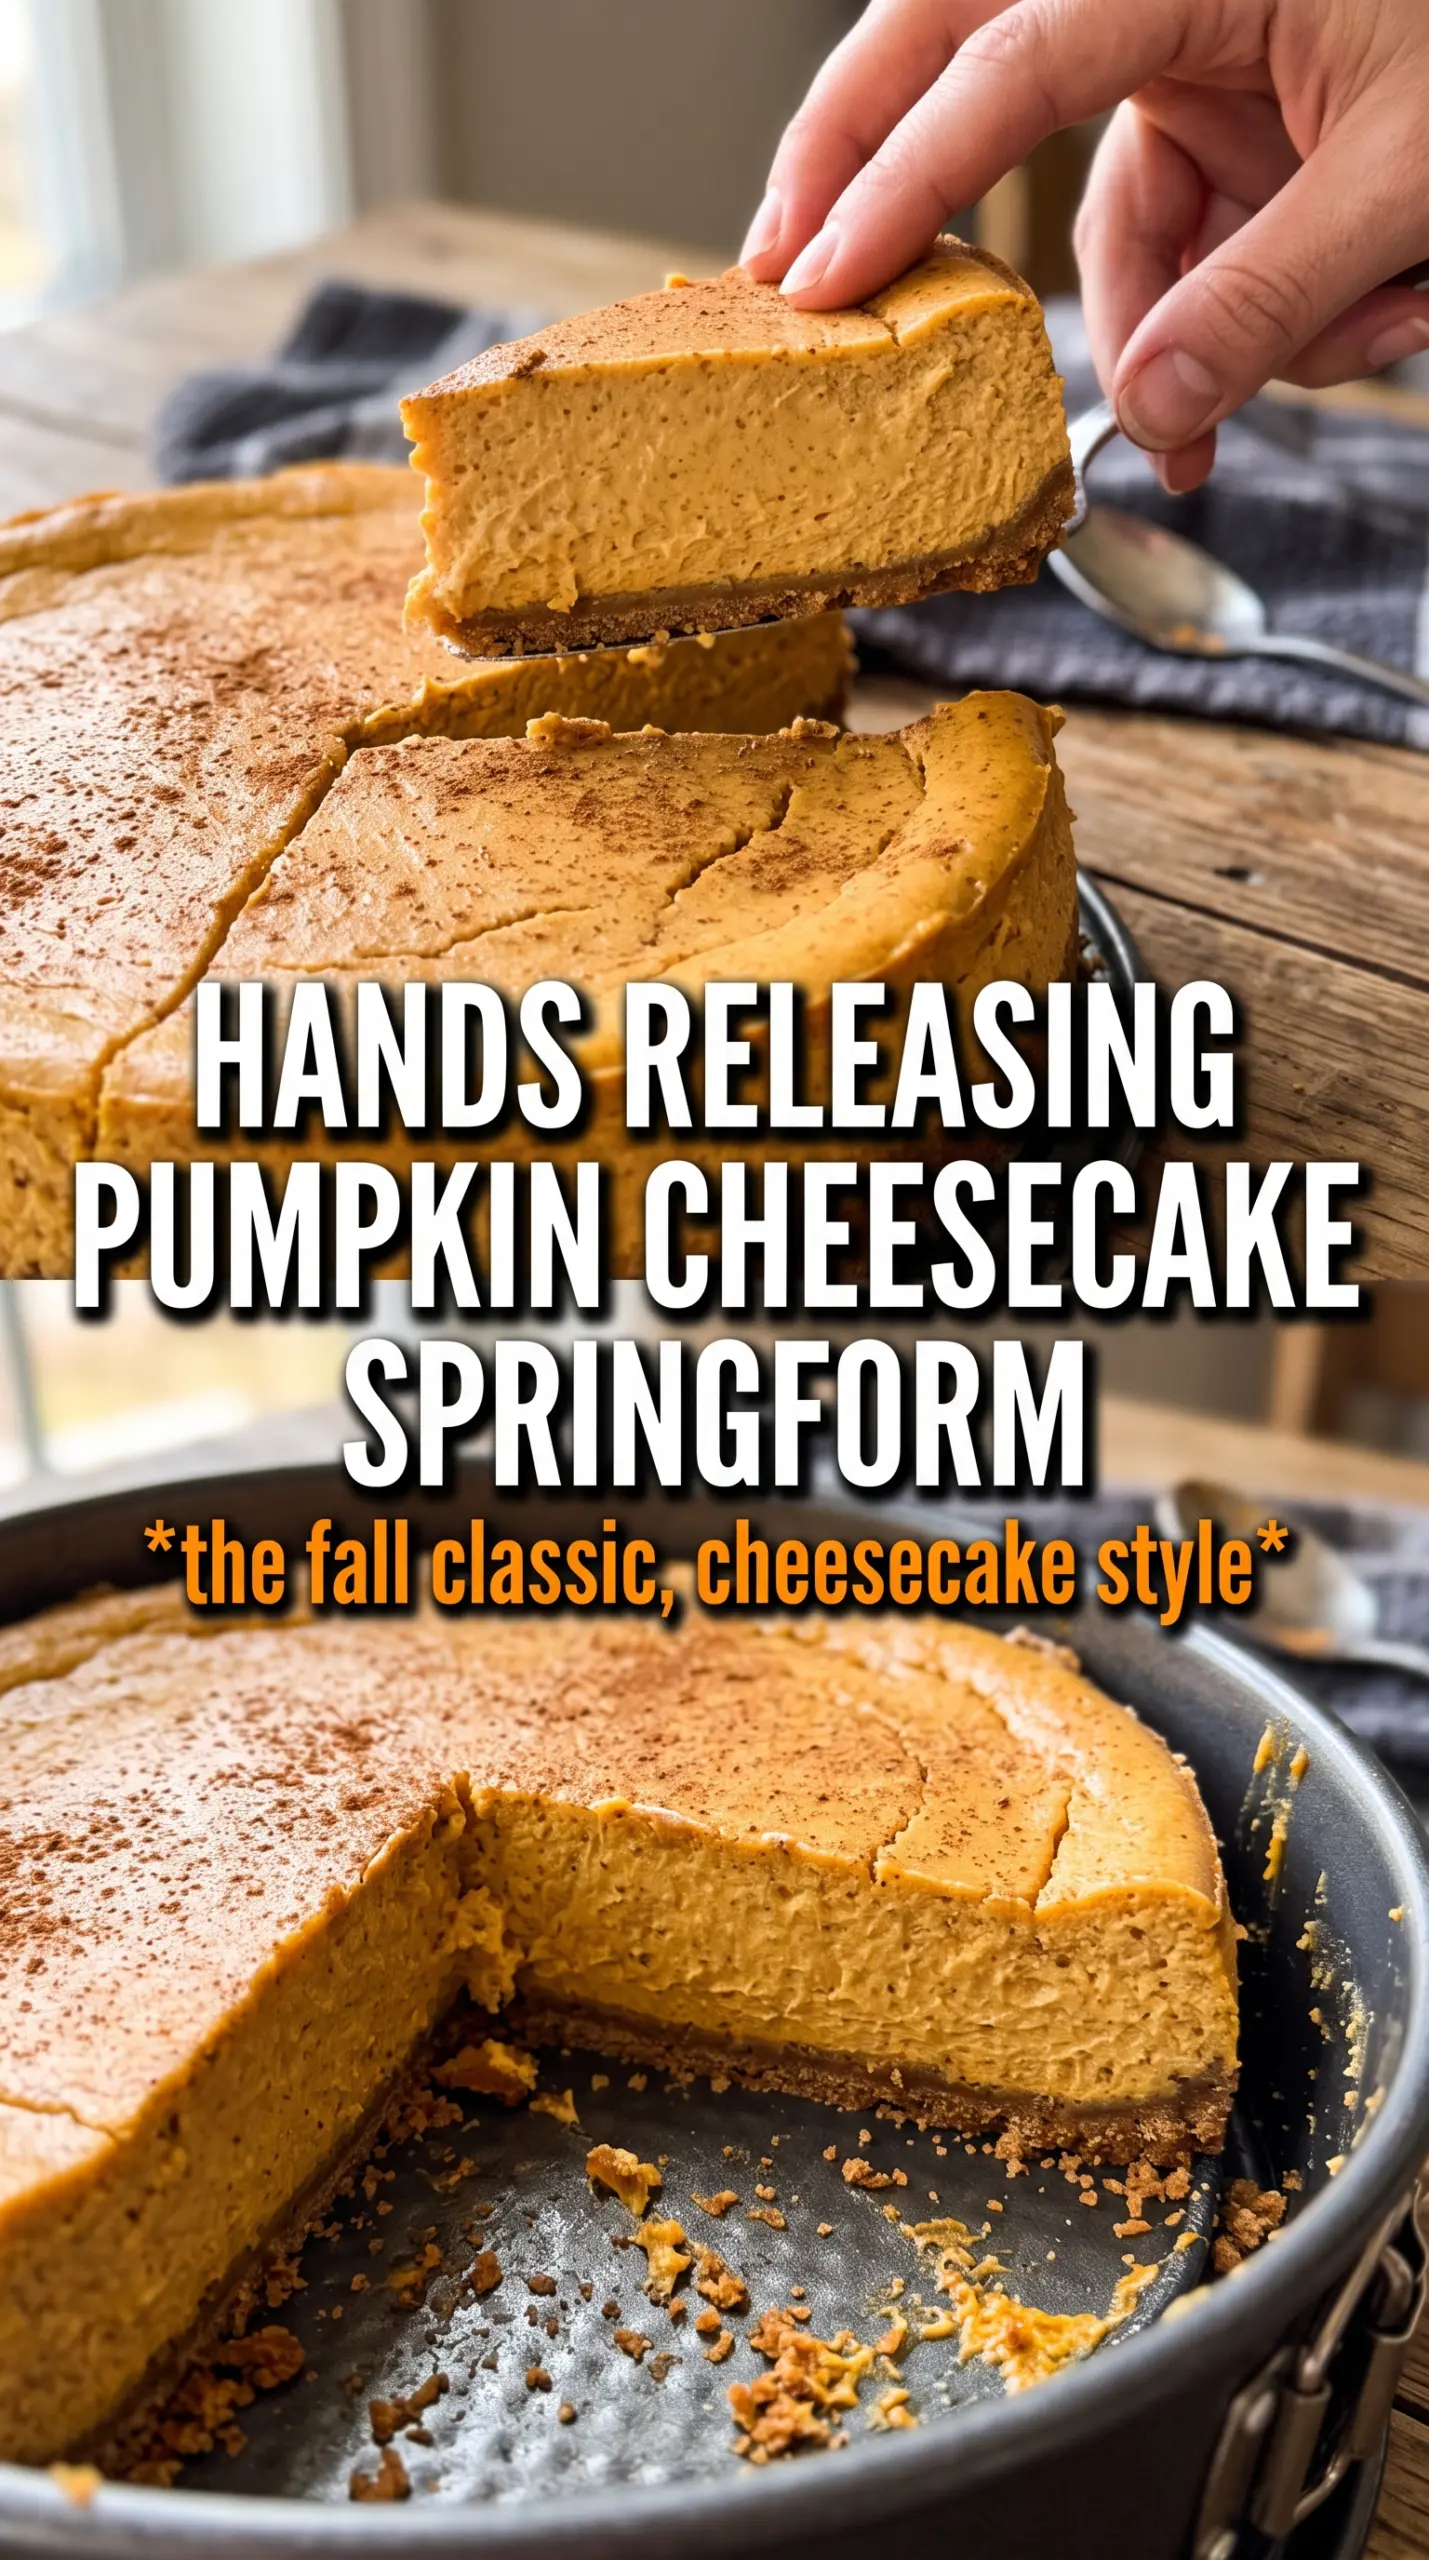
- Gingersnap crumbs bring structure and a deeper spice than graham crackers. Use store-bought crumbs if that’s what you have, but crush them finely so the crust packs tightly.
- Granulated sugar in the crust helps it bake into a firmer base. It also balances the sharpness of the gingersnap spice.
- Brown sugar adds a mellow caramel note to the filling. Packed light or dark both work here.
- Cream cheese is the backbone of the cheesecake, so use full-fat blocks, not tub spread. The lower-water version gives you the cleanest set.
- Pumpkin puree should be plain pumpkin, not pumpkin pie filling. Pie filling already has sugar and spice mixed in, which throws off both texture and seasoning.
- Sour cream keeps the filling supple and adds a subtle tang. If you need a swap, plain full-fat Greek yogurt works, but the flavor will be a little sharper.
- Pumpkin pie spice and cinnamon layer the warmth without making the filling taste overloaded. If your spice blend is old, the cheesecake will taste flat no matter how good the rest is.
Building the Filling So It Stays Silky
Pressing and Prebaking the Crust
Mix the gingersnap crumbs, sugar, and melted butter until the crumbs look evenly damp, then press them firmly into the springform pan. Bake it for 10 minutes so the crust sets before the filling goes in. If you skip that short bake, the bottom can go sandy once the cheesecake chills. Let it cool just enough to stop steaming before you pour in the batter.
Whipping the Batter Without Adding Air
Beat the cream cheese with both sugars until the mixture looks completely smooth and glossy, with no little cream cheese specks left behind. Add the eggs one at a time and mix just until each one disappears. Once the eggs are in, switch to a gentler hand. Too much whipping traps air, and that air expands in the oven and can leave the top puffy and prone to cracking.
Baking to the Right Jiggle
Pour the batter over the crust, set the pan in the water bath, and bake until the edges look set and the center still moves slightly when you nudge the pan. That wobble should look like soft Jell-O, not liquid slosh. If the whole cheesecake wobbles, it needs more time. When it’s ready, turn the oven off, crack the door, and let it rest for an hour before cooling completely and chilling.
How I’d Adapt This for Different Kitchens and Schedules
Gluten-Free Crust Swap
Use certified gluten-free gingersnap cookies or gluten-free graham-style crumbs in the crust. The texture stays crisp as long as the crumbs are fine and the butter is measured carefully; too much butter makes the base greasy instead of firm.
Dairy-Free Version
Use dairy-free cream cheese and a plant-based sour cream with a thick, tangy profile. The result will still slice well, but it won’t be quite as rich, so chill it fully before serving and don’t expect the same creamy tang from the original.
Make-Ahead Timing
This cheesecake is better the next day, not just acceptable the next day. Bake it the day before you need it, chill it overnight, and add whipped cream right before serving so the top stays neat.
Extra-Spiced Version
If you like a bolder spice note, add a small pinch of ground ginger or cloves. Keep it restrained. Too much spice can drown out the pumpkin and make the cheesecake taste dry even when the texture is perfect.
Storage and Reheating
- Refrigerator: Store covered for up to 5 days. The crust softens slightly, but the flavor stays excellent.
- Freezer: This freezes well. Chill first, then wrap individual slices tightly and freeze for up to 2 months. Thaw in the refrigerator, not on the counter, so the filling doesn’t weep.
- Reheating: Cheesecake is best served cold or barely cool, not heated. If you want to soften a slice, let it sit at room temperature for 20 to 30 minutes. Warming it in the microwave can break the texture and make the filling go oily.
Answers to the Questions Worth Asking
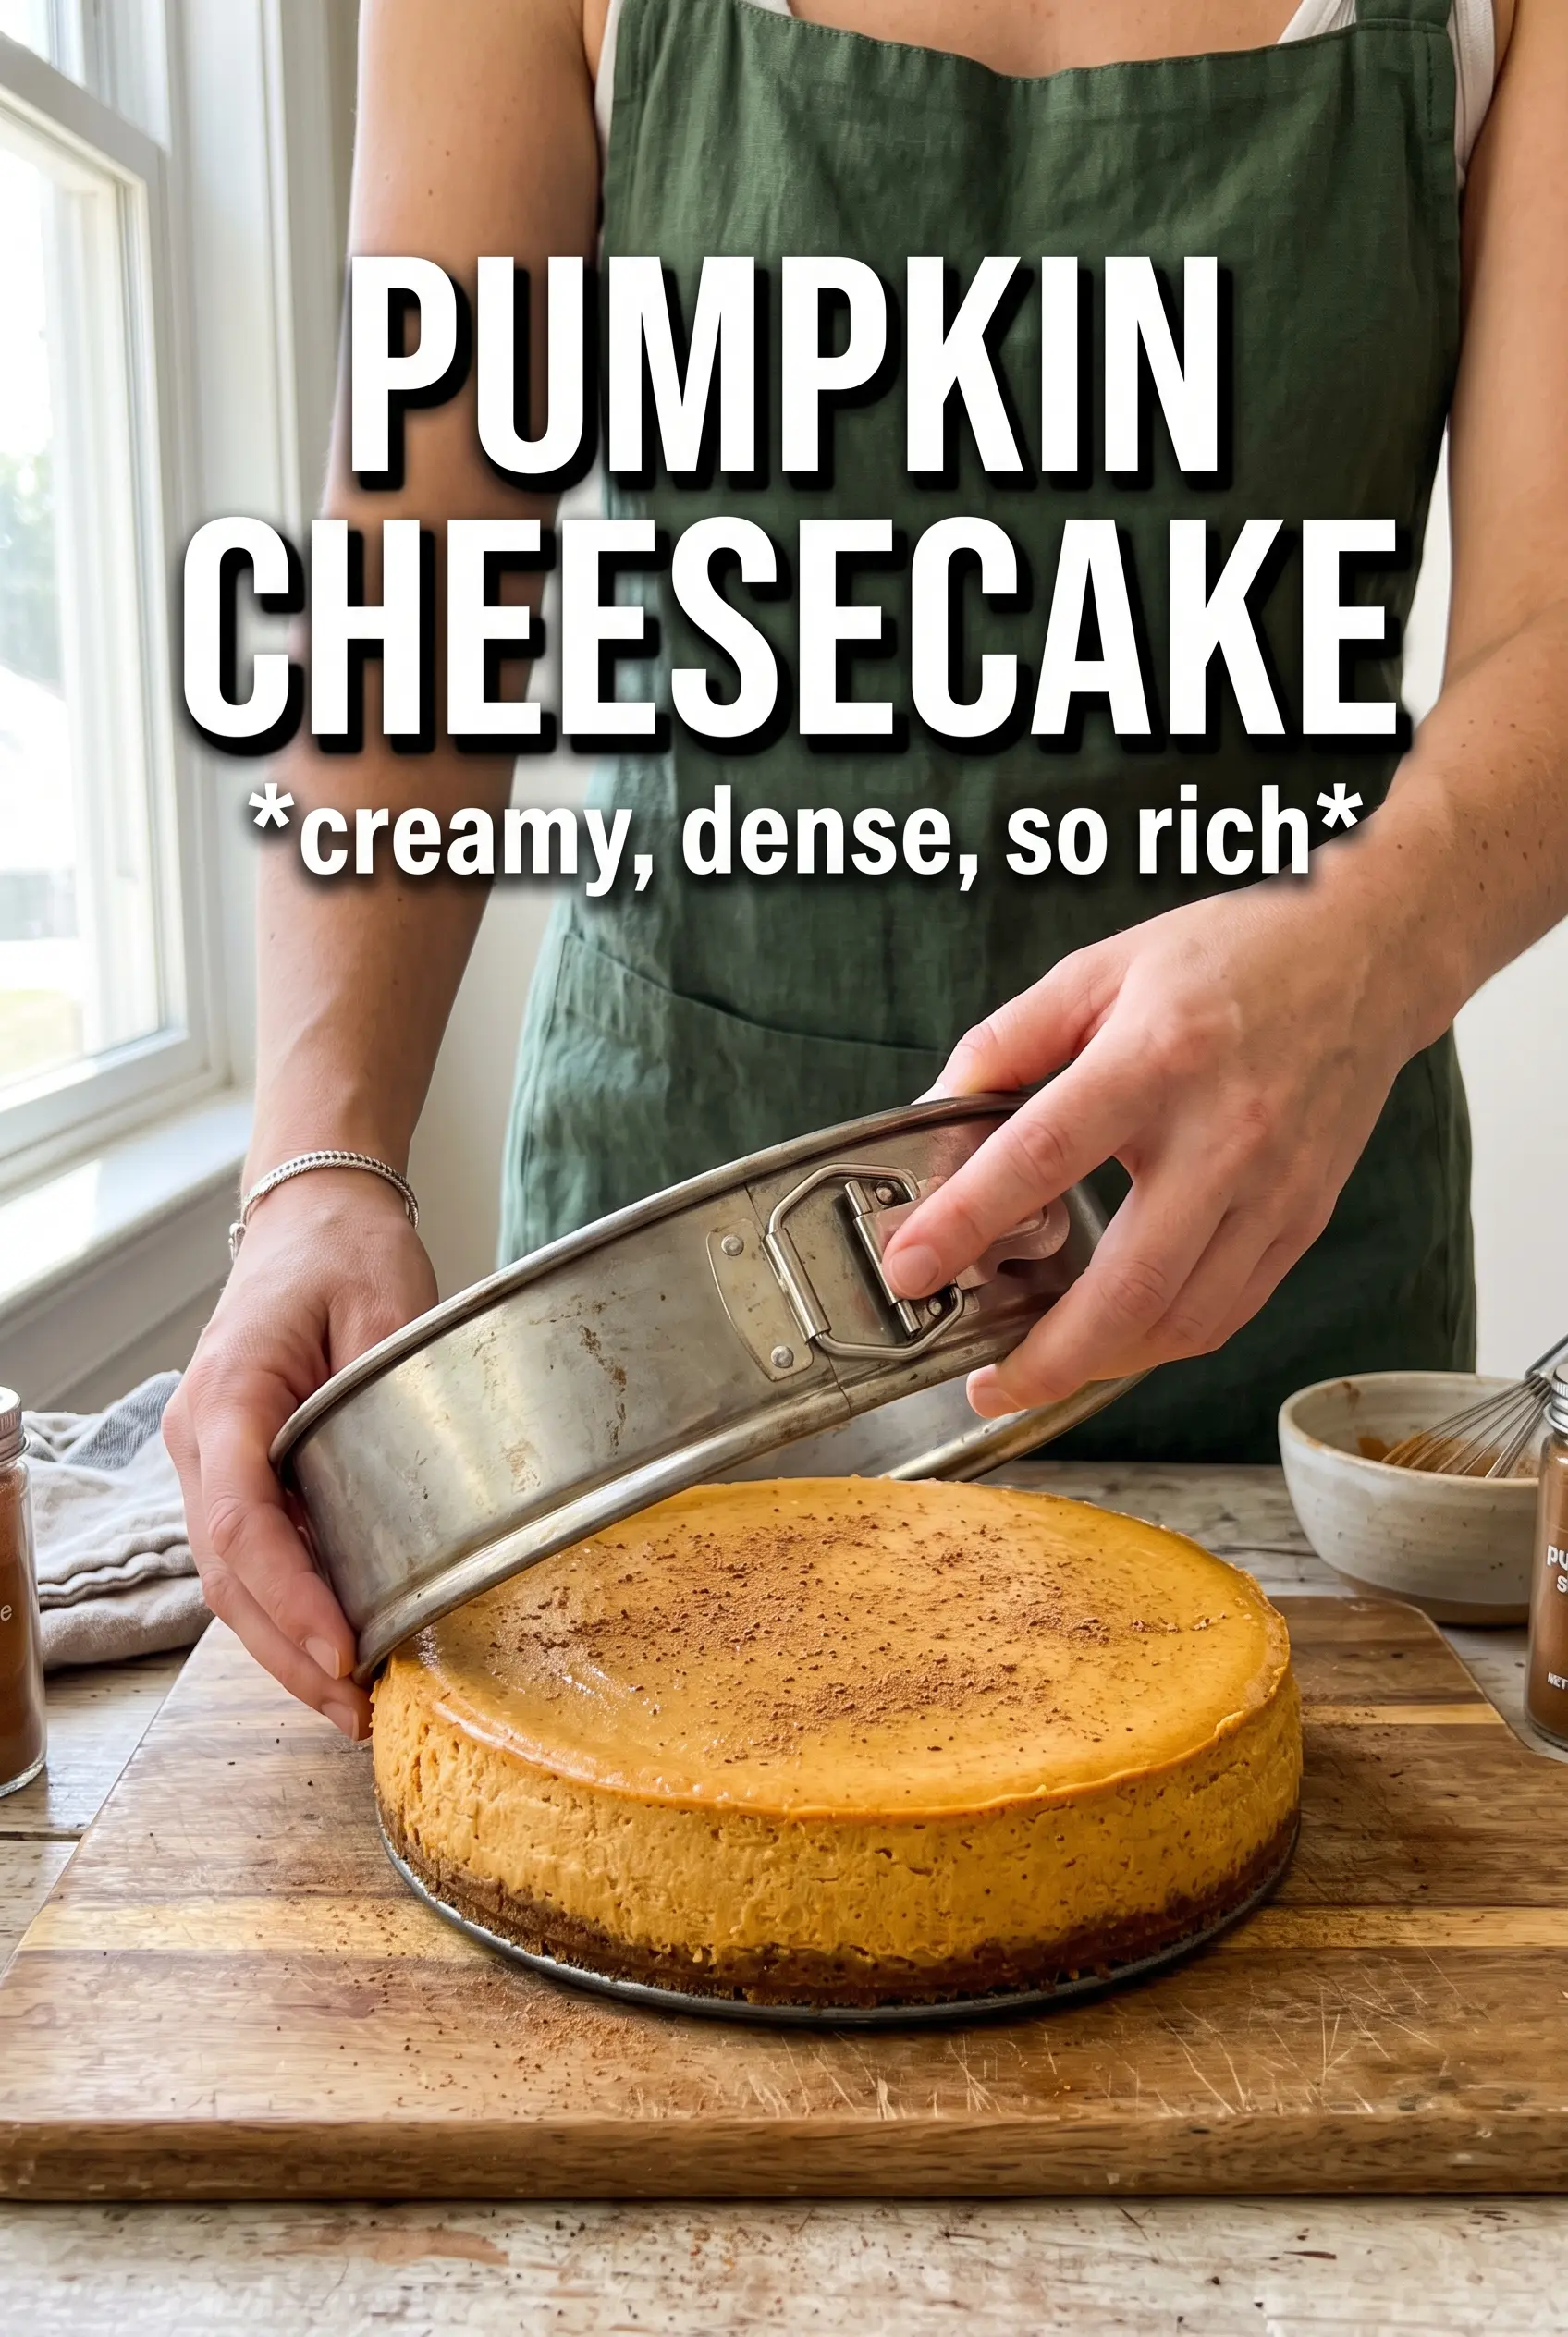
Pumpkin Cheesecake
Ingredients
Equipment
Method
- Preheat the oven to 325F. Press the gingersnap crumbs, sugar, and melted butter into a 9-inch springform pan and bake for 10 minutes.
- Remove the crust from the oven and cool slightly while you prepare the filling. Leave the oven at 325F for baking the cheesecake.
- Beat the softened cream cheese with both sugars until completely smooth. Scrape the bowl to ensure no lumps remain.
- Add the eggs one at a time, mixing just until each egg disappears. Avoid overmixing so the batter stays smooth.
- Mix in the pumpkin puree until fully combined. The batter should look uniform and thick.
- Mix in the sour cream until smooth and creamy. Stop when you no longer see streaks.
- Mix in the pumpkin pie spice, cinnamon, and vanilla extract. Continue until the batter is evenly spiced, with a consistent color.
- Pour the filling over the baked crust. Tap the pan gently on the counter to settle the surface.
- Place the springform pan in a water bath on a sheet pan. Keep the water level below the rim to prevent leaks.
- Bake for 60-65 minutes at 325F. Look for set edges with a center that has a slight wobble when the pan is gently shaken.
- Turn the oven off and crack the door. Rest the cheesecake in the oven for 1 hour, using the closed-door warmth to prevent sudden cooling.
- Cool the cheesecake completely at room temperature. Keep it covered loosely to reduce condensation.
- Refrigerate the cheesecake for 6 hours or overnight. Chill until fully firm for clean slices.
- Serve each slice with whipped cream and a dusting of cinnamon. Finish right before serving so the topping stays fresh.