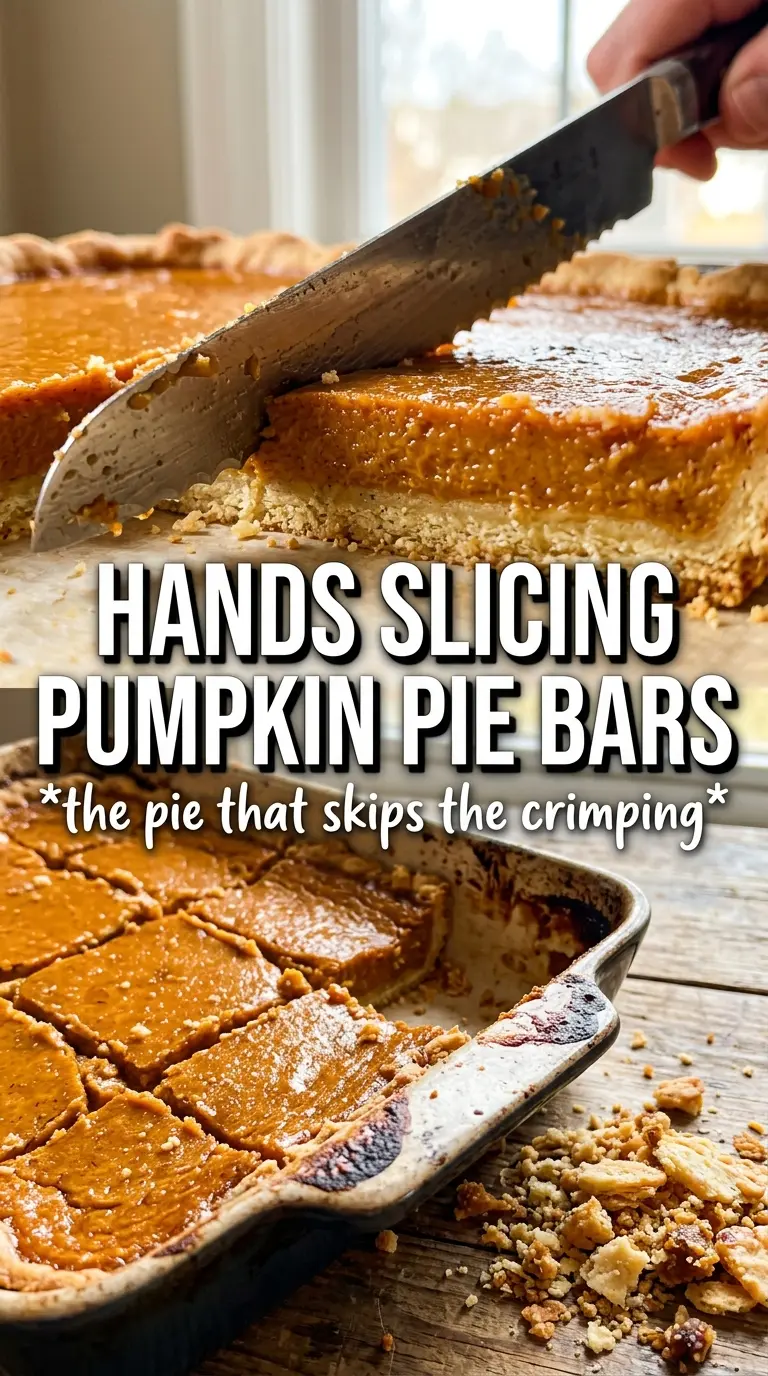
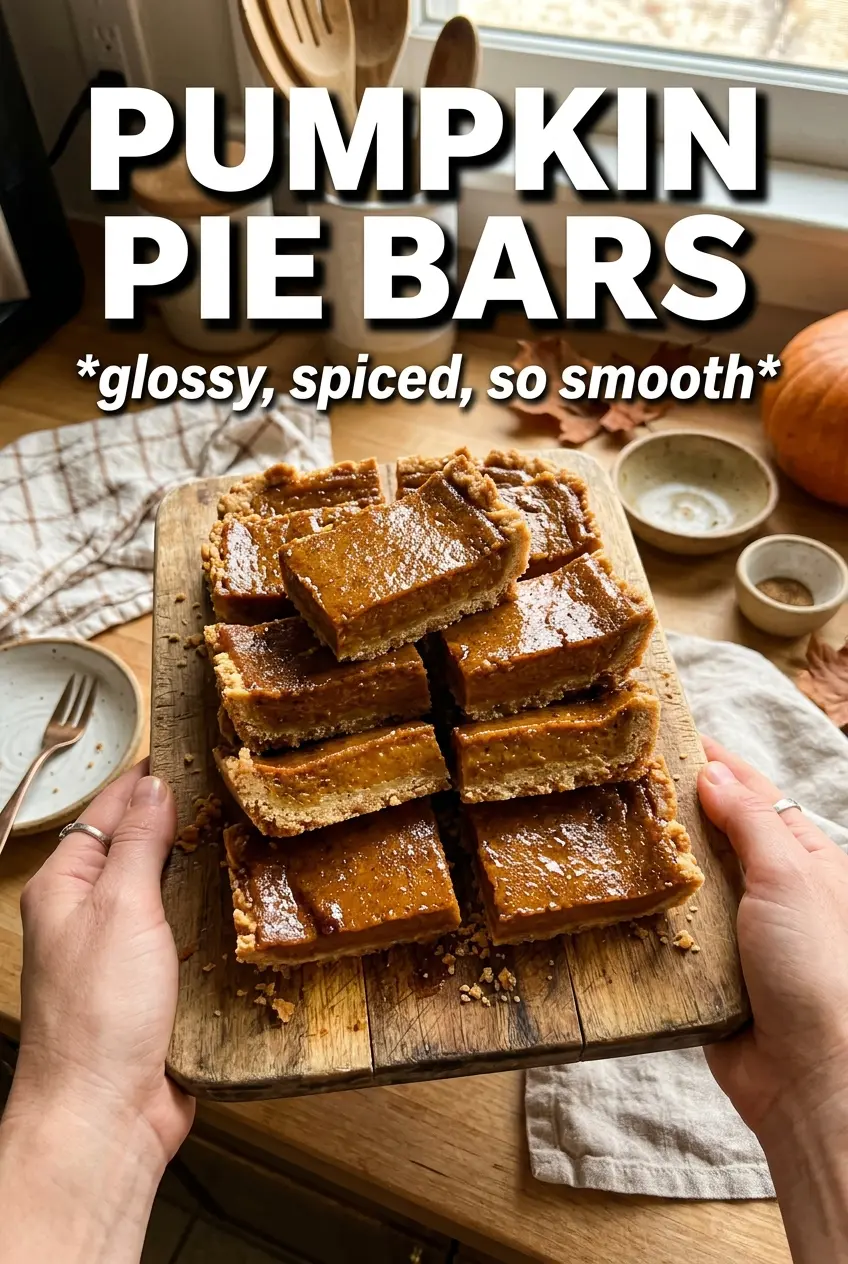
These pumpkin pie bars give you everything people love about a classic pie, but with a sturdier crust and clean, square slices that are easier to serve. The filling sets into a smooth, custardy layer that still tastes rich and spiced, while the shortbread base stays crisp enough to stand up under whipped cream. You get all the familiar pumpkin pie comfort without worrying about a cracked top, a soggy bottom, or a messy first slice.
The crust matters here. A cold butter shortbread base bakes up tender and buttery, and it needs that 15-minute head start so it doesn’t turn pasty under the filling. The filling also behaves best when the dry spices are whisked into the eggs and evaporated milk until completely smooth, since any streaks or lumps show up once it bakes. The temperature change from 425°F to 350°F is not just a formality either; that first blast helps the custard set, then the gentler heat finishes it without curdling the edges.
If you’ve ever wished pumpkin pie was easier to portion for a crowd, the notes below will help you get neat bars, a clean cut, and the right doneness every time.
The crust stayed crisp under the pumpkin layer, and the bars cut beautifully after chilling. I topped them with whipped cream and a little cinnamon, and they held their shape on the plate.
Save these pumpkin pie bars for the holiday table — buttery shortbread crust, spiced custard filling, and clean slices every time.
The Shortbread Crust Needs Its Head Start
The most common mistake with pumpkin pie bars is treating the crust like a cookie base that can finish baking later under the filling. It can’t. If that butter-heavy layer doesn’t get enough time in the oven on its own, it stays soft and a little greasy once the custard goes on top. The 15-minute blind bake gives the flour and butter enough structure to stay crisp beneath the pumpkin layer.
Press the crust firmly and evenly into the pan. Loose spots bake unevenly, and thin corners overbrown before the center has enough color. You want a pale golden surface that looks dry to the touch and feels set when you tap it lightly.
What Each Ingredient Is Actually Doing in These Bars
- All-purpose flour — This gives the crust its structure without making it tough. A pastry flour would make it a little more delicate, but all-purpose is the sweet spot for bars that need clean edges.
- Powdered sugar — It melts into the dough and keeps the crust tender instead of sandy. Granulated sugar won’t give you the same fine, shortbread-like crumb.
- Cold unsalted butter — Cold butter is what keeps the crust from turning greasy. Cube it first and cut it in just until the dough holds when pressed; if it starts to look paste-like, it’s been worked too far.
- Pumpkin puree — Use pure pumpkin, not pumpkin pie filling. The filling recipe already controls the sweetness and spices, and canned puree gives you the right thick, earthy base.
- Evaporated milk — This is what makes the custard rich without being heavy. Whole milk can work in a pinch, but the filling won’t set as silky.
- Eggs — They thicken the filling as it bakes. Whisk them in completely so the custard sets evenly instead of baking into streaks.
- Pumpkin pie spice, cinnamon, ginger, and cloves — The blend gives warmth, while the extra cinnamon and ginger keep the flavor from tasting flat. Cloves are strong, so that small amount matters.
- Vanilla — It rounds out the spice and keeps the filling from tasting sharp. Don’t skip it.
The Bake That Sets the Custard Without Overcooking It
Mix the filling until it’s completely smooth
Whisk the pumpkin puree, evaporated milk, eggs, sugar, spices, salt, and vanilla until the mixture looks uniform and glossy. You don’t want any streaks of egg white or clumps of spice hiding in the bowl, because they show up after baking as uneven pockets. If the mixture seems foamy, let it sit for a minute so the bubbles rise and settle before pouring.
Use the hot crust and the high-then-low heat method
Pour the filling over the crust while it’s still hot from the oven. That helps the bottom of the custard start setting right away instead of soaking into the crust. Bake at 425°F first, then drop to 350°F; if you keep it at the higher temperature the whole time, the edges overbake before the center has a chance to finish.
Stop when the center still has a slight wobble
The bars are done when the edges look set and the middle gives just a small jiggle, like firm gelatin. Don’t wait for the center to look completely solid in the oven, or the filling will bake dry by the time it cools. The custard finishes setting as it cools on the counter and then in the refrigerator.
How to Adapt These Bars for Different Tables
Gluten-Free Crust Swap
Use a 1:1 gluten-free flour blend in place of the all-purpose flour. The crust will be a little more fragile when warm, so let the bars cool fully before slicing and lifting them from the pan. The flavor stays close to the original, but the texture is a touch less crumbly.
Dairy-Free Version
Swap the butter for a solid plant-based butter that comes in stick form. The crust won’t have quite the same dairy richness, but the texture still bakes up crisp if you keep the butter cold and avoid overmixing. For serving, use a dairy-free whipped topping instead of whipped cream.
Extra-Spiced Holiday Bars
Add another 1/4 teaspoon of cinnamon and a pinch more cloves if you want the filling to lean deeper and warmer. Don’t add much more than that, or the cloves start to take over and the custard loses its pumpkin balance.
Storage and Reheating
- Refrigerator: Store covered for up to 4 days. The crust stays best on day 1 and day 2, but the bars hold their shape nicely the whole time.
- Freezer: Freeze sliced bars tightly wrapped for up to 2 months. Thaw in the refrigerator overnight; freezing after slicing makes it easier to grab only what you need.
- Reheating: These are best served chilled or cool rather than hot. If you want to take the edge off the chill, let a bar sit at room temperature for 15 to 20 minutes instead of microwaving it, which can make the custard weep and soften the crust.
Answers to the Questions Worth Asking
Pumpkin Pie Bars
Ingredients
Equipment
Method
- Preheat oven to 425F and line a 9x13 pan with parchment, pressing parchment into corners so it lifts out easily later.
- Combine all-purpose flour, powdered sugar, and salt in a bowl, then add cold unsalted butter and cut until the mixture forms dough that just holds together.
- Press the dough firmly and evenly into the 9x13 pan and bake at 425F for 15 minutes until pale golden with lightly set edges.
- Whisk pumpkin puree, evaporated milk, eggs, granulated sugar, pumpkin pie spice, cinnamon, ginger, cloves, salt, and vanilla until smooth and well combined.
- Pour the filling over the hot crust and bake at 425F for 15 minutes until the surface looks slightly puffed.
- Reduce oven heat to 350F and bake 25-30 more minutes until the filling is set with just a slight wobble in the center.
- Cool completely at room temperature until the bars are no longer steaming and the filling firms up.
- Refrigerate for 2 hours so the bars slice clean.
- Cut into bars and serve with whipped cream.