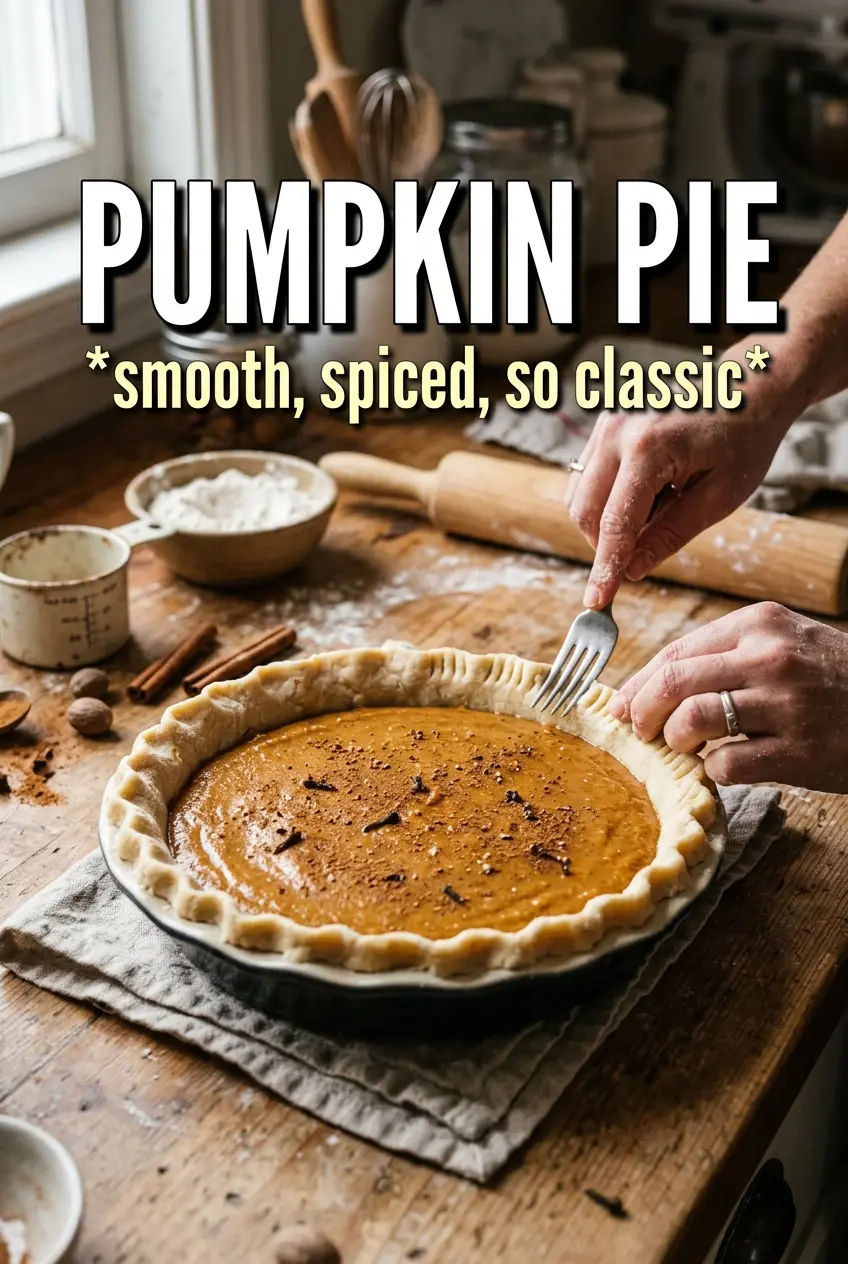
Silky pumpkin pie earns its place on the dessert table when the filling sets into a clean slice and still tastes plush, not heavy. The best version has a custard that stays smooth all the way through, a crust that bakes up crisp underneath, and just enough spice to taste warm without pushing the pumpkin out of the spotlight.
The trick is in the mixing and the bake. Whisk the filling until it’s completely smooth so the eggs disperse evenly, then start the pie hot so the crust firms before the custard has time to seep in. Dropping the oven temperature after the first 15 minutes keeps the filling from puffing and cracking while it finishes setting.
Below, I’ve included the little details that matter most: how to know when the center is set correctly, why canned pumpkin works better than fresh here, and how to keep the pie from turning watery after cooling.
The filling came out perfectly silky and held its shape after chilling. I used the full hour in the oven and the center still had that tiny wobble that set up into the cleanest slices I’ve ever made.
Love that silky custard and flaky crust? Save this pumpkin pie for the holiday dessert table.
The Part That Keeps Pumpkin Pie Silky Instead of Grainy
Pumpkin pie goes grainy when the custard is overbaked or the eggs are not fully blended into the puree. The filling should look smooth and loose when it goes into the crust, then settle into a gentle wobble as it bakes. If it looks puffed or cracked in the oven, it has already gone too far.
The hotter start matters because it helps the crust set before the filling has time to soak in. After that, the lower temperature gives the custard time to finish cooking without curdling around the edges. The middle should still jiggle slightly when you move the pan, like set gelatin under a thin skin, not like liquid.
- Evaporated milk — This gives the pie its classic creamy body. Heavy cream makes a richer pie, but evaporated milk keeps the texture lighter and more stable. If you only have one 12-ounce can instead of two small ones, use it.
- Pumpkin puree — Use canned puree here. Fresh pumpkin can be watery and inconsistent, which throws off the custard. If your puree looks loose, blot it lightly with paper towels before mixing.
- Eggs — These set the filling. Whisk them in completely so you don’t end up with little baked egg streaks in the slices.
- Spices — Pumpkin pie spice gives the roundest flavor, but the extra cinnamon, ginger, cloves, and nutmeg are what make the pie taste layered instead of flat.
What Each Part of the Filling Is Actually Doing

- Deep-dish pie crust — A deep-dish shell gives the filling enough room without spilling over. An unbaked crust is the right choice because it bakes with the custard and picks up flavor from the filling.
- Vanilla — It softens the spice and makes the pumpkin taste fuller. Don’t skip it; the pie tastes flatter without it.
- Salt — This keeps the custard from tasting one-note sweet. It sharpens the pumpkin and makes the spices taste cleaner.
- Whipped cream — It’s not just garnish. The cool, airy topping balances the dense filling and adds a clean finish to each bite.
The Bake That Sets the Filling Without Cracking It
Whisking a Smooth Custard
Start by whisking the pumpkin, evaporated milk, eggs, sugar, spices, salt, and vanilla until the mixture looks completely even and glossy. You shouldn’t see streaks of egg or pockets of spice. If you leave it mottled, the baked pie can set unevenly and taste harsh in spots.
Filling the Crust Cleanly
Pour the filling into the unbaked shell and stop before it reaches the very top if your crust runs shallow. The filling doesn’t need to be scraped or packed down. Tap the pan lightly once on the counter to release big air bubbles, but don’t shake it hard or you’ll splash custard onto the rim and invite overbrowning.
Starting Hot, Then Slowing Down
Bake at 425°F for 15 minutes, then drop the heat to 350°F and keep going until the edges are set and the center still has a slight wobble. That first blast firms the crust and starts the custard quickly. The lower finish cooks the center through without turning the top rubbery.
Cooling Before the First Slice
Let the pie cool completely at room temperature for at least 2 hours before moving it to the refrigerator. This is where the filling finishes setting. If you cut it warm, the slices will slump and the texture will seem softer than it really is.
How to Adjust the Pie When You Want a Different Finish
Dairy-Free Pumpkin Pie
Use full-fat canned coconut milk in place of the evaporated milk. The pie will taste a little richer and carry a faint coconut note, but the custard still sets well because the eggs are doing the real structural work.
Less Sweet, More Pumpkin
Cut the sugar to 1/2 cup if you want a pie that tastes a little more earthy and less dessert-forward. The texture won’t change, but the spices will come through more sharply.
Gluten-Free Serving
Use a gluten-free pie crust and blind-bake it briefly if the brand recommends it. Pumpkin filling is naturally gluten-free, so the crust is the only part that needs adjusting.
Storage and Reheating
- Refrigerator: Store covered for up to 4 days. The crust softens a little over time, but the filling stays smooth.
- Freezer: Freeze whole or in slices once fully cooled. Wrap tightly, then thaw overnight in the refrigerator. The texture is good, though the crust loses a bit of its crispness.
- Reheating: Serve chilled or let slices sit at room temperature for 20 to 30 minutes. If you warm it, use short bursts in a low oven. High heat tightens the custard and can cause the filling to weep.