Gluten-free pumpkin bars earn their place fast because they bake up tender, slice cleanly, and carry that familiar pumpkin spice flavor without the gritty, gummy texture that ruins so many gluten-free cakes. The crumb stays soft and moist, and the cream cheese frosting gives each square the same nostalgic finish you’d expect from a traditional pan dessert.
What makes this version work is the balance: enough pumpkin for flavor and moisture, enough eggs for structure, and a gluten-free flour blend with xanthan gum so the bars hold together instead of crumbling the second you cut them. The batter also stays simple on purpose. Overmixing a gluten-free batter can turn the bars tight and heavy, so the goal is just to combine everything until the flour disappears.
Below, I’ll walk through the small details that matter here, including the pan size, the cooling time that keeps the frosting from sliding, and a few swaps that still keep the bars bakery-soft.
These bars came out so soft and the frosting set up nicely after chilling. I cut them into neat squares and the gluten-free texture was perfect, not dry at all.
Gluten-free pumpkin bars with cream cheese frosting are worth keeping on repeat for fall baking and easy dessert trays.
The Pan Size Is What Keeps These Bars Tender, Not Dense
These bars depend on a rimmed 15×10 pan for the right thickness. Use a smaller pan and the center stays too wet before the edges set. Use a jelly roll pan that’s larger than this and the bars bake up thin and dry. The listed pan size gives you that sweet spot: a soft crumb with enough structure to lift cleanly once the frosting is on.
The other place people go wrong is mixing like they’re making a loaf cake. Gluten-free batters don’t need long mixing, and they definitely don’t need extra agitation after the flour goes in. Once the dry ingredients disappear, stop. That keeps the bars light instead of compact.
- Gluten-free all-purpose flour blend with xanthan gum — This is the backbone of the recipe. The xanthan gum replaces some of the structure gluten would normally provide, so the bars cut neatly instead of crumbling. If your blend does not include xanthan gum, add it only if your blend package suggests it; too much can make the bars gummy.
- Pumpkin puree — Use pure pumpkin, not pumpkin pie filling. The puree brings moisture, color, and body without making the bars taste overly sweet. Canned pumpkin works perfectly here.
- Vegetable oil — Oil keeps the crumb softer than butter would in a sheet bar like this. Melted butter gives more flavor, but it also makes the bars a little firmer once chilled. Neutral oil is the better choice if you want that tender, bakery-style texture.
- Eggs — Four eggs give these bars enough lift and structure to hold the frosting. Room-temperature eggs blend faster and more evenly into the sugar and oil, which helps the batter stay smooth.
What Each Ingredient Is Actually Doing in This Recipe
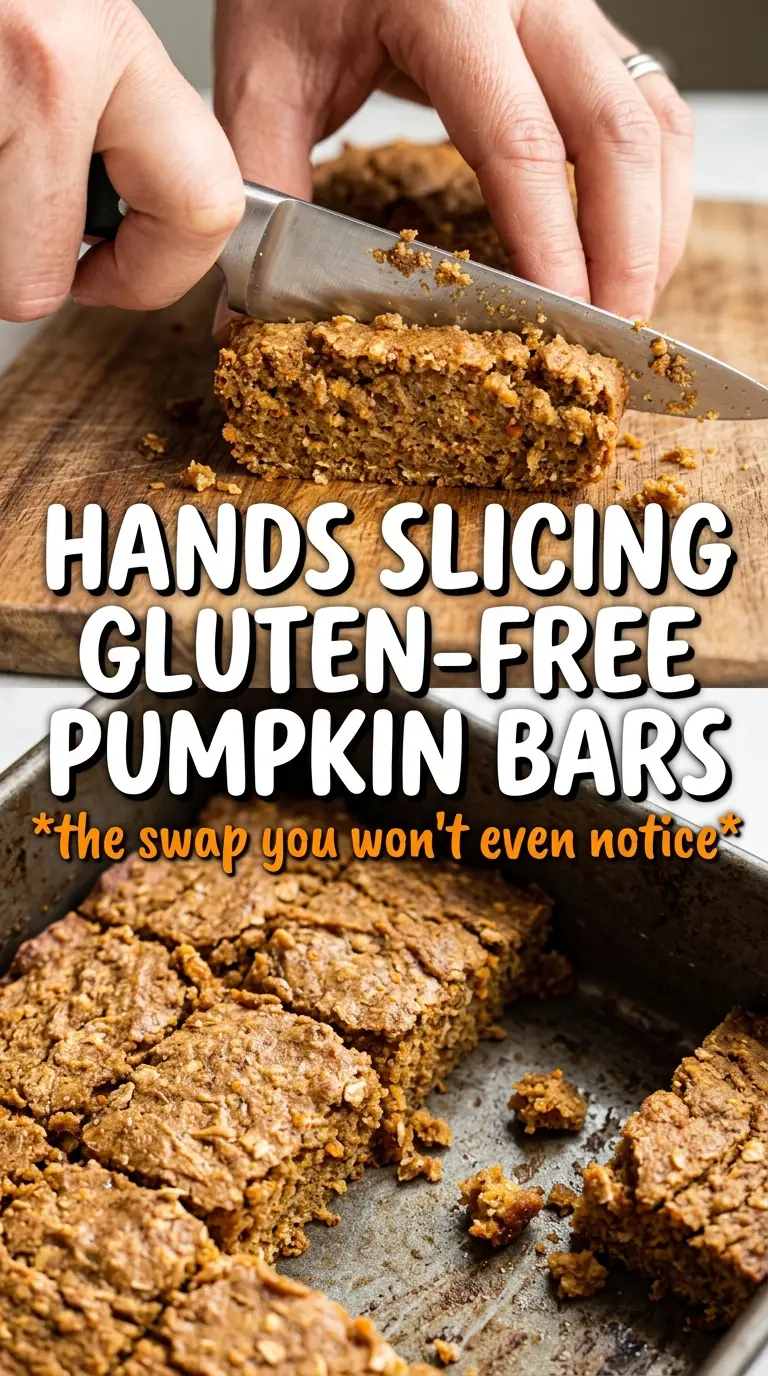
- Primary ingredient (the star) — Quality matters most. Choose the best you can find.
- Cooking medium (oil, butter, or broth) — This carries flavors and prevents dryness.
- Seasonings (salt, pepper, spices, herbs) — Layer flavors so nothing overpowers. Build depth gradually.
- Aromatics (garlic, onion, herbs) — Cook with fat to bloom flavors. Become the foundation.
- Supporting ingredients — Complement the main ingredient without overpowering it.
- Sauce or liquid (if applicable) — Brings flavors together. Balance richness with acid.
- Acid (lemon, vinegar, wine, or other) — Brightens and prevents flat-tasting results.
- Final finish (garnish, glaze, or sauce) — Prevents one-dimensional taste and adds visual appeal.
Building the Batter Before the Flour Has a Chance to Fight Back
Whisk the dry ingredients first
Start by whisking the flour blend, baking powder, baking soda, pumpkin pie spice, cinnamon, and salt together until the color looks even. That step matters more than it sounds, because the spices need to be distributed before they hit the wet ingredients. If you skip it, you’ll get pockets of spice and uneven rise. A quick whisk also breaks up any clumps in the flour blend.
Mix the wet base until it looks smooth and glossy
Beat the eggs, sugar, oil, pumpkin puree, and vanilla until the mixture looks thick and fully combined. It should be smooth and a little glossy, not streaky or separated. If the oil still looks loose on top, keep mixing for another minute. That smooth base helps the bars bake evenly and keeps the crumb from turning greasy.
Fold, pour, and stop touching the batter
Add the dry ingredients and fold just until no flour pockets remain. A few streaks are fine; overmixing is what makes gluten-free bars heavy. Pour the batter into the greased pan and nudge it into the corners without beating it around. Bake until the center is set and a toothpick comes out clean or with a few moist crumbs, then cool them all the way before frosting.
Whip the frosting to spreadable thickness
Beat the cream cheese, butter, powdered sugar, vanilla, and cinnamon until fluffy and smooth. If the cream cheese is too cold, the frosting turns lumpy; if it’s too soft, it can slide off the bars. Spread it over completely cooled bars only. Chill the frosted pan for about 30 minutes before cutting so the squares stay sharp and neat.
How to Adapt These Bars Without Losing the Soft Crumb
Dairy-Free Frosting Swap
Use dairy-free cream cheese and a plant-based butter stick for the frosting. The flavor stays close, though the texture is often a little softer and may need a brief chill before spreading. The bars themselves are already dairy-free, so this is the swap that makes the whole recipe work for that need.
A Less-Sweet Version
Cut the frosting sugar back by about 1/2 cup if you like a tangier finish. The frosting will be softer and slightly less stiff, but the bars still hold up well after chilling. I wouldn’t reduce the sugar in the batter much further, because it helps with tenderness and browning.
Extra-Spiced Pumpkin Bars
Add another 1/2 teaspoon cinnamon or a pinch of cloves if you want a deeper spice profile. The bars can handle it because the pumpkin puree and oil keep them from drying out. Don’t push the spices too far, though, or the pumpkin gets buried.
Storage and Reheating
- Refrigerator: Store covered for up to 5 days. The frosting stays best when chilled, and the bars actually slice cleaner on day two.
- Freezer: Freeze unfrosted bars tightly wrapped for up to 2 months. Frosting doesn’t freeze as neatly, so if you want to freeze the finished bars, freeze them in a single layer and separate slices with parchment.
- Reheating: These are meant to be served cold or at cool room temperature, not warmed. If they’ve been chilled hard, let them sit out for 15 to 20 minutes so the frosting softens instead of cracking when sliced.
Questions I Get Asked About These Pumpkin Bars
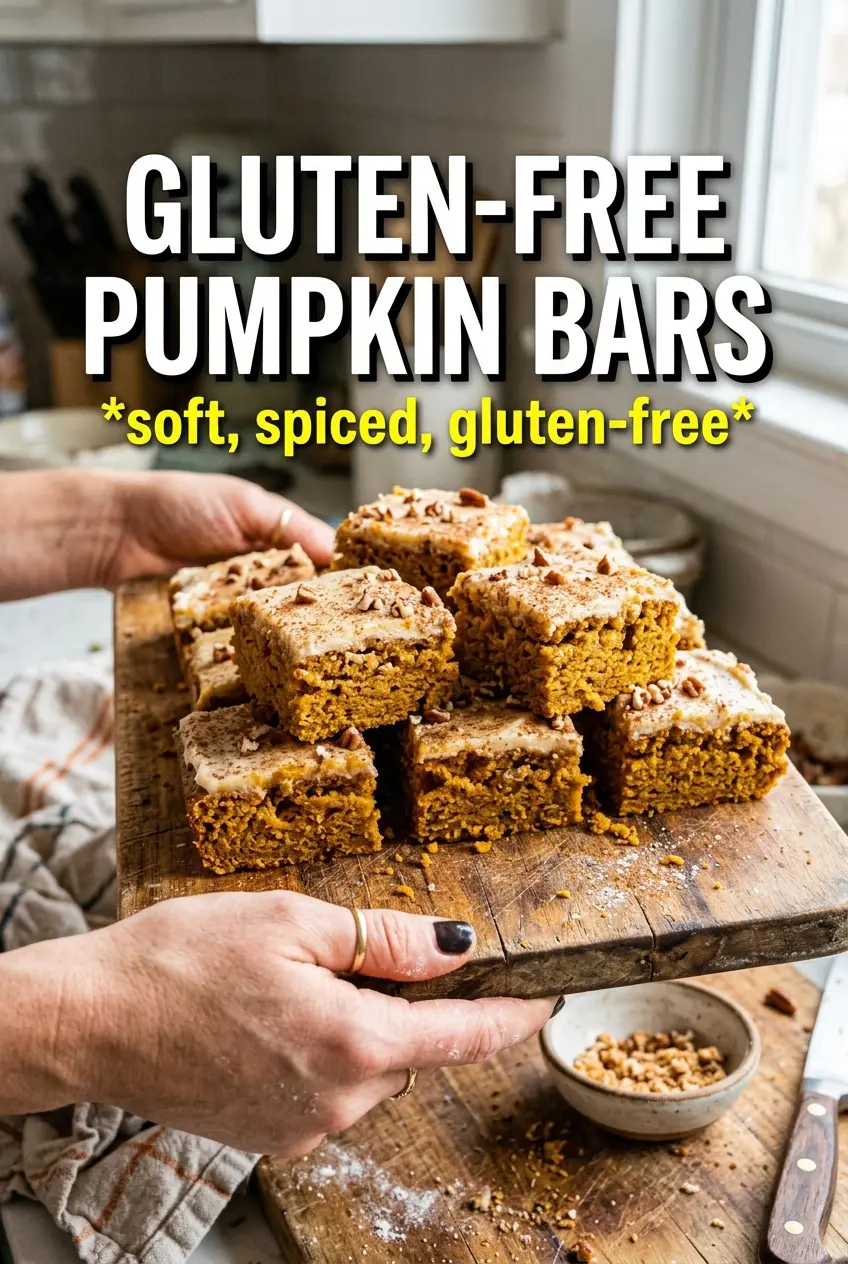
Gluten-Free Pumpkin Bars
Ingredients
Equipment
Method
- Preheat oven to 350F and grease a 15x10 rimmed baking sheet so the bars release cleanly.
- Whisk gluten-free all-purpose flour blend (with xanthan gum), baking powder, baking soda, pumpkin pie spice, cinnamon, and salt until evenly combined.
- Beat eggs, granulated sugar, vegetable oil, pumpkin puree, and vanilla until smooth and glossy.
- Fold the flour mixture into the wet ingredients until just combined, then pour the batter into the prepared pan.
- Bake 25-28 minutes at 350F until a toothpick inserted in the center comes out clean, then cool completely.
- Beat cream cheese and butter until smooth, then beat in powdered sugar, vanilla, and cinnamon until fluffy.
- Spread the frosting over the cooled bars in an even layer.
- Chill 30 minutes before cutting so the frosting sets for cleaner slices.